Is your once-sparkling swimming spot now looking dull and worn?
Pool renewal might be just what you need. From small cracks to stubborn stains, the signs of aging can turn your backyard oasis into an eyesore.
A fresh surface not only brings back the clean, inviting look but also stops water loss and structural damage.
With options ranging from basic coatings to premium finishes, finding the right solution for your budget and pool type is key.
Ready to jump into the world of pool makeovers?
Let’s look at everything you need to know about giving your swimming area a brand-new lease of life.
What is Pool Resurfacing and Why is it Necessary?
Pool upkeep includes keeping the inner layer in good shape.
When this layer wears down, it needs renewal to restore both its look and function.
Think of it like giving your pool a new skin.
The old surface gets removed and replaced with fresh material, making your pool look better and work properly.
Watch for these warning signs:
- Small breaks in the material
- Surface material coming loose
- Color changes
- Stubborn marks
- Unusual water loss
- Surface that feels too rough
Timing depends on the materials used.
Some need fixing every 5-7 years, while better options might last up to 20 years with proper care.
Early action helps avoid serious damage to the structure underneath, keeping your pool fresh, functional, and safe.
Types of Pools and How Each is Resurfaced
When your backyard oasis starts showing signs of wear and tear, knowing how to properly fix the surface based on your pool type becomes essential.
Different pool constructions require specific methods to restore their beauty and functionality.
1. Concrete/Gunite Pools
These pools form the backbone of many backyard swimming areas across America.
When it’s time for a makeover, workers typically start by removing the old layer mechanically.
This can involve carefully chipping away deteriorated material or using specialized blasting techniques to remove the worn coating.
Once the base is properly prepared, technicians apply a new layer – either a traditional coating mix or an enhanced finish that might contain small stones or other materials for added durability and visual appeal.
2. Fiberglass Pools
With their smooth, non-porous surfaces, fiberglass pools require a different approach.
The renewal process focuses on the top gel layer that gives these pools their characteristic smooth feel.
Over time, this layer can show signs of bubbling or peeling—common issues that signal it needs attention.
Specialists will carefully remove the compromised layer before applying a fresh coating to restore the pool’s smooth, water-tight barrier.
3. Vinyl Pools
Unlike other types, vinyl pools don’t undergo traditional surface renewal.
Instead, when the liner shows signs of aging, fading, or damage, the entire liner must be replaced.
Most vinyl liners need this complete replacement every 5-9 years, making this a predictable maintenance cost for owners of these pool types.
4. Tile Pools
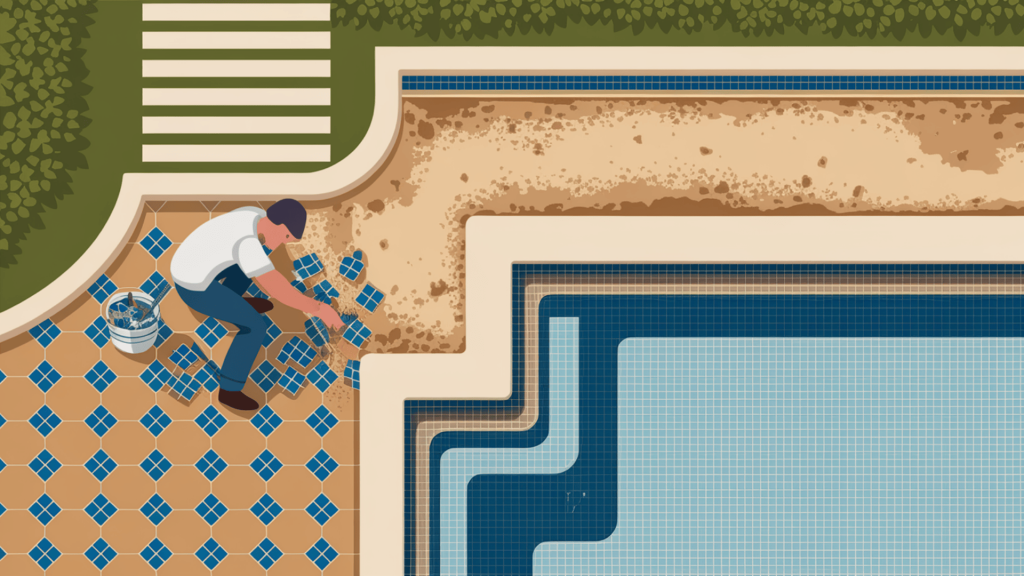
For pools with decorative tile work, the process becomes more intricate.
Small sections with damaged tiles can sometimes be selectively replaced, matching patterns and colors carefully.
However, for extensive damage or outdated designs, a complete removal and replacement of the tile surface provides the best results, though at a higher cost than other methods.
Pool Resurfacing Materials: What Are Your Options?
Picking the right surface for your pool means finding the perfect balance of cost, looks, and staying power.
Cost-Effective Solutions
Basic white coating gives you that classic pool look without emptying your wallet.
With proper care, it lasts 5-15 years and feels smooth underfoot.
While it may show stains more easily, it remains the go-to choice for value-minded homeowners.
Paint provides the quickest, cheapest fix when you’re in a pinch.
Perfect for those needing a short-term solution, it buys you 2-5 years while you save for something more lasting.
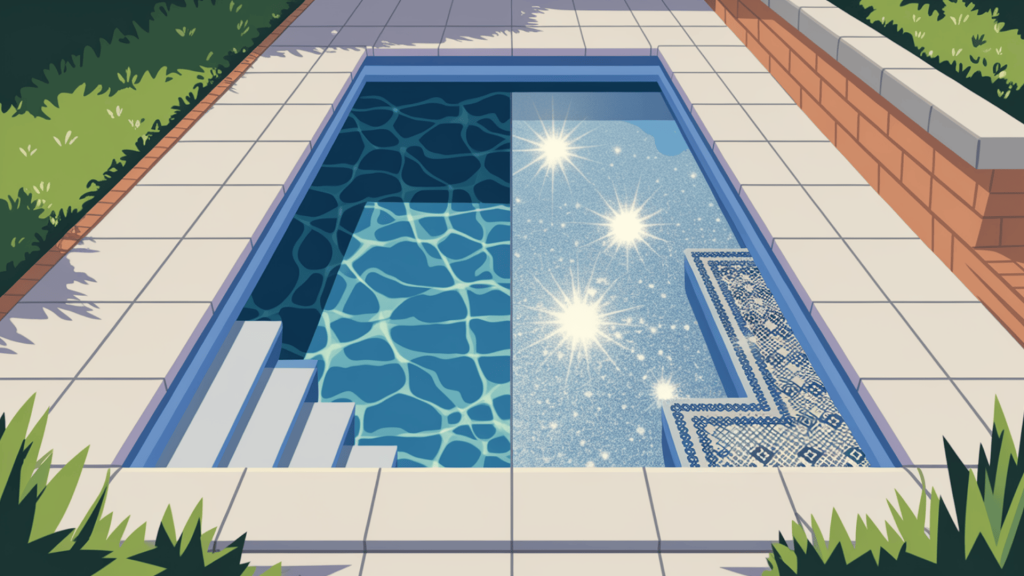
Premium Finishes
Stone and quartz blends catch light in stunning ways, creating pools with depth and character.
These tough surfaces fight off stains and chemical damage better than basic options.
The higher price tag pays off with their impressive lifespan.
Fiberglass offers a silky-smooth finish that algae can’t grip.
While installation costs more, many pool owners love the easier upkeep and durability.
Tile transforms your pool into a backyard masterpiece.
With endless design options and decades-long life, it’s perfect for homeowners wanting a show-stopping pool that stands the test of time.
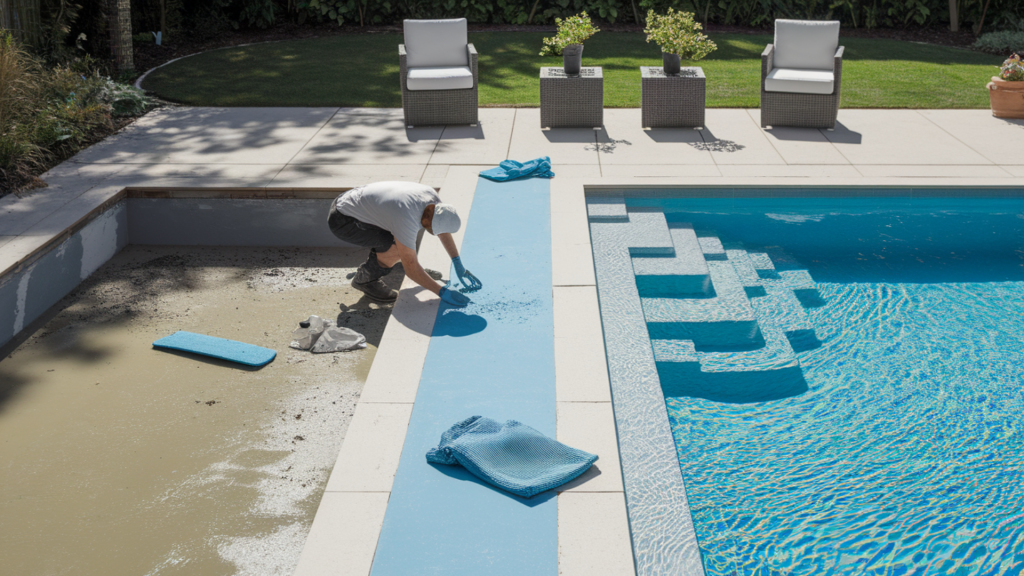
Pool Resurfacing Step-by-Step: From Prep to Finish
Restoring your pool’s inner layer follows a methodical process that cannot be rushed.
Understanding these steps helps set realistic expectations about project timelines and disruption to your backyard space.
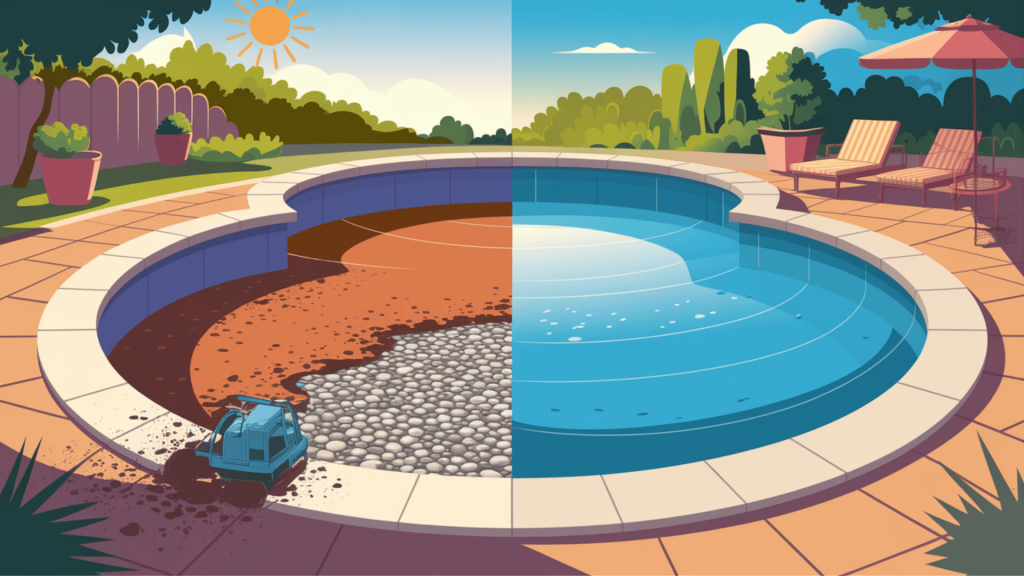
Step 1: Empty and Prepare the Base
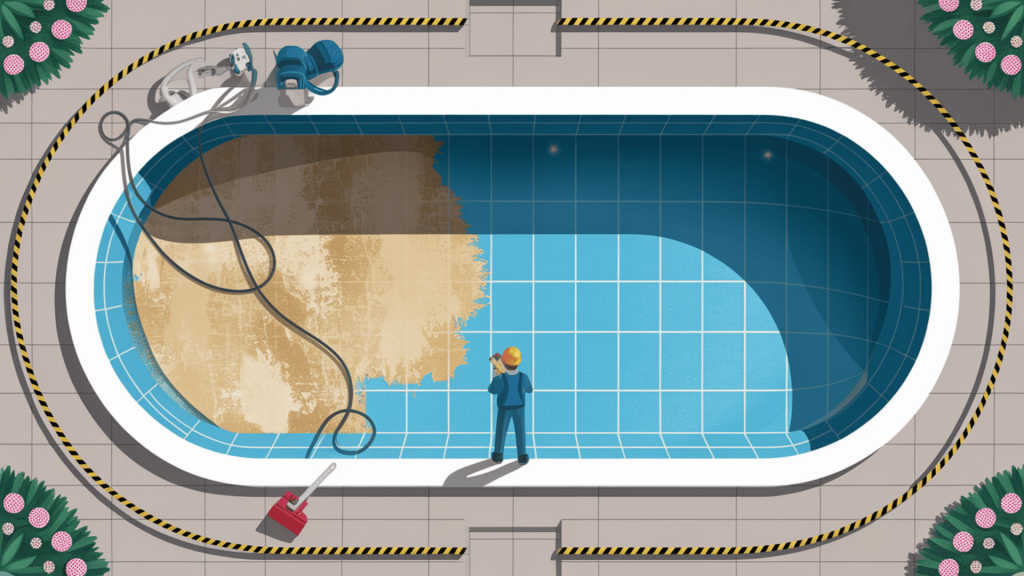
The project begins by removing all water from the pool, a process that requires careful planning to avoid structural issues.
Once empty, workers assess the condition of the existing surface and prepare it for renewal.
This preparation might involve mechanical removal, sanding, or chemical washing to create a clean slate for the new materials to bond properly.
This critical foundation work often takes several days but determines the success of everything that follows.
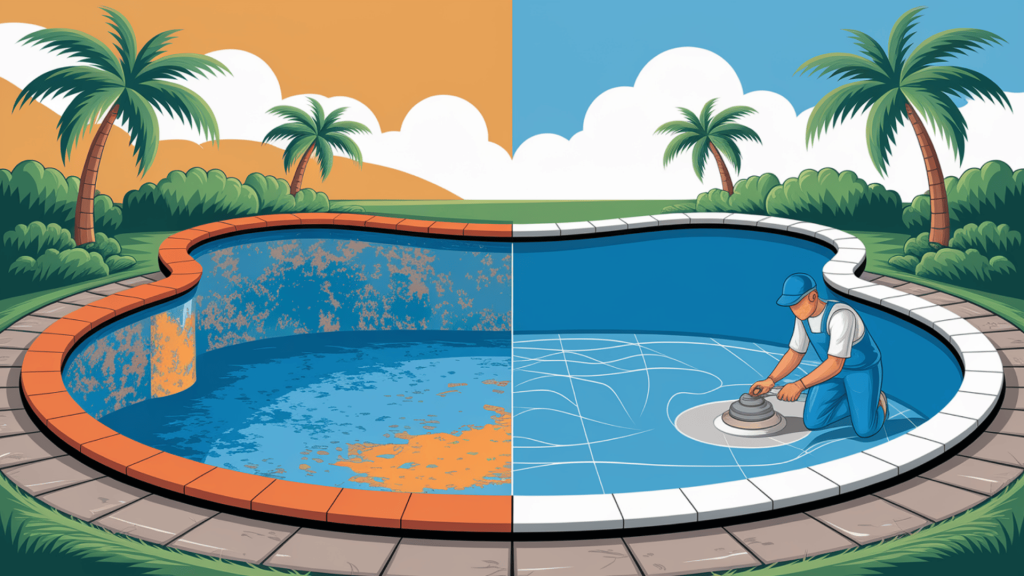
Step 2: Fix Structural Issues and Clean Thoroughly

Any existing damage must be addressed before new materials are applied.
This includes fixing cracks, addressing spots of corrosion, removing any growth, and handling any water seepage issues.
The entire surface then undergoes thorough cleaning to remove all dust, debris, and chemical residues that could compromise the bond of new materials.
Many professionals say this preparation phase constitutes 80% of a successful project.
Step 3: Apply Fresh Materials

With proper preparation complete, skilled technicians begin applying the chosen new surface material.
Whether spreading basic coating, applying a stone mixture, or meticulously placing tiles, this phase requires precision and expertise.
The application techniques vary dramatically based on material choice, with some requiring multiple layers and others demanding exact timing to ensure proper setting and bonding.
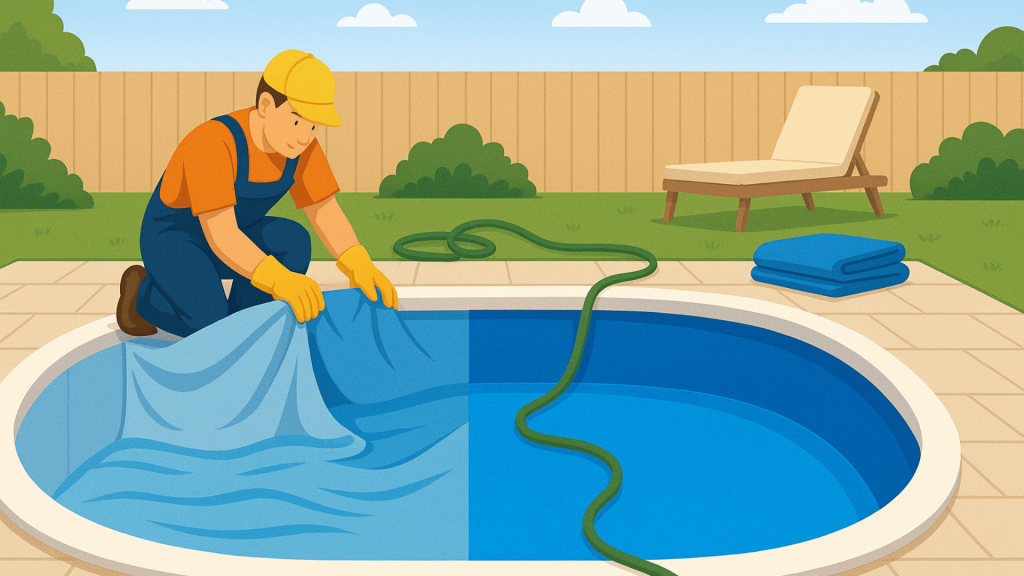
Step 4: Curing, Filling, and Chemical Balance
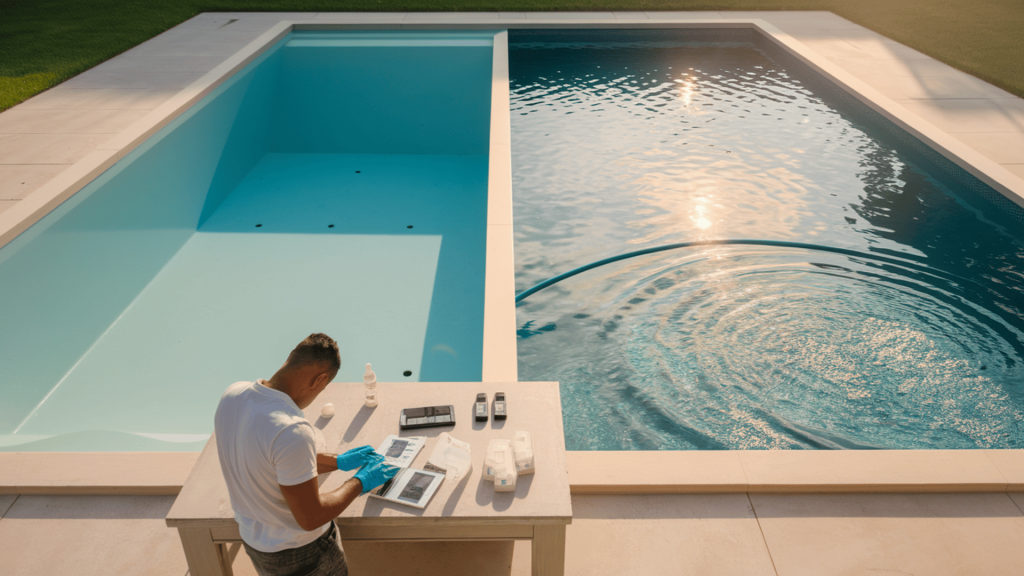
After application comes the waiting game, allowing new surfaces to properly cure before introducing water.
This critical time varies by material but cannot be shortened without risking long-term problems.
Once curing is complete, careful refilling begins, often with specific instructions about flow rates and water testing.
The final step involves balancing water chemistry to protect the new surface and prepare the pool for safe swimming.
Cost of Pool Resurfacing: What Should You Expect to Pay?
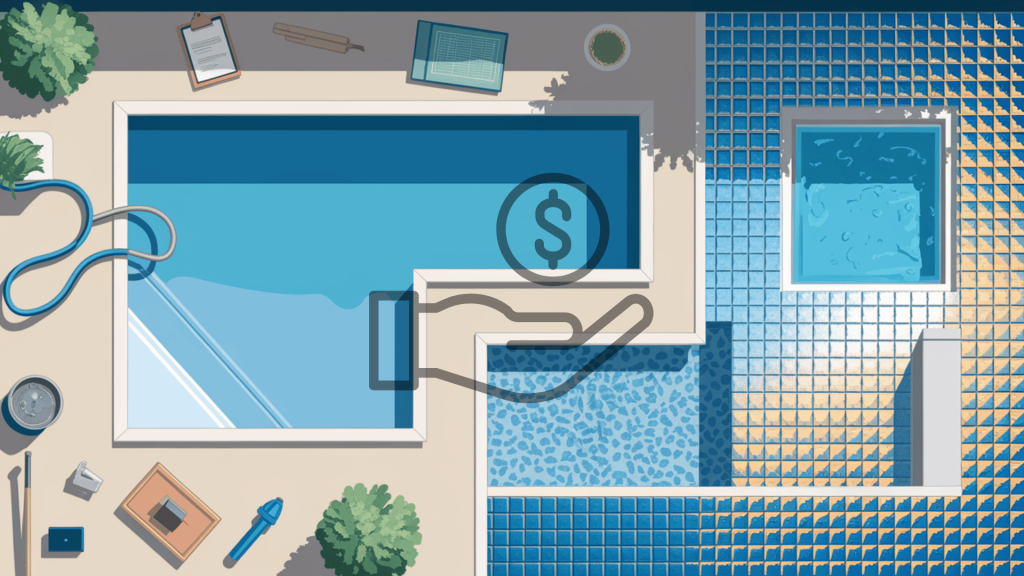
Planning your budget requires understanding both the obvious and hidden costs associated with refreshing your pool.
Most homeowners can expect to pay between $5,000 and $15,000 for a complete project, though prices vary widely based on location, pool size, and material choices.
Price Breakdown By Material
Looking at costs per square foot helps you estimate your specific project budget.
Different materials offer varying durability and visual appeal at corresponding price points.
- Paint: The most budget-friendly option at $1-$2 per square foot, but requires more frequent redoing
- Basic Coating: Runs approximately $5 per square foot for materials and professional application
- Stone Mixtures: Premium durability comes at $5-$7 per square foot
- Tile Work: The most variable in pricing, from $4 for basic options to $50+ per square foot for premium materials, plus substantial labor costs
Many factors influence the final price tag beyond just materials.
Pool size, shape, current condition, and your location all play important roles in determining costs.
Getting multiple quotes from local professionals helps ensure you’re paying a fair market rate for your area.
Often Overlooked Expenses
Many homeowners focus only on the main material costs, overlooking important additional expenses.
A complete budget must account for all these factors to avoid mid-project surprises.
- Permits from local authorities that may be required before starting work
- Water costs for refilling your pool, which can be significant during periods
- Specialized cleaning processes are needed before or after the main work
- Inspection of drainage systems to ensure proper function with the new surface
- Potential landscaping repairs from equipment access and work area damage
Planning for these extra costs from the beginning helps create a realistic budget and prevents financial strain halfway through your pool renewal project.
DIY vs. Professional Resurfacing: Which Should You Choose?
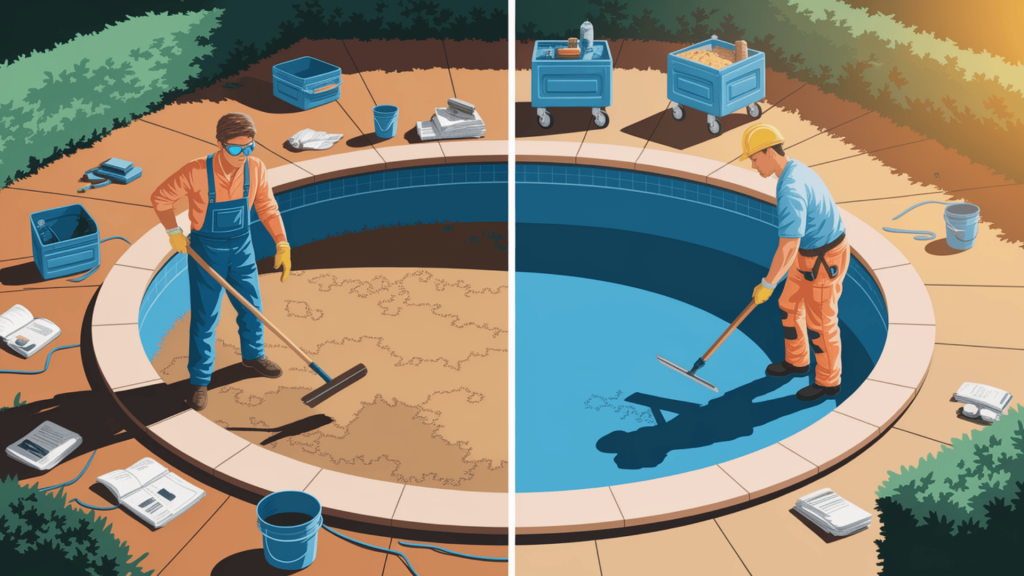
The decision between tackling the project yourself or hiring experts depends on multiple factors including your comfort with complex projects, available time, and budget constraints.
1. Taking On The Project Yourself
The main attraction of the DIY approach is cost savings on labor, which can be substantial.
However, this path comes with significant challenges.
You’ll need specialized tools that may be expensive to purchase for a one-time project.
The preparation phase requires detailed knowledge about proper techniques and safety precautions, especially when handling cleaning chemicals.
The application itself demands precision and speed that comes from experience.
Many first-timers struggle with achieving an even finish or proper thickness, leading to premature failures.
2. Bringing In The Experts
Professional teams bring specialized knowledge and equipment that typically results in faster completion and more reliable outcomes.
Most offer guarantees on their work, providing peace of mind about the investment.
For larger pools or premium materials like tile work, the expertise becomes particularly valuable in ensuring proper installation.
The main drawback remains the higher cost, though many homeowners find the long-term value justifies the expense when amortized over the years of enjoyment from a properly finished pool.
Bonus Tips: Extend the Life of Your Pool Surface Job
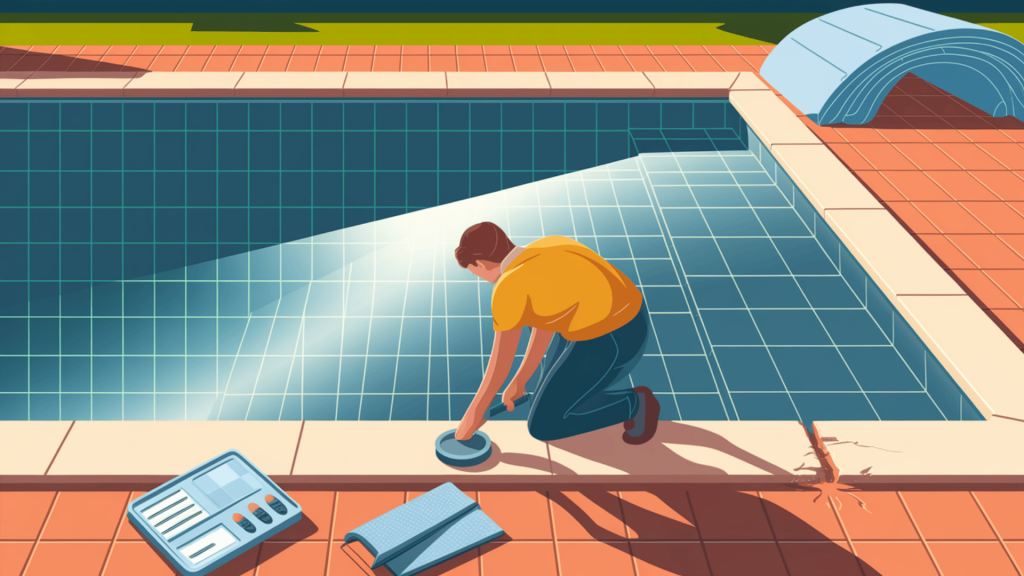
Making your investment last requires consistent attention and proper maintenance practices throughout the seasons.
With the right care routine, you can add years to your pool’s surface life and maintain that fresh, clean look longer.
- Maintain Proper Water Chemistry: Test and adjust your pool water weekly to prevent chemical imbalances that can damage surfaces and lead to costly repairs.
- Use Gentle Cleaning Tools: Soft brushes and non-abrasive cleaners protect your pool’s finish from microscopic scratches that can gradually worsen over time.
- Schedule Professional Cleanings: Plan for deep cleanings every few years to remove mineral buildup and restore the bright appearance of your pool surface.
- Fix Small Issues Immediately: Address tiny cracks or flaking spots before they allow water to seep beneath the surface and cause structural problems.
- Follow Proper Closing Procedures: Protect your pool during off-seasons with correct winterizing techniques that prevent freeze damage in colder climates.
With consistent care following these steps, your pool surface will maintain its beauty and function for years, maximizing your investment and keeping your backyard retreat looking its best.
Wrapping It Up
Bringing your pool back to its glory days takes planning, but the results are worth it.
A well-done surface job changes the entire look of your outdoor space while fixing functional issues, too.
By choosing the right materials, working with skilled professionals (or tackling it yourself with proper knowledge), and following good maintenance habits afterward, you’ll get many years of splash-filled fun from your renewed swimming spot.
The investment pays off not just in looks but in reduced long-term costs from leaks and damage.
Take that first step toward crystal-clear waters and smooth surfaces—your summer self will thank you!
Dive into transformation—because your pool deserves more than just a splash of attention.
Comment below with your pool resurfacing success stories!
Have you tackled a DIY project or worked with a pro?
Share your experience and help others take the plunge!