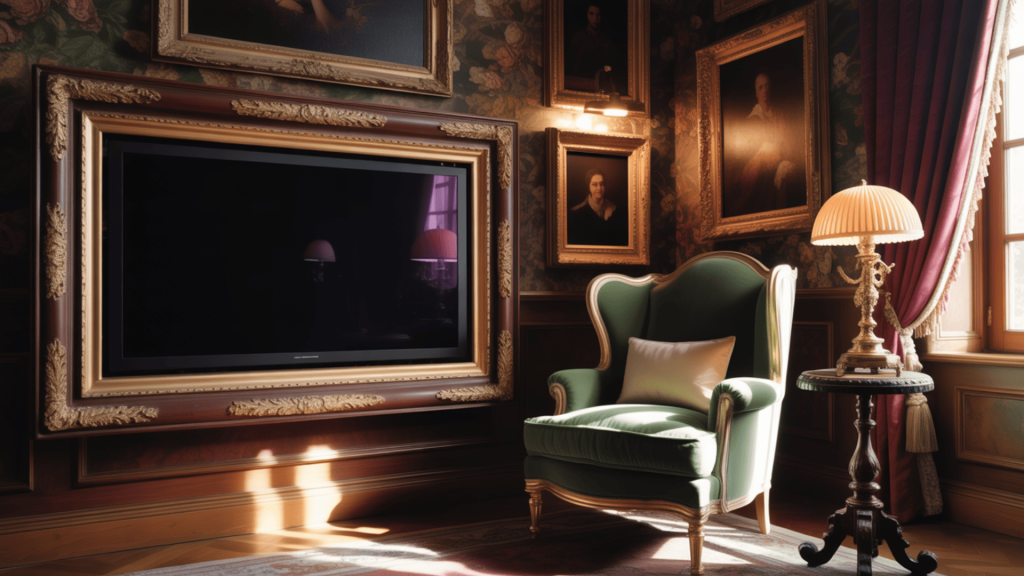
Ever walked into a home where the TV looked like a sleek piece of art instead of a tech eyesore?
I couldn’t stop staring at those stunning framed televisions in home design magazines.
When I found out I could make one myself for under $100, I had to try it.
My plain black screen had been bothering me for months!
Three hours later, my living room was transformed with a DIY TV frame that looks straight out of a designer catalog.
The best part?
No special skills needed.
I’ll share exactly how I did it, from measuring to mounting, so you can create your custom masterpiece this weekend.
Ready to make your visitors ask, “Where did you buy that gorgeous TV?”
Why Build Your Custom DIY TV Frame?
Remember how you felt after hanging your new TV?
Excited about the picture, but not so thrilled about that black box on your wall?
I felt the same way.
My beautiful living room had this dark rectangle that didn’t belong.
Then I built my frame, and wow—what a difference!
You don’t need fancy skills to do this. If I can manage it with basic tools and a free Saturday, so can you.
- Your TV will look like custom artwork
- You’ll save hundreds (I spent $85 instead of $600)
- You pick the exact style for your home
- Your screen will finally match your decor
My friends now ask where I bought my “art frame TV.”
Their jaws drop when I tell them I made it myself.
You’ll get those same reactions, and that feeling of pride is worth every minute spent building it.
Materials & Tools You’ll Need
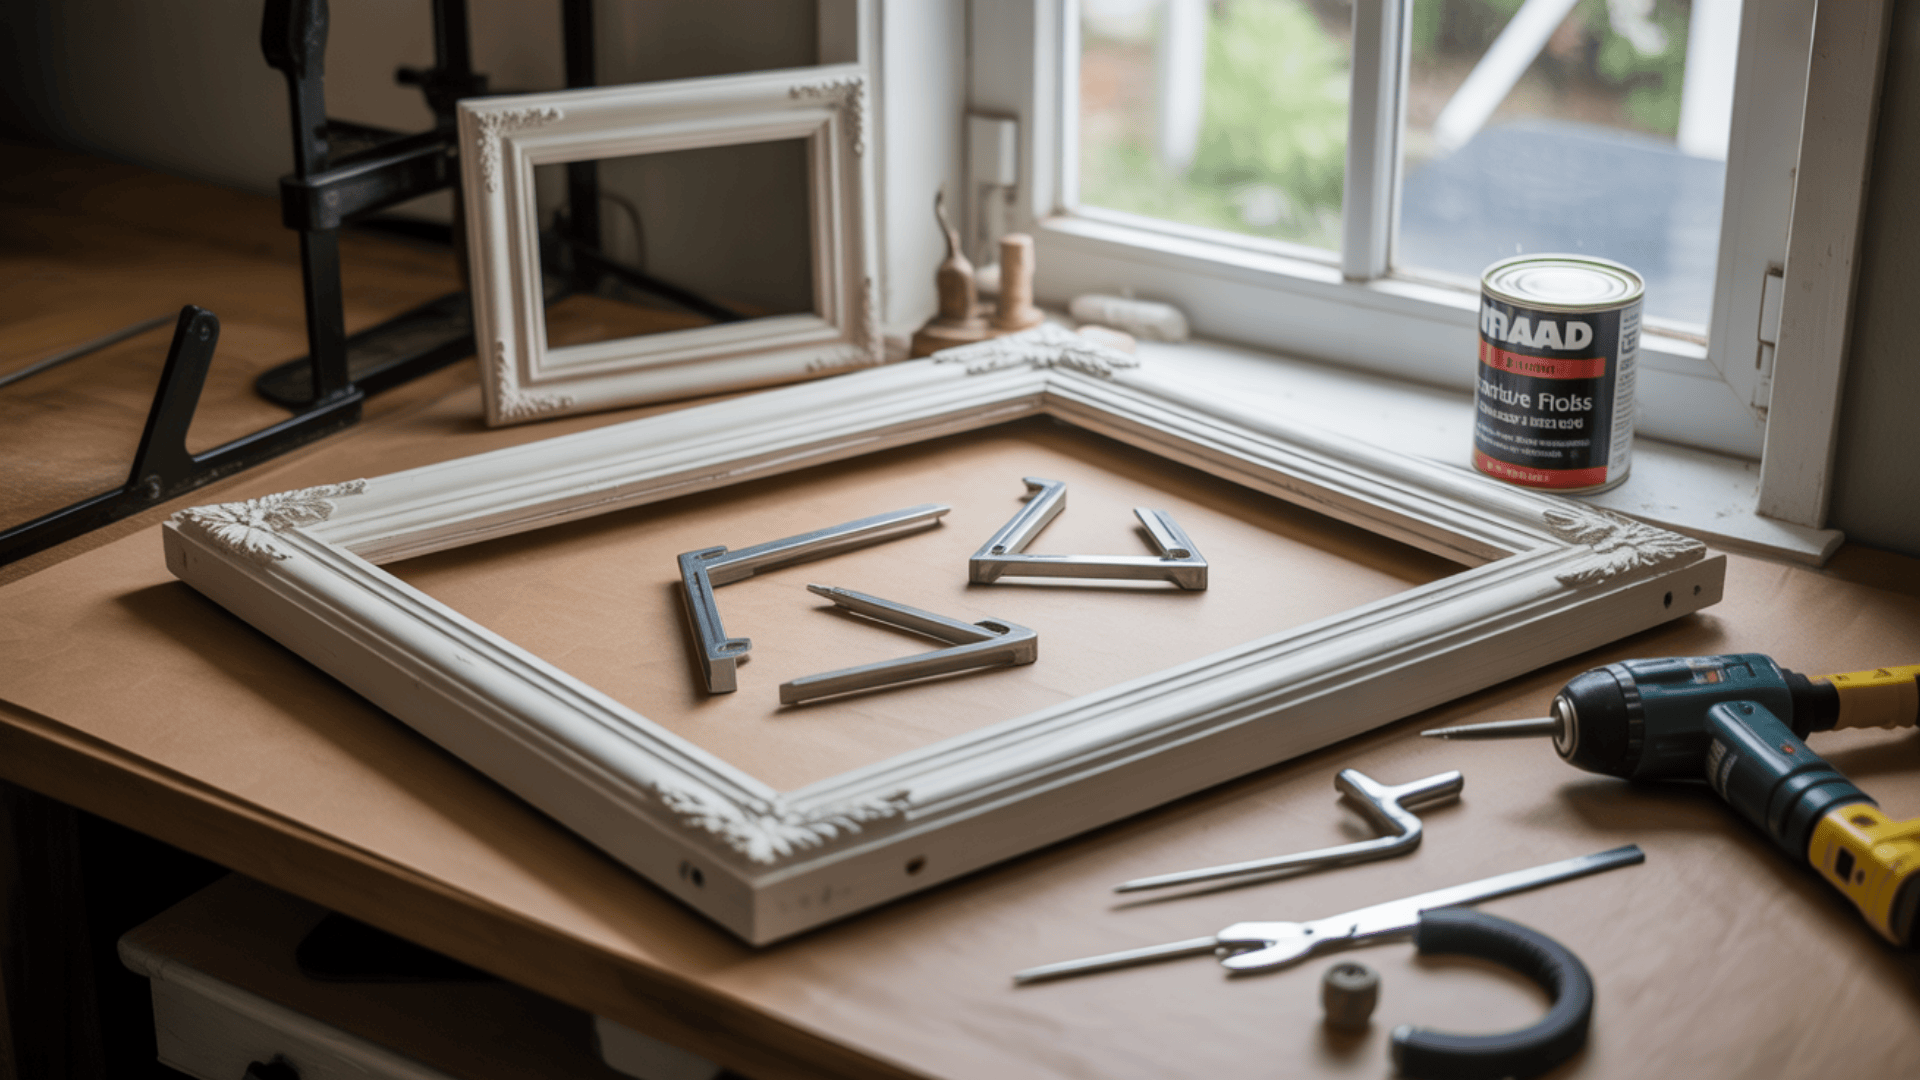
Looking to start your TV frame project?
Here’s everything you’ll need to gather before you begin.
I’ve organized these into simple lists so you can check items off as you shop.
Must-Haves for Your Project
- MDF door casing (2¼” wide)
- Wood glue & L-brackets
- Decorative corner pieces
- Black semi-gloss paint
- Saw (for straight 90° cuts)
- Angle clamps
- Brad nailer
- Drill & screws
Most of these items can be found at your local hardware store.
I spent less than $100 total on materials, and many of the tools you might already have at home.
Step-by-Step DIY TV Frame Guide
Creating a custom frame for your TV may sound intimidating, but it’s actually quite straightforward when broken down into simple steps.
I created my own frame last month and was surprised at how easy it was once I got started.
Before jumping in, gather all your materials and set aside a few hours of uninterrupted time.
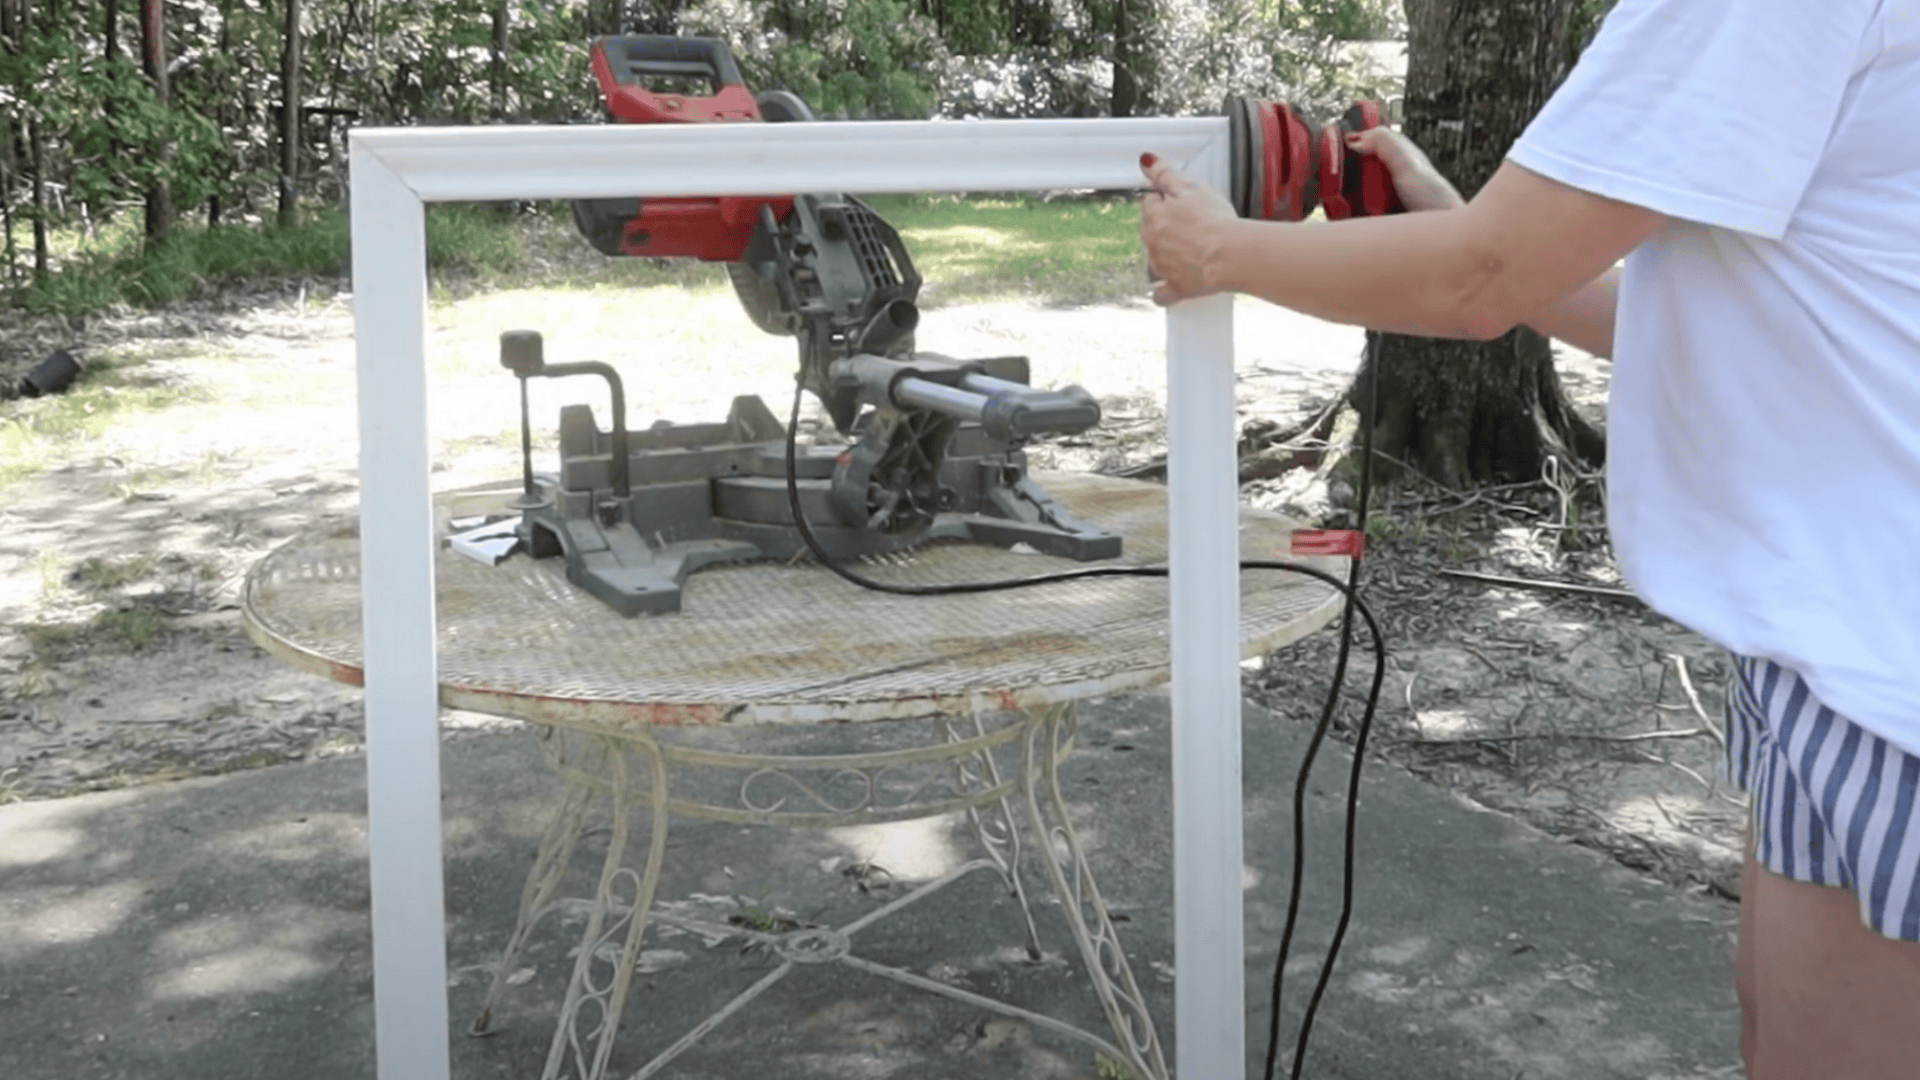
Step 1: Measure and Cut the Frame Molding
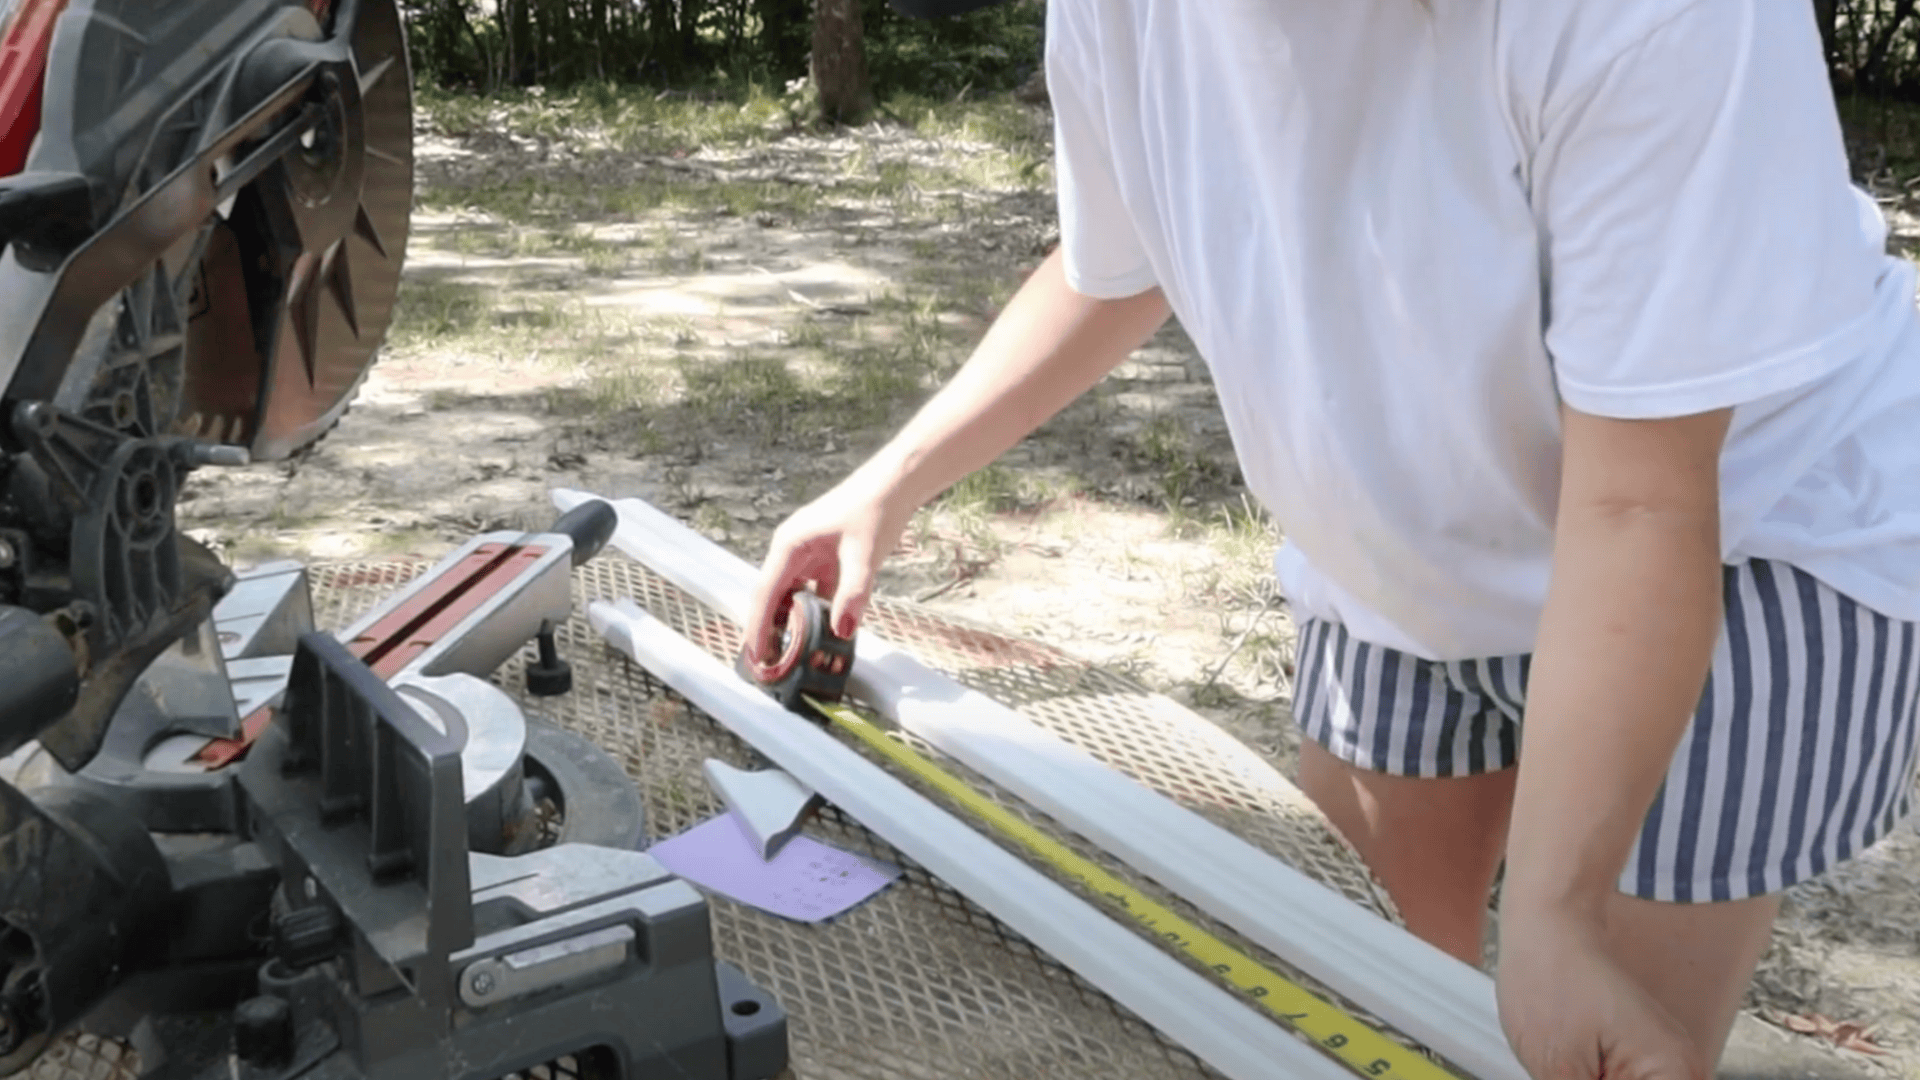
Getting the right measurements is the foundation of your entire project.
When I first tried this, I made the mistake of measuring the whole TV rather than just the screen area.
Take your time to measure the visible screen area of your TV, not the total dimensions.
This ensures that your frame will cover only the black plastic border, leaving the entire picture visible.
Cut all MDF casing pieces at perfect 90° angles for a clean fit.
A miter saw works best for this, but a miter box with a hand saw can work too.
Ensure the molding slightly overlaps the black bezel of your TV.
I found that about 1/4 inch of overlap works well to hide the TV edge without covering any screen.
Pro Tip: Try using a bottom-corner reference method when measuring.
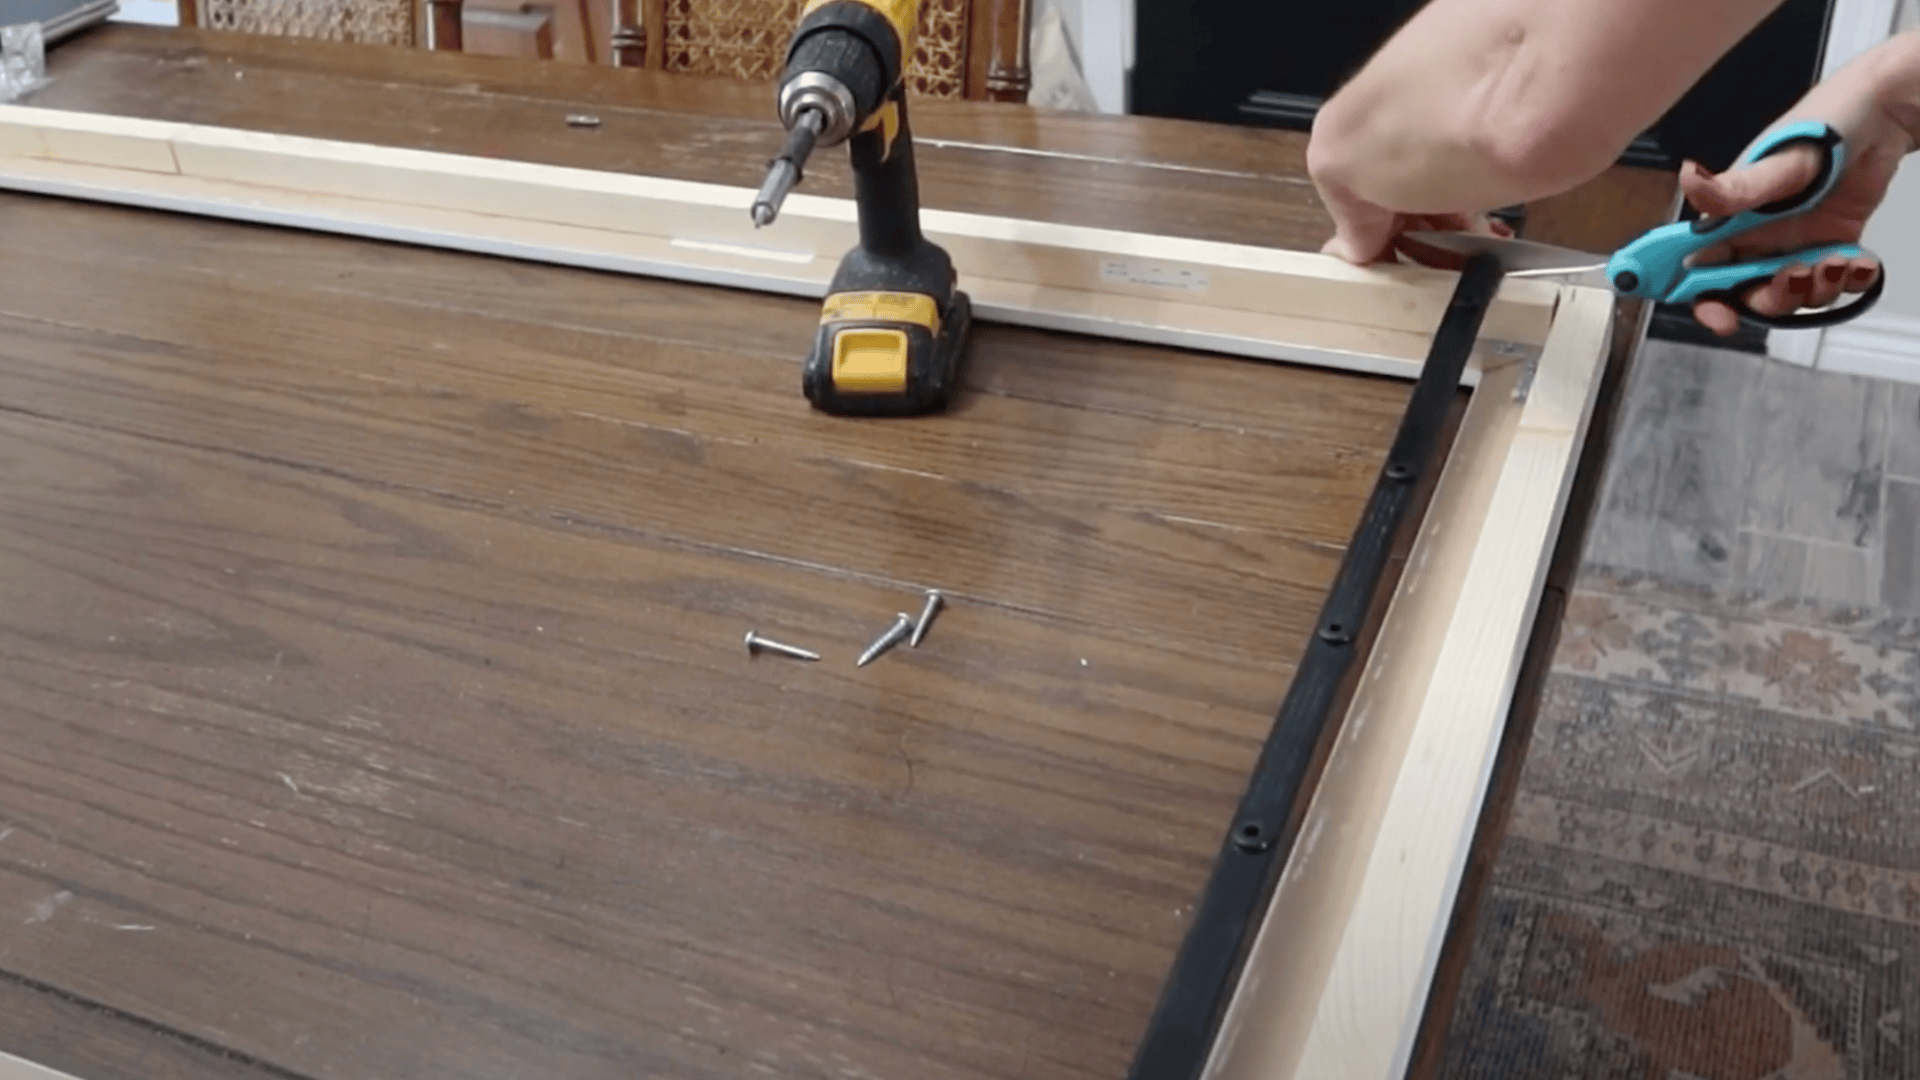
Step 2: Assemble the Frame and Add Depth
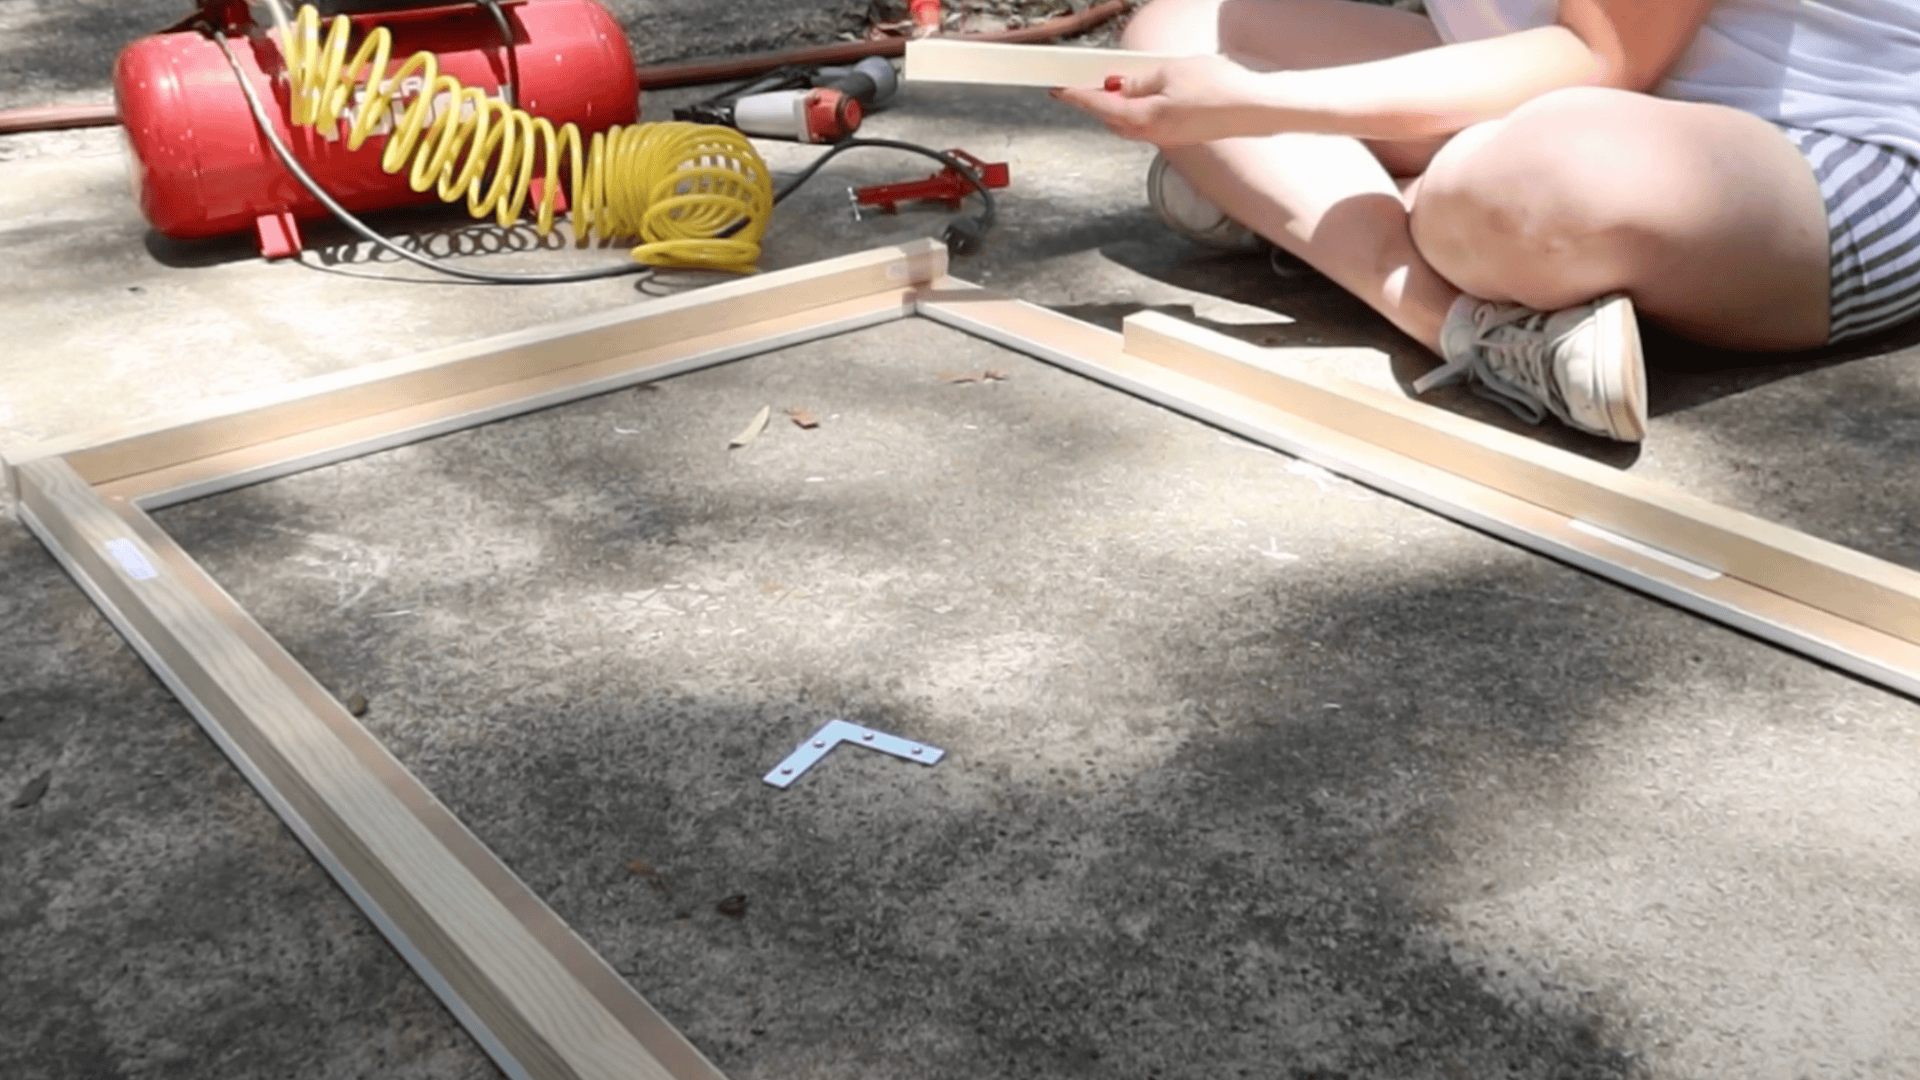
Now comes the fun part – watching your frame take shape!
Apply wood glue to the cut ends and hold the four frame sides together using 90° clamps.
I found that letting this set for at least 2 hours gives the strongest bond.
To create that premium, thick look that expensive frames have, glue 1″ dowels around the back perimeter of your frame.
This added depth makes a huge difference in the final appearance.
Once everything is dry, flip the frame over and secure the joints with brad nails.
This gives extra strength without being visible from the front.
For peace of mind, especially for larger TVs, install L-brackets inside all four corners.
Step 3: Patch, Sand, and Embellish
This stage transforms your basic frame into something special that looks store-bought.
Fill any gaps between joints and cover nail holes with joint compound.
A small putty knife helps get into tight spaces.
After the compound dries (usually overnight), sand the entire frame until smooth.
I started with 120-grit sandpaper and finished with 220-grit sandpaper for a super-smooth surface.
For a touch of class, add metal corner embellishments.
You can find these at craft stores like Hobby Lobby.
Attach these decorative pieces using strong glue and let them dry completely.
Don’t rush this step – proper adhesion takes about an hour.
Step 4: Attach the Frame to the TV Safely
This step initially worried me the most, but I found a method that works perfectly without risking damage to your TV.
Instead of permanent methods, use rubber tie-down straps to secure the frame from behind.
These are strong enough to hold the frame securely while being completely removable.
Cut the straps to size, making sure they’re tight enough to hold firmly but not so tight that they strain the TV housing.
Drill small holes in the straps for screws, then attach them carefully to the back of your frame and around the TV.
This method keeps everything secure, eliminating the risk of the frame tilting forward.
The best part of this method is that it’s completely reversible and won’t void your TV warranty.
Step 5: Paint and Apply the Gold Leaf Finish
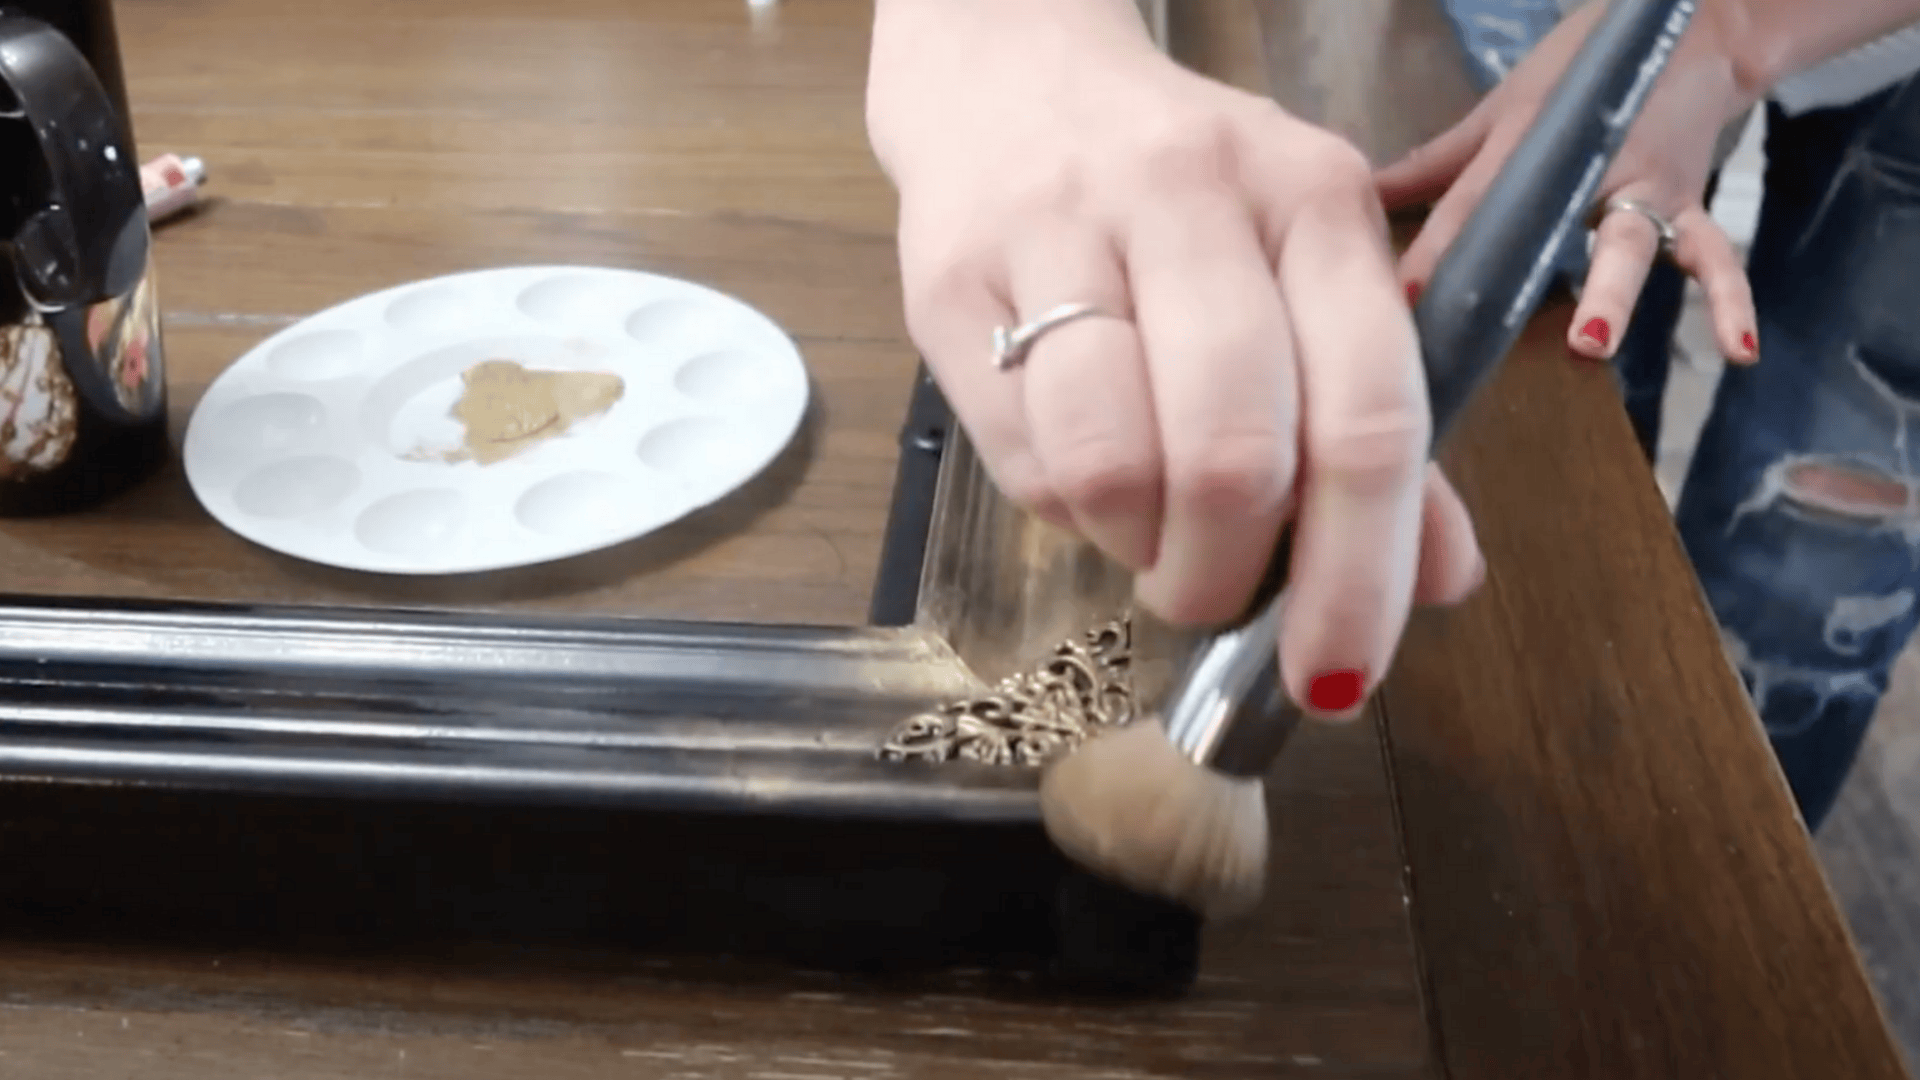
The final step brings your creation to life with color and shine.
Start by applying semi-gloss black paint as your base coat.
This gives depth and richness to the final color. Two thin coats are more effective than one thick coat.
Once dry, apply Rub ‘n Buff gold leaf over the surface using a soft brush.
Old makeup brushes work perfectly for this!
The gold catches light beautifully and gives your frame that high-end look.
Work in small sections, buffing as you go to create a smooth, antique gold finish.
You can control how much gold shows through by varying your application pressure.
Video Walkthrough – See How Experts Do It!
For more information, check out this video tutorial by Our Home on Lawrence
Alternative Methods
Not every DIY frame TV project needs to follow a single route.
Depending on your tools, space, and design taste, there are creative variations that can give your Frame TV a unique personality.
Explore the following methods to find what best suits your home style and skill level.
| METHOD | DESCRIPTION | PROS | CONS |
|---|---|---|---|
| Using Picture Frame Molding | Custom-cut molding pieces to build a decorative border around the TV | Affordable, fully customizable, wide design variety | Requires precise cuts and mitered corners |
| Pre-Made Frame Modifications | Adapting existing photo or art frames to fit around the TV | Saves time, easy to source, minimal effort | May need resizing or sanding for a perfect fit |
| Floating Frame Designs | Mounting the frame with a slight gap between the TV and the frame for a 3D effect | Sleek, artistic appearance; easy cable access | Requires spacers and careful mounting |
| Multi-TV Gallery Wall Setups | Combining the Frame TV with other framed screens or artwork | Creates a cohesive art display, showcases creativity | Needs balanced layout planning and adequate wall space |
Note: Always ensure proper ventilation and sensor clearance when applying any framing method to your TV to avoid overheating or blocking controls.
Optional Tips for Non-Frame TVs
If you’re working with a standard TV rather than a Samsung Frame TV, there are a few extra considerations to keep in mind.
- Drill a tiny hole where your remote sensor sits to maintain signal reception through your new frame.
- Test remote functionality before final installation to avoid frustrating removal and adjustments later.
- Standard TVs lack the smart sensor integration of specialty frame TVs, making proper placement crucial.
- Check your specific TV’s ventilation requirements, as some models need more airflow for cooling.
- For TVs that heat up during use, leave extra space between the frame and the screen for better heat dissipation.
These small tweaks prevent headaches like remote failures or overheating issues.
Your frame will look amazing while your TV continues working perfectly!
Maintenance and Updates
Keep it fresh!
Dust your frame TV monthly with a microfiber cloth; no harsh cleaners are needed.
Swap out your digital art seasonally: think cozy fall landscapes or bright spring flowers.
Planning a TV upgrade?
Your digital frame setup moves with you! Most apps sync across devices, so your favorite art collection transfers easily.
Check for app updates regularly to get new features and artwork collections.
Create backup folders of your favorite pieces in case you need to reinstall apps.
Consider upgrading your subscription plans when new art libraries become available.
If you move homes, remember to update your Wi-Fi settings in each app you use.
What’s your next seasonal theme going to be?
Pro tip: Create themed playlists for holidays or special occasions. What seasonal artwork would you love to display next?
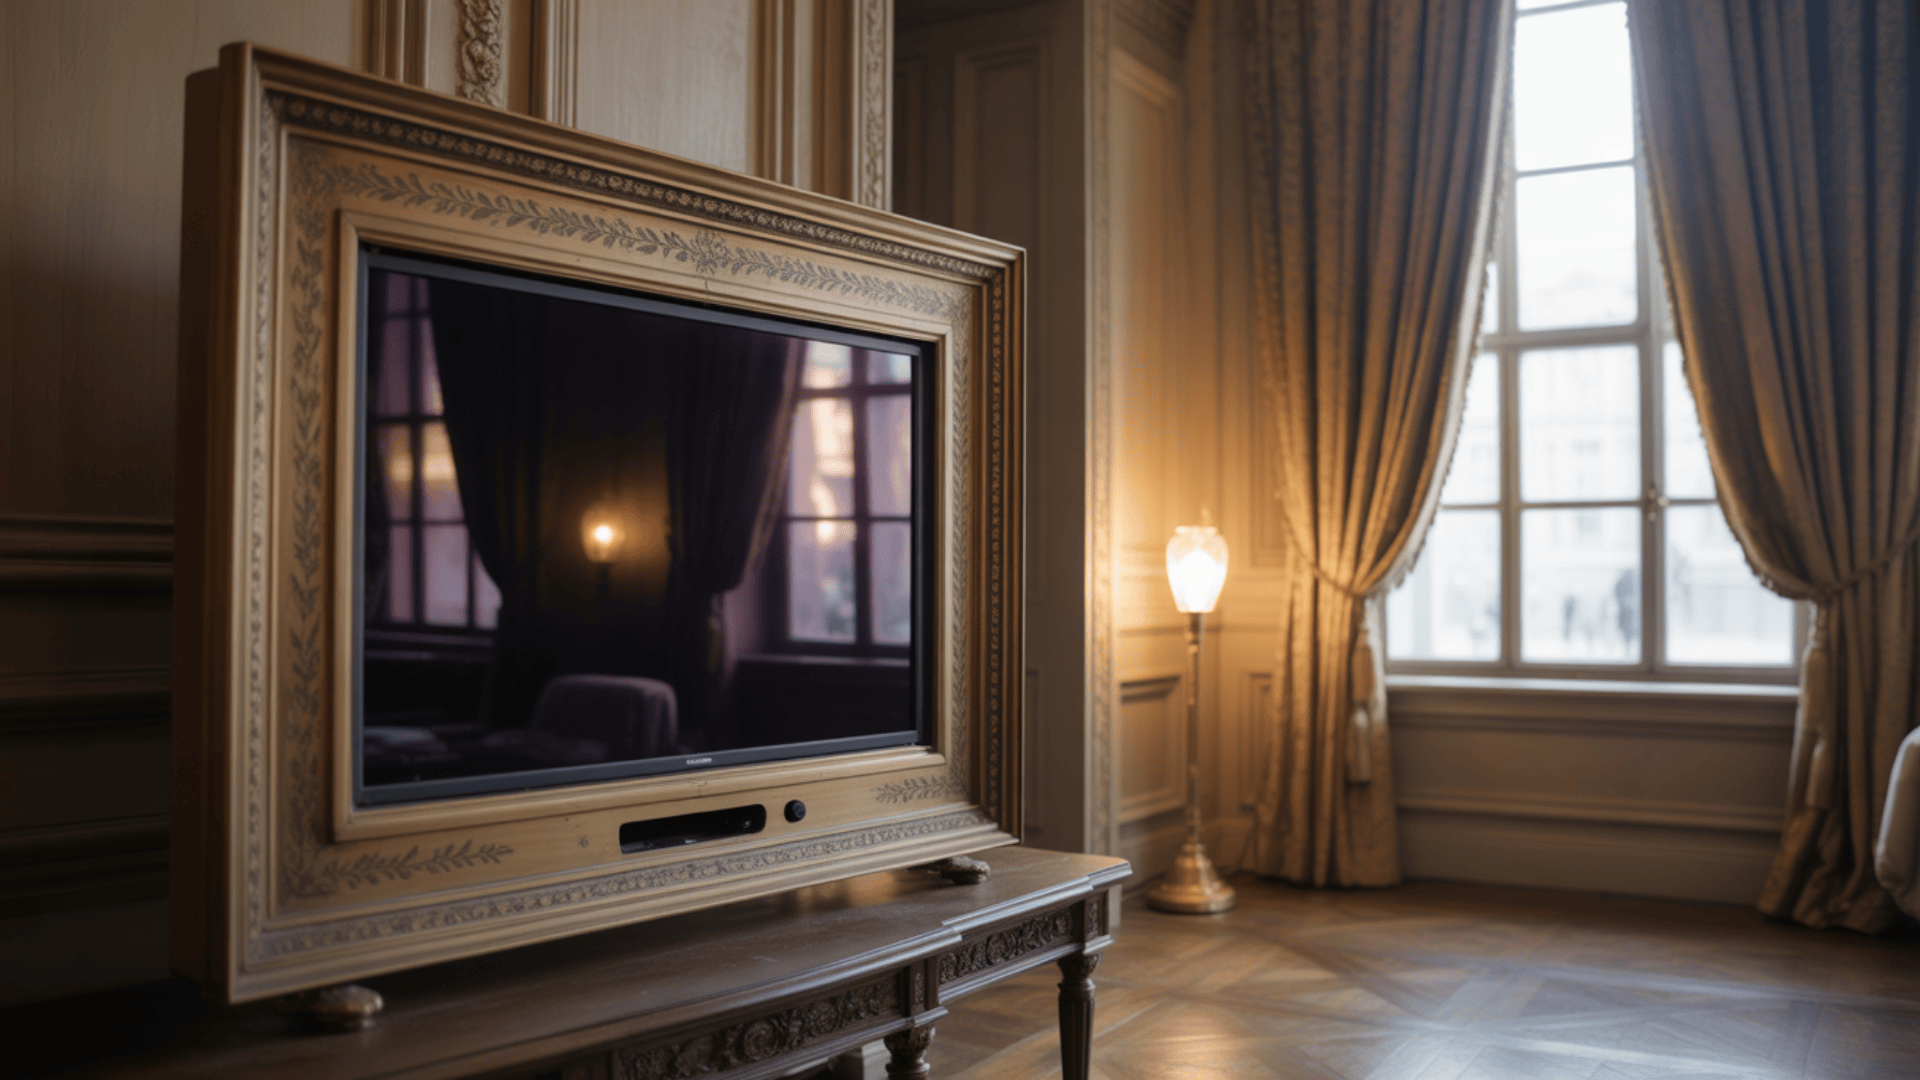
Wrapping It Up
Making your own TV frame might be the most rewarding weekend project I’ve ever tackled.
The materials cost was inexpensive, the process took just a few hours, and now my television looks like an expensive art piece when turned off.
My living room feels more put-together, and I smile every time I walk past that framed screen.
Friends constantly ask where I bought it—their jaws drop when I reveal I made it myself.
Your turn now!
Grab those measurements, gather your supplies, and transform your television from a tech intrusion to a design star.
Six months from now, you’ll wonder why you ever lived with a plain black box on your wall.
Frequently Asked Questions (FAQs)
1. Can I Use Different Wood Profiles for The Frame?
Yes, but ensure they’re light enough to hang securely and deep enough to cover your screen bezel.
2. How Long Does the Project Take?
Expect about 4–6 hours over a weekend, including drying time for glue and paint.
3. Is This Method Reversible?
Yes, with rubber straps, you can remove the frame without damaging your TV.
4. Can This Work for Wall-Mounted TVs?
Absolutely, in fact, wall-mounted TVs often look best with custom frames as they truly mimic artwork.