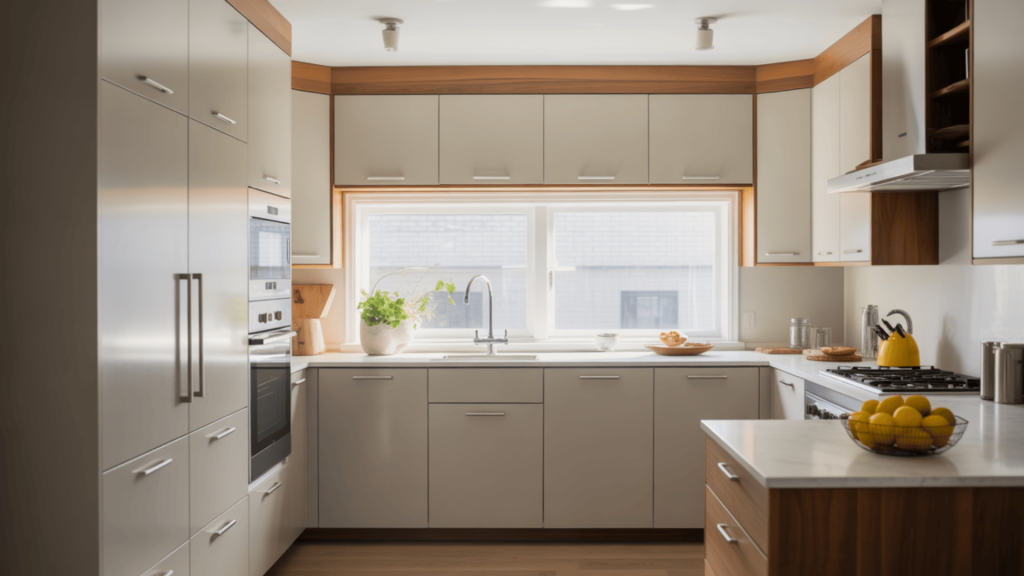
Want IKEA cabinets that look like they cost thousands more?
The trick isn’t magic, it’s know-how.
Those plain boxes from Sweden hold secret potential that most shoppers miss completely.
When your friends ask, “You got those where?” you’ll smile knowing you paid IKEA prices for what looks like custom work.
The gap between boring stock cabinets and jaw-dropping kitchens isn’t about money, it’s about making smart changes that anyone can make.
Kitchen pros charge top dollar for these same tricks.
Skip the markup but keep the high-end look by focusing on key spots that catch the eye.
Ready to see how those flat packs can become something your guests will envy?
Let’s open the box of possibilities that most IKEA shoppers never learn.
Why Customize IKEA Cabinets?
IKEA cabinets can be changed to fit your space in many smart ways.
Their modular design allows you to create a kitchen that feels tailor-made just for you.
The big wins?
You save money, mix and match parts, and get a solid 25-year promise that they’ll last.
However, here’s the catch: while IKEA’s smallest cabinet is 12 inches wide, real homes often have gaps of 5-10 inches.
This mismatch can be tricky to solve on your own.
That’s where expert help comes in.
Pros who work with IKEA kitchens daily know how to handle those odd spaces and make everything look perfect.
Going with IKEA means getting budget-friendly options that still look high-end.
Know what’s possible before you start, and you’ll be well-prepared for a smooth kitchen update.
Choosing the Right IKEA Kitchen System for Flexibility
Understanding your options is the first step in creating a custom-looking IKEA kitchen.
Each system offers different levels of flexibility and customization potential.
| Feature | SEKTION | ENHET | KNOXHULT |
|---|---|---|---|
| Customization Level | High | Medium | Low |
| Cabinet Size Options | Extensive | Limited | Fixed sets |
| Door Style Options | 20+ styles | 10 styles | 3-5 styles |
| Drawer Options | Multiple depths | Basic options | Pre-configured |
| Internal Fittings | Extensive range | Basic options | Minimal |
| Warranty | 25 years | 10 years | 10 years |
| Best For | Full custom kitchens | Small spaces | Budget solutions |
The SEKTION system clearly offers the most flexibility for homeowners looking to customize their kitchen space.
Its modular design provides the foundation needed for creative solutions to odd spaces and special storage needs.
How to Customize IKEA Cabinets Like a Pro?
With some basic tools and know-how, you can transform standard IKEA cabinets into custom-looking pieces that maximize every inch of your kitchen.
Here’s a simple approach to customizing your cabinets:
- Start with standard IKEA cabinet boxes as your foundation
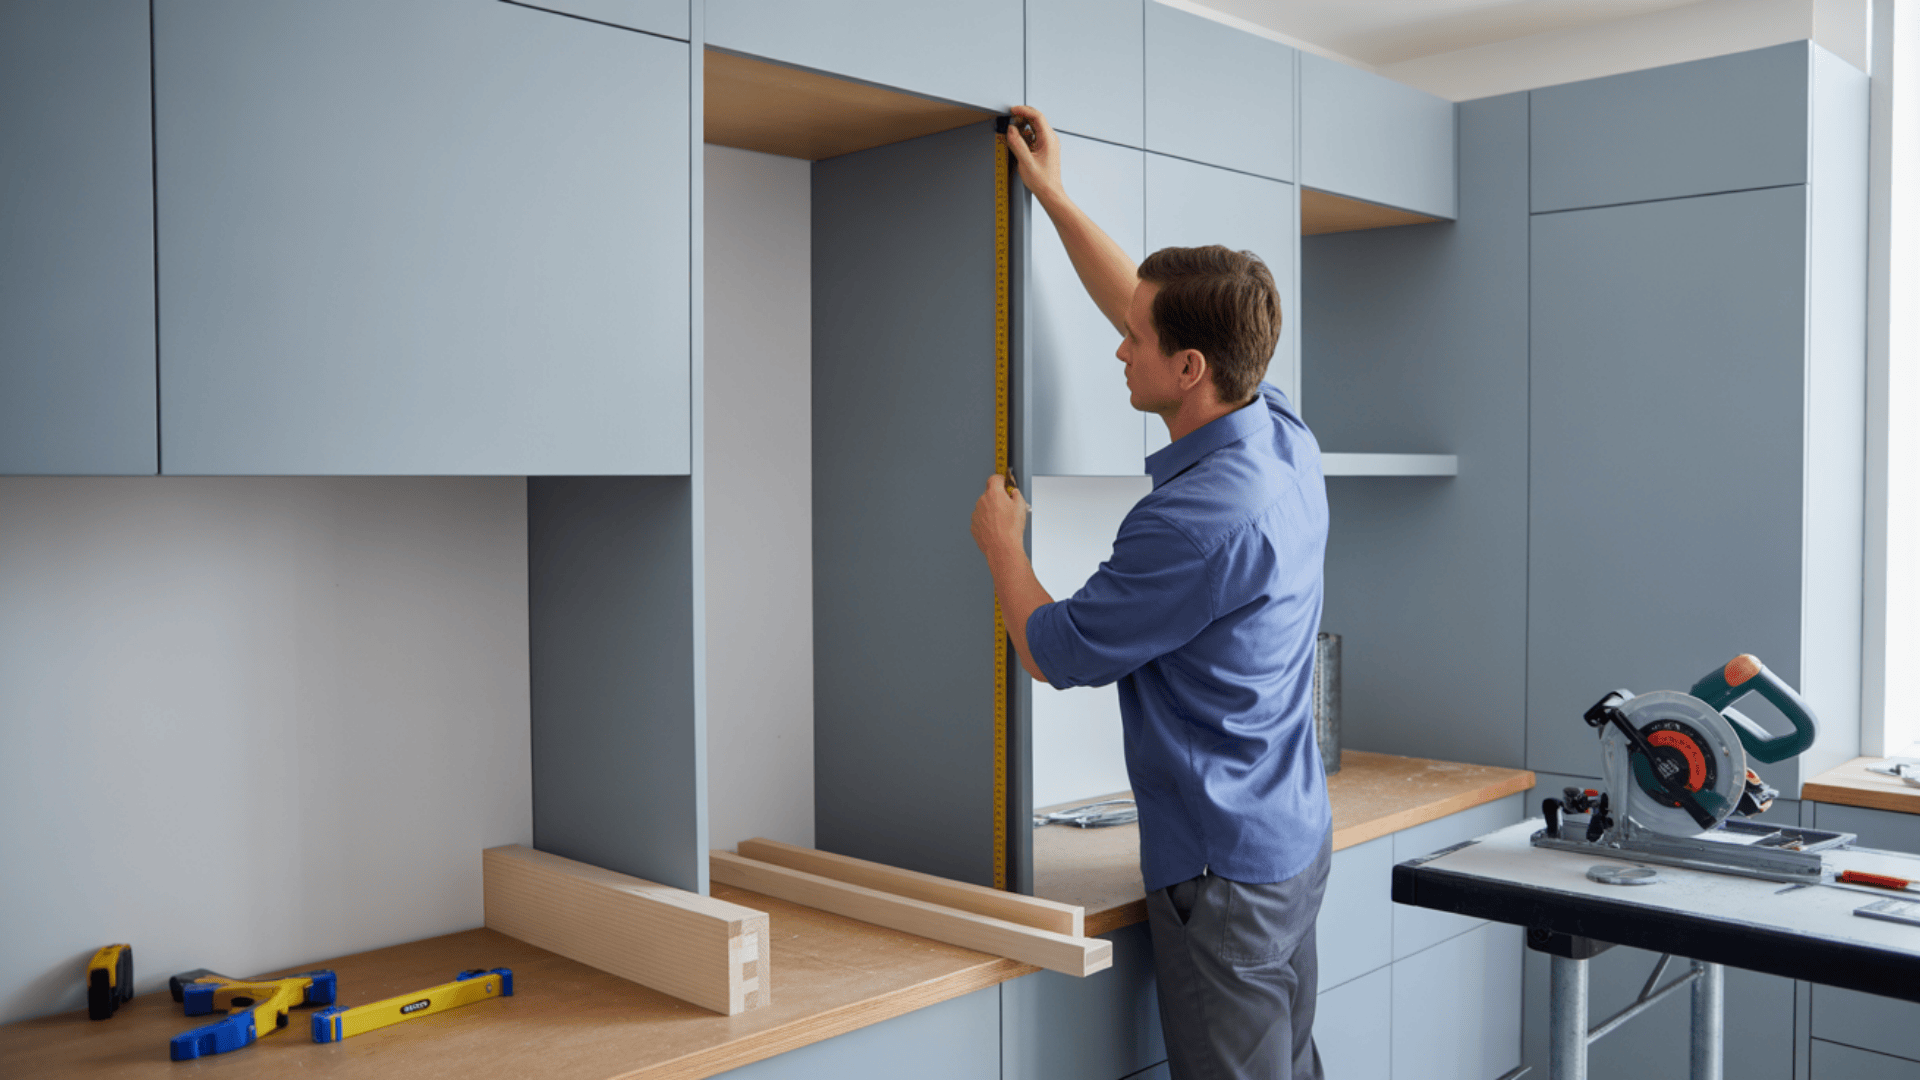
- Measure your space gaps precisely, noting any wall irregularities
- Trim cabinet boxes to fit narrow spaces when needed
- Create custom filler pieces for transitions and odd angles
- Add modified drawer fronts and doors to maintain visual consistency
This approach lets you work with IKEA’s affordable base while adapting to your specific space needs.
The key is careful planning and precise measurements before making any cuts.
Design Techniques to Make IKEA Cabinets Look High-End
The finishing touches transform basic cabinets into custom-looking features.
These techniques help hide the mass-produced origins of your kitchen components.
1. Crown Molding Magic
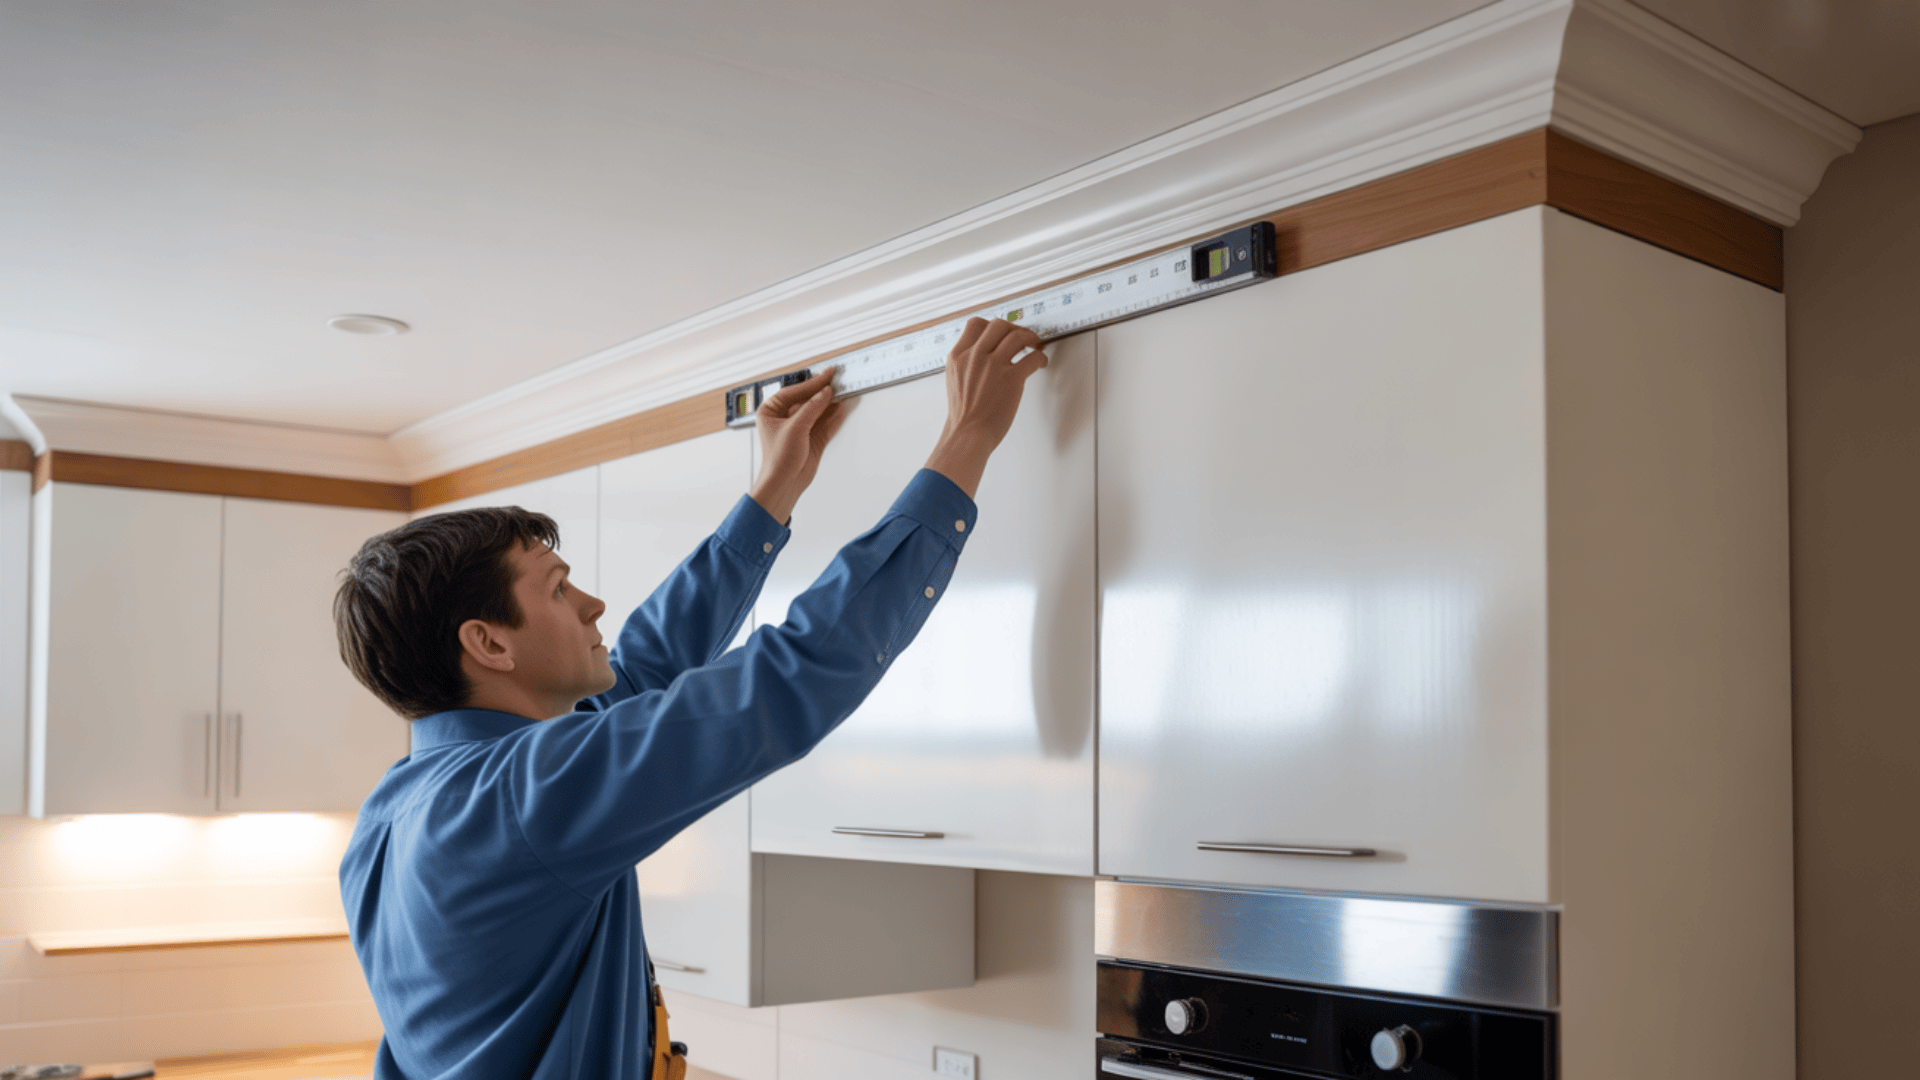
Adding crown molding at the top of your cabinets instantly elevates their appearance.
First, attach wood strips to close ceiling gaps, then add decorative crown molding for a finished look.
Cut the first piece to match the ceiling bumps while keeping the decorative molding perfectly straight.
2. Light Rail Enhancement
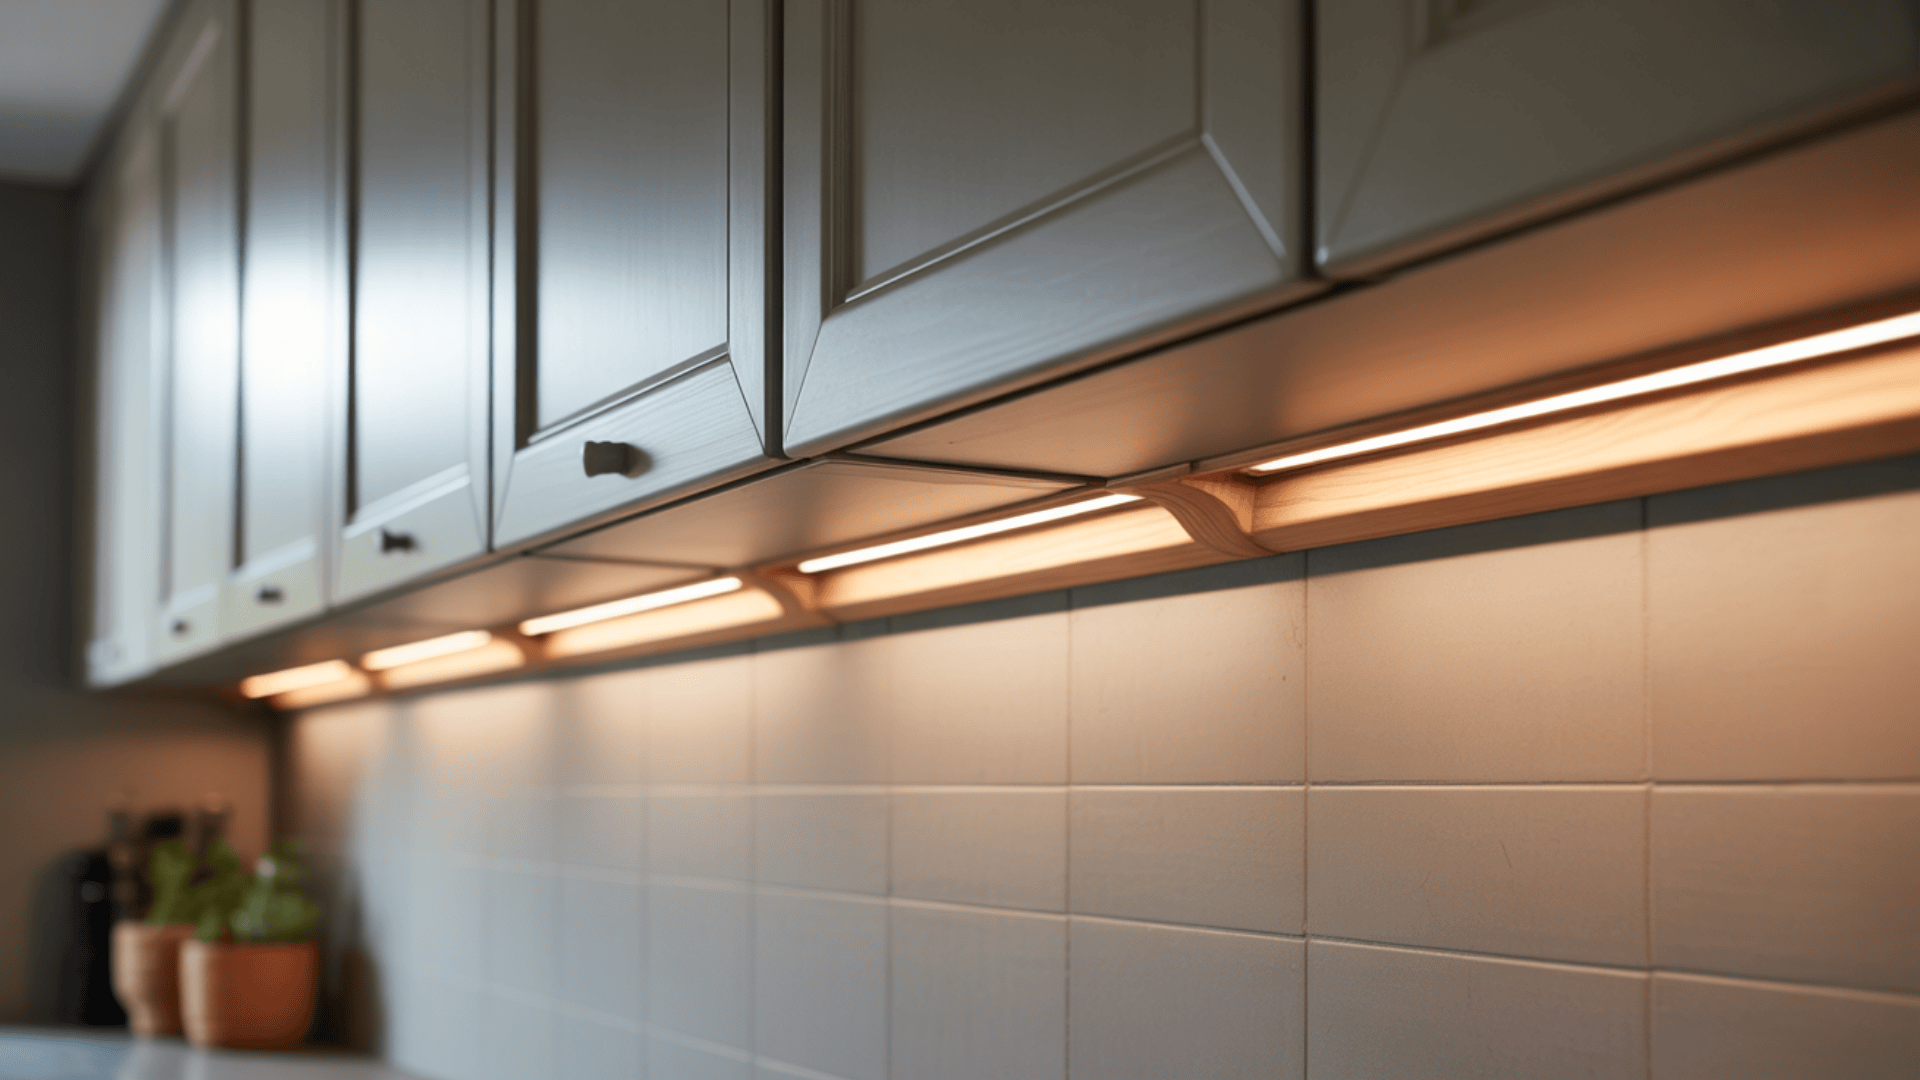
Under-cabinet lighting makes your kitchen more functional, but exposed fixtures look cheap.
Light rail molding hides the hardware while adding a finished detail to wall cabinets.
This detail creates unity between cabinets and backsplash, matching the fine touches of costly custom kitchens.
3. Baseboard Upgrades
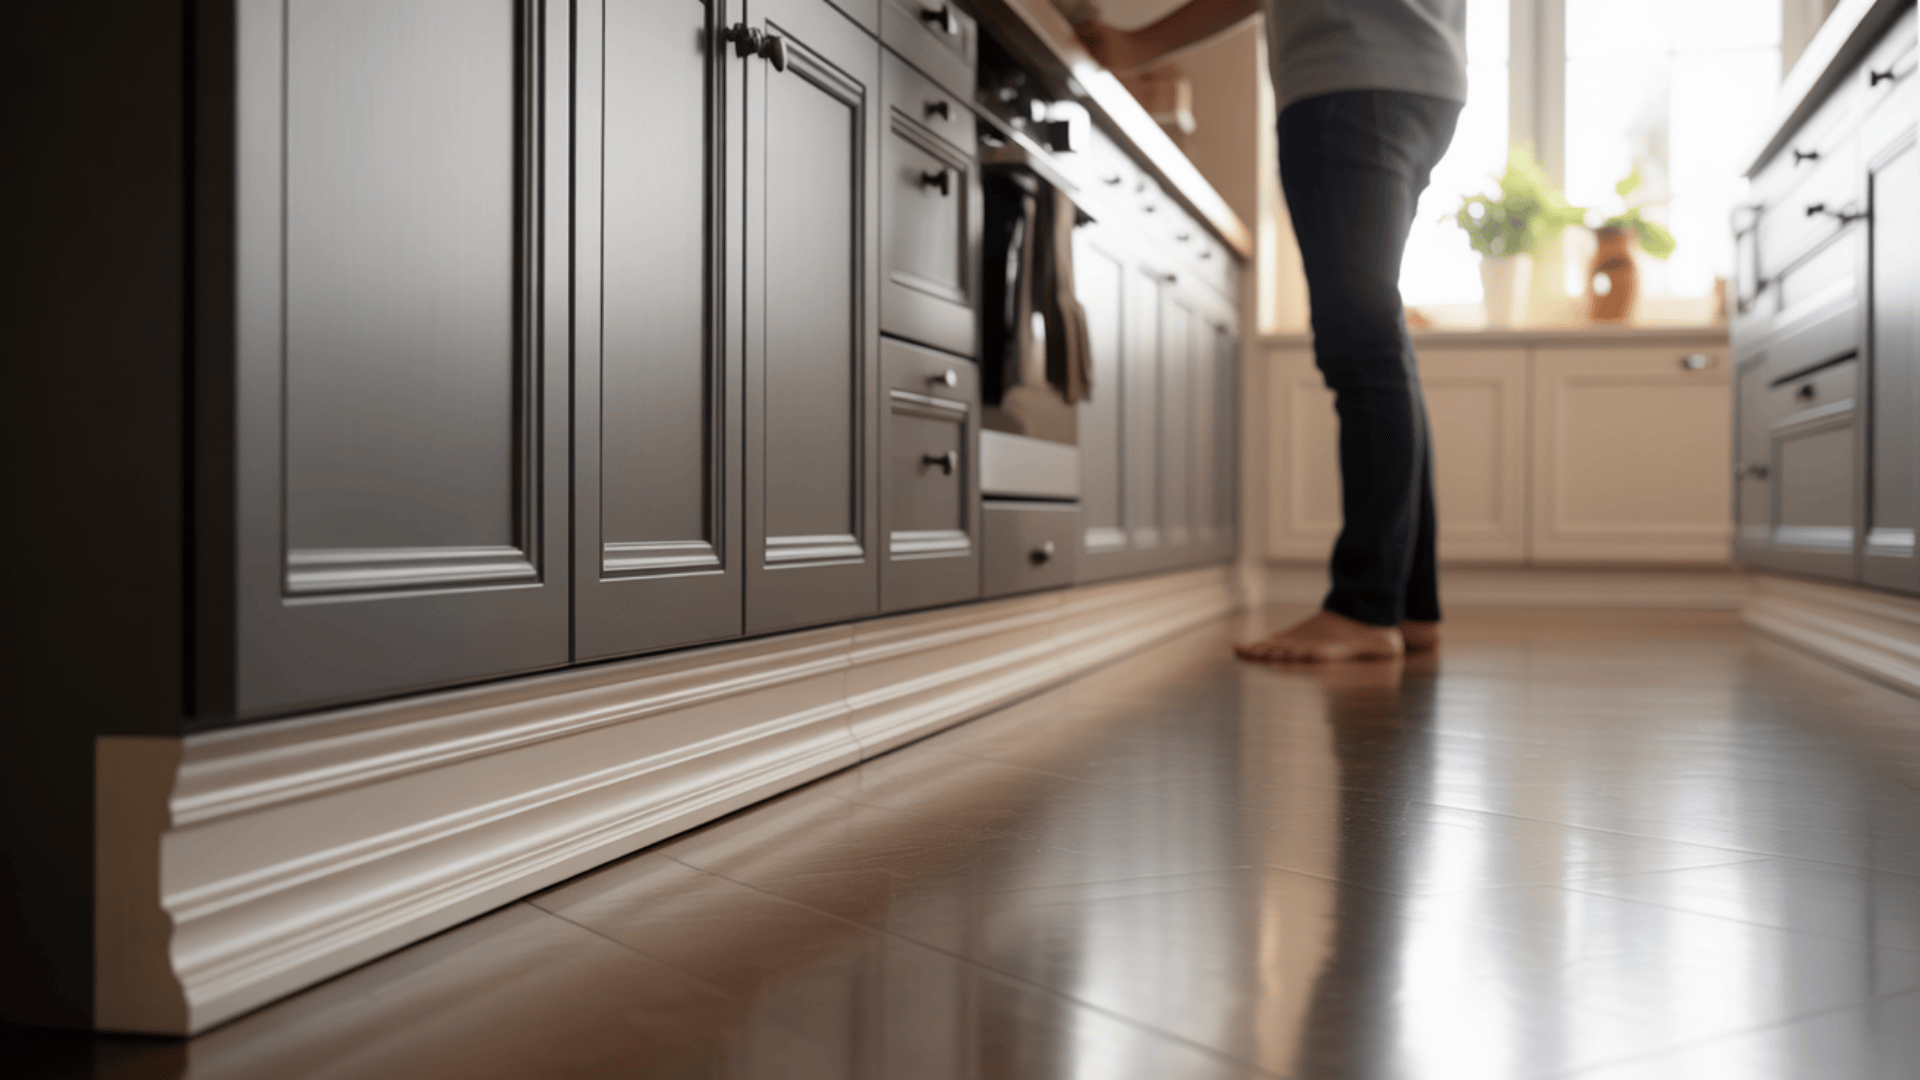
Replacing the standard toe kick with custom baseboards makes the entire kitchen look more like fine furniture.
This simple swap adds character while maintaining the needed space for your feet when standing at the counter.
Choose baseboards that complement other trim elements in your home for a cohesive look that ties the kitchen to the rest of your space.
Smart Cover Panel & Door Upgrades
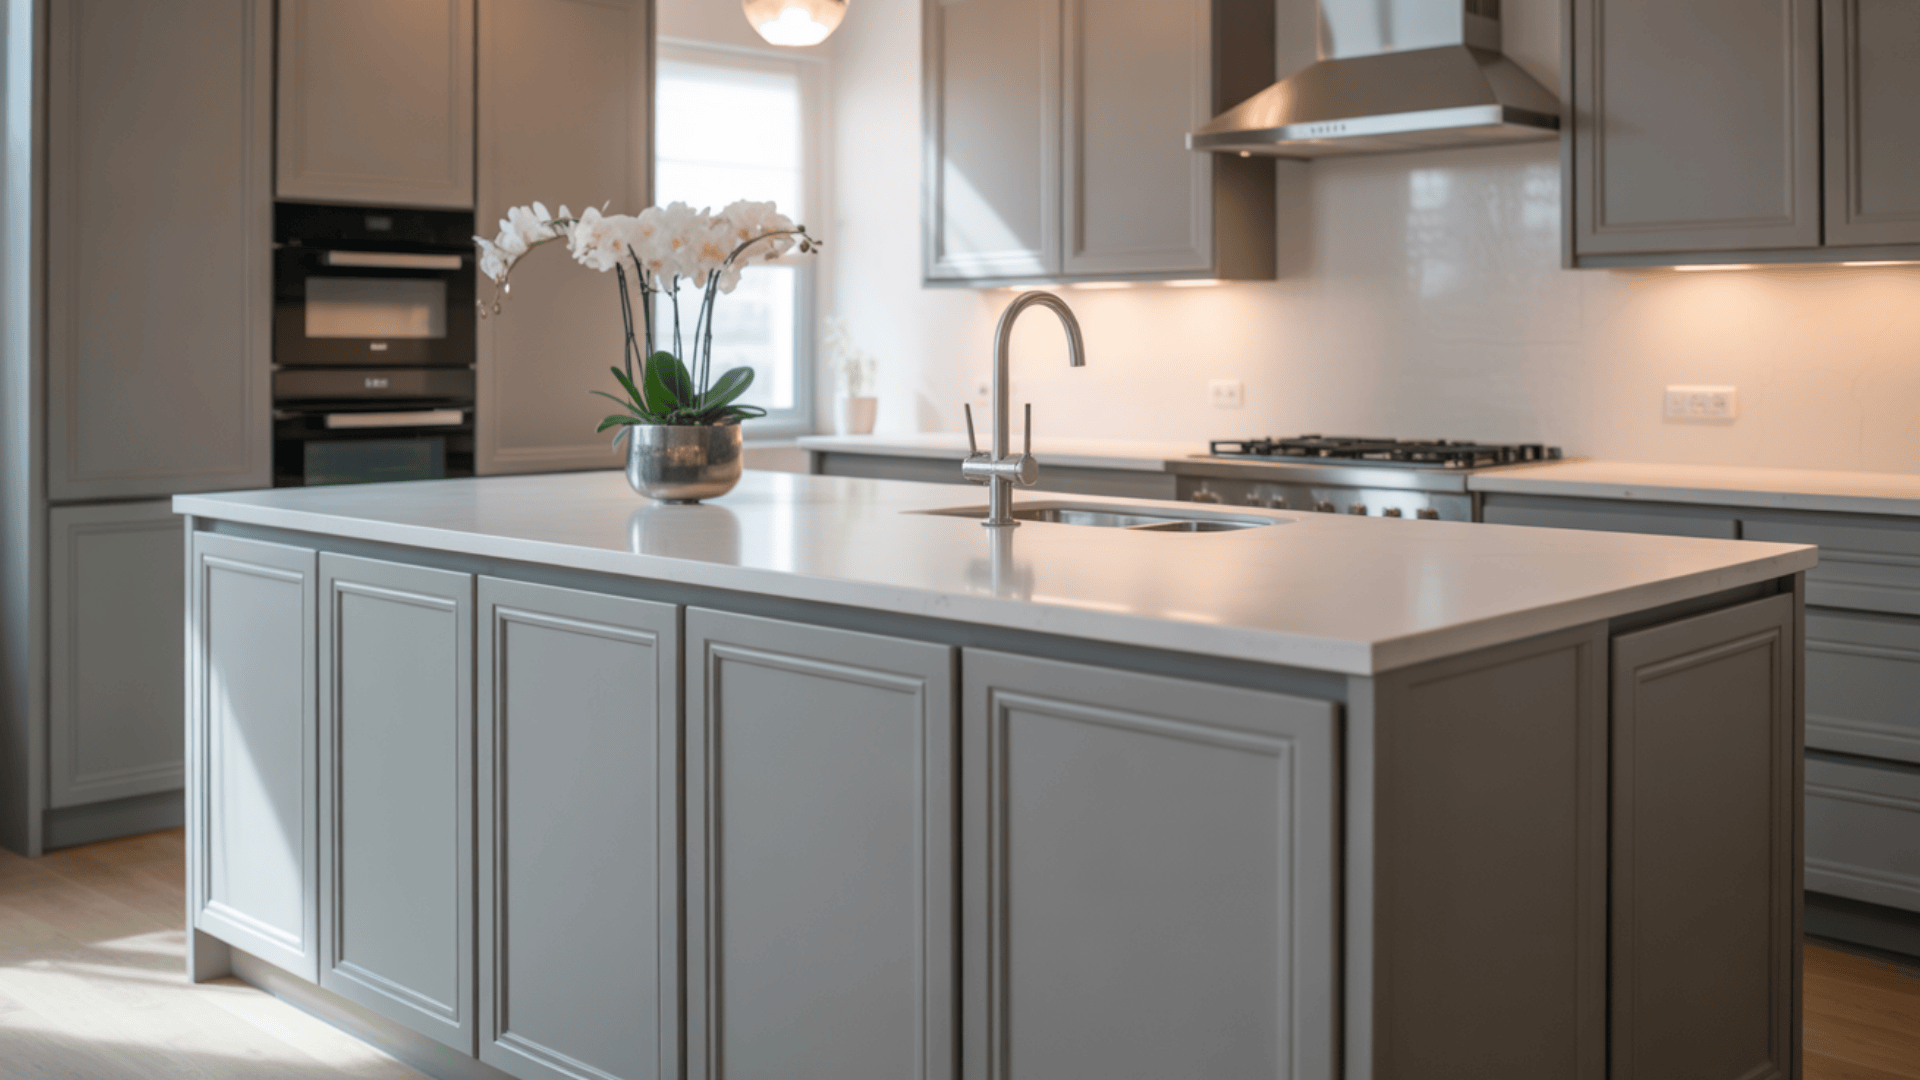
The faces and sides of your cabinets make the biggest visual impact.
Strategic upgrades in these areas yield impressive results.
Here are the key panel upgrades that make the biggest difference:
- Cover panels on all visible cabinet sides create a finished, built-in look that hides the unfinished cabinet boxes
- Oversized panels (like those for refrigerator surrounds) can be cut down for custom end caps on islands and peninsulas
- Flush-mount panels can create the look of inset cabinetry when properly installed against the cabinet face
- Third-party door fronts from companies like Semihandmade or Reform offer premium styles while using standard IKEA boxes
Panels conceal factory-made parts, revealing only finished surfaces, and completely alter your kitchen’s appearance.
Must-Know Details: Fillers, Overlay Fillers & Cabinet Gaps
Small gaps and transitions often reveal whether a kitchen is truly custom or a budget build.
Proper use of fillers creates seamless connections between components.
1. When Fillers Are Essential
Fillers solve critical functional problems in kitchen installations.
Fillers create space for doors to open fully and fill gaps where cabinets meet uneven walls.
They also make smooth transitions around appliances that sit at different depths than cabinets.
Without properly sized fillers, doors may hit walls or other cabinets, creating damage and frustration in daily use.
2. The Two-Part Filler System

IKEA’s frameless cabinets need two filler parts: a setback structural piece for spacing and a flush overlay piece that matches the cabinet fronts.
This method maintains the clean lines of your cabinet fronts while filling necessary gaps.
The overlay filler should match your door style for a seamless look.
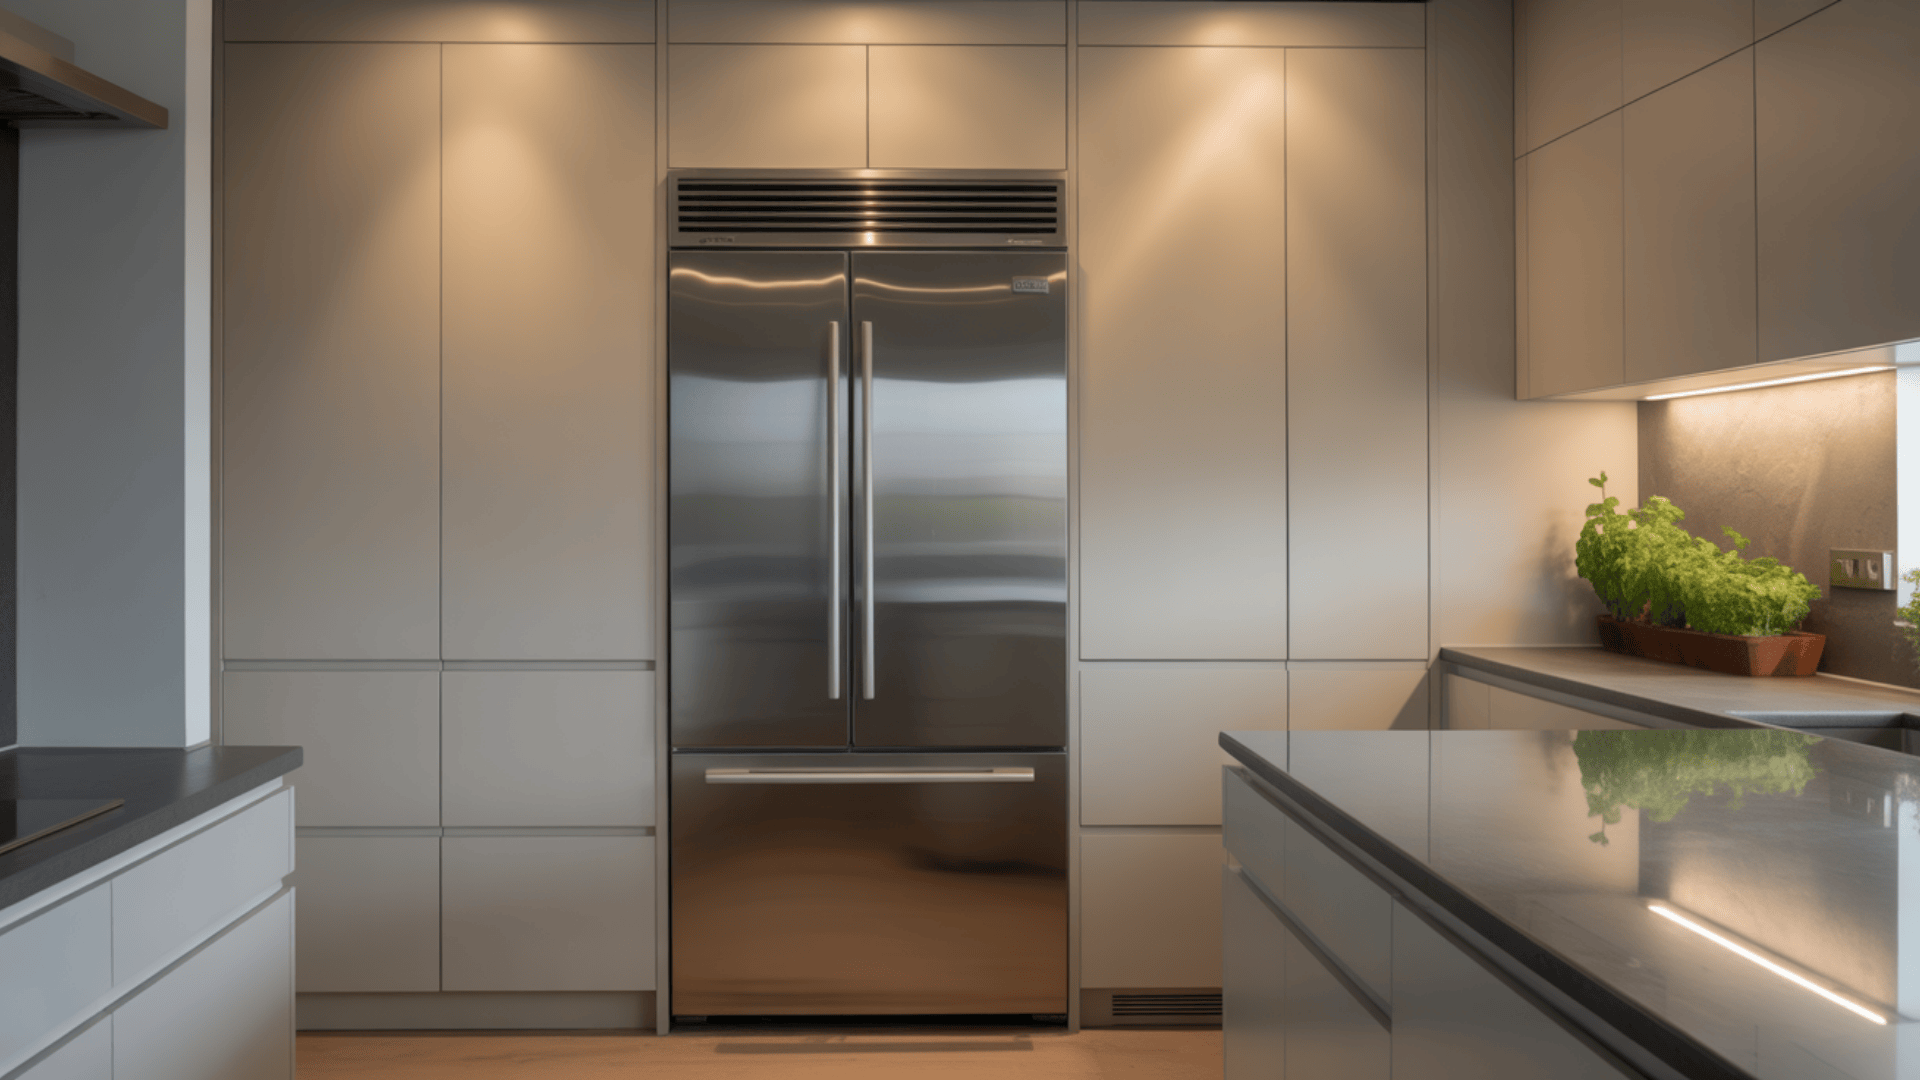
3. Custom Solutions for Special Situations
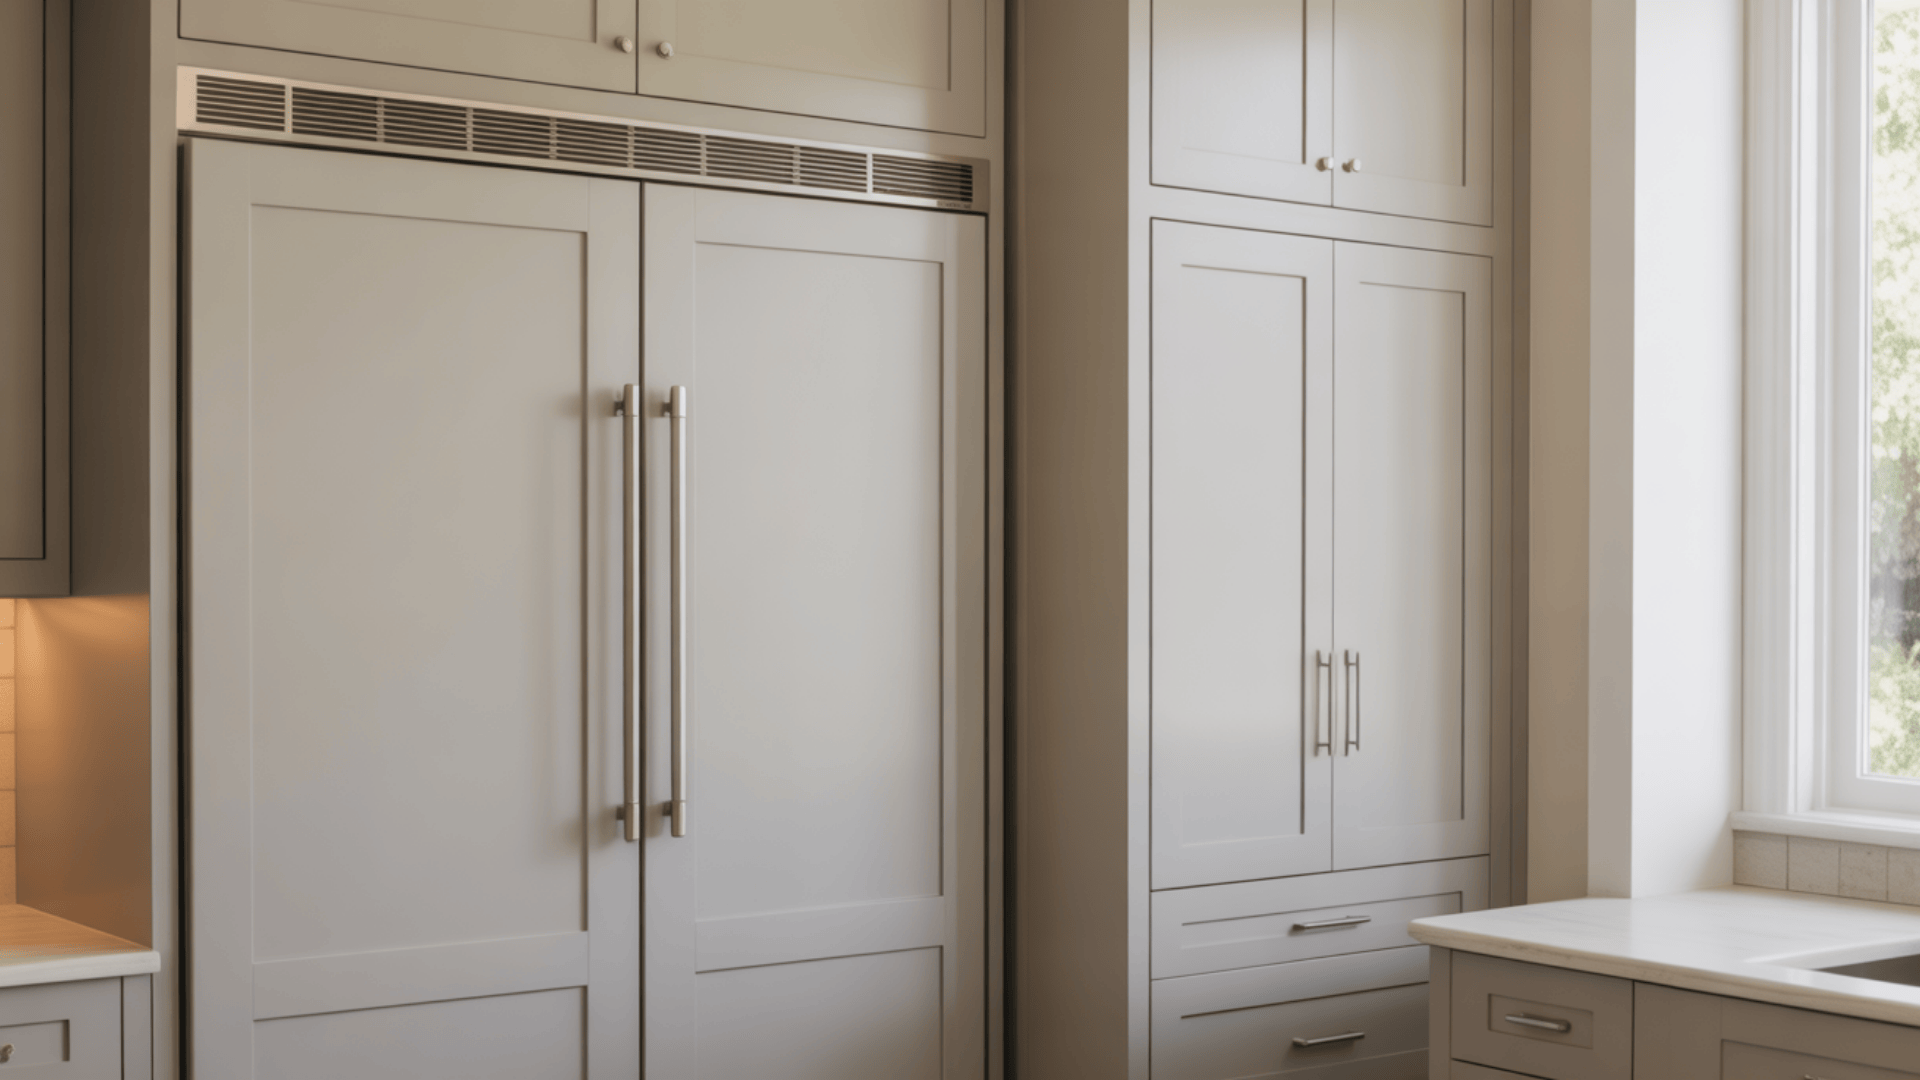
Special spots, such as protruding fridges or pantry transitions, require custom filler solutions.
These spots need well-planned custom fixes to look good.
Effective solutions maintain visual flow while addressing practical needs.
Taking extra time with these transitions elevates the entire kitchen’s appearance.
Planning Ahead: Installation, Accessories, and Layout Tools
Success depends on careful planning before you purchase a single cabinet.
The right tools and accessories complete the custom look and feel of your IKEA kitchen.
Follow these steps for a smooth planning process:
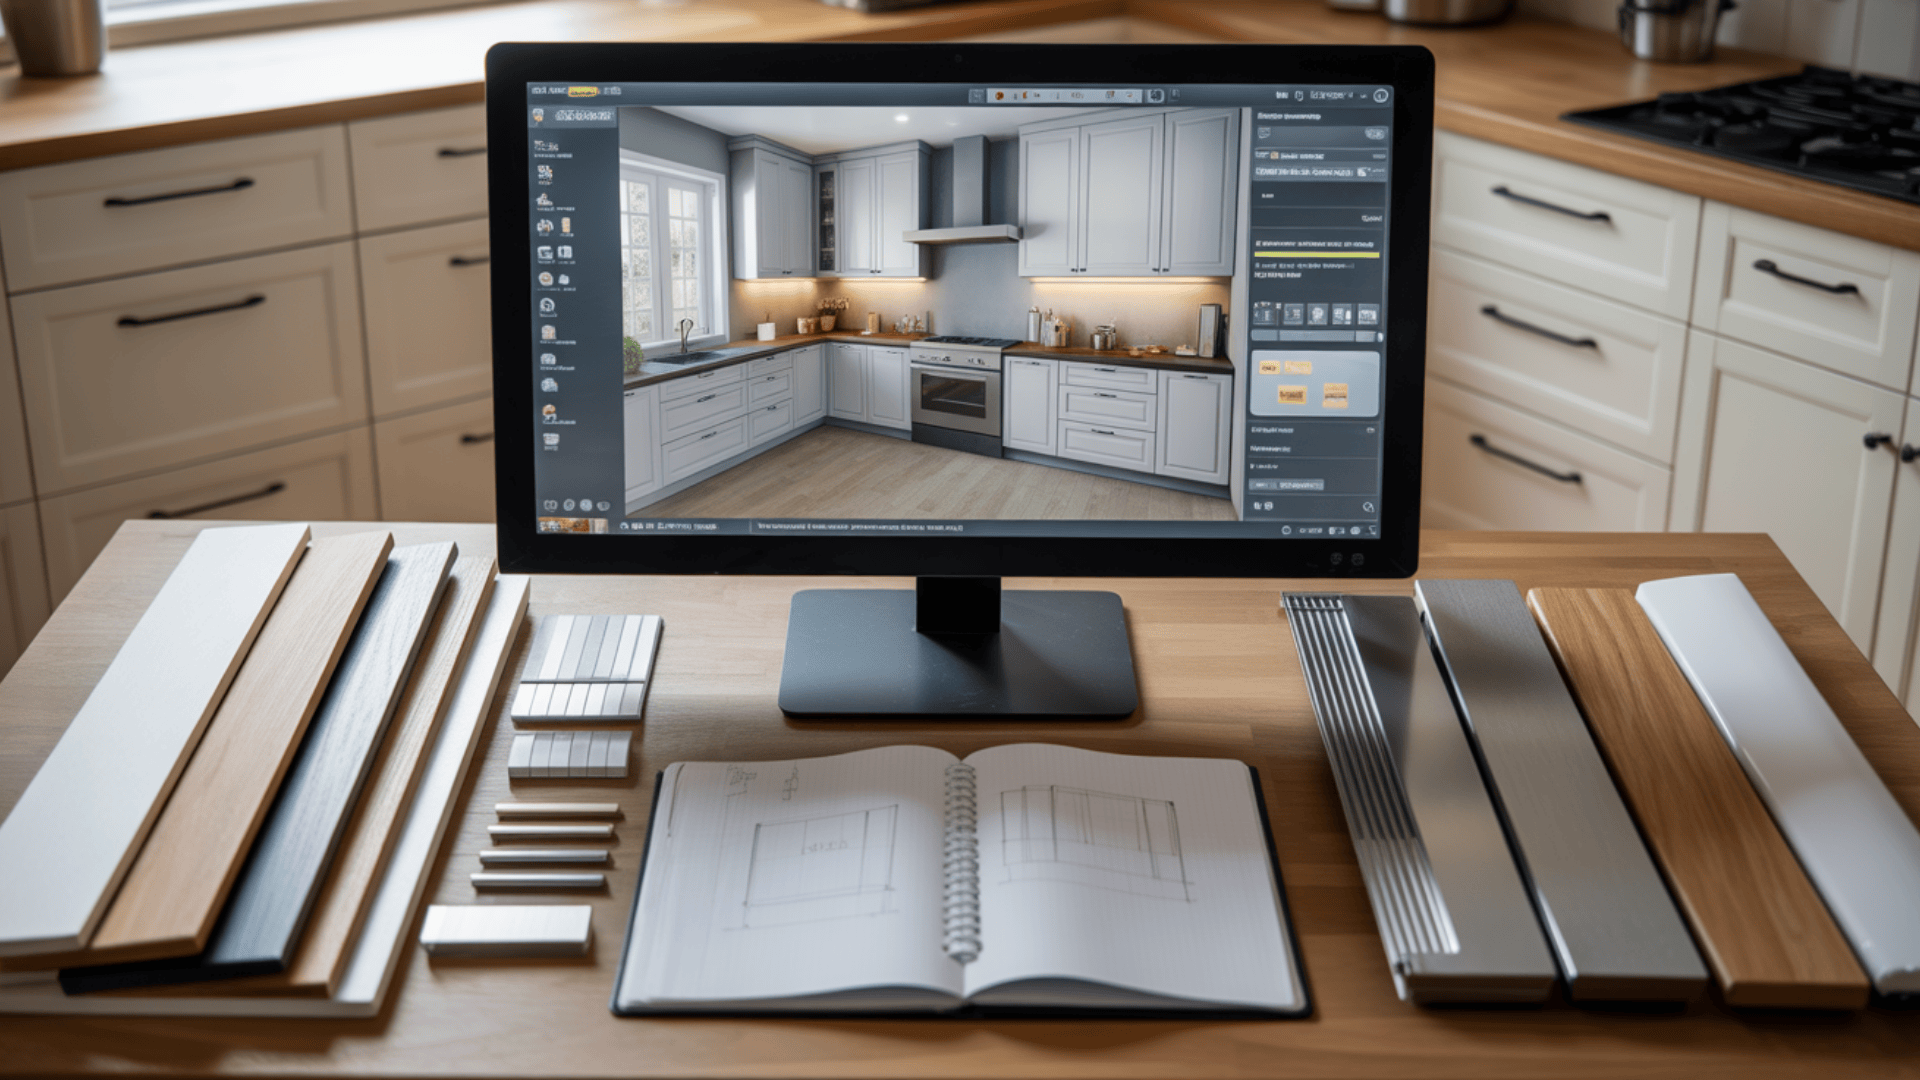
- Use IKEA’s Kitchen Planner tool to create a digital representation of your space and experiment with different layouts.
- Consult with customization experts early if you plan significant modifications to standard cabinets.
- Budget for high-quality hardware, such as handles and soft-close hinges, that enhance daily usability.
- Plan for integrated lighting, both under cabinets and inside drawers or specialty cabinets.
- Select internal organizers that optimize storage efficiency for your unique needs.
- Allow extra time in your schedule for custom modifications that exceed standard installation requirements.
The planning stage is where you can identify potential problems before they become expensive mistakes.
Taking time now saves headaches later when the actual installation begins.
Common Mistakes to Avoid When Customizing IKEA Cabinets
Don’t let these rookie mistakes ruin your cabinet makeover!
Here are the biggest pitfalls to watch out for:
- Always sand and prime before painting – skipping this step means peeling paint later
- Check that your new materials work with IKEA’s system before buying anything
- When installing doors, measure twice and mark your hinge spots carefully
Remember IKEA cabinets have weight limits, so don’t overload them with heavy items.
Take your time with each step – rushing always leads to costly do-overs!
Final Thoughts
IKEA cabinets can indeed become something much more than their humble origins suggest.
The path from basic boxes to a custom-looking kitchen begins with the right system choice and culminates in those small details that catch the eye.
By focusing on smart cuts, clever fills, and high-end finishes, you can completely transform the appearance of your cabinets.
The best part?
You’ll spend far less than custom options while getting results that stand up to daily life.
Now you have the tools and know-how to make those Swedish cabinets truly yours.
Your dream kitchen isn’t hiding in some costly showroom; it’s waiting in those flat packs, ready for your personal touch.
Tell us about your IKEA kitchen wins or challenges in the comments.
What custom touch made the biggest impact in your space?