Your backyard flock deserves freedom without danger – that perfect balance of safety and space.
Building your chicken run allows you to create exactly what your birds need, while saving hundreds of dollars.
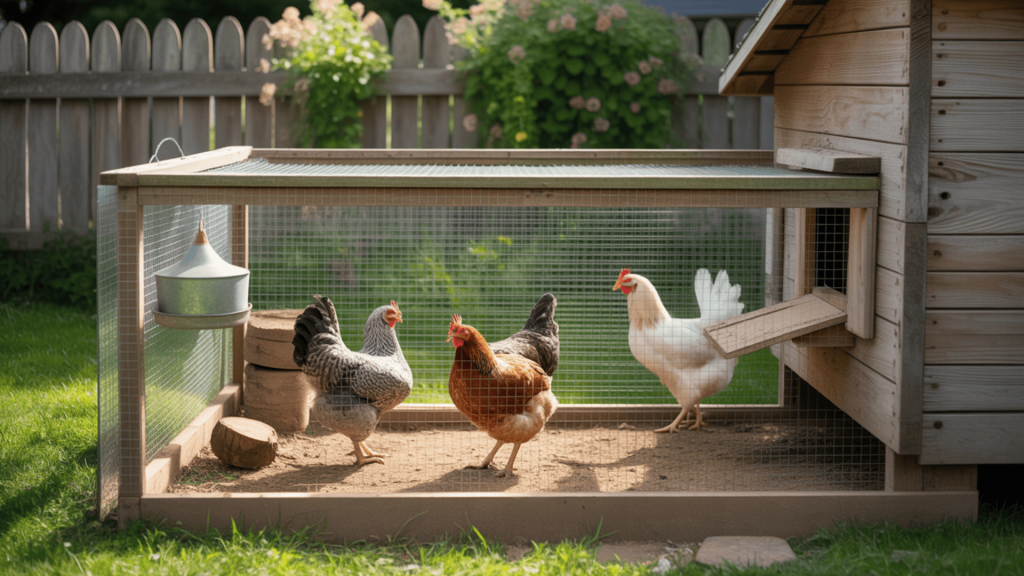
Ready to watch your chickens scratch, peck, and dust bathe in their secure outdoor haven?
With basic tools and materials from any hardware store, you’ll create a predator-proof paradise for your flock.
This secure outdoor space keeps your feathered friends happy, healthy, and safe from harm.
The simple weekend project costs under $400 but provides years of protection from predators.
You’ll create a sturdy structure that keeps foxes, hawks, and neighborhood dogs away from your precious flock.
Let’s create a chicken space that makes daily egg collection a joy rather than a worry!
Why You Need a Chicken Run?
Chickens need more than just a coop to live their best lives.
A good chicken run makes all the difference for your feathered friends.
Think of it as their yard – a place where they can stretch their wings, feel the sun, and do all the chicken things they love to do.
Most backyard chicken owners start with just a coop.
But soon they notice their birds looking bored or unhappy.
This is where a chicken run comes in.
It’s not just a nice extra – it’s a must-have for any chicken keeper who wants healthy birds.
- Safety First: A well-built run keeps foxes, hawks, and neighborhood dogs away from your chickens
- Room to Move: Chickens need space to walk, flap, and stay fit
- Natural Behavior: Runs let Chickens scratch the ground, take dust baths, and hunt for bugs
- Fresh Air and Sunshine: Birds need vitamin D and fresh air just like we do
- Cleaner Coop: More time outside means less mess inside their sleeping area
Your chickens will thank you with better health, happier behavior, and even tastier eggs when they have the right space to roam.
Materials and Tools You’ll Need
Before starting your chicken run project, gather all your supplies.
Having everything ready will make the build go much smoother.
| CATEGORY | ITEMS | PURPOSE |
|---|---|---|
| Structure | Wood posts (4×4) | Main support corners |
| 2×4 lumber | Frame and bracing | |
| Concrete mix | Secure posts in the ground | |
| Protection | Heavy-duty welded wire | Main fencing material |
| Buried wire skirting | Stops digging predators | |
| Tools | Post-hole digger | Creating corner holes |
| Drill & screws | Connecting frame pieces | |
| Staple gun & staples | Attaching a wire to wood | |
| Crowbar & metal pole | Stretching the wire tight |
The materials you choose matter – quality items last longer and keep your birds safer.
A Step-by-Step DIY Chicken Tutorial
Building a chicken run isn’t as hard as you might think.
With basic tools and some help, you can create a safe space for your flock in just one weekend.
Take your time with each stage and focus on making strong connections between materials.
Step 1 – Set the Posts and Frame
The foundation of any good chicken run is a strong frame.
This base will support everything else, so it’s worth taking extra time to get it right.
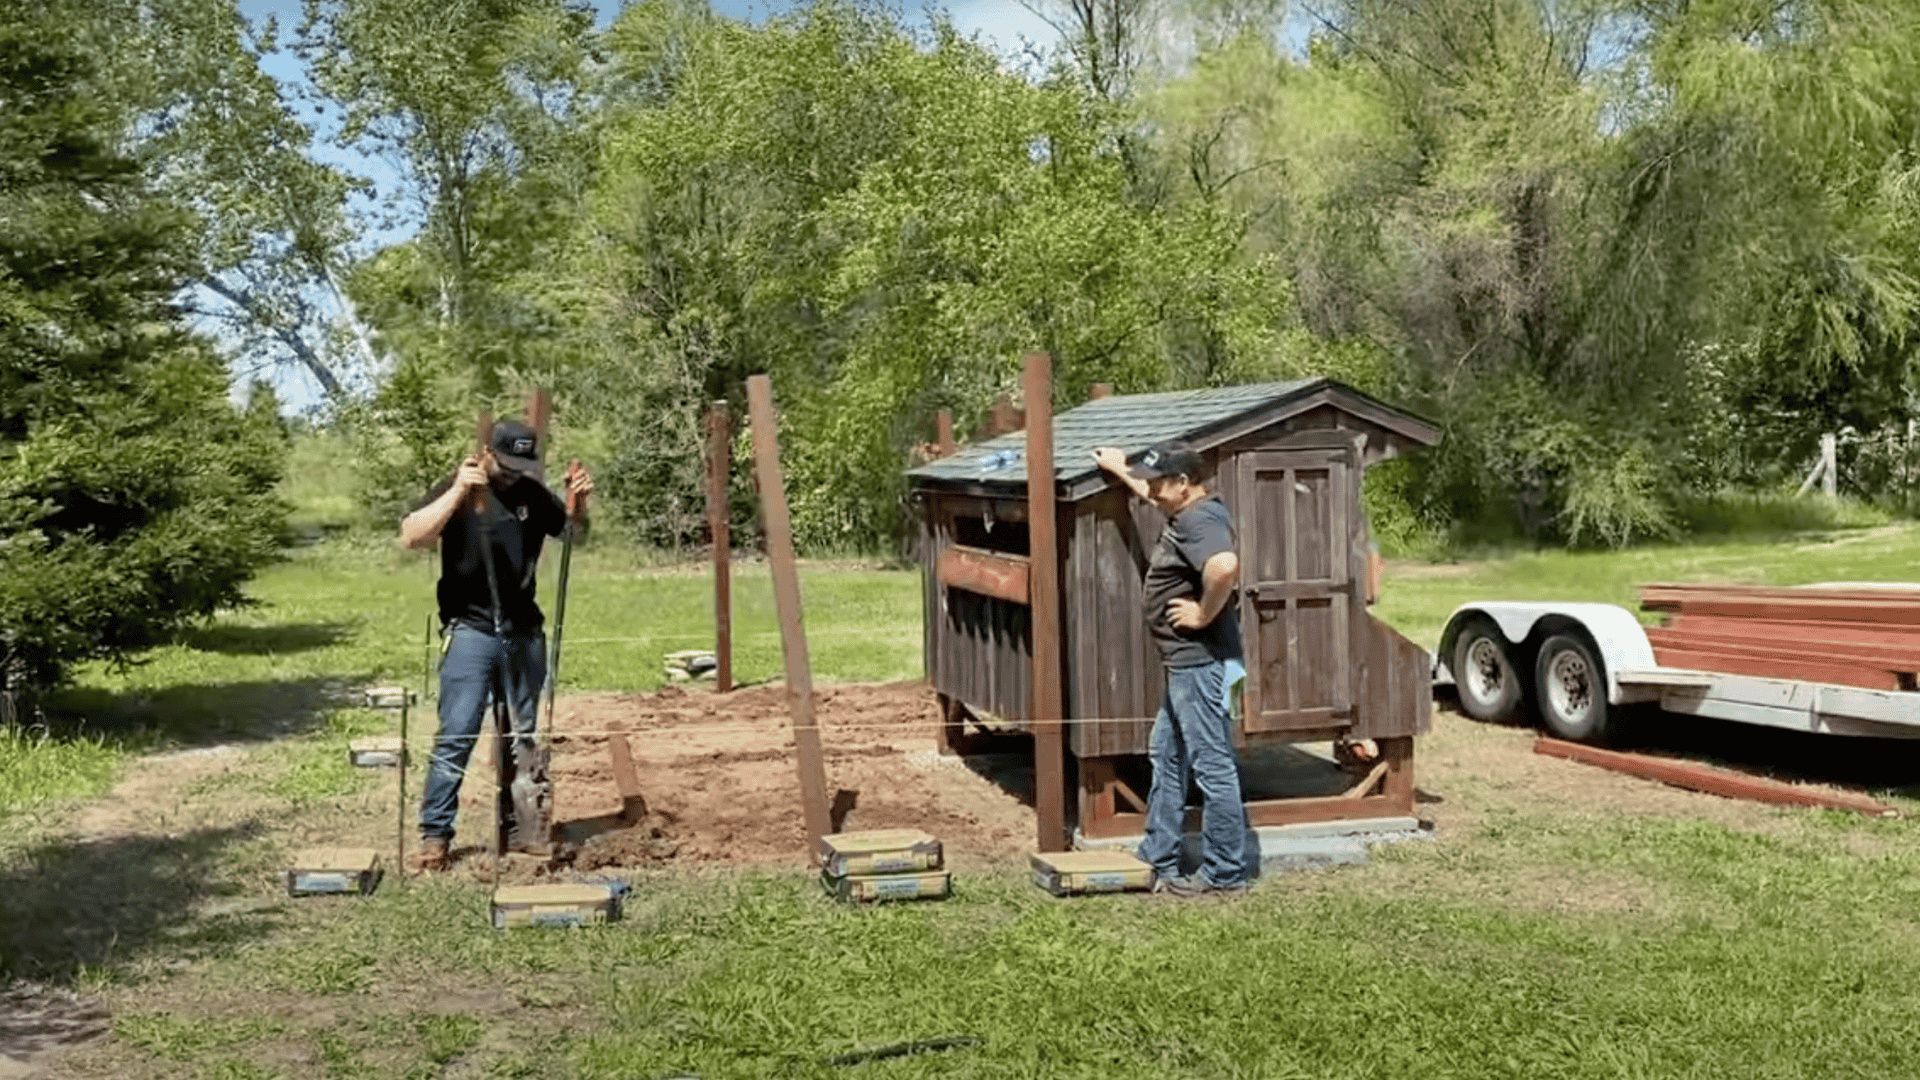
Start by marking the corners of your run with stakes and string to visualize the space.
Dig holes about 2 feet deep at each corner.
Mix the concrete according to the package directions and set your 4×4 posts, checking that they’re straight with a level.
Allow the concrete to harden overnight before proceeding.
Once posts are set, attach your 2×4 lumber between them to create the top frame.
Add middle supports if your run is larger than 8 feet in any direction.
Don’t forget to build a frame for your gate – make it wide enough to easily move through with supplies.
Step 2 – Attach the Wire Fencing
Good fencing keeps chickens in and predators out.
This step requires patience and possibly a helper.
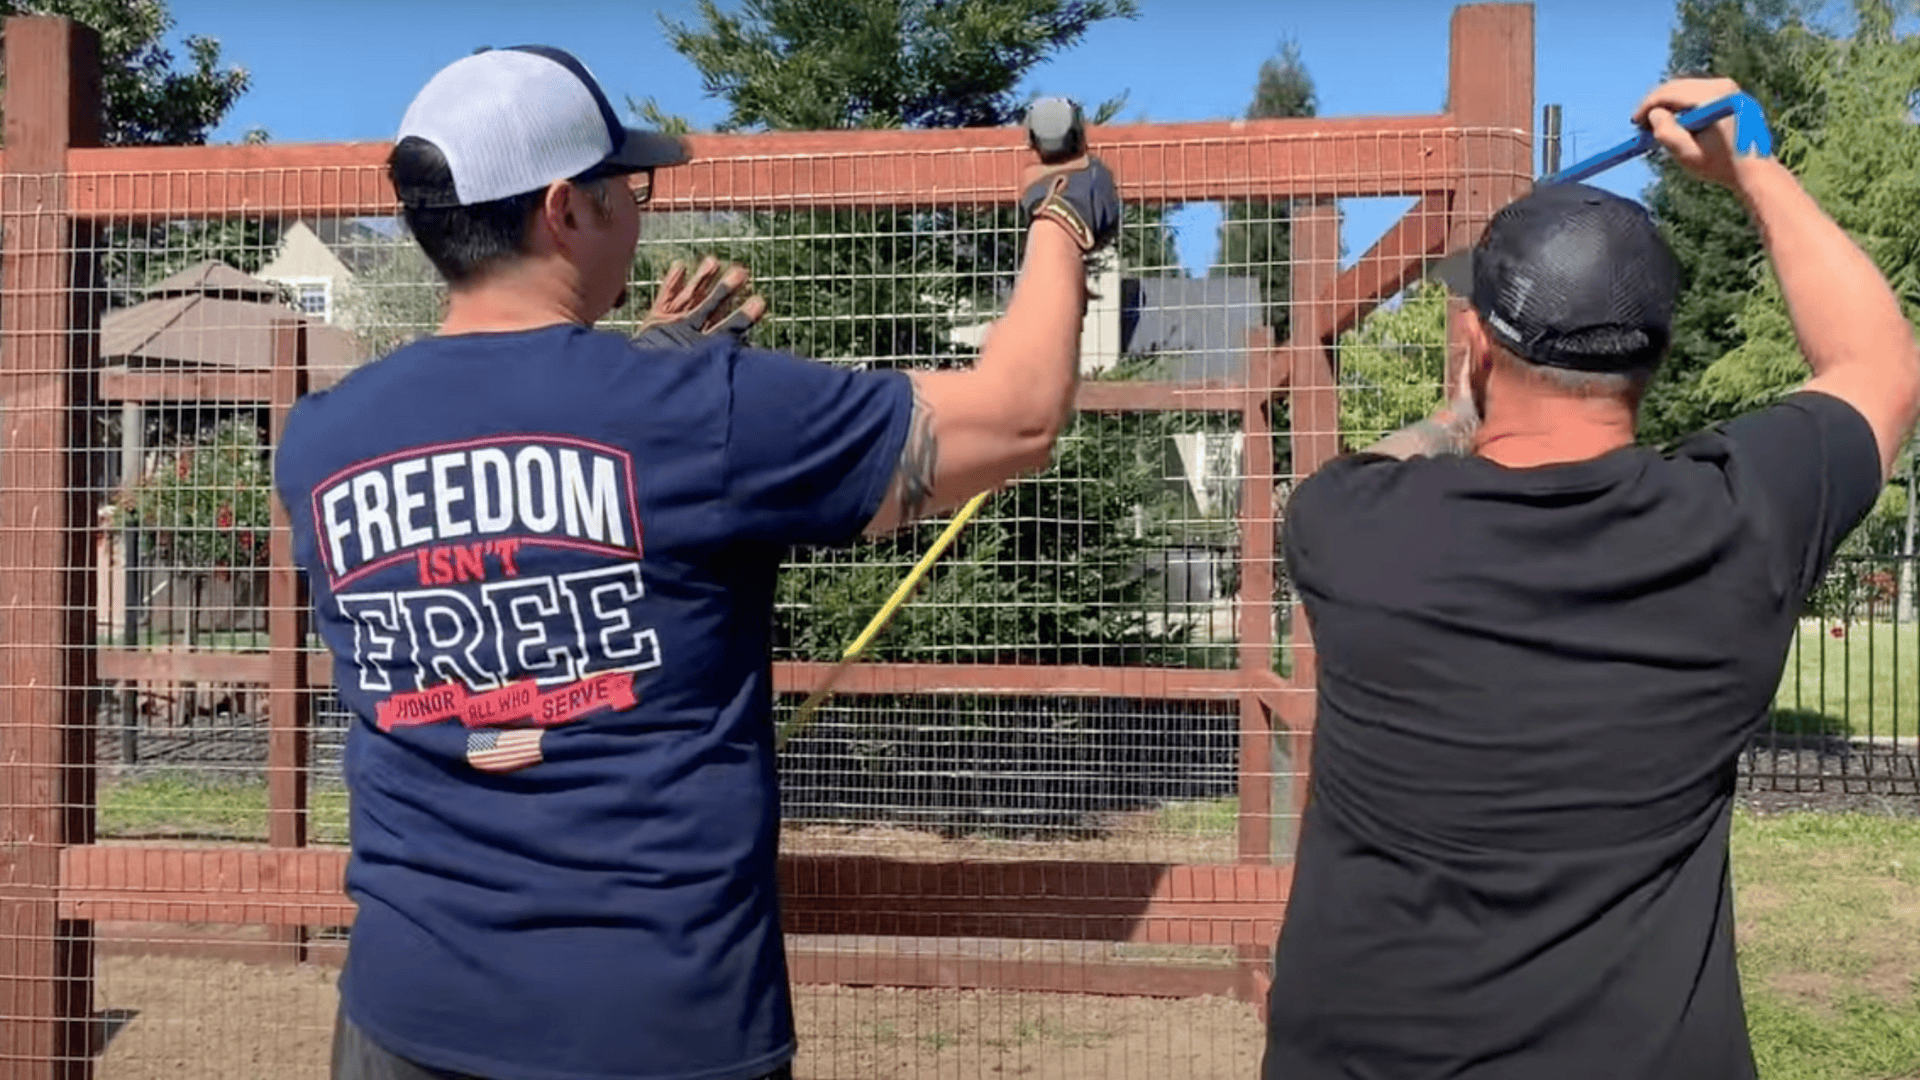
Starting at one corner, unroll your welded wire along the first side.
Use your crowbar and metal pole as leverage tools to pull the wire tight – this is crucial for security.
With the wire stretched, staple it to the wooden frame, working from bottom to top.
Place staples every few inches, especially near the ground where animals might try to push through.
Continue around the entire perimeter, making sure the wire is taut on all sides.
Where sections meet, overlap them by at least 6 inches and secure with zip ties.
For optimal protection, opt for a stronger mesh, such as welded wire, which is less susceptible to predators.
The small holes in welded wire or hardware cloth prevent even the smallest critters from getting to your birds.
Step 3 – Add Layers of Predator Protection

Smart predators will try to dig under your run, so this step focuses on ground-level security.
Create a wire “apron” that extends outward from the base of your fence.
This should be at least 12 inches wide and made from the same sturdy material as your fence.
Bend it at a 90-degree angle so it lies flat on the ground, pointing away from the run.
Stake this wire apron to the ground every few feet.
Then cover it with several inches of dirt, rocks, or mulch to hide it and make it more difficult for animals to detect.
This simple addition prevents diggers from reaching the main fence.
If you’re worried about predators being especially persistent inside the run, you can add a layer of wire under the topsoil.
Your chickens can still scratch in the dirt above it, but nothing can dig up from below.
Step 4 – Add a Shaded Roof Cover
Chickens require protection from both ground and aerial predators, as well as shelter from harsh weather conditions.
Measure and cut lengths of 2×4 lumber to create roof supports across the top of your run.
Space them about 4 feet apart. These will support your roof covering and provide a frame to secure it to.
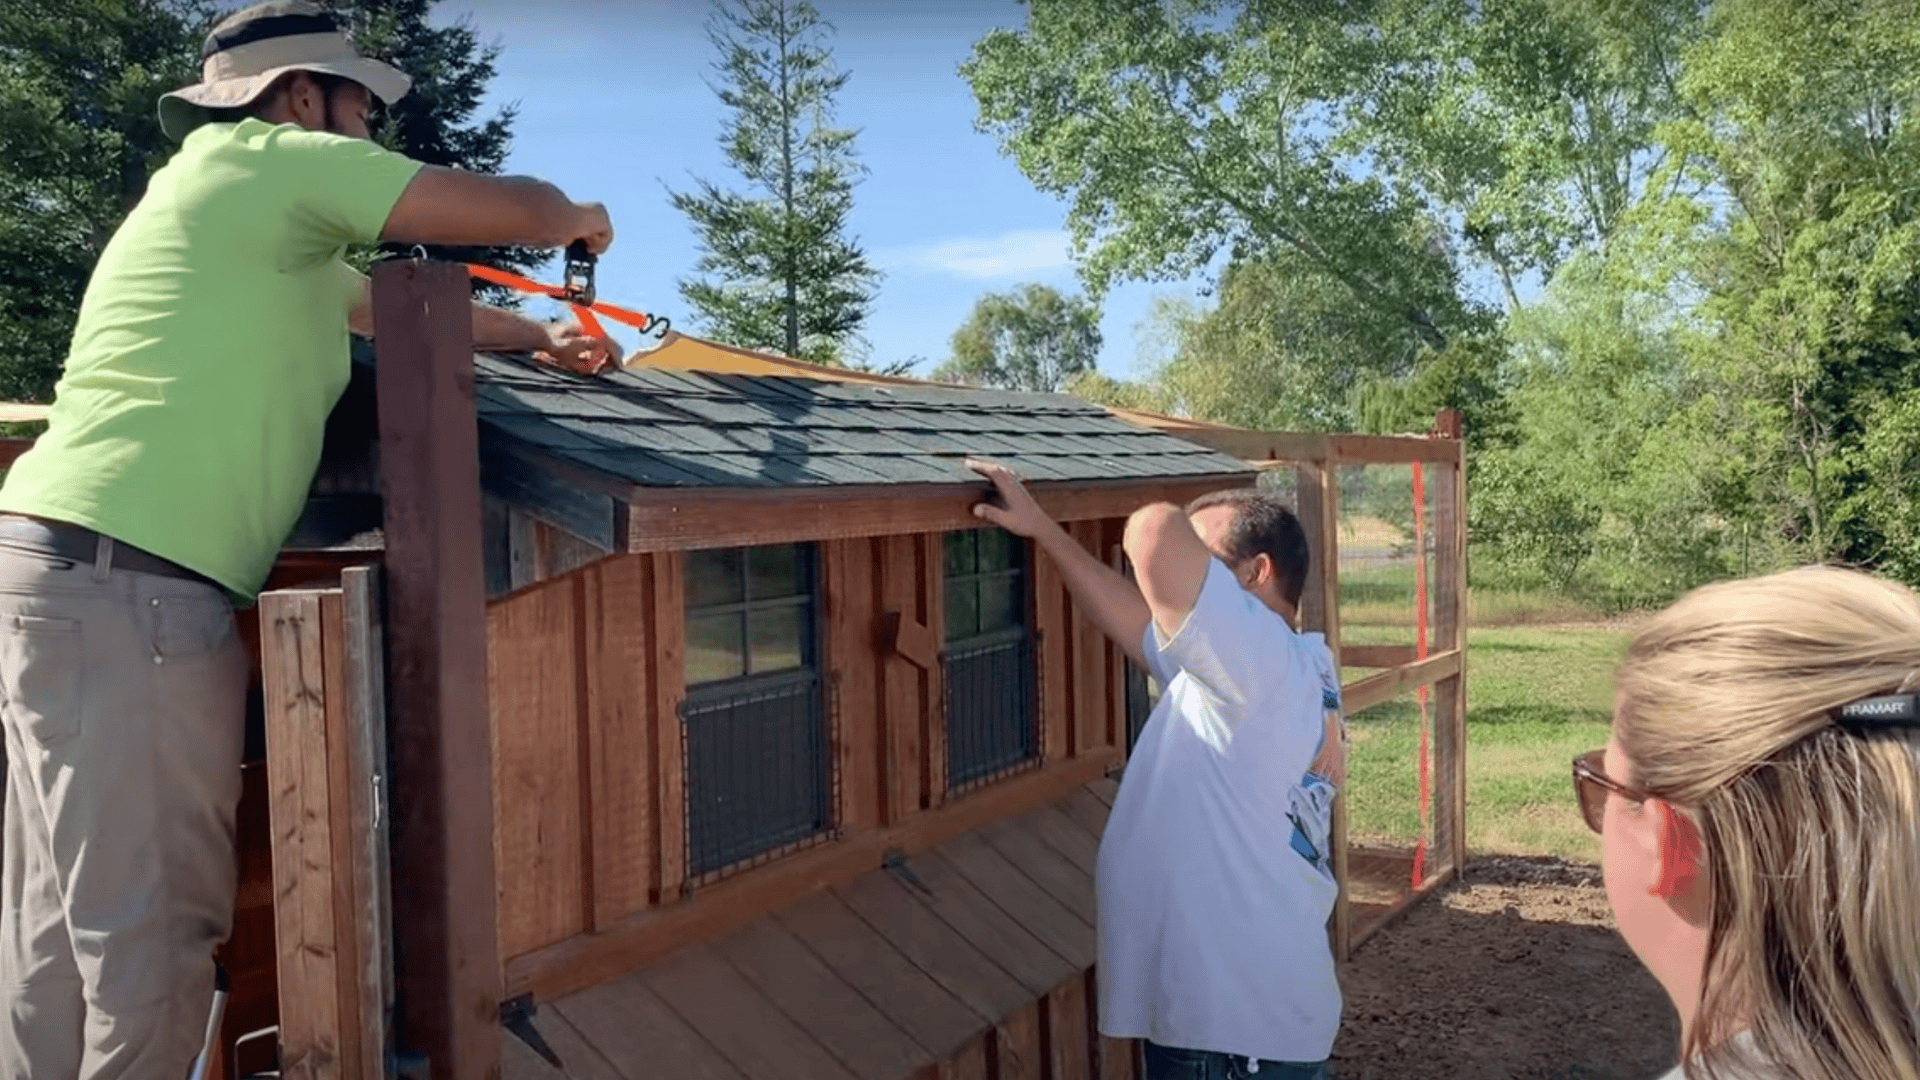
Stretch your canvas tarp across these supports, pulling it tight to prevent water pooling.
Secure it to the frame using staples, screws with washers, or strong zip ties.
Ensure the cover extends slightly beyond the edges of the run to provide maximum shade and rain protection.
If you live in an area with hawks or other birds of prey, this covering also serves as essential protection from above.
For snowy areas, you may want to consider building a pitched roof that sheds snow rather than collecting it.
Step 5 – Introduce Your Chickens
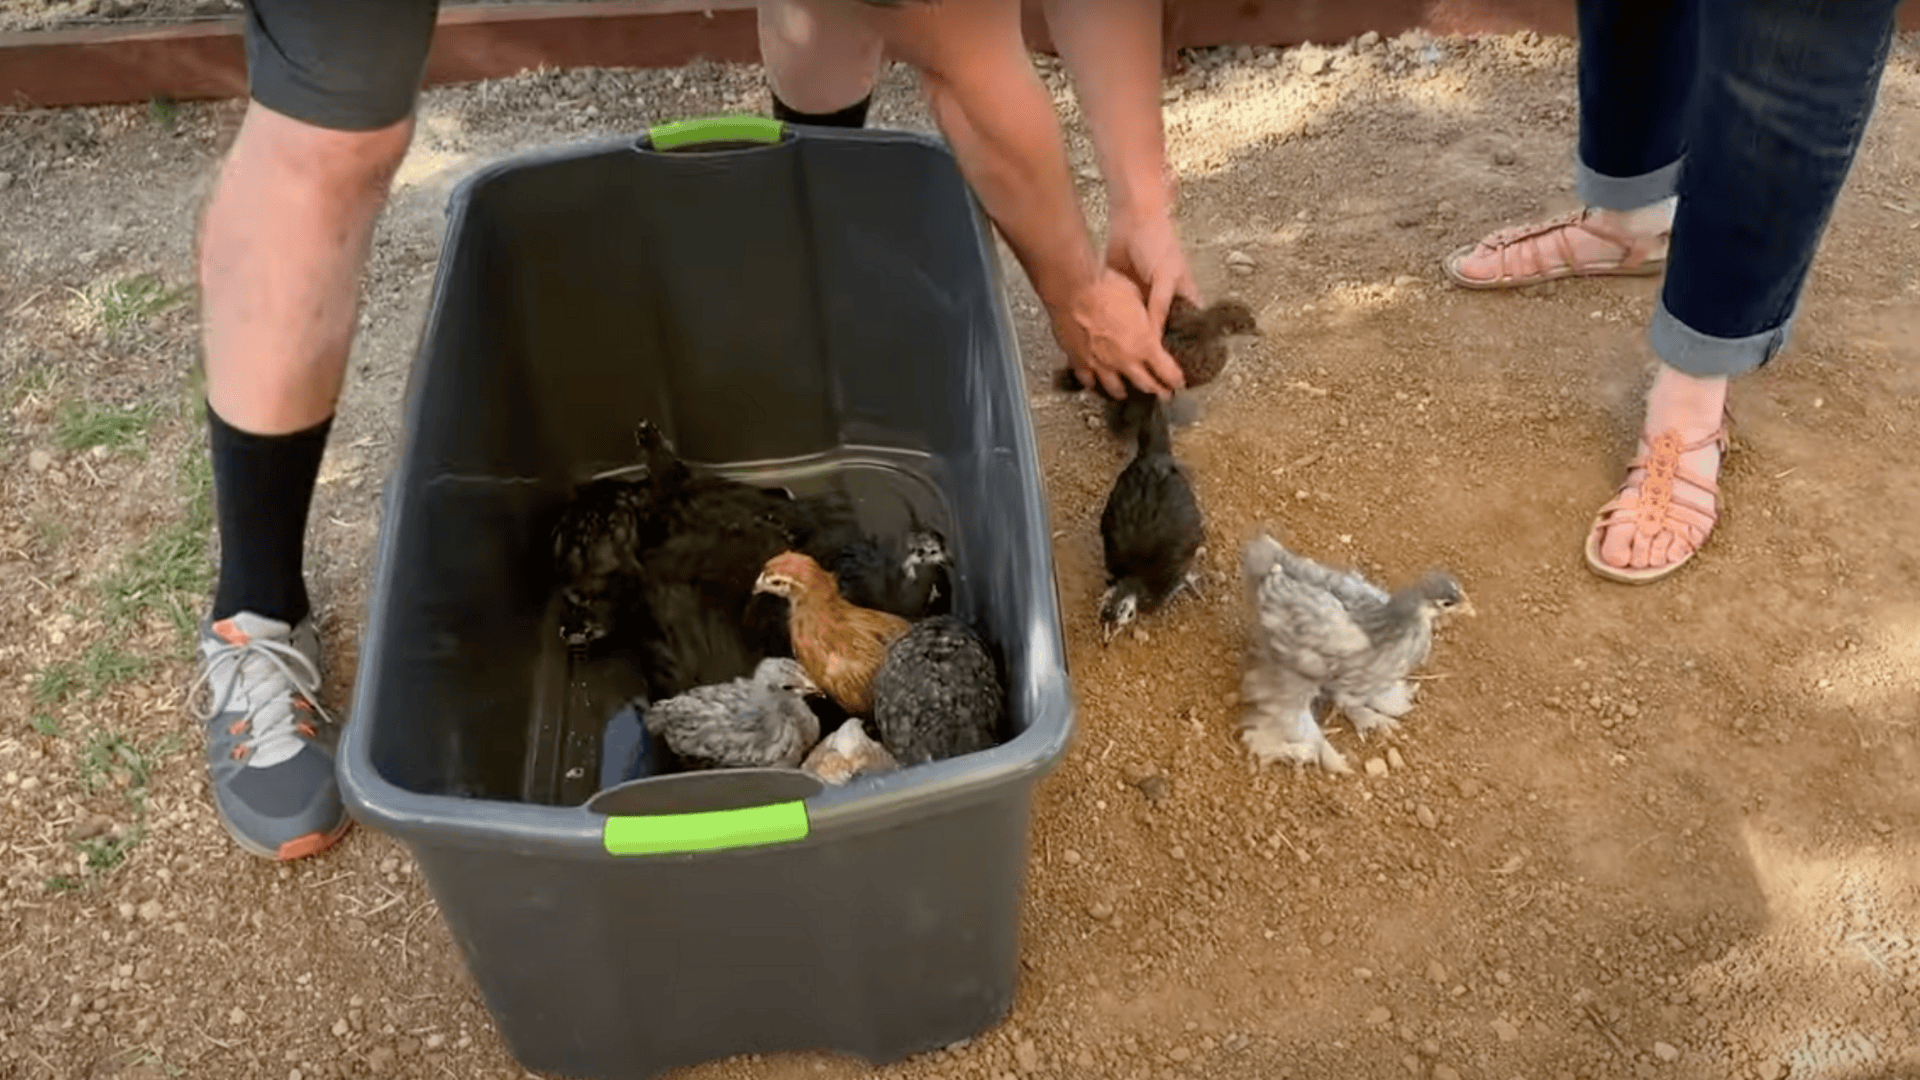
The moment you’ve been working toward – moving your flock into their new space!
When first introducing chickens to their run, do so during daylight hours when they’re most active.
Open the coop door and let them explore at their own pace. Some birds will rush out while others might be hesitant.
Watch how they interact with the new space. Look for any spots where they seem uncomfortable or any weak points in your construction.
Check that they can easily find their way back to the coop when needed.
For the first few days, monitor your flock closely during their time in the run.
This helps you spot any issues before they become problems and ensures your chickens feel safe in their new area.
Video Walkthrough: See How Experts Do It!
For more information, check out this video tutorial by CaliCluckers
Tips for Making Your Chicken Run Predator-Proof
Small details make a big difference when it comes to predator protection.
Consider your local predators and design with them in mind.
- Bury wire at least 12 inches deep around the entire perimeter
- Install two-step latches that raccoons can’t figure out
- Check for gaps daily during the first week
- Add motion-sensor lights near the coop for nighttime safety
- Never use simple chicken wire – it’s too weak for serious protection
Each security feature you add is an investment in your flock’s safety.
With these tips in place, you can sleep better knowing you’ve created a truly protected space for your chickens.
Time, Cost, and Effort Breakdown
Planning helps you prepare both your budget and schedule for this project.
Here’s what you can expect when building a standard chicken run:
| FACTOR | DETAILS |
|---|---|
| Time Required | 8-10 hours |
| Helper Needed | Yes |
| Skill Level | Beginner to Intermediate |
| Total Cost | $200-$400 |
| Lumber Cost | $75-$150 |
| Wire Cost | $80-$150 |
| Tool Investment | $40-$100 |
This chicken run project strikes a good balance between cost, effort, and results.
The money spent on quality materials pays off in years of use and peace of mind knowing your chickens are safe.
Maintenance Tips
Keeping your chicken run in top shape doesn’t require much work, but staying on top of small issues prevents big problems later.
Think of maintenance as your monthly check-up routine.
Walk around your run with a critical eye, looking for anything that seems different from your previous run.
1. Monthly Walk-Around Routine
Run your hands along all wire sections to feel for loose spots or developing holes.
Wiggle fence posts gently to check for movement or signs of rot, especially where wood meets the ground.
Look carefully at the base of your run for new holes where animals might have tried to dig their way in.
Don’t forget to test your gate – latches should close securely, and hinges should move smoothly.
2. Keep It Clean and Fresh
Weekly droppings removal keeps your run healthy and odor-free.
Simply rake out the worst spots and add fresh bedding material, such as wood chips or sand.
Every few months, give the entire space a thorough scrub with a mild disinfectant.
This prevents disease buildup and keeps your flock healthy and happy in their outdoor space.
3. Season-Smart Adjustments
Winter calls for windbreaks made from tarps or plywood sheets to protect your birds from harsh winds.
Summer means double-checking that shade covers stay secure and water sources remain cool and fresh.
Small seasonal tweaks keep your chickens comfortable year-round while protecting your investment in their safety.
That’s a Wrap
Building a chicken run does more than keep your birds safe; it creates a happy home for them to scratch, peck, and enjoy the outdoors!
Did you follow our step-by-step guide?
Remember, the key to success is planning ahead and not rushing the process.
Your chickens will thank you with fresh eggs and hours of entertainment.
If you built a simple portable run or a fancy permanent structure, you’ve just completed an awesome DIY project that’ll last for years.
Ready to show off your handiwork?
What’s your biggest challenge when learning how to build a chicken run?
Drop a comment below and share your experience!