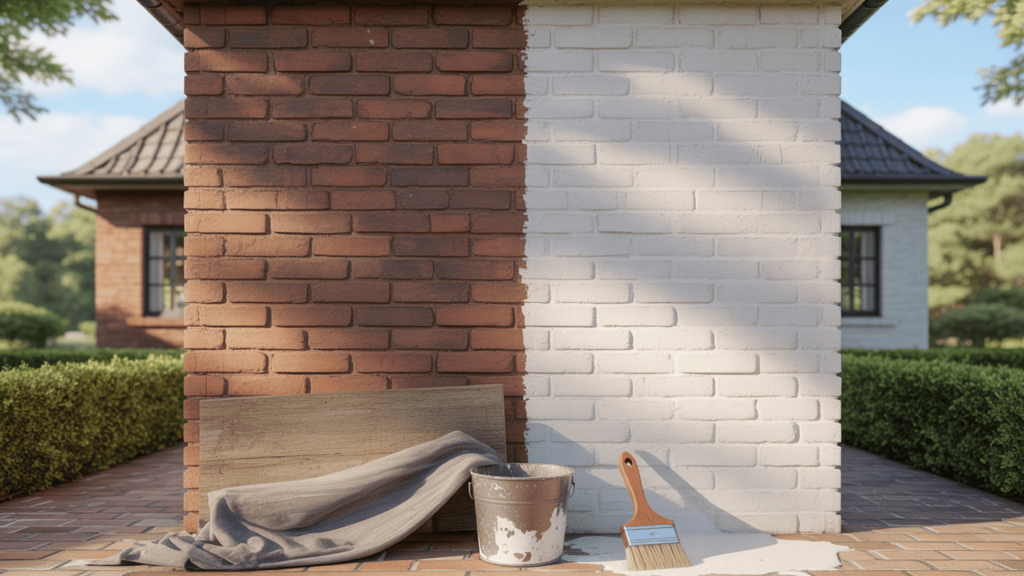
Tired of your house blending in with every other brick home on the block?
Limewash might be the game-changer you’ve been hunting for!
I spent years disliking our dated red brick until I uncovered this centuries-old technique that’s making a major comeback.
Not only does limewash give your home that sought-after, worn European look, but it also allows your walls to breathe, unlike regular paint.
My weekend project turned our cookie-cutter ranch into the prettiest house on the street – and you can do it, too!
I’ll share exactly how we changed our home with simple tools, minimal cost, and surprisingly little effort.
Ready to see what limewash can do for your brick home?
Understanding Limewash: The Ancient Paint’s Modern Comeback
Looking to change your home’s look without breaking the bank?
Limewash might be your answer!
This old-world finish is making a big comeback for brick homes, and good reason.
Limewash is a simple mixture of limestone that has been crushed, burned, and mixed with water.
When brushed onto brick, it soaks in rather than sitting on top like paint does.
The result?
A soft, matte finish that lets your brick breathe while giving it a fresh new look.
What makes limewash stand out is its ability to change over time.
Unlike paint, which can chip and peel, limewash gently wears away, creating a charming, worn look that many homeowners love.
It’s also earth-friendly, made from natural stuff that won’t harm the planet.
You can do it yourself!
Our 5-step guide will walk you through from start to finish, even if you’ve never tackled a home project before.
Ready to see what limewash can do for your home?
Why We Chose Limewash Over Paint
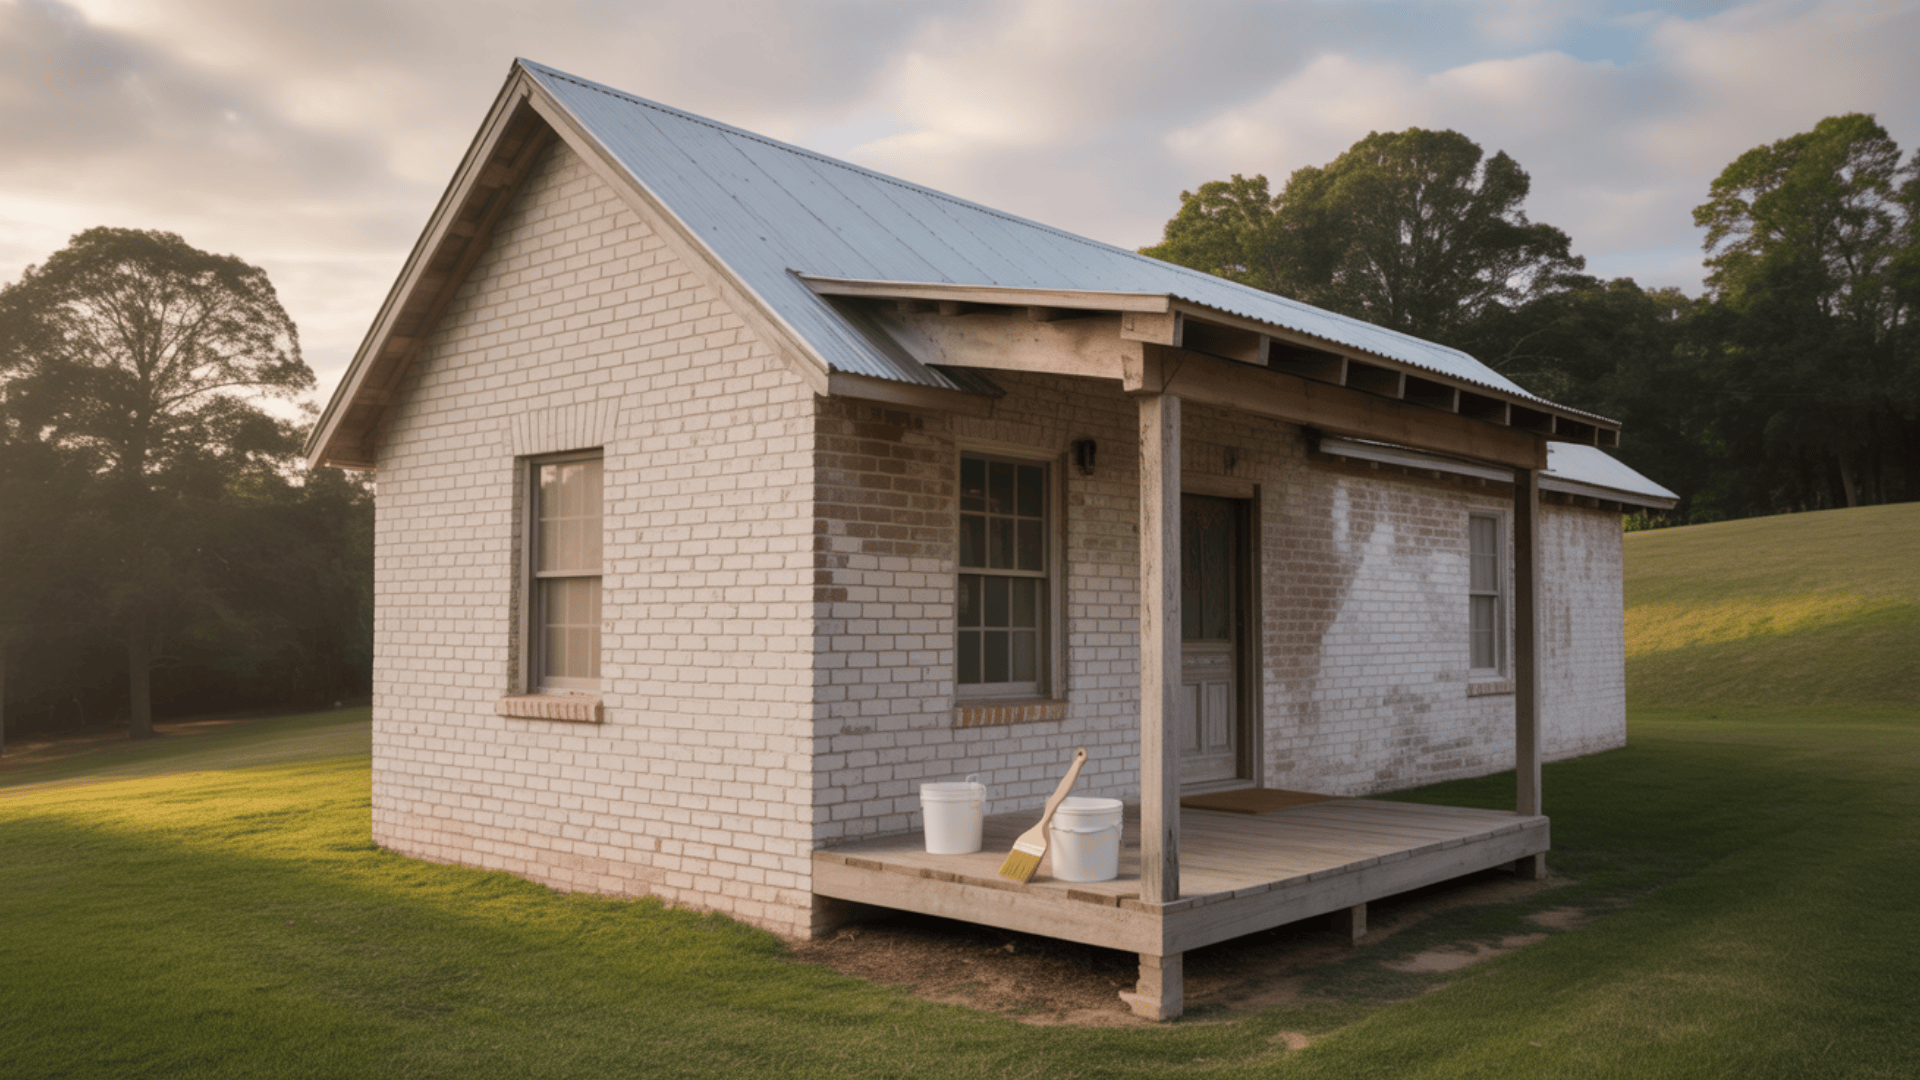
Our small ranch-style home had that classic flat red brick that looked stuck in the past.
Nothing wrong with it structurally, but the color felt heavy and dated.
We wanted something lighter, but we were worried about what the paint might do to our home in the long term.
The main reason we picked limewash?
It lets our brick walls breathe.
Paint creates a seal that traps moisture inside bricks, which can lead to damage over many years.
This is especially true in areas with fluctuating weather conditions.
Limewash, on the other hand, works with the brick instead of against it.
We also fell in love with how limewash ages.
Instead of peeling like paint often does, it slowly fades over the years, giving your home an aged, lived-in look that has so much more personality.
Types and Colors of Limewash
Limewash comes in many beautiful colors beyond basic white.
Traditional white limewash gives homes a clean, classic look that’s been popular for centuries.
To create custom shades, you can add natural pigments such as ochre (a yellow-brown), umber (a deep brown), or iron oxides (which produce reds and oranges).
For brick homes, popular choices include warm creams, soft grays, and earthy tones that complement the natural colors of the brick.
You control how see-through or solid your limewash looks by adding more or less water.
What color combination do you think would look best on your home’s exterior?
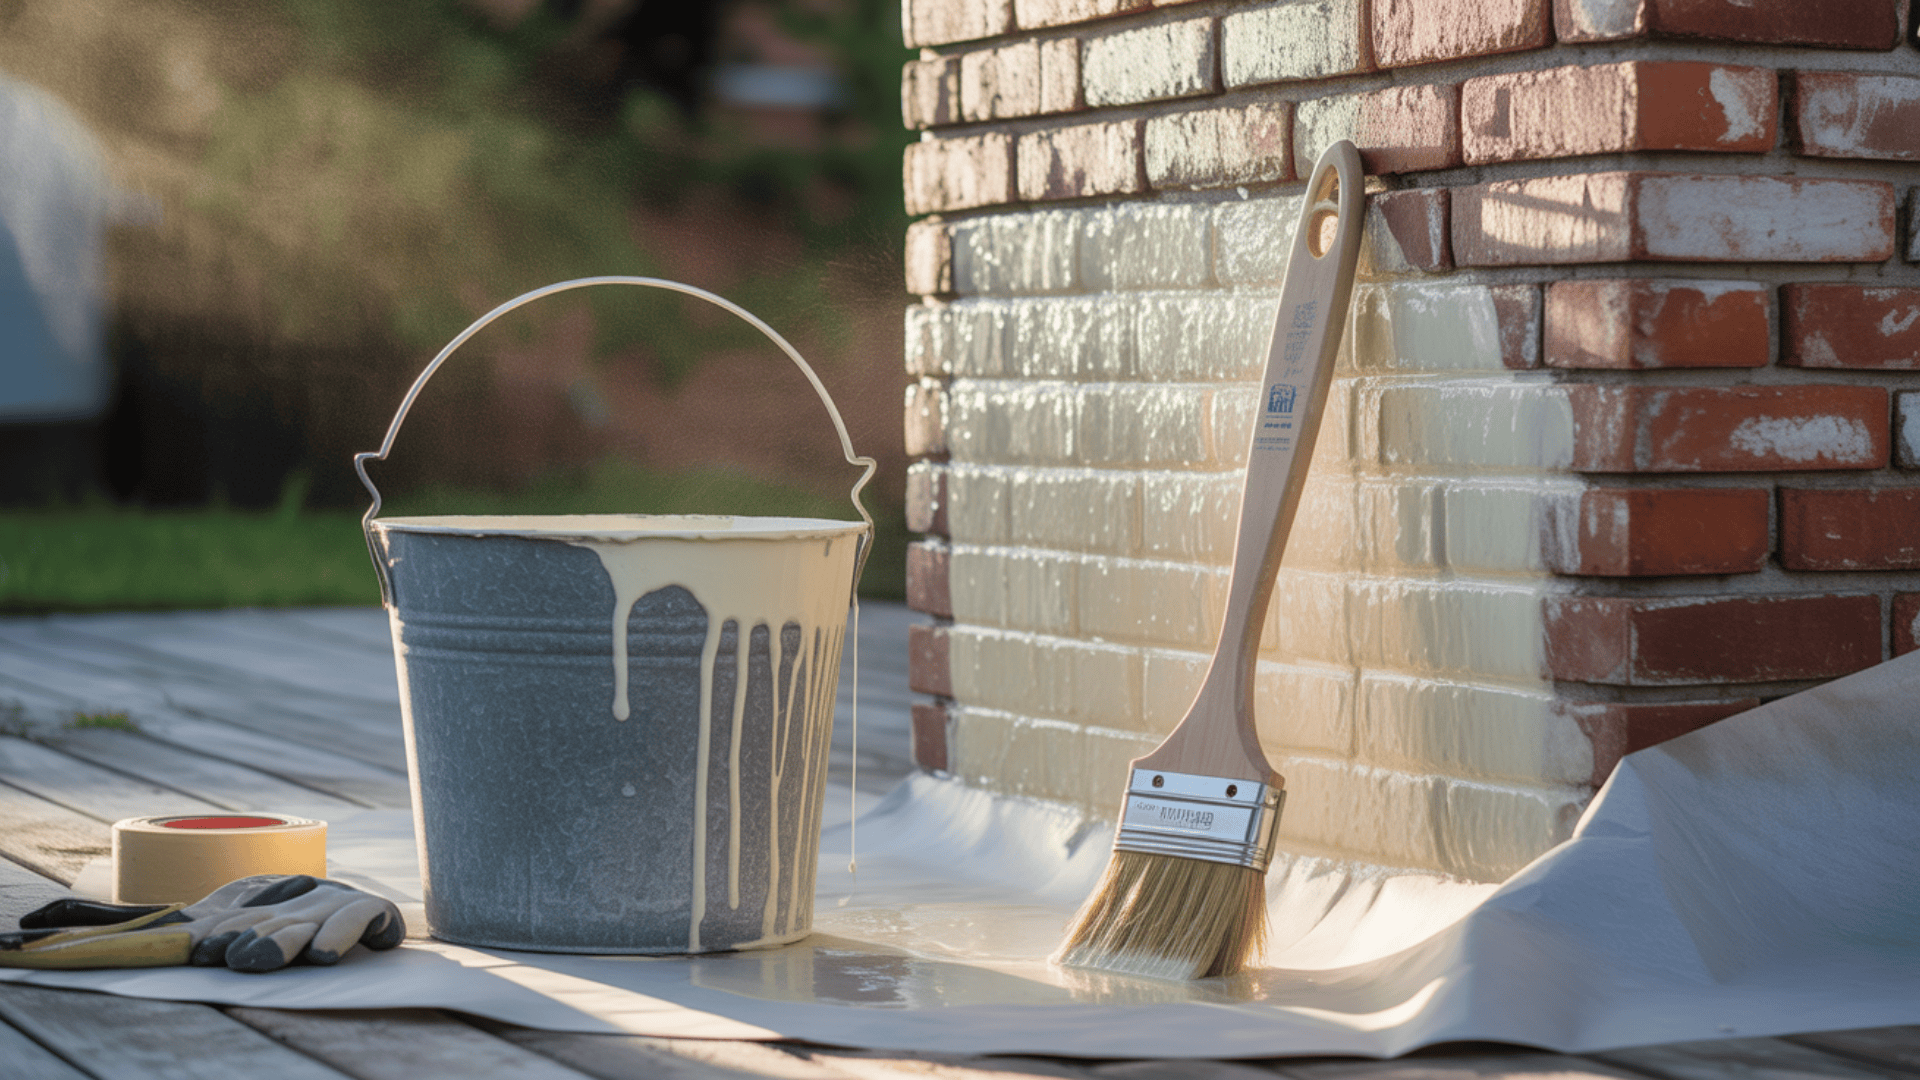
What You’ll Need for a Limewash Project?
Getting ready for your limewash project means having the right tools on hand.
Here’s what you’ll need to gather before starting:
| ITEM | PURPOSE |
|---|---|
| Limewash product (Romabio Classico Limewash) | Main material for the project |
| Paint sprayer or quality brushes | For applying limewash (avoid rollers) |
| Drill with stirrer attachment | For properly mixing the solution |
| Large buckets | For mixing and carrying limewash |
| Garden hose/sprayer | For pre-wetting brick surfaces |
| Drop cloths | To protect the surrounding areas from splatter |
| Scraper or crowbar | For removing old, crusty residue |
| Pressure washer | For deep cleaning the brick before starting |
| Painter’s tape | For protecting trim, windows, and doors |
Having these items ready before you begin will help your project run more smoothly and enable you to achieve better results.
Most can be found at your local hardware store or rented for the weekend if needed.
Step-by-Step DIY Limewashing Brick Exterior
Taking on a limewash project may seem intimidating at first, but breaking it down into manageable steps makes it more manageable.
Here’s how we turned our dark brick ranch into a bright, fresh home over a weekend.
Step 1: Remove Fixtures and Clean the Brick
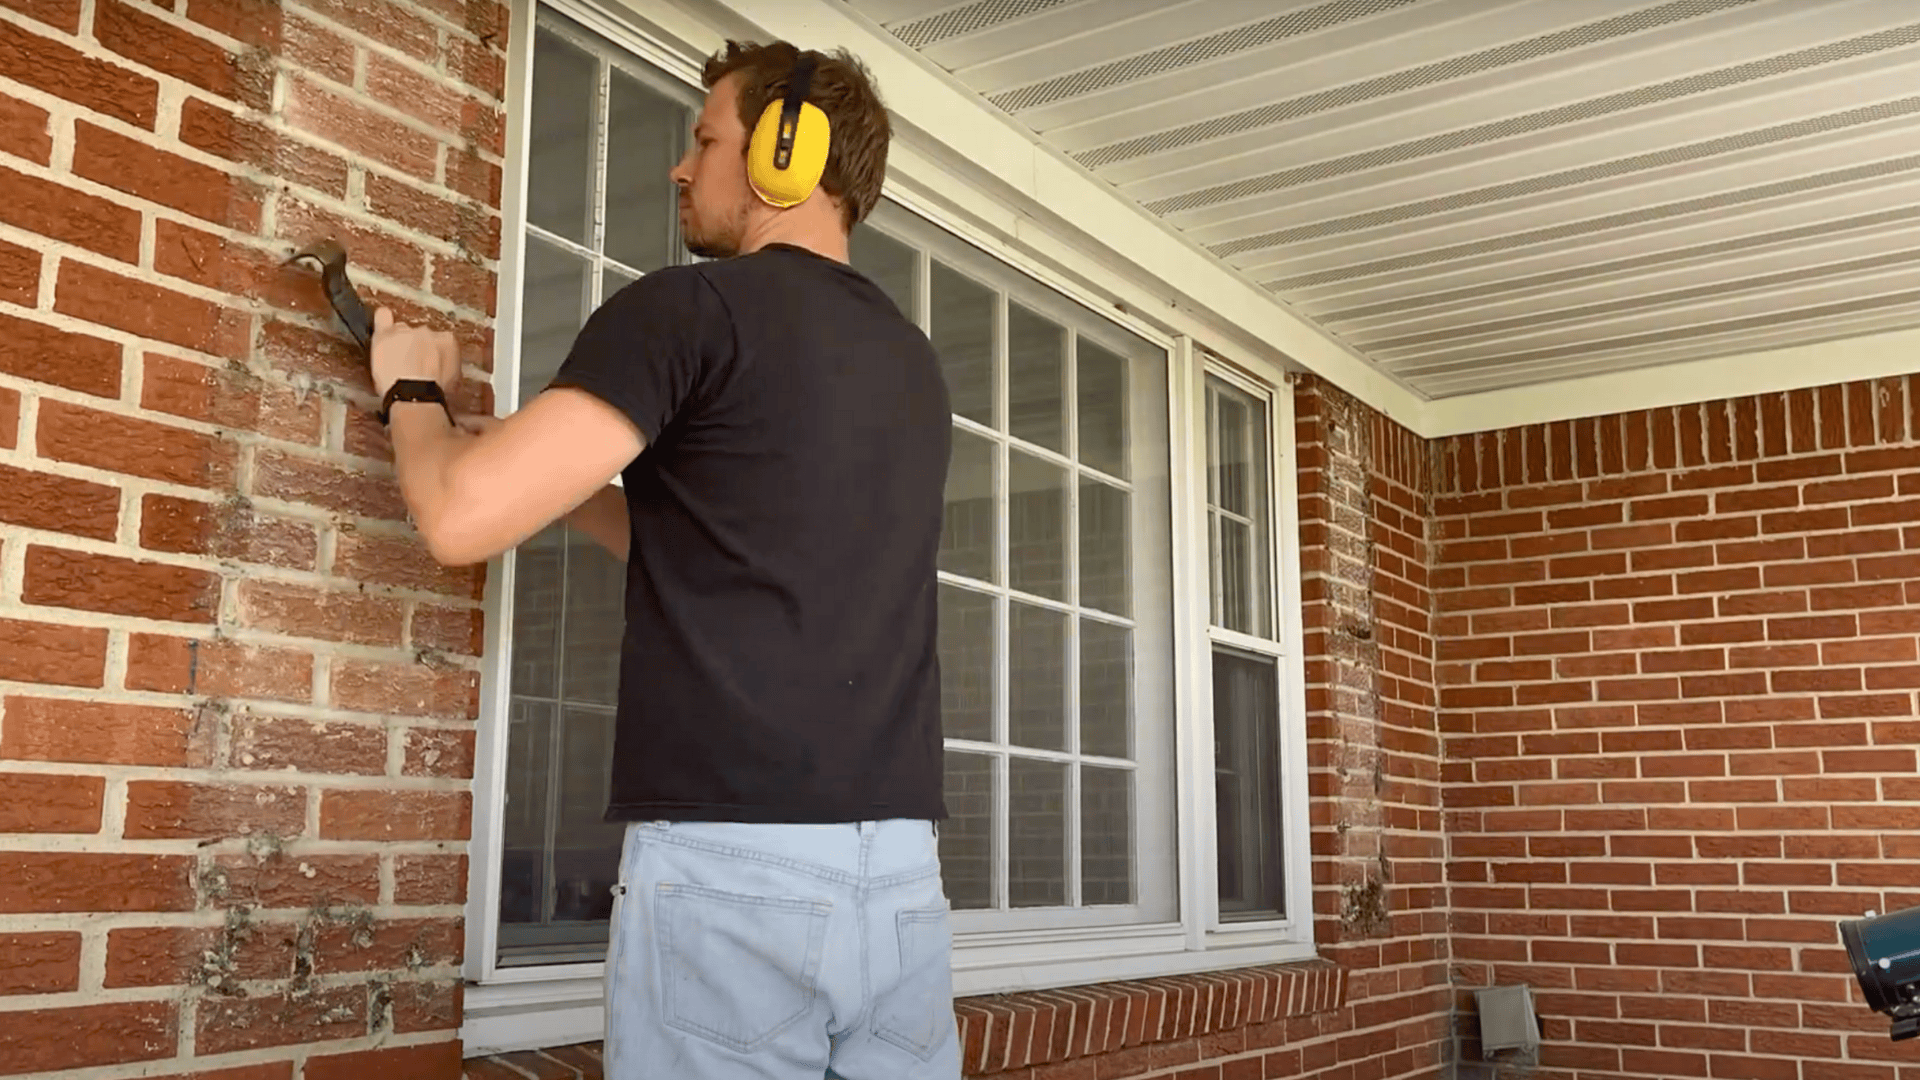
Start by removing anything attached to your brick, such as shutters, house numbers, light fixtures, and outdoor decor.
This gives you a clear canvas to work with, preventing the need to paint around small items.
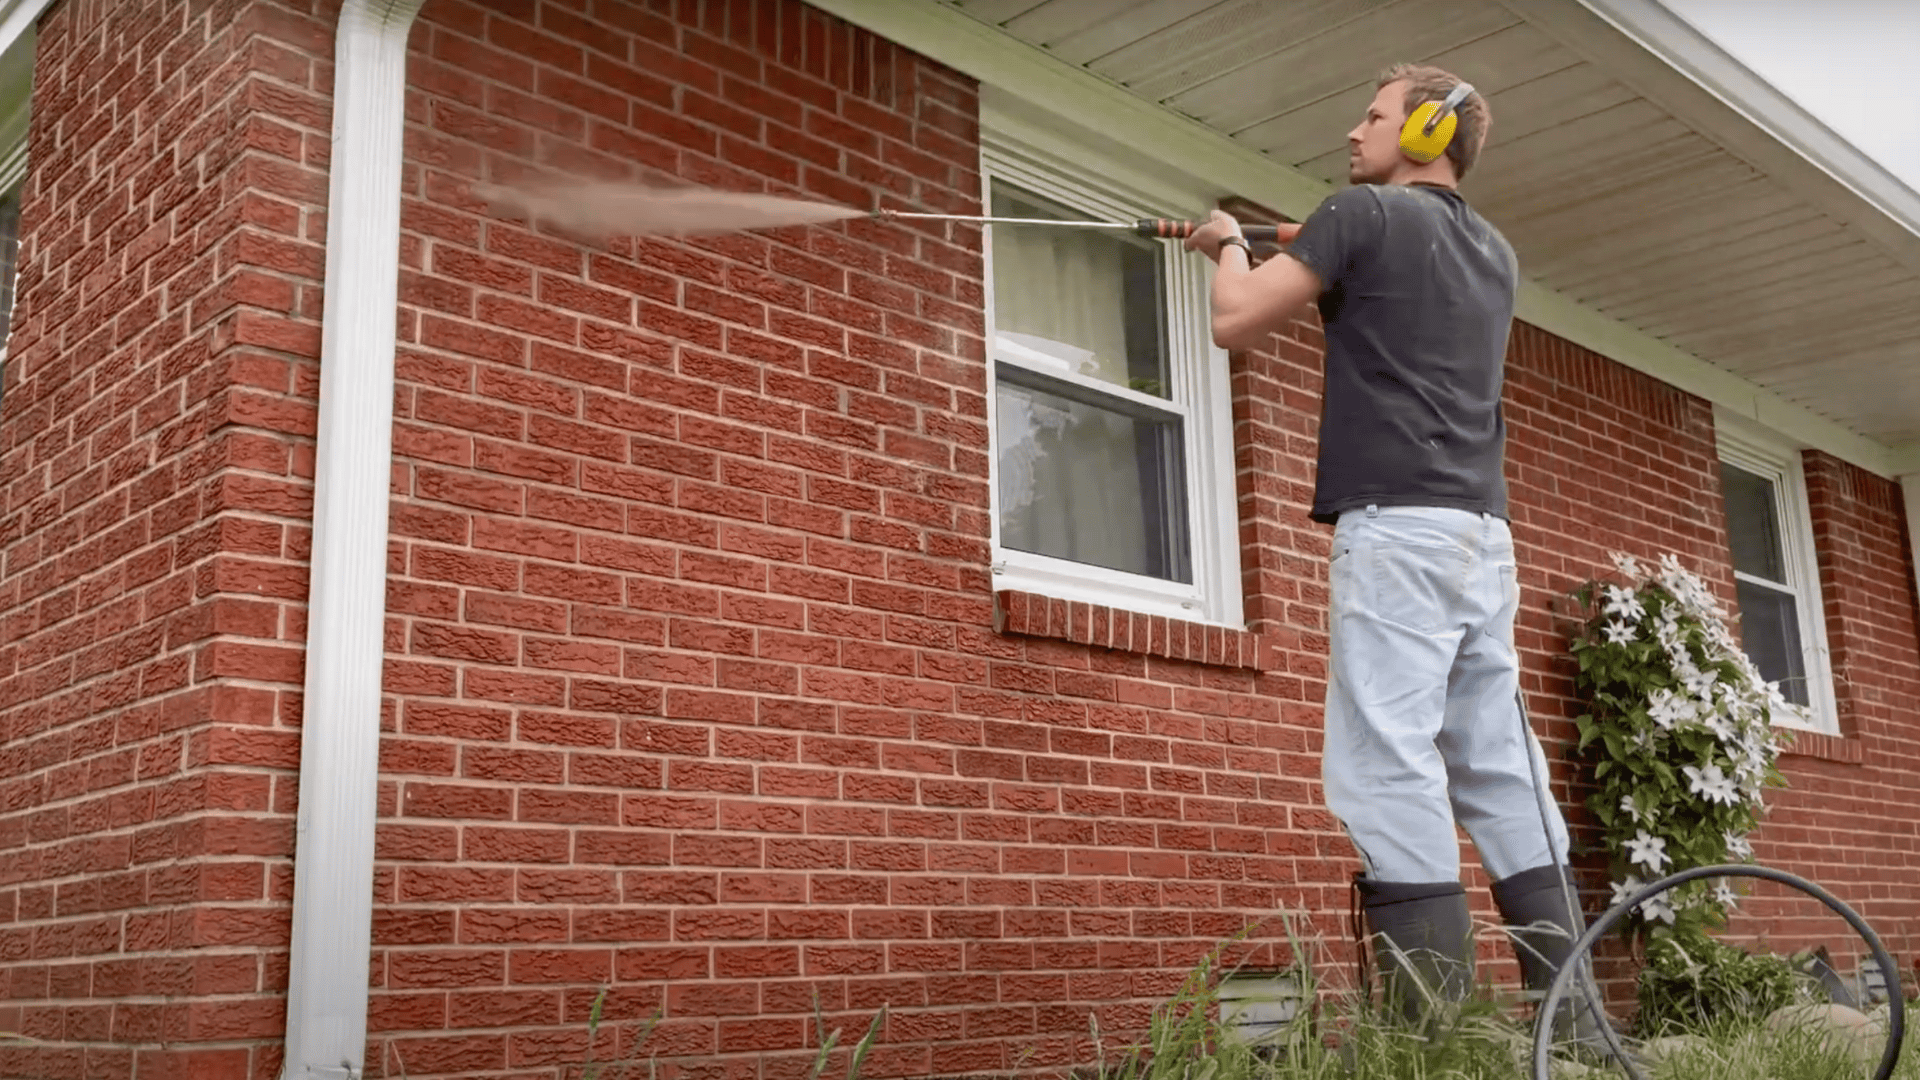
Your brick needs to be spotless before limewashing. Years of dirt, cobwebs, and stuck-on grime will prevent the limewash from sticking properly.
We used a scraper to knock off the worst spots, then followed up with a thorough power washing.
Let the brick dry completely before proceeding to the next step – this may take a full day, depending on the weather conditions.
Step 2: Mix the Limewash Solution
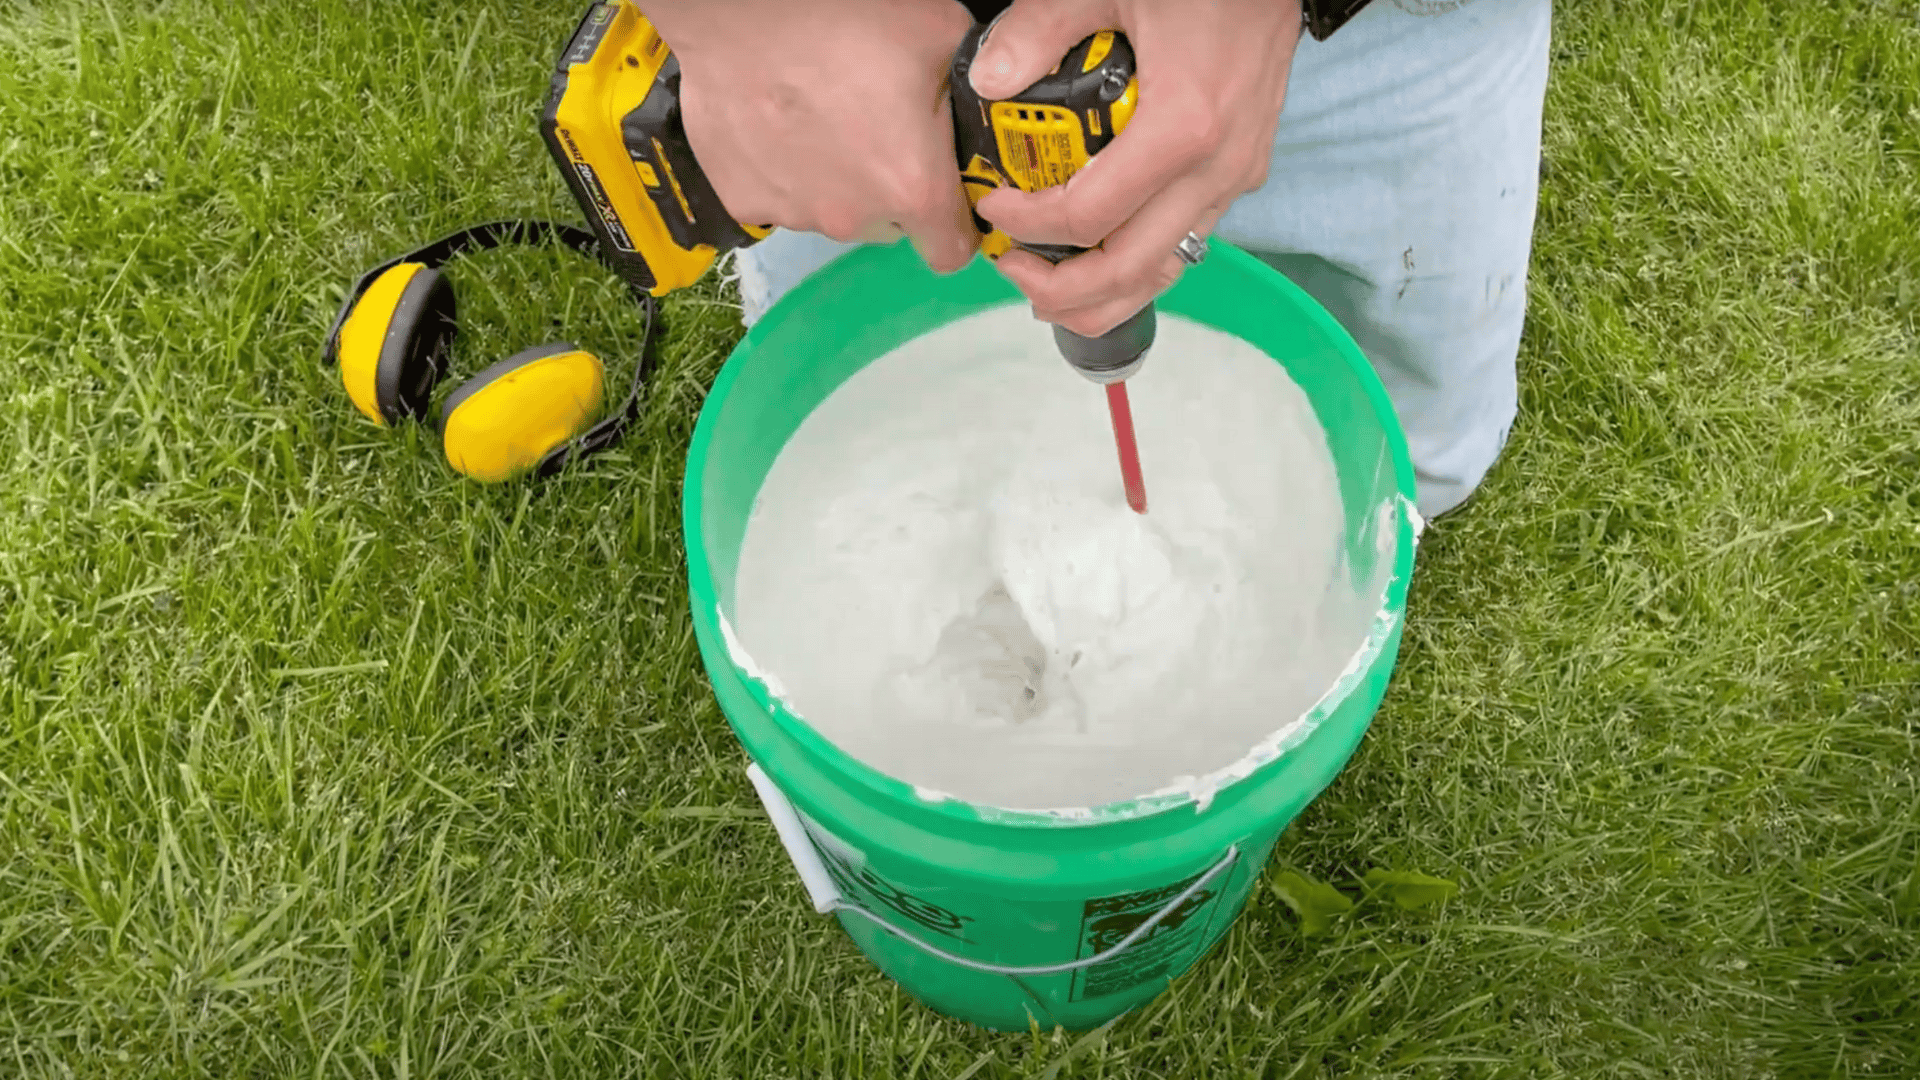
For a solid, mostly opaque finish, mix your limewash and water in equal parts.
Pour the limewash into your bucket first, then slowly add water while mixing with your drill stirrer.
The consistency should be like thin pancake batter – thick enough to coat your brush but thin enough to spread easily.
Keep mixing until all lumps are gone.
You might need to adjust with a bit more water if it feels too thick to work with.
Step 3: Pre-Wet the Brick
This step is often skipped but makes a huge difference.
Using a garden hose or pump sprayer, wet the section of brick you’ll be working on first.
The brick should be damp but not dripping wet.
Wetting the brick helps the limewash soak in more evenly.
Dry brick will suck up the moisture too quickly, making it harder to get an even finish.
Work in sections – wet an area, then immediately apply the limewash before it dries out.
Step 4: Apply Limewash to the Brick
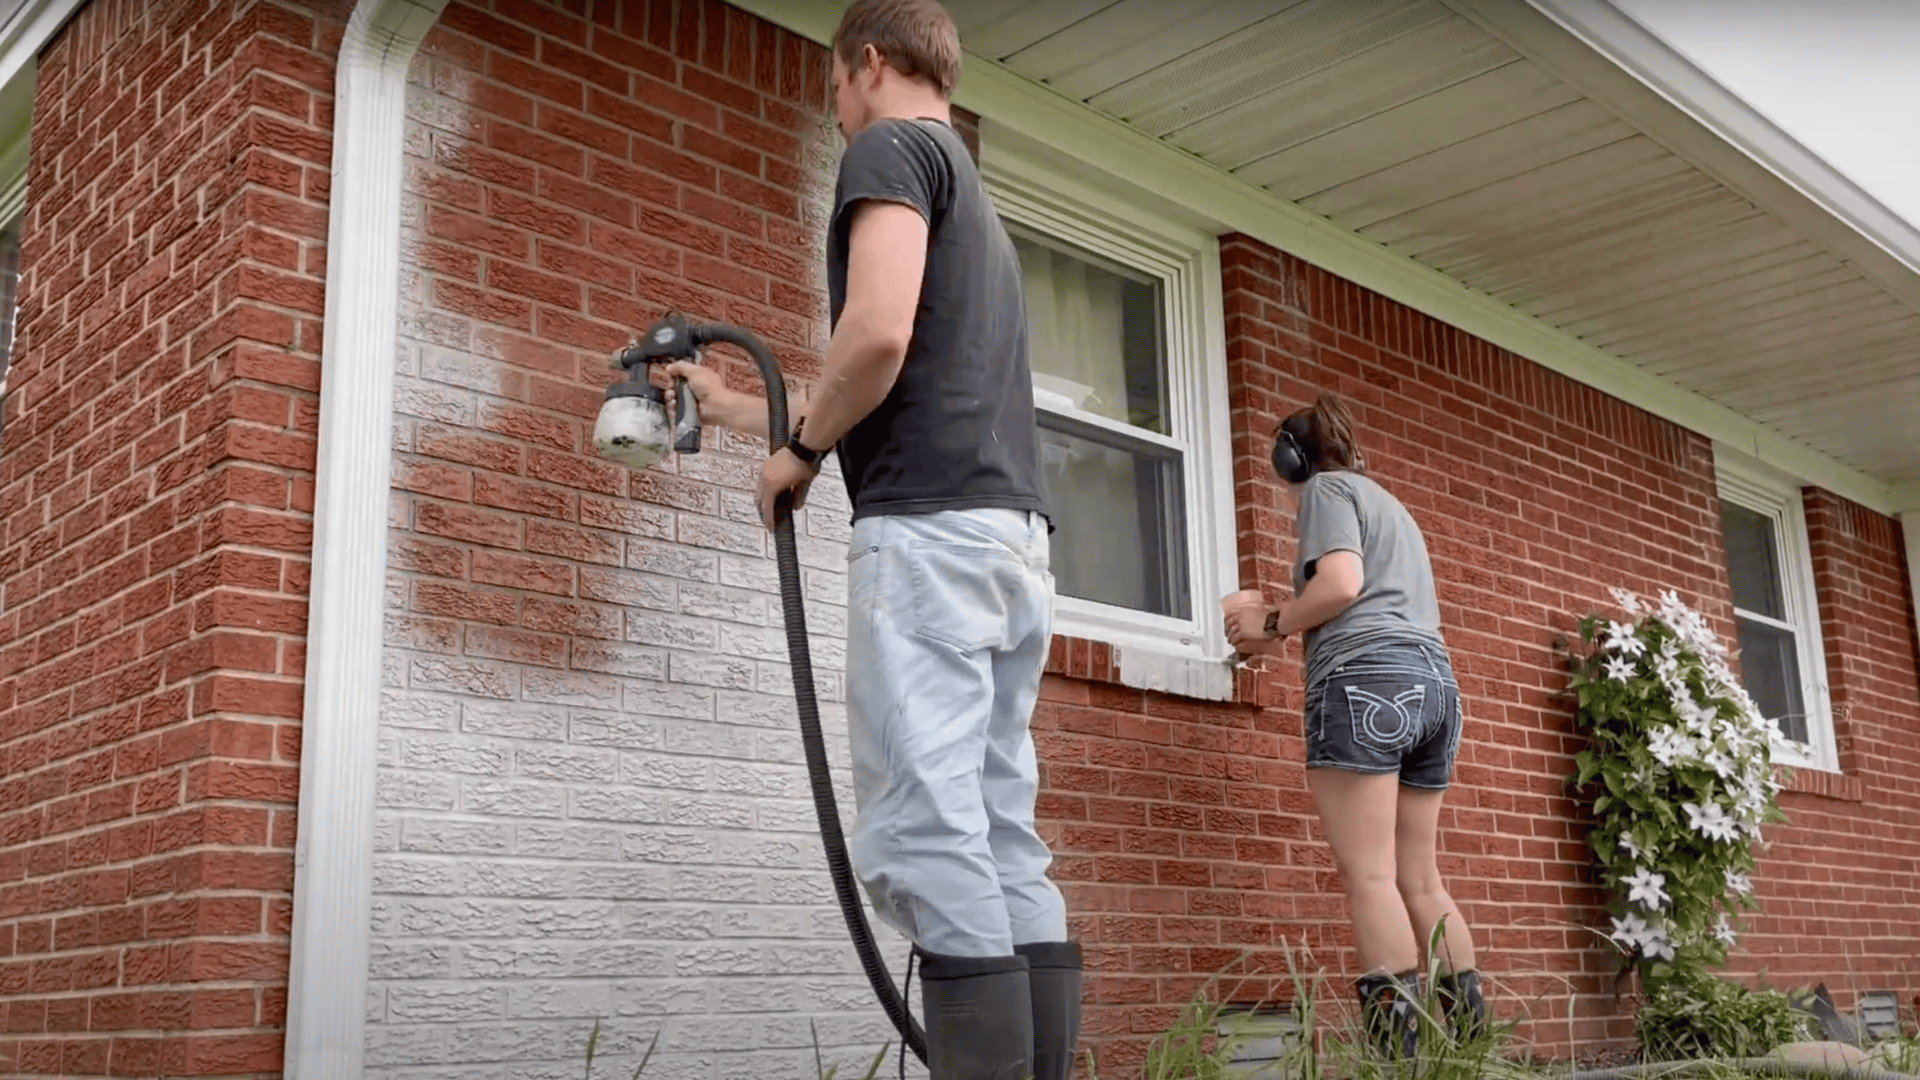
For most of the wall, a paint sprayer makes quick work of the job.
Use slow, steady passes and watch for drips.
Around windows, doors, and tight spots, switch to a brush for more control.
The limewash should go on looking wet but not runny.
Cover a small area at a time, ensuring you reach all the nooks and crannies of the brick and mortar.
The finish will look patchy while wet – this is normal and part of limewash’s charm.
Put down old rugs or drop cloths to catch drips if you’re working above decks, sidewalks, or gardens.
Unlike paint, limewash washes off most surfaces with water if caught quickly.
Step 5: Adjust and Blend on Day Two
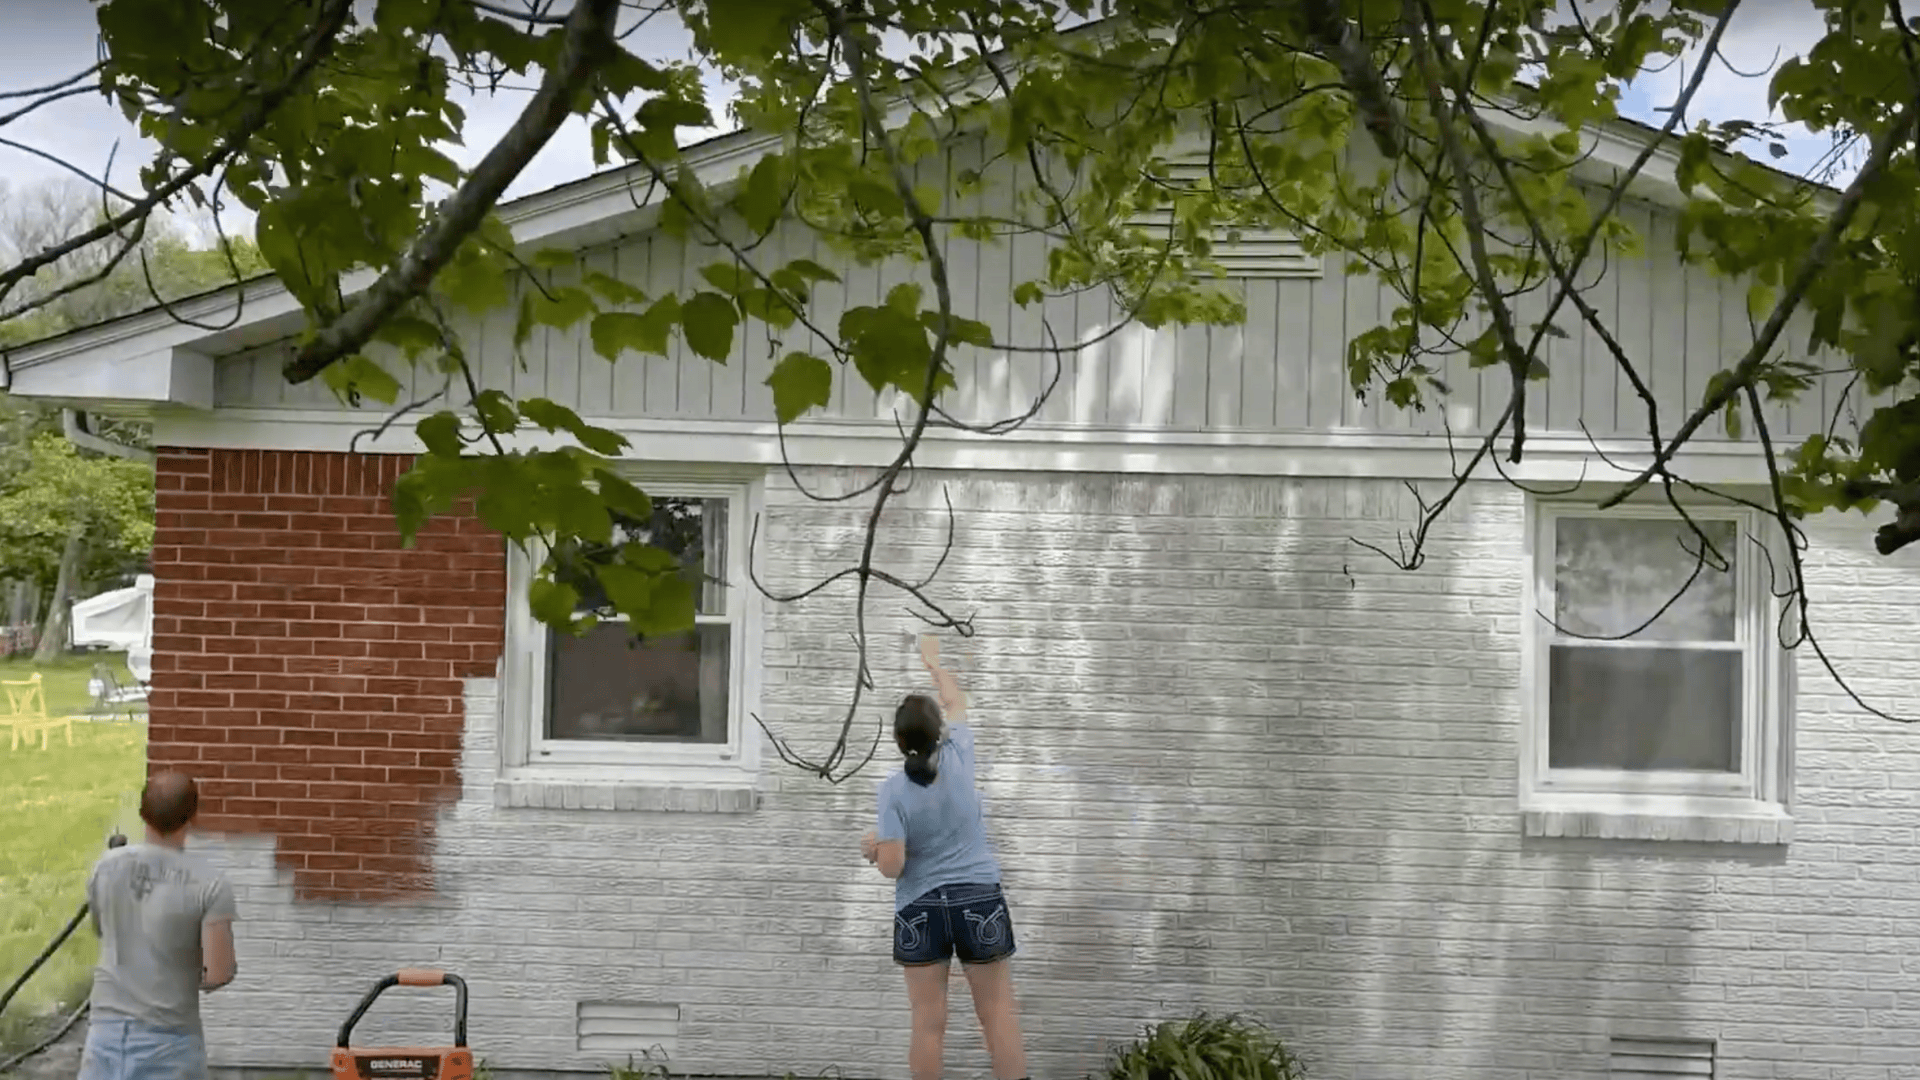
After letting your first day’s work dry overnight, you’ll need to mix a fresh batch of limewash.
Try to match the same thickness as your day one mix for a more even look.
Where yesterday’s work meets today’s, take extra care to blend the edges so there’s no visible line.
A brush works well for this, softening any harsh transitions.
Review your work from various angles and perspectives to identify any missed areas.
If you notice any thin spots or areas that need attention, now is the time to address them.
A small brush is ideal for reaching areas you might have missed.
Video Walkthrough: See How Experts Do It!
Check out this video tutorial by TheGoodEnoughHomestead for more info.
Brick Treatment Comparison
When considering different approaches to treat brick surfaces, each method offers distinct advantages and trade-offs.
Understanding these differences enables homeowners and contractors to select the most suitable treatment for their specific needs, budget, and aesthetic objectives.
| FACTOR | LIMEWASH | PAINT | GERMAN SMEAR | WHITEWASHING |
|---|---|---|---|---|
| Durability | 5-10+ years | 3-7 years | Permanent | 1-3 years |
| Appearance | Semi-transparent, natural texture | Uniform, full coverage | Heavy, irregular coverage | Opaque, hides brick details |
| Application | Brush/spray liquid coats | Standard painting | Hand-troweled mortar | Brush application |
| Maintenance | Low, easy recoat | Medium, prep required | None, irreversible | High, frequent reapplication |
| Cost | Moderate initial, low long-term | Low initial, higher long-term | High initial, very low long-term | Low initial, higher long-term |
| Authenticity | European masonry tradition | Modern system | Traditional European | American colonial |
Note: Choose the type of brick treatment depending on your personal priorities, with limewash offering the best balance of durability and natural appearance.
Tips and Mistakes to Avoid When Limewashing
Our project taught us valuable lessons about what works and what doesn’t.
Here are the most important things to keep in mind:
- Buy at least 20% more limewash than you think you’ll need to avoid mid-project shortages.
- Always wet the brick before applying limewash, or it won’t stick properly.
- Test your limewash mix on a small area first—it looks different when dry.
- Clean sprayers and brushes thoroughly each day to prevent clogging.
- Protect wooden trim and decks from splatter—it’s hard to remove once dry.
- Never use rollers—they create an uneven, bumpy finish that ruins the look.
These simple tips will help you avoid the common pitfalls that many first-time limewashers face.
With proper planning and careful work, your brick home can be totally changed in just a weekend.
The Bottom Line
Your brick home holds so much potential, just waiting to be uncovered with limewash.
The beauty of this project lies in its simplicity and the stunning results it achieves.
Our neighbors stopped to ask about our “new house” for weeks after we finished!
Beyond the fresh look, knowing our brick can still breathe while having that perfect aged finish makes the effort worthwhile.
Natural weathering will only add character over time – something paint cannot match.
I hope sharing our journey helps you take that first step toward updating your own home.
Trust me, once you see how limewash brightens and changes brick, you’ll wonder why you waited so long!
Stuck between paint and limewash?
Tell us what you’re considering for your home below!