You don’t need a plumber, fancy tools, or a day off to remove a toilet.
You just need a plan and maybe a pair of gloves.
Many homeowners face toilet removal for different reasons.
Bathroom remodeling projects often require taking out the old unit first.
Common fears stop people from doing this job themselves.
Spills, bad smells, and messy cleanup worry most folks.
The good news is that proper preparation prevents these problems completely.
With just a few basic tools, the job stays much cleaner than expected.
Most people finish in under two hours without a major mess.
Following the right steps makes everything smooth and simple.
By using this guide, you can save up to $500* that would go to plumber fees!
Why Removing a Toilet Cleanly Matters?
Clean toilet removal protects your bathroom and saves you time later.
Proper technique prevents costly damage to floors and surrounding areas.
Here’s why clean removal matters:
- Protects resale value: Damaged floors and walls hurt your home’s worth
- Maintains hygiene: Proper disposal prevents the spread in your bathroom
- Saves your floors: Wrong removal can crack tiles or damage subfloors
- Prevents mold growth: Spills and moisture lead to hidden mold problems
- Speeds up reinstall: Cleaning the work area makes putting in the new toilet faster
- Avoids extra costs: No repairs needed for damaged surfaces
A clean removal also prevents damage that can complicate the installation of your replacement toilet.
The process becomes much simpler when everything stays neat and organized.
Here’s the set of tools you’ll need to prepare before removing your toilet.
Tools and Materials Required
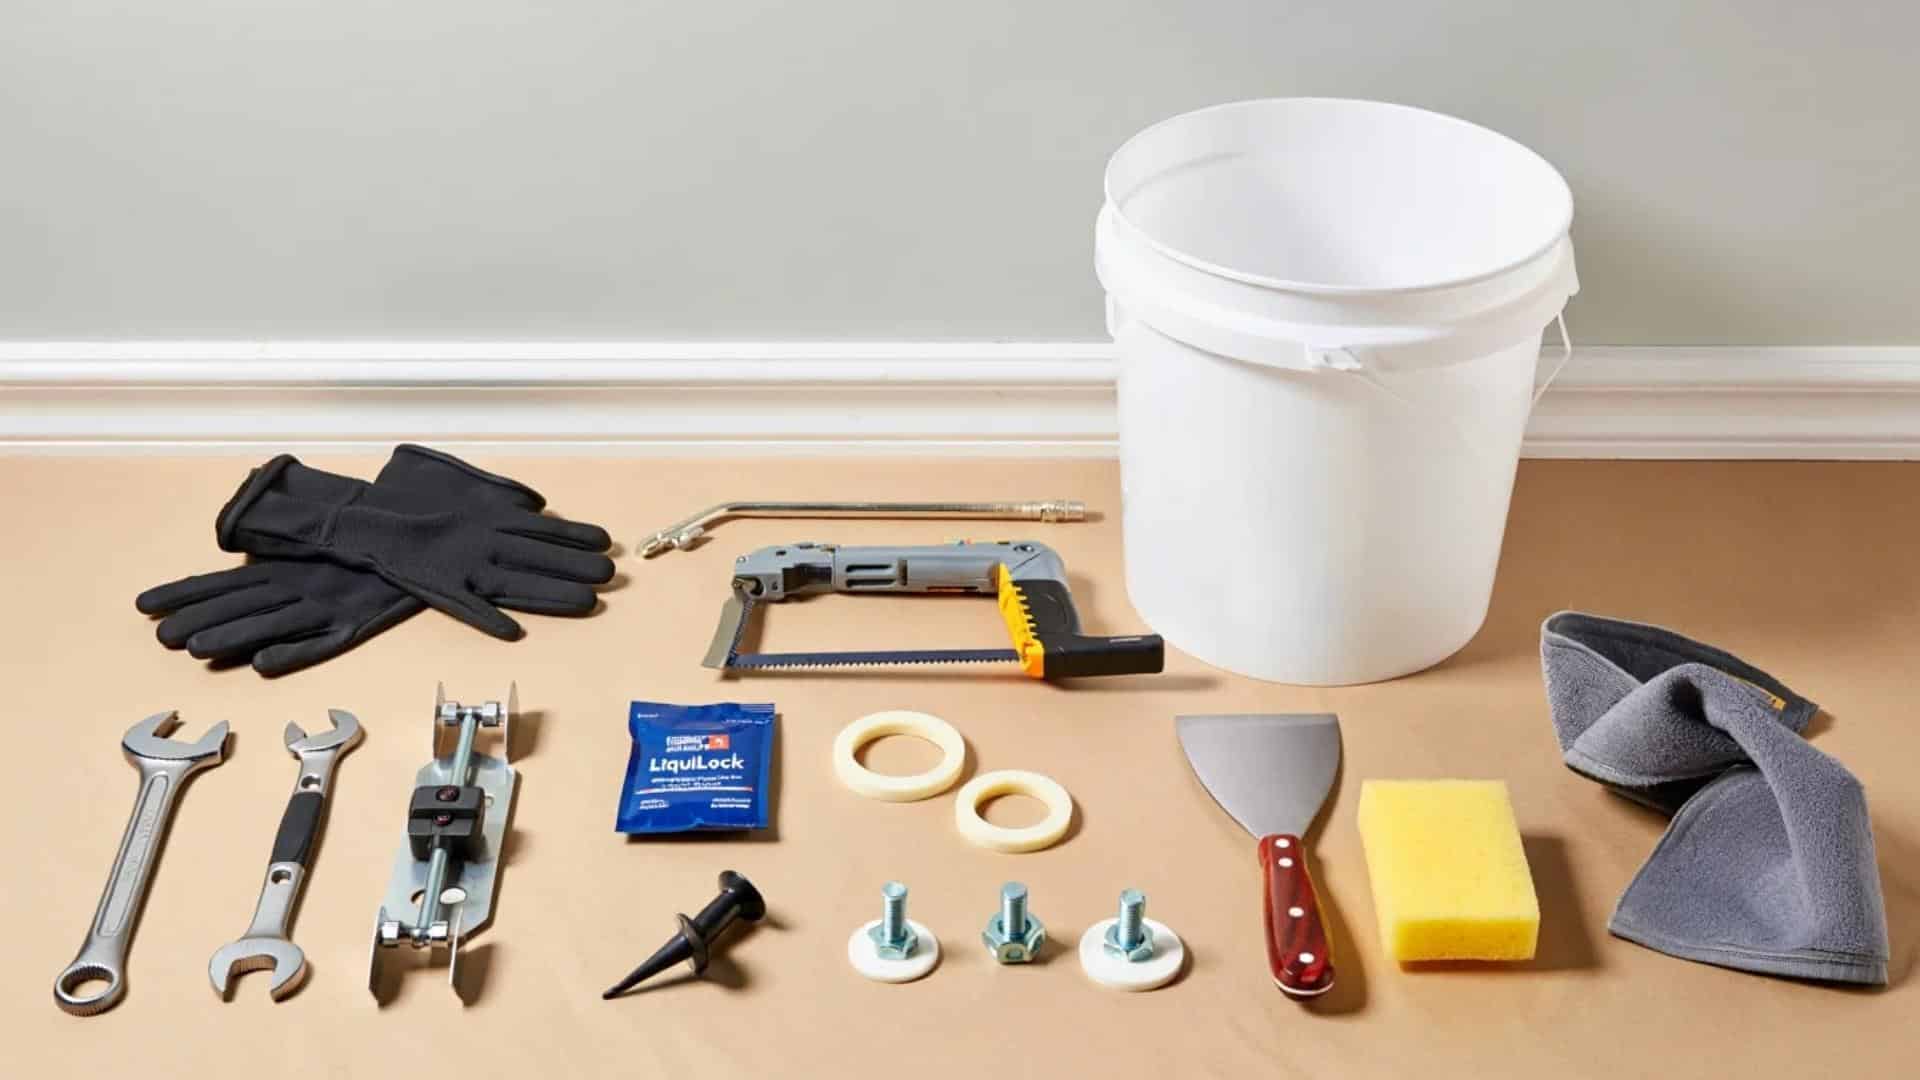
Before removing the toilet seat, ensure you have these tools ready:
- Crescent Wrench: Used to loosen or tighten the nuts holding the toilet to the flange and the water supply line.
- Channel Locks: Optional tool for additional grip while loosening nuts or bolts.
- Mini Hacksaw or Oscillating Multi-Tool: Helps cut stubborn closet flange bolts if the nuts are stuck or corroded.
- Gloves: Protect from germs and grime during toilet removal.
- LiquiLock Gel Pack: Crystallizes the water in the toilet bowl to prevent spills when removing the toilet.
- Sponge or Towel: Used to remove remaining water from the toilet tank before detaching.
- Bucket or Tupperware Container: Catches water that drips from the water supply line after disconnection.
- Putty Knife: Scrapes off the old wax ring from the closet flange.
- Closet Flange Bolt Kit (optional): Includes new bolts, washers, and nuts in case the originals are damaged or rusted.
- Closet Flange Plug or Rag: Temporarily blocks sewer gas if the toilet won’t be immediately replaced
Having these tools ready beforehand can make your process easier.
Step-By-Step Guide to Remove a Toilet without Damaging It
Here’s a step-by-step guide to remove a toilet without damaging it.
Step 1: Turn Off the Water Supply
Locate the shut-off valve next to or behind the toilet and rotate it clockwise until it stops.
This shuts off the flow of fresh water into the tank and bowl.
Ensuring the water is completely off prevents unexpected leaks or flooding when you begin the removal process.
Step 2: Flush the Toilet
Flush the toilet once to drain most of the water from the tank and bowl.
Hold the flapper inside the tank up for a few extra seconds to release as much remaining water as possible.
This step reduces the chance of any messy spills while working.
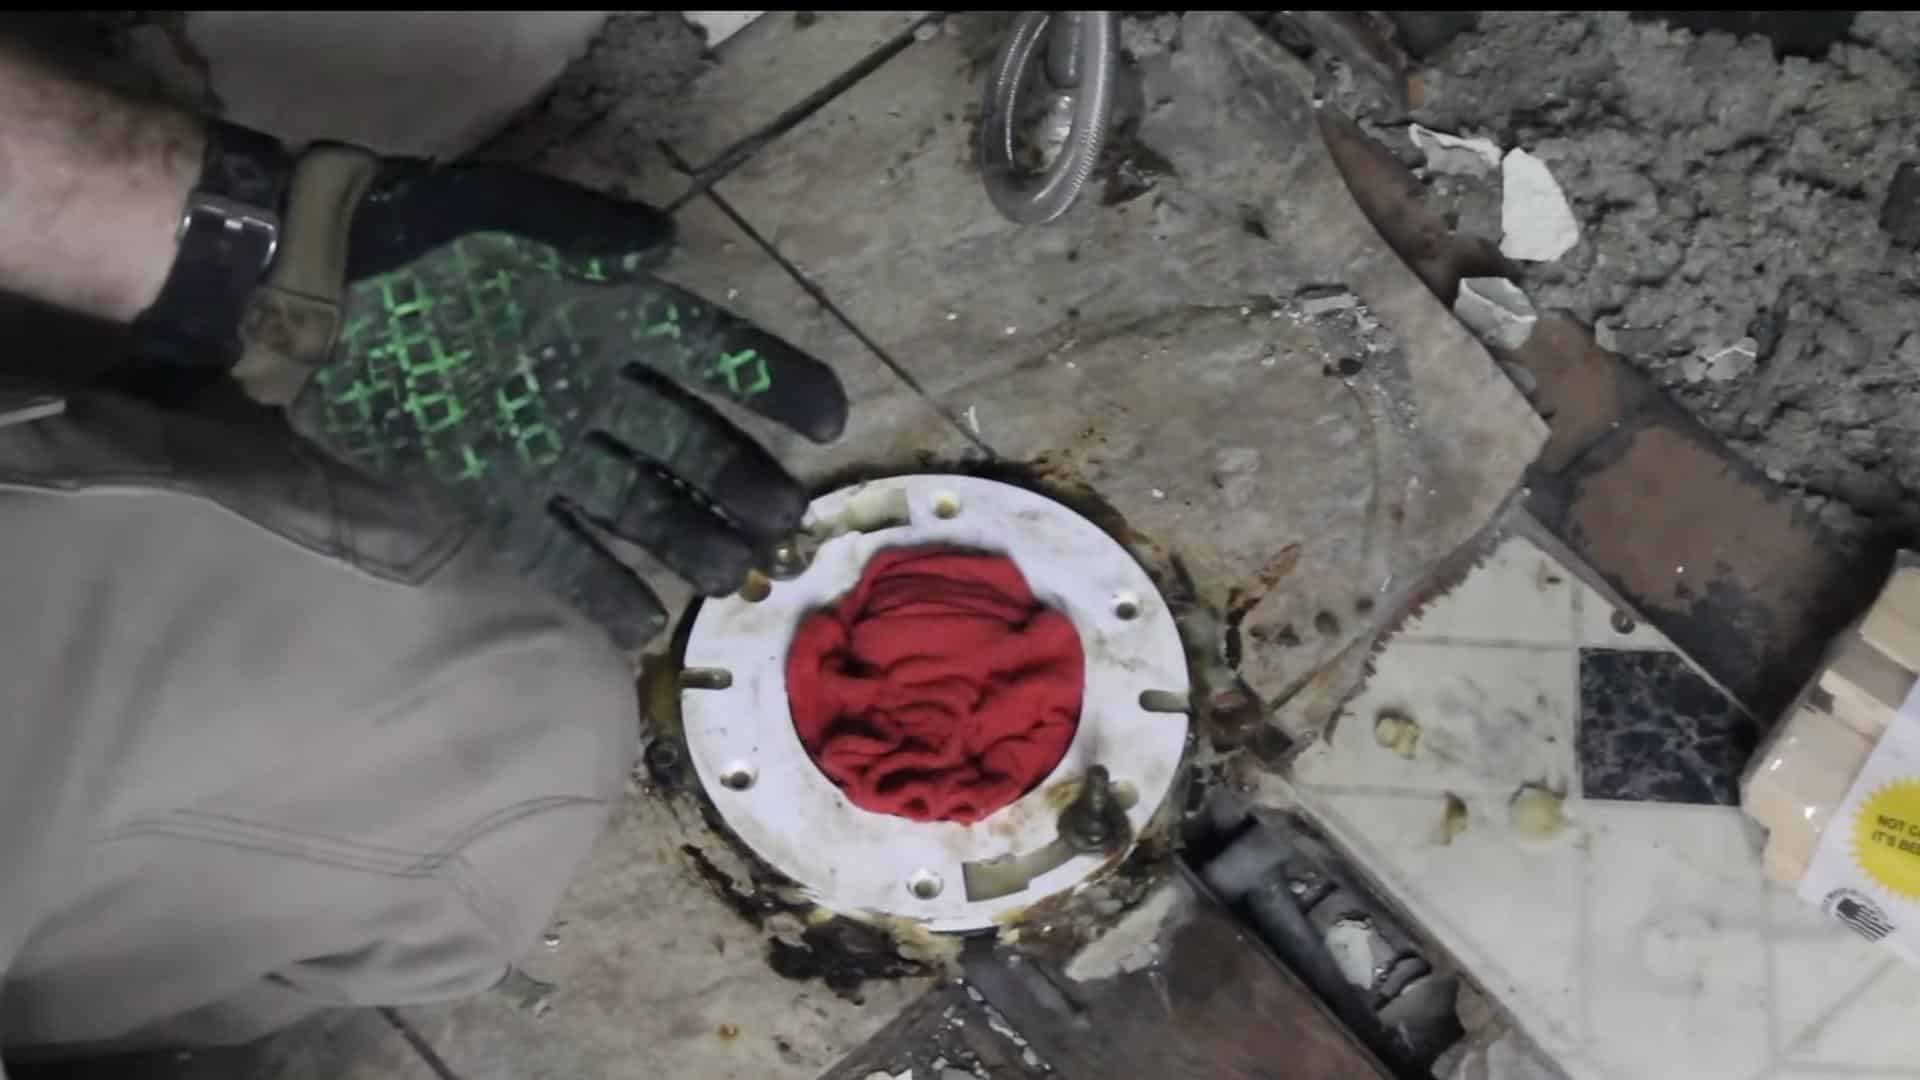
Step 3: Use LiquiLock in the Bowl
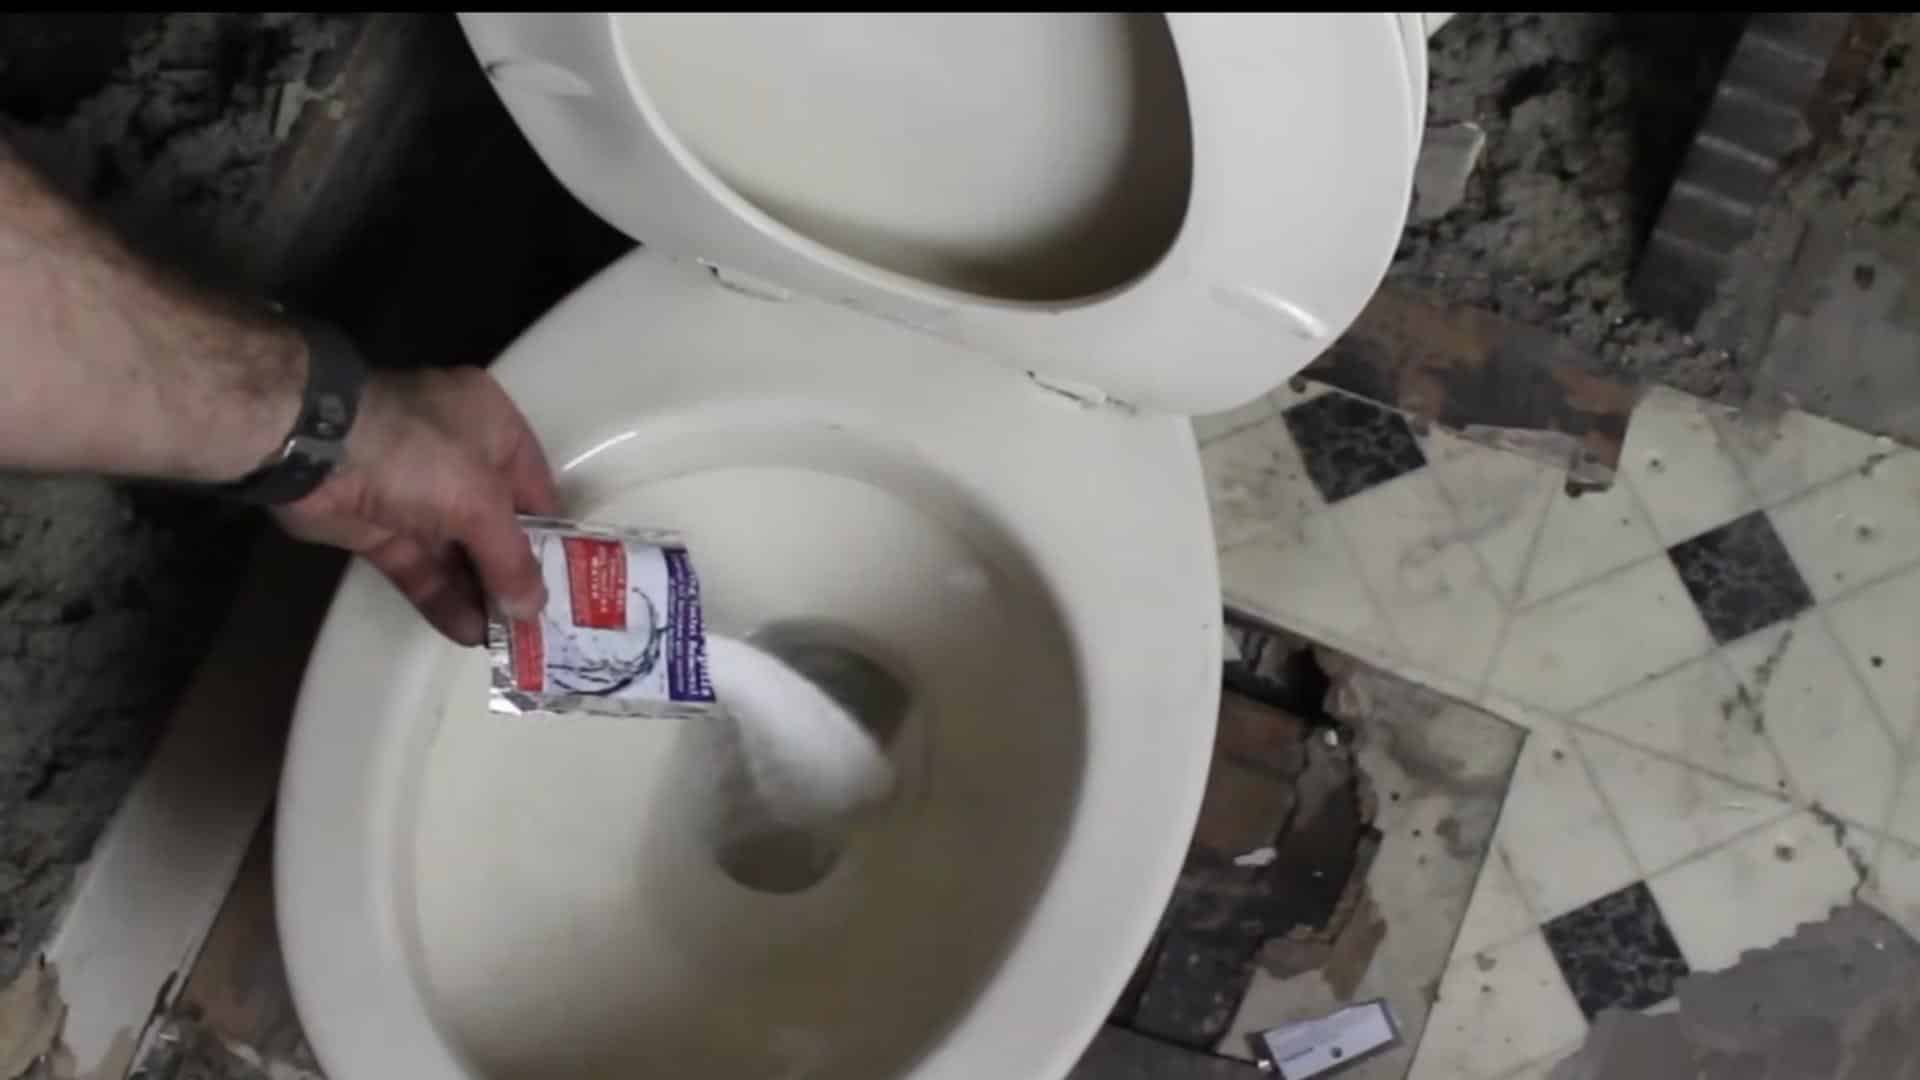
Tear open a LiquiLock gel packet and pour the contents directly into the bowl of water.
Let it sit undisturbed for 4–5 minutes.
The gel will solidify the water, including that in the P-trap, which prevents any liquid from dripping out during removal.
Use one packet for 1.6-gallon toilets or two for 3.5-gallon toilets.
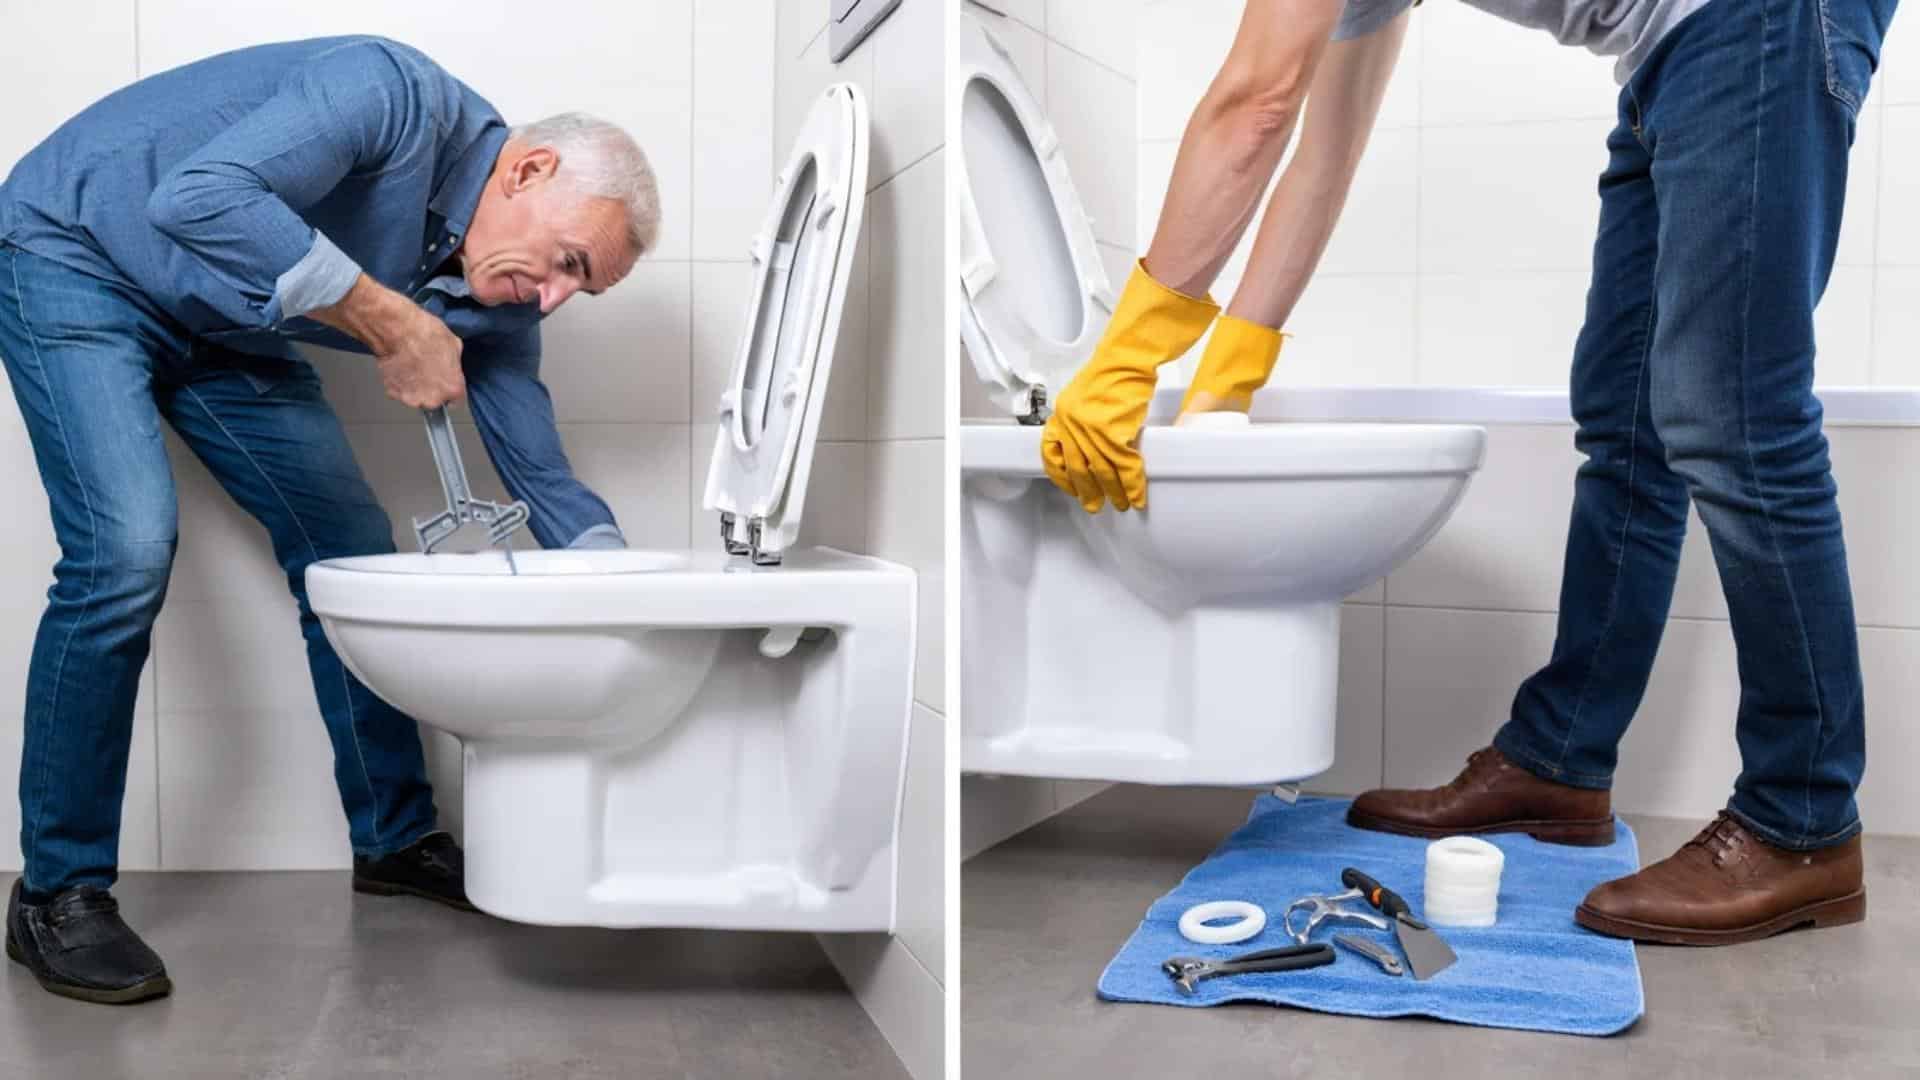
Step 4: Remove Closet Flange Nuts
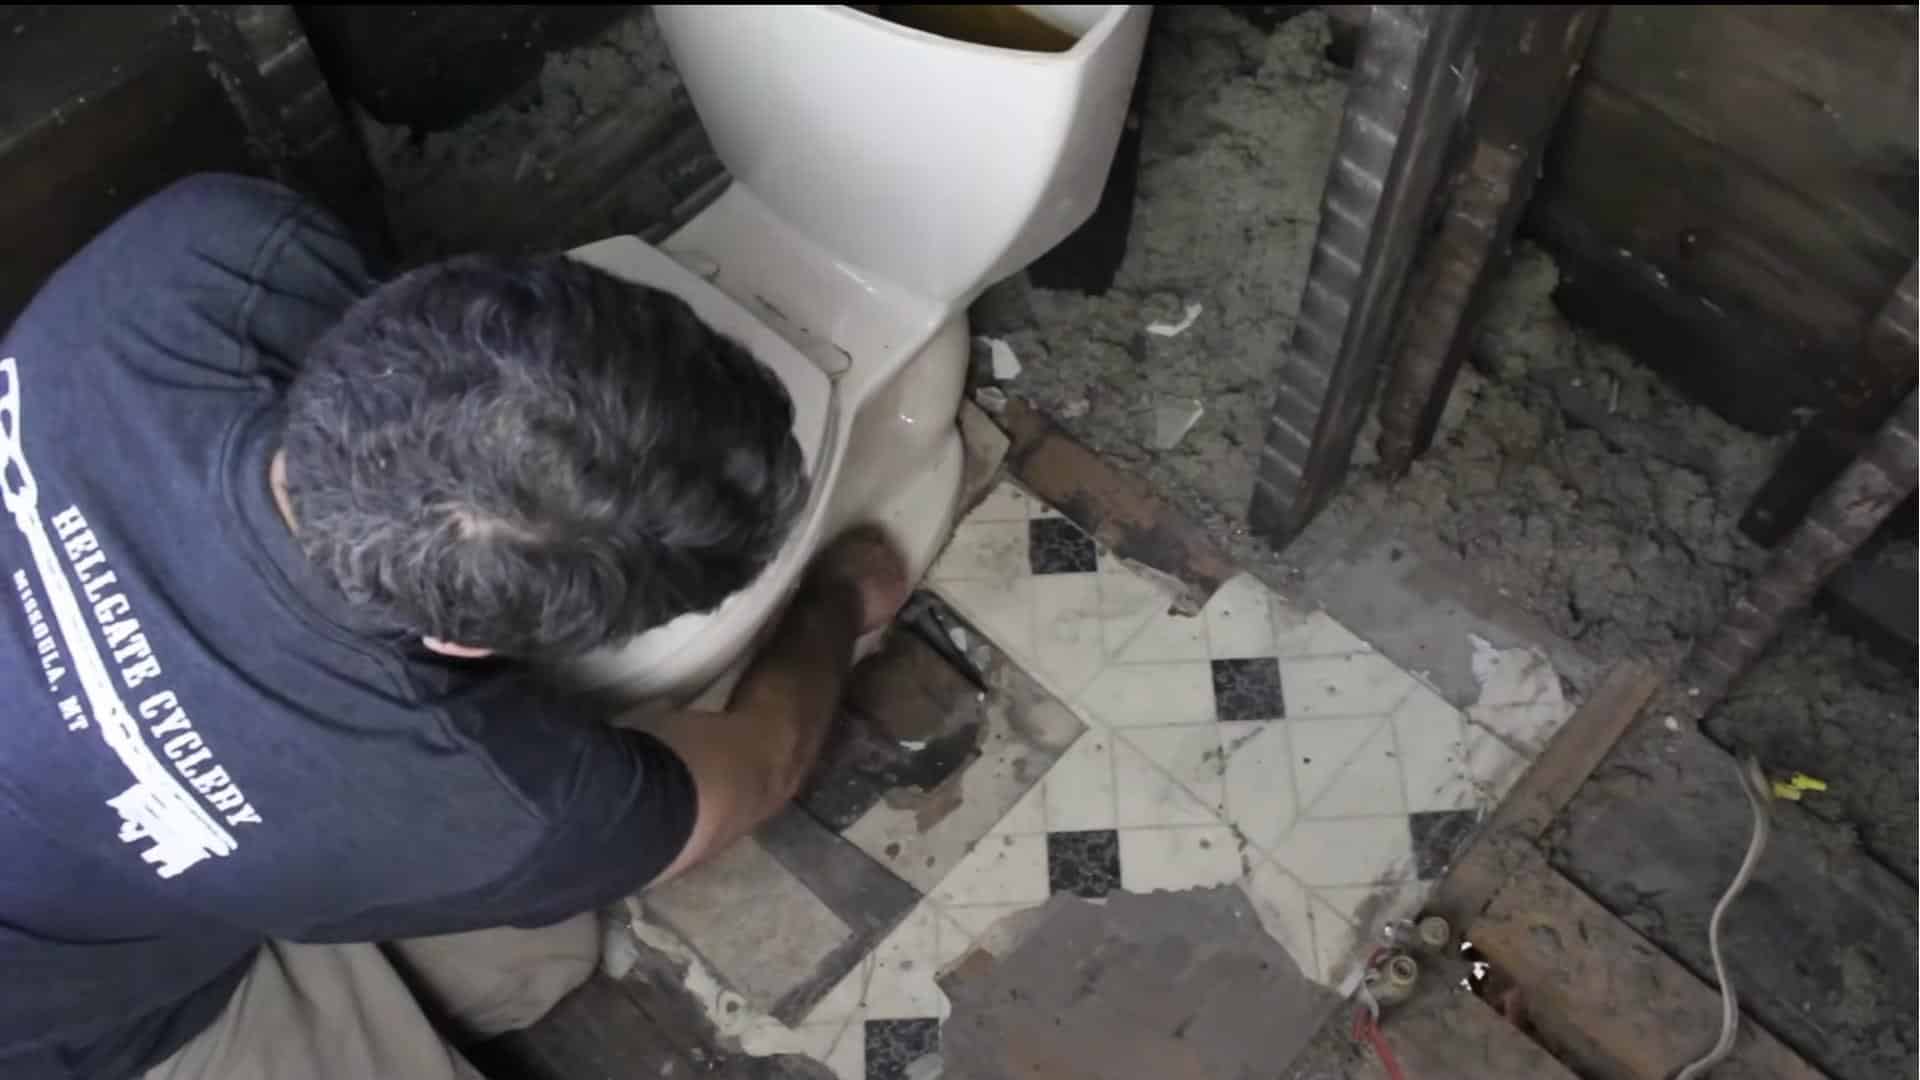
Pop off the protective bolt caps at the toilet base and set them aside.
Using a crescent wrench or channel locks, carefully unscrew the closet flange nuts from both sides of the toilet.
Be gentle and avoid overtightening or aggressive turning, as too much pressure can crack the porcelain base of the toilet.
Pro Tip: If the nuts are stuck or rusted, use a mini hacksaw or oscillating multi-tool with a metal-cutting blade to cut the bolts for safe removal.
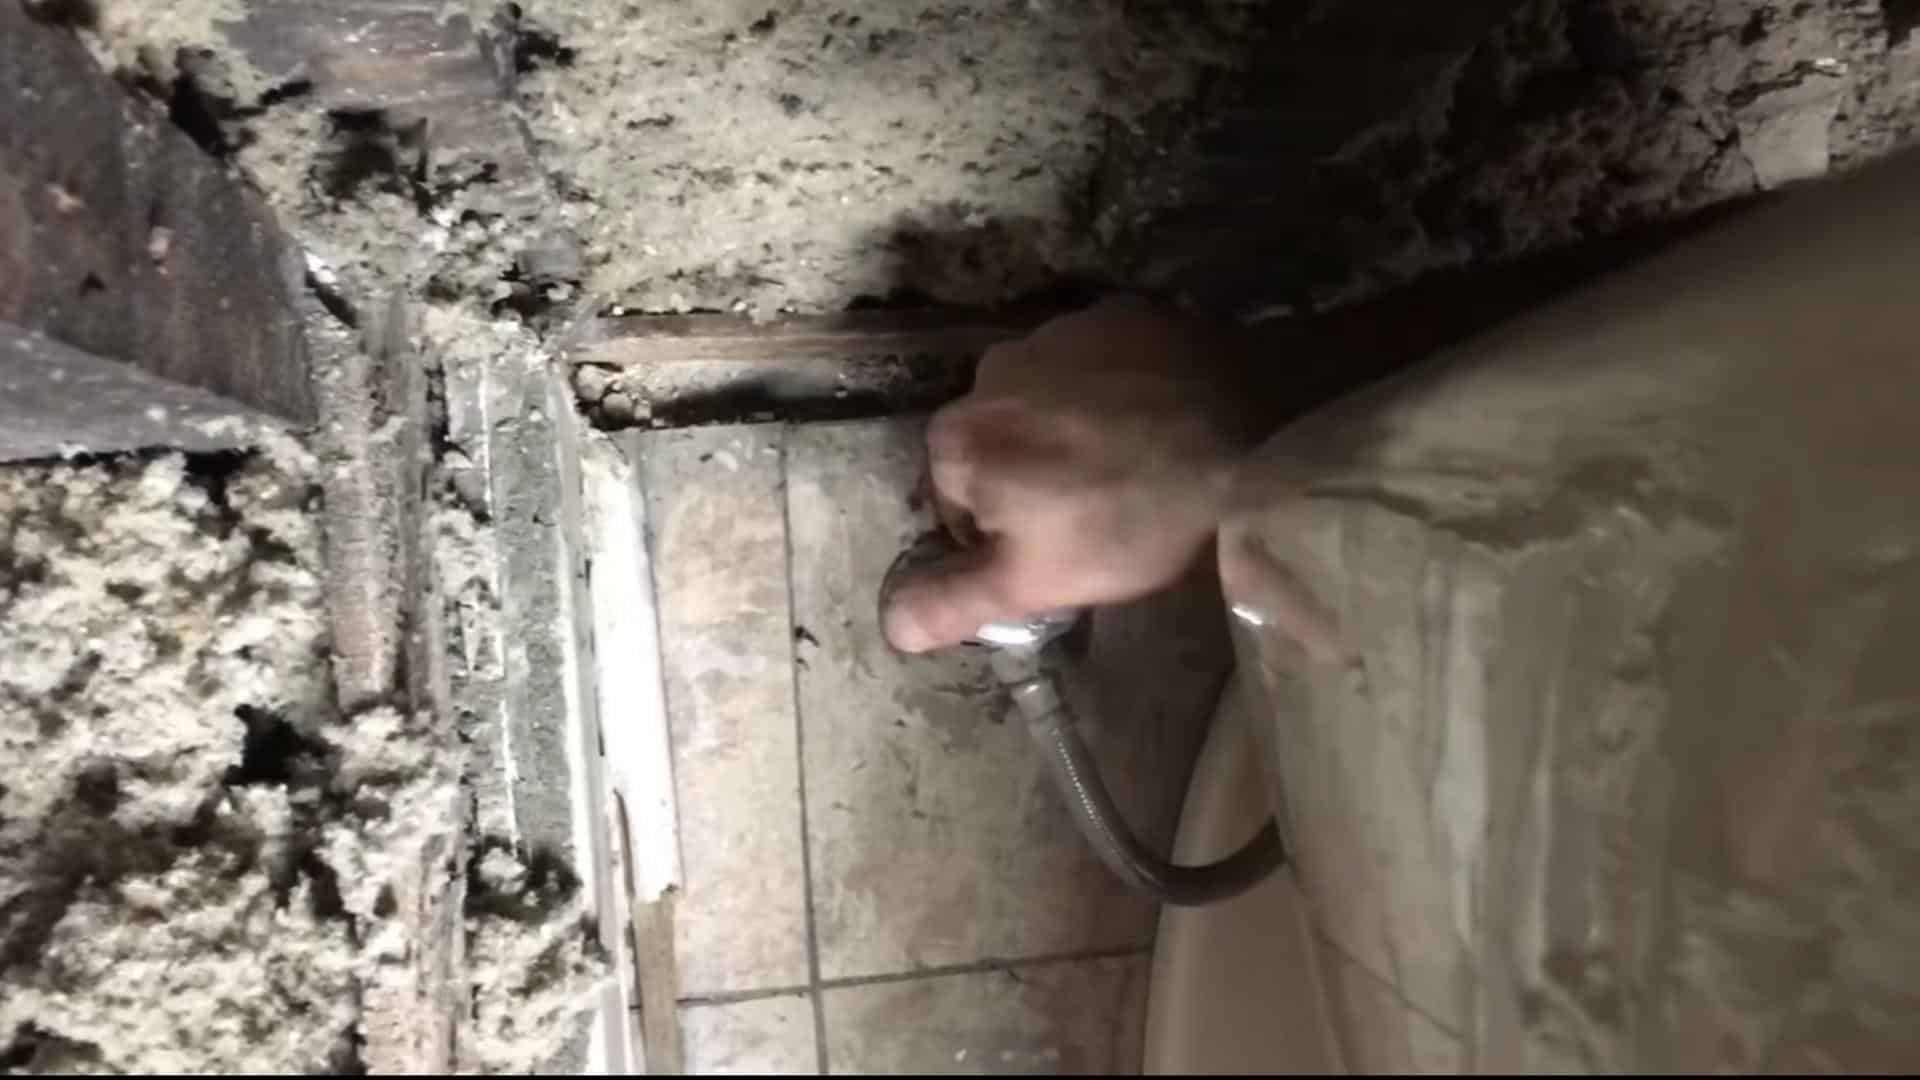
Step 5: Disconnect Water Supply Line
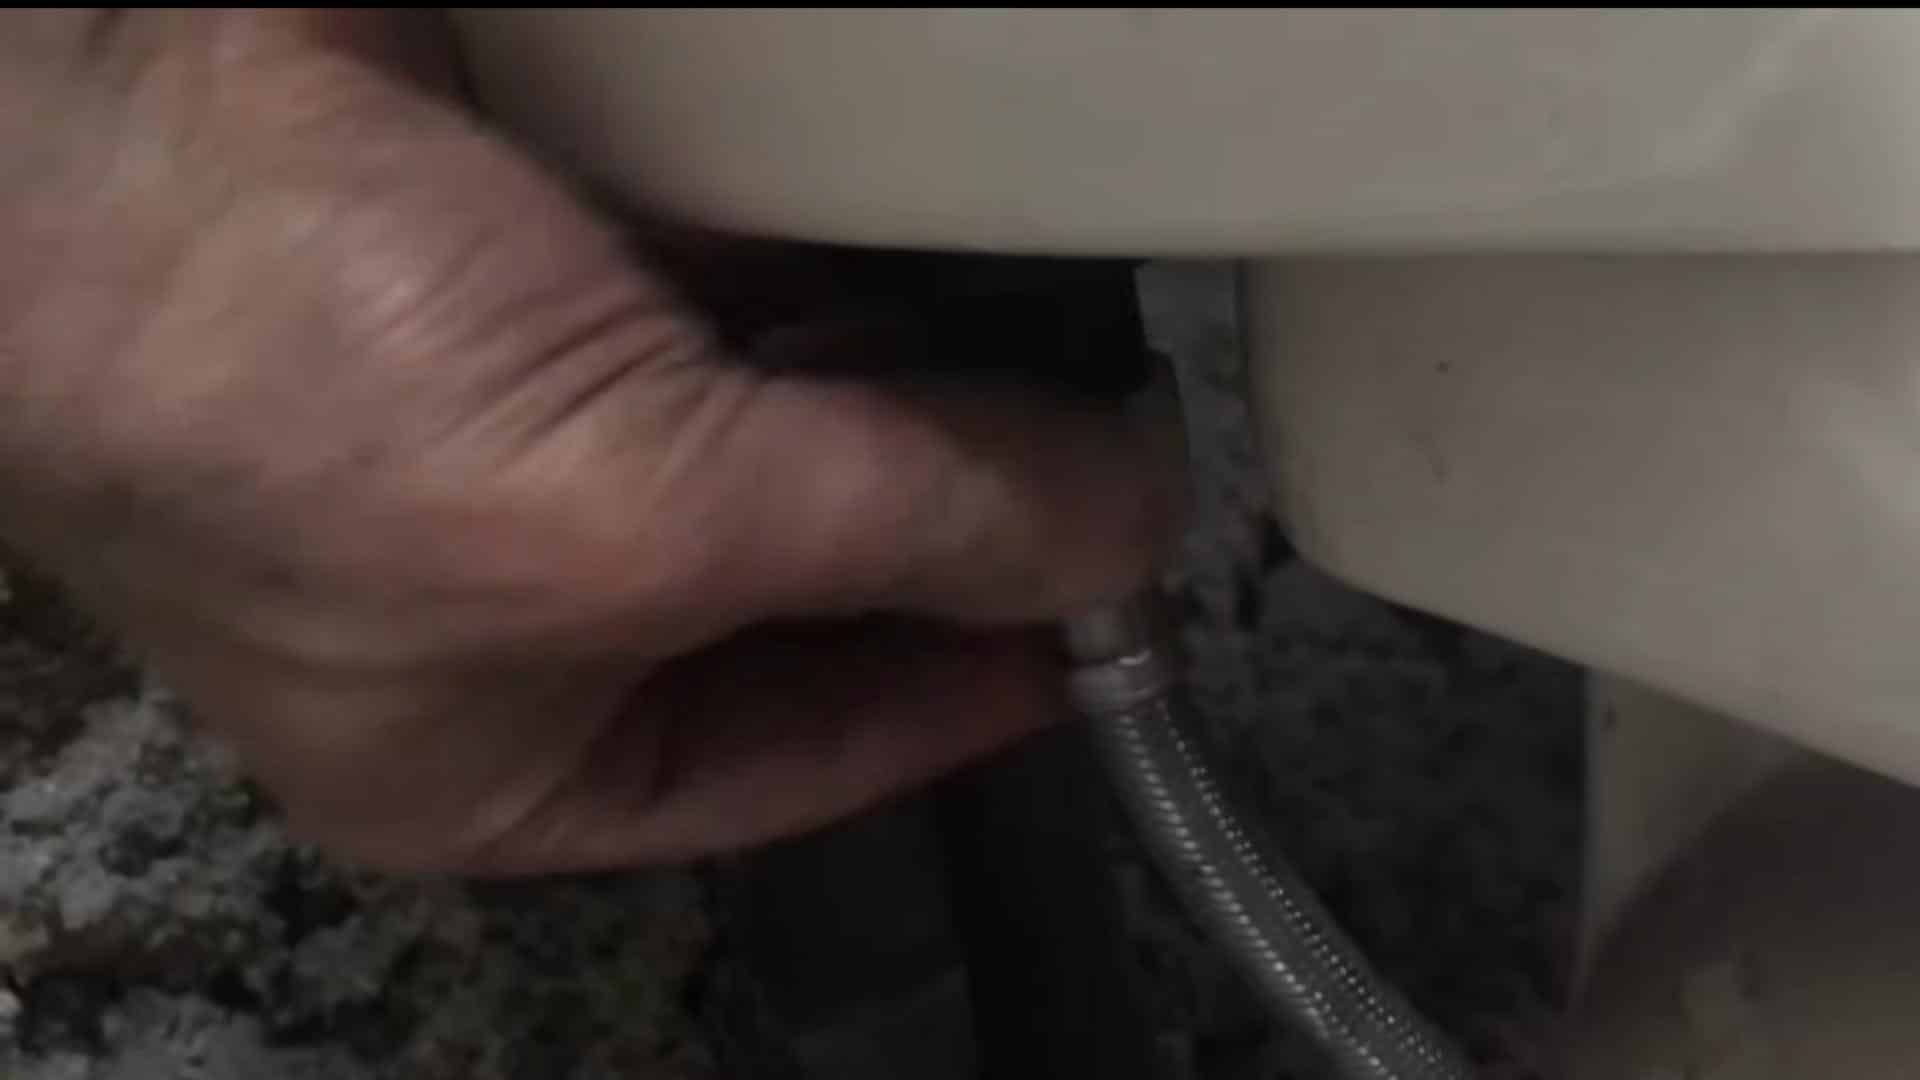
Place a small bucket or container under the tank and unscrew the supply line connected to the bottom of the tank.
Use a wrench if needed.
Expect a few drops of water, which is why removing water earlier helps.
This step fully disconnects the toilet from plumbing and makes it ready to lift.
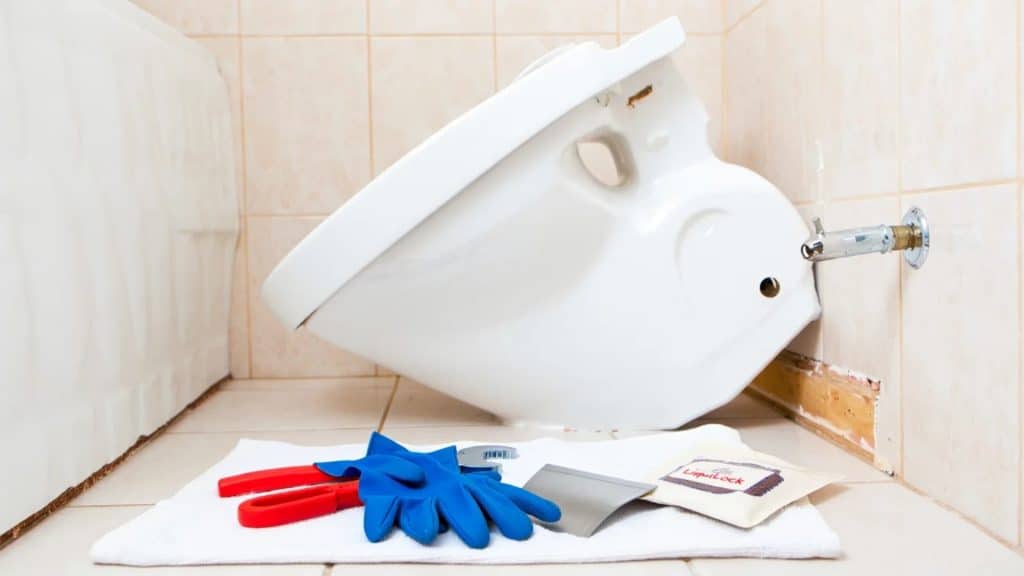
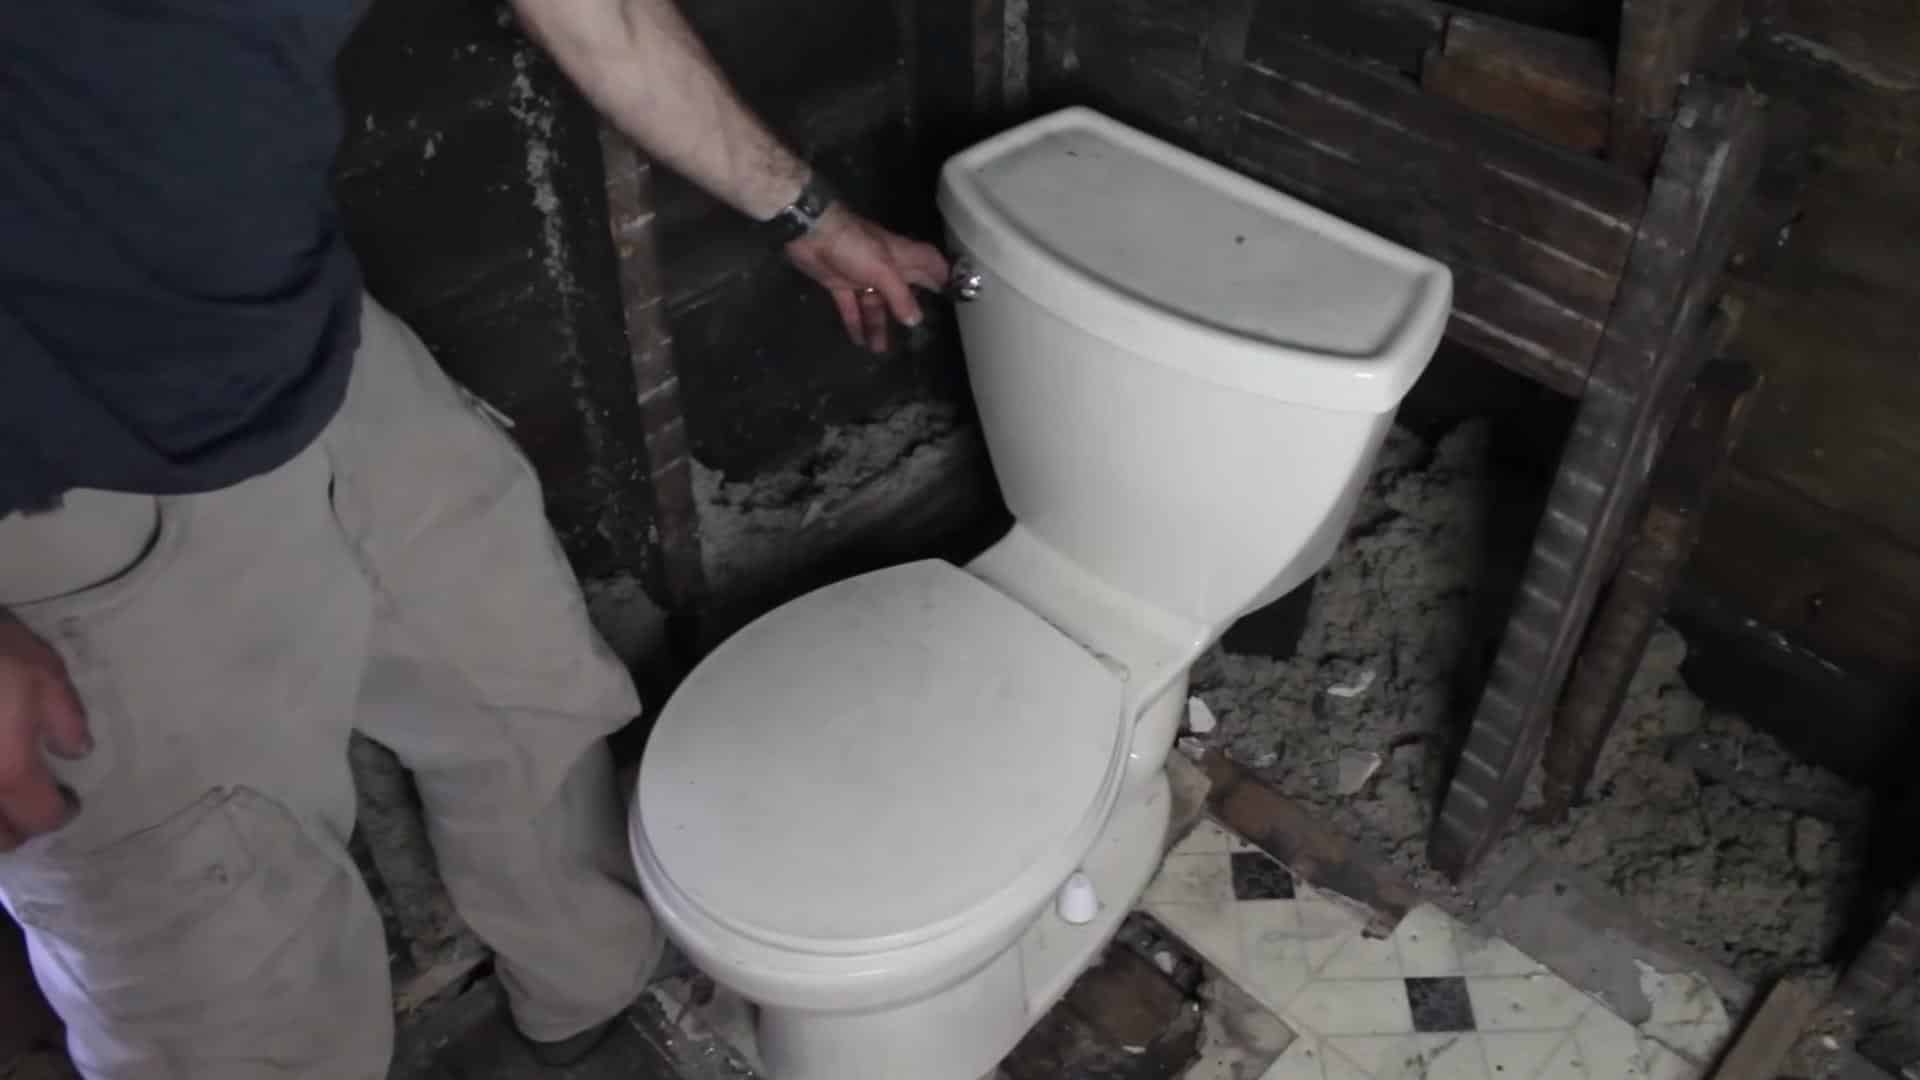
Step 6: Lift and Remove the Toilet
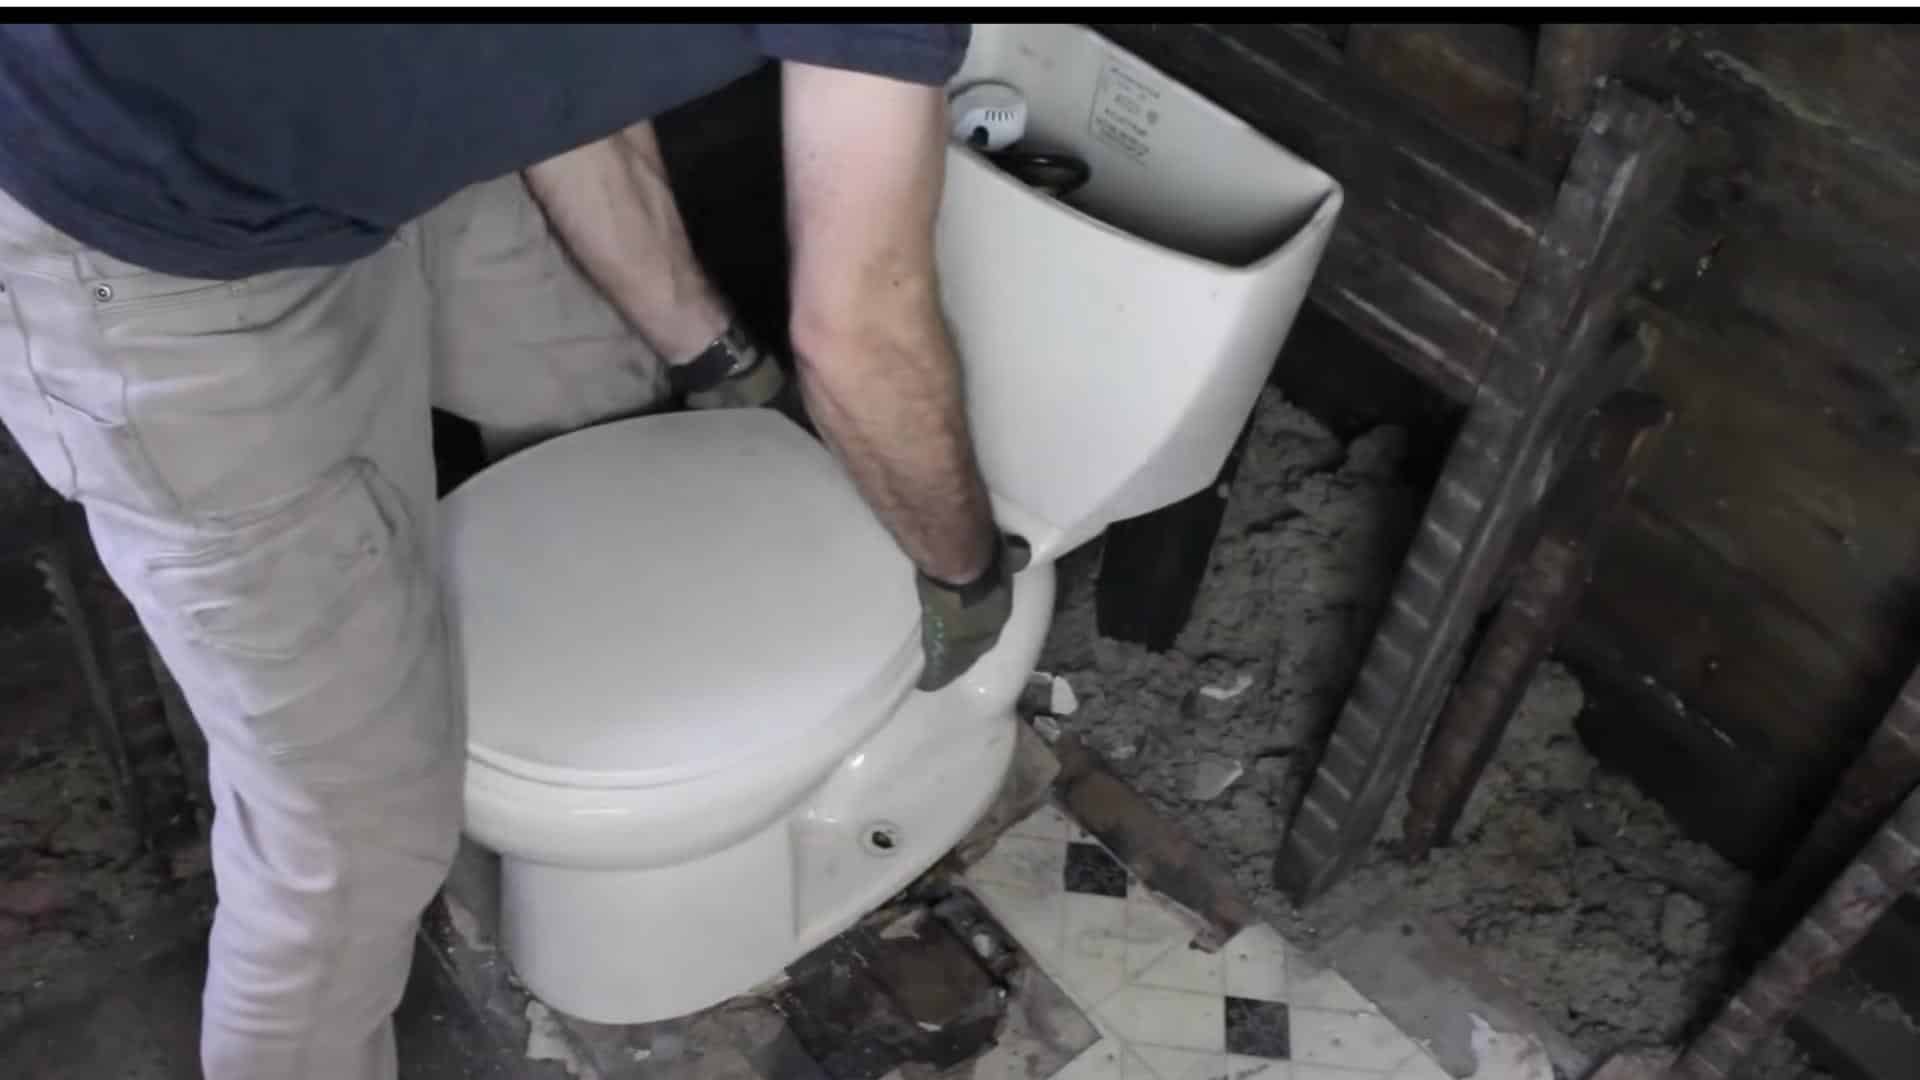
Grip the bowl firmly and lift the entire toilet straight up from the floor to avoid rocking or tilting.
Set it aside on a drop cloth or cardboard.
Because you used LiquiLock in Step 3, there will be no spills during this move, making the process clean and efficient.
Use a putty knife to scrape off any wax residue.
Bonus Step Before Your Next Installation
If you have removed the toilet, but haven’t planned for installing a new one, you can plug the flange opening.
Insert a clean rag or purpose-made closet flange plug into the drain opening to block sewer gases.
This is especially important if you’re not installing a new toilet right away.
It prevents foul odors and keeps your bathroom air safe and breathable during the renovation or repair downtime.
Watch how It’s Done: Removing a Toilet
For more information, check out this video by Home Repair Tutor.
Disposal Tips for the Old Toilet
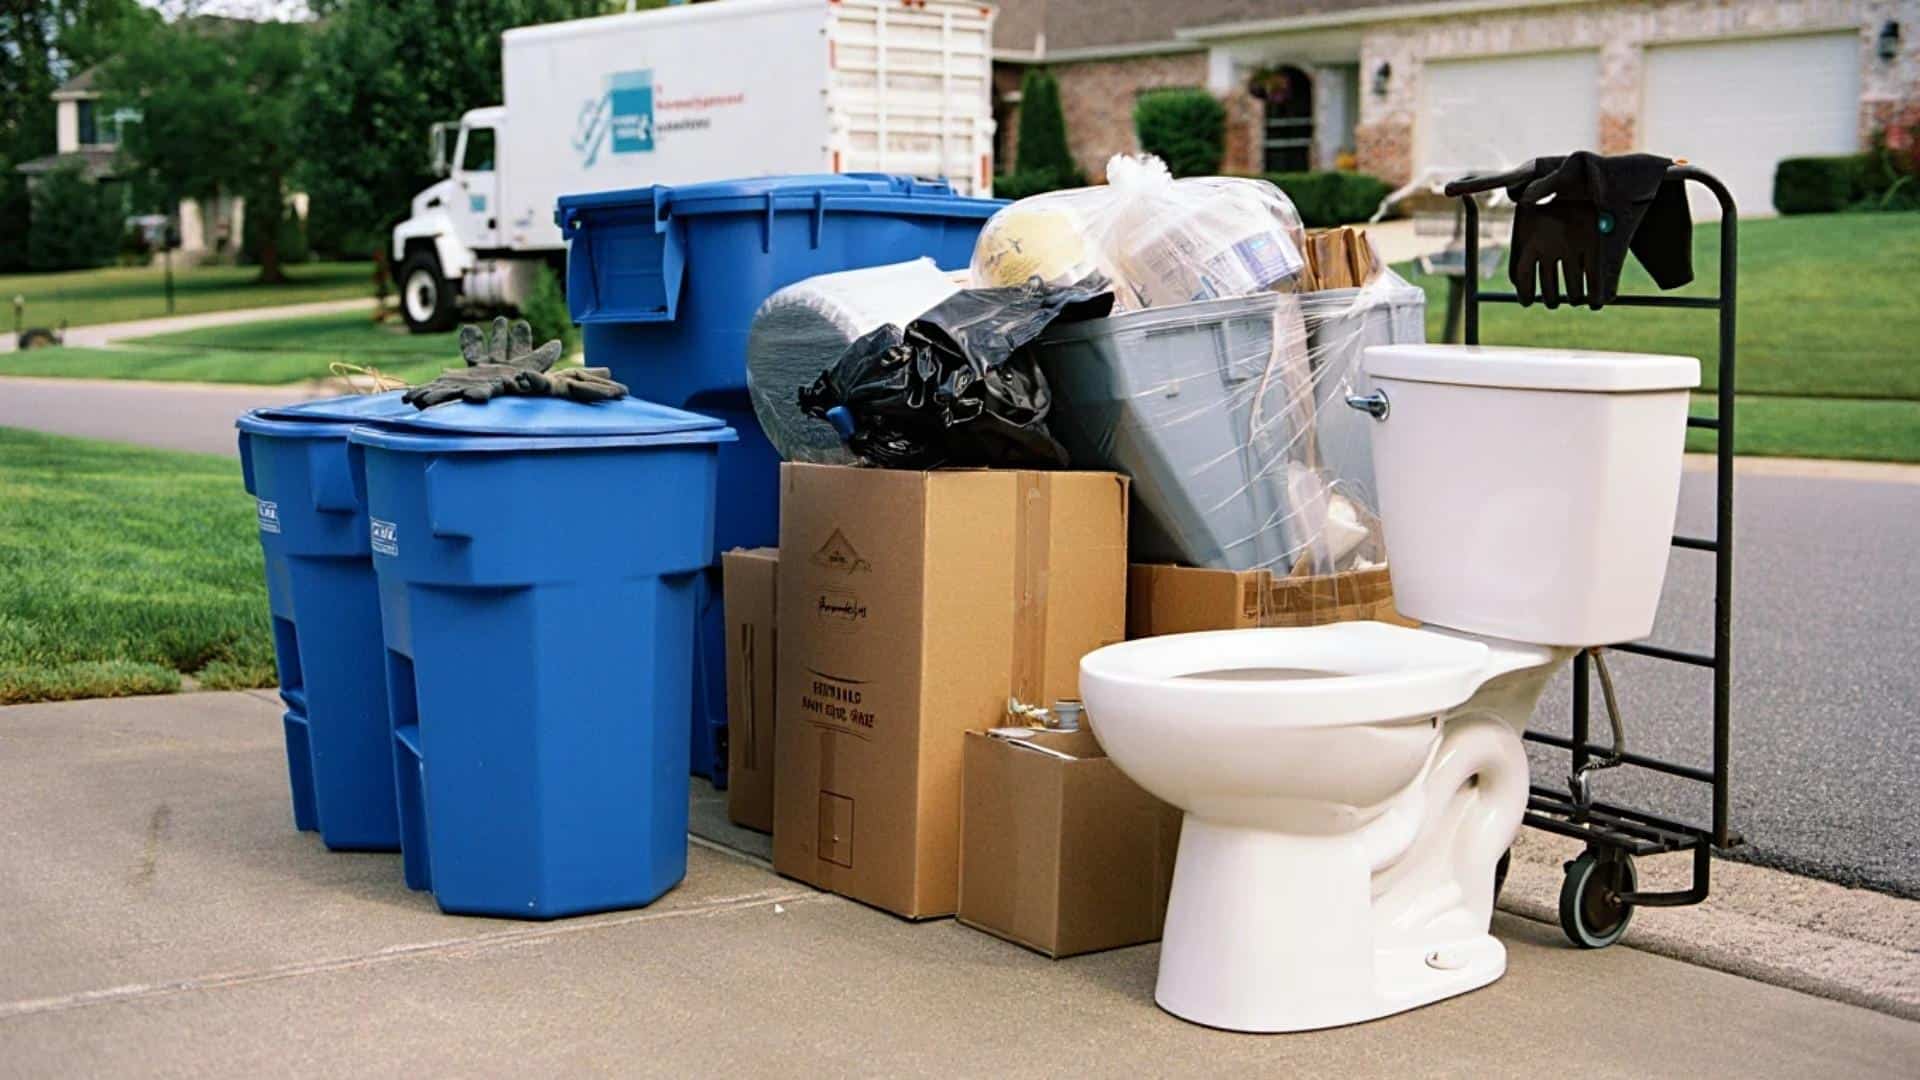
After removing your toilet, you’re left with a bulky fixture that can’t just sit around.
Knowing how to dispose of it properly keeps your project clean and hassle-free.
- Check Local Waste Guidelines: Contact your local waste management to see if they accept toilets in curbside pickup or have specific drop-off days.
- Take It to a Recycling Center: Many parts of your toilet, especially porcelain, can be recycled at specialized facilities.
- Donate If It’s Usable: If the toilet is still in good shape, some donation centers like Habitat for Humanity may accept it.
- Schedule a Bulk Trash Pickup: Cities often provide large-item pickups for items like toilets. Check the schedule and place them curbside correctly.
- Use a Junk Removal Service: If you’re removing other items too, a junk hauling company can take it off your hands quickly.
Disposing of your old toilet responsibly not only keeps your space tidy but also supports local recycling and waste practices.
When to Call a Professional Plumber?
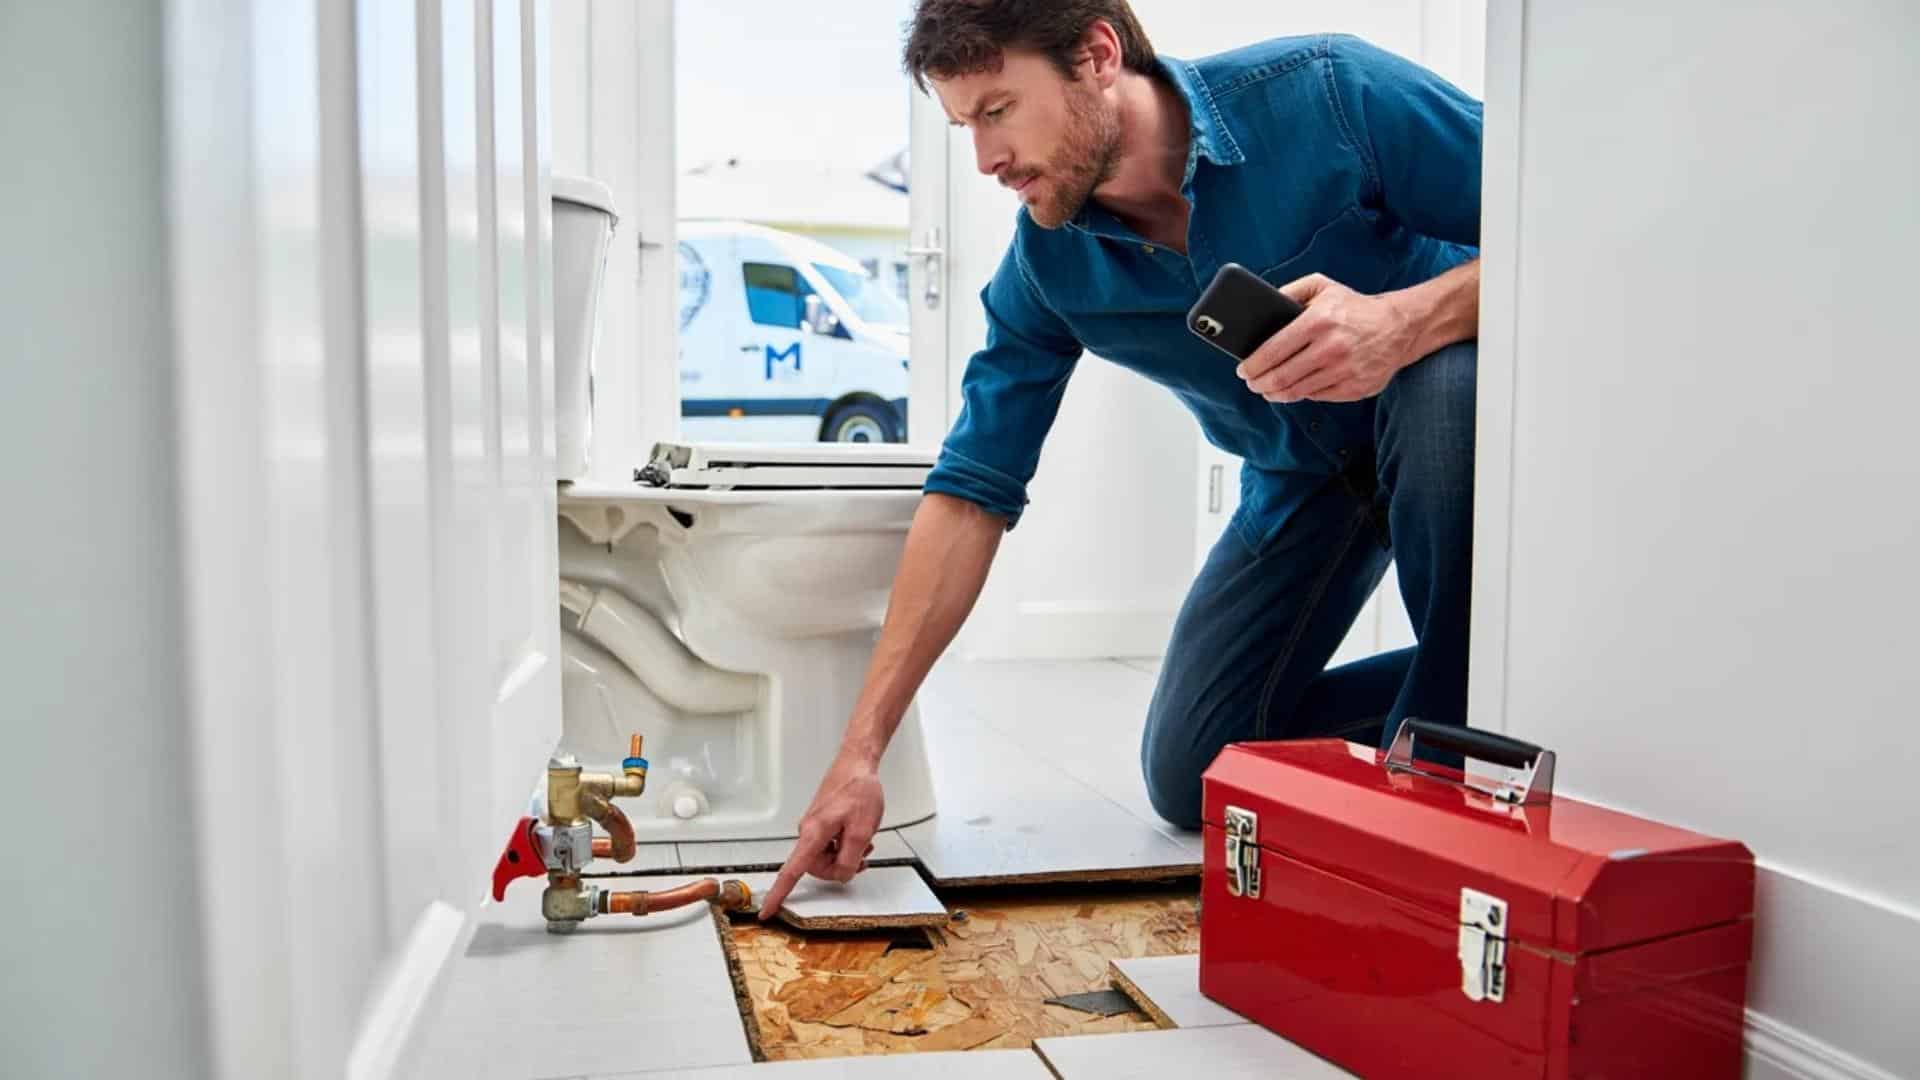
Even with a great guide or helpful video, some toilet removal steps can feel overwhelming or impossible to finish.
If you’re stuck, that’s a sign it may be time to call in a professional.
- The shut-off valve won’t turn or is leaking
- You notice water damage or rotting subfloor around the base
- The toilet rocks due to a broken or loose flange
- Sewer gases continue to seep in even after plugging the drain
- Closet bolts spin freely and won’t loosen or tighten
- You can’t lift the toilet safely without risking injury
Hiring a licensed plumber in these situations can save you time, avoid damage, and get the project completed correctly.
It’s not giving up.
It’s making sure the job gets done right.
Common Mistakes to Avoid
Avoiding these common errors keeps your toilet removal project running smoothly and prevents costly damage.
- Skipping water shutoff: Always turn off the water and flush completely first
- Forgetting floor protection: Lay down old towels around the work area
- Using too much force: Gentle rocking works better than yanking hard
- Ignoring helper needs: Toilets are heavy and awkward to lift alone
- Rushing bolt removal: Take time to avoid stripping threads or breaking bolts
- Poor lifting technique: Lift with your legs, not your back
- Leaving old wax: Clean all residue before installing the new toilet
Taking your time and following proper steps prevents these problems completely.
Most issues happen when people rush through the process too quickly.
Final Notes
Removing a toilet is much easier and cleaner than most people expect.
The right preparation and tools make this a simple weekend project for any homeowner.
These steps are completely DIY-friendly and don’t require special skills.
Following the process saves both time and hassle compared to messy removal attempts.
The whole job typically takes less than two hours with proper planning.
Most homeowners feel proud after completing their first toilet removal successfully.
The money saved on plumber fees makes the effort even more worthwhile.
Keep this guide handy for future bathroom projects or share it with friends tackling similar work.
The steps work for any standard toilet removal situation.
Have questions about your specific toilet removal project?
Drop your questions or share your experience in the comments below.