Imagine coming home exhausted after a long day.
All you want is a refreshing shower to wash away the stress.
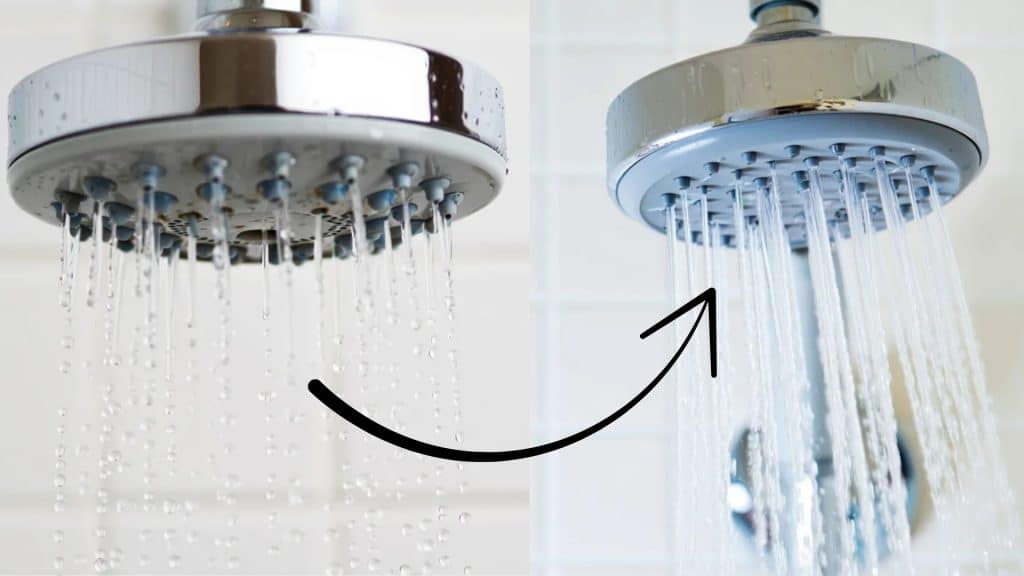
But when you turn on the shower, water barely trickles from the shower head.
Your first thought?
Call a plumber only to face unexpected costs for something you might have fixed yourself.
This frustrating scenario happens more often than you think.
Low water pressure in your shower can turn your relaxing routine into an annoying experience.
The good news is that many water pressure problems have simple solutions that won’t drain your wallet.
Before rushing to hire expensive professionals, there are several money-saving methods you can try.
These tips will help restore strong water flow without breaking the bank.
But first, let’s understand what causes this common household problem.
What Causes Low Water Pressure in a Shower?
Understanding the root cause of low water pressure helps you choose the right solution.
Here are the most common reasons behind poor shower water pressure:
- Clogged shower head: Mineral deposits and debris block the tiny holes.
- Old or faulty pipes: Corroded pipes restrict water flow throughout your home.
- Water valve problem: Partially closed valves limit the water supply to your shower.
- Low water pressure from the main supply: Your entire neighborhood might have pressure issues.
- Blocked pipes: Sediment buildup inside pipes reduces water flow.
- Faulty pressure regulator: This device controls water pressure entering your home.
- Multiple water sources running: Using washing machines or dishwashers simultaneously affects the pressure.
Identifying the exact cause helps you apply the most effective solution.
Most of these problems have affordable fixes that don’t require professional help.
Now let’s learn how to check if your shower actually has low water pressure.
How to Test Water Pressure in Your Shower?
Before trying any fixes, you need to confirm that your shower truly has low water pressure.
This simple test takes just a few minutes and requires items you already have at home.
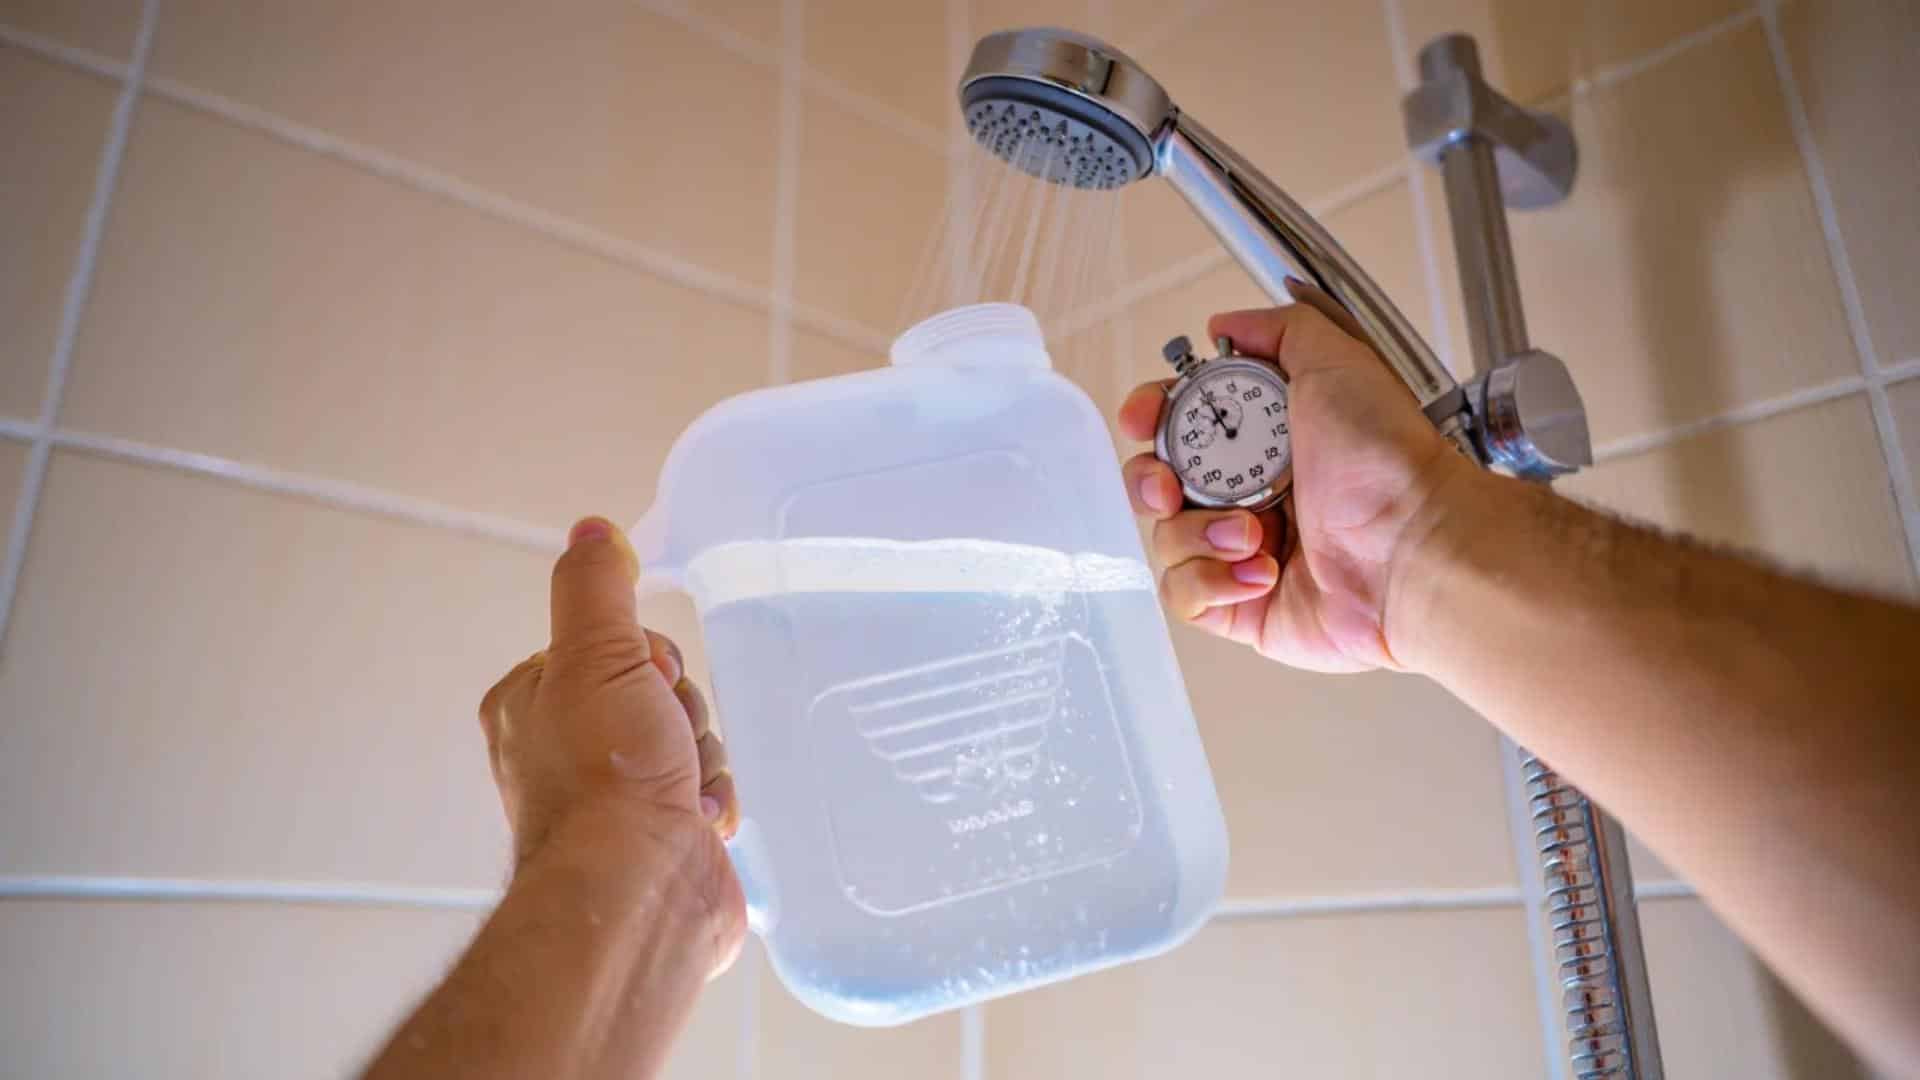
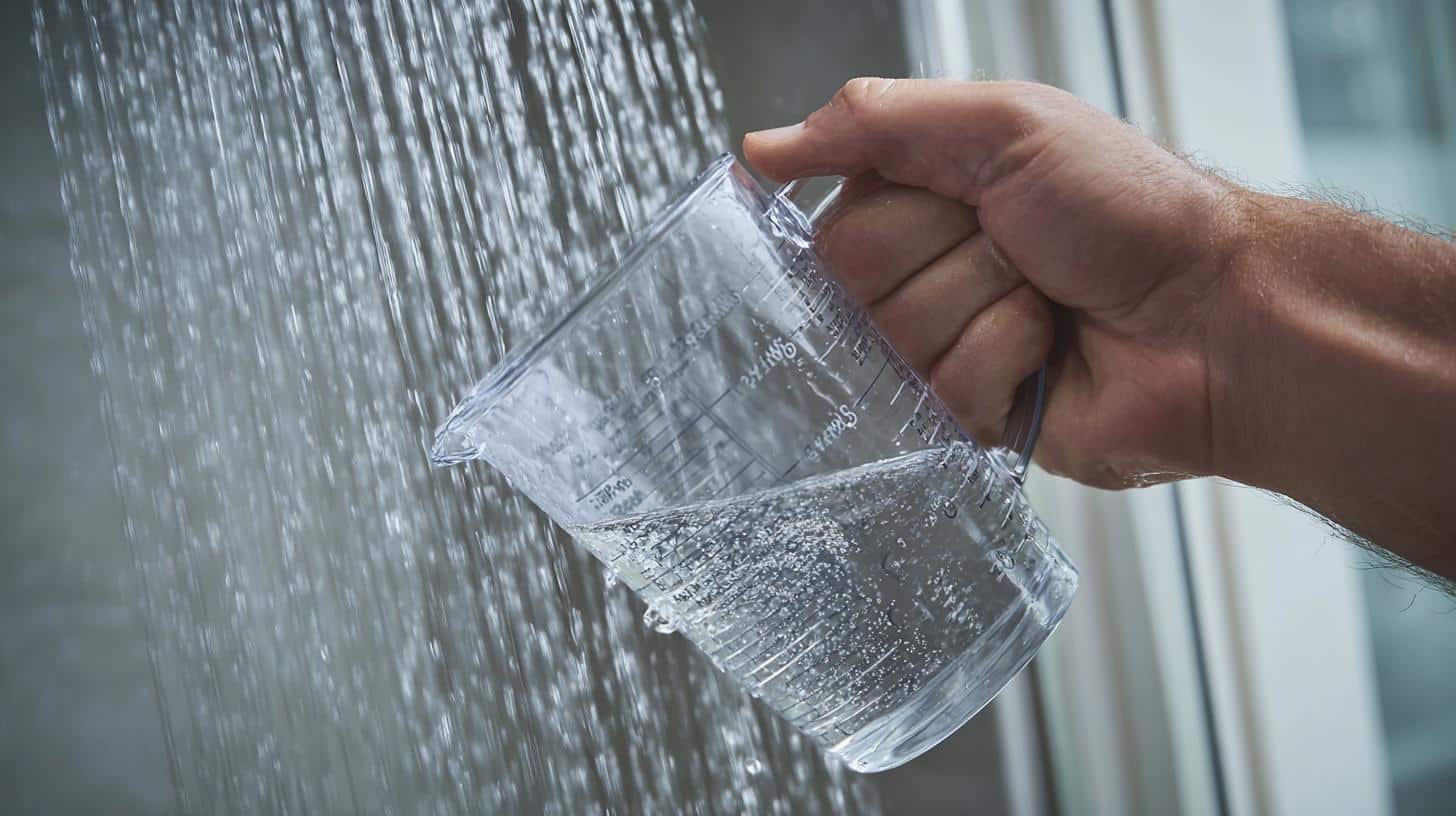
Here are the steps to test your shower water pressure:
- Get a 1-quart jug (1 litre) and use your phone’s stopwatch feature
- Turn on your shower at full power and hold the jug under the water stream
- Start the timer as soon as water begins filling the container
- Stop timing when the jug is completely full
- Check the result.
Normal water pressure should fill a 1-quart container in six to eight seconds or less.
The results help you understand the severity of your pressure problem.
Don’t panic if your test results show low pressure.
There are many practical solutions you can try right away.
These money-saving tips will help restore proper water flow without expensive plumber visits.
Top DIY Fixes: How to Increase Water Pressure in A Shower
Here are some proven DIY tips to boost your shower water pressure without spending too much money on professional services.
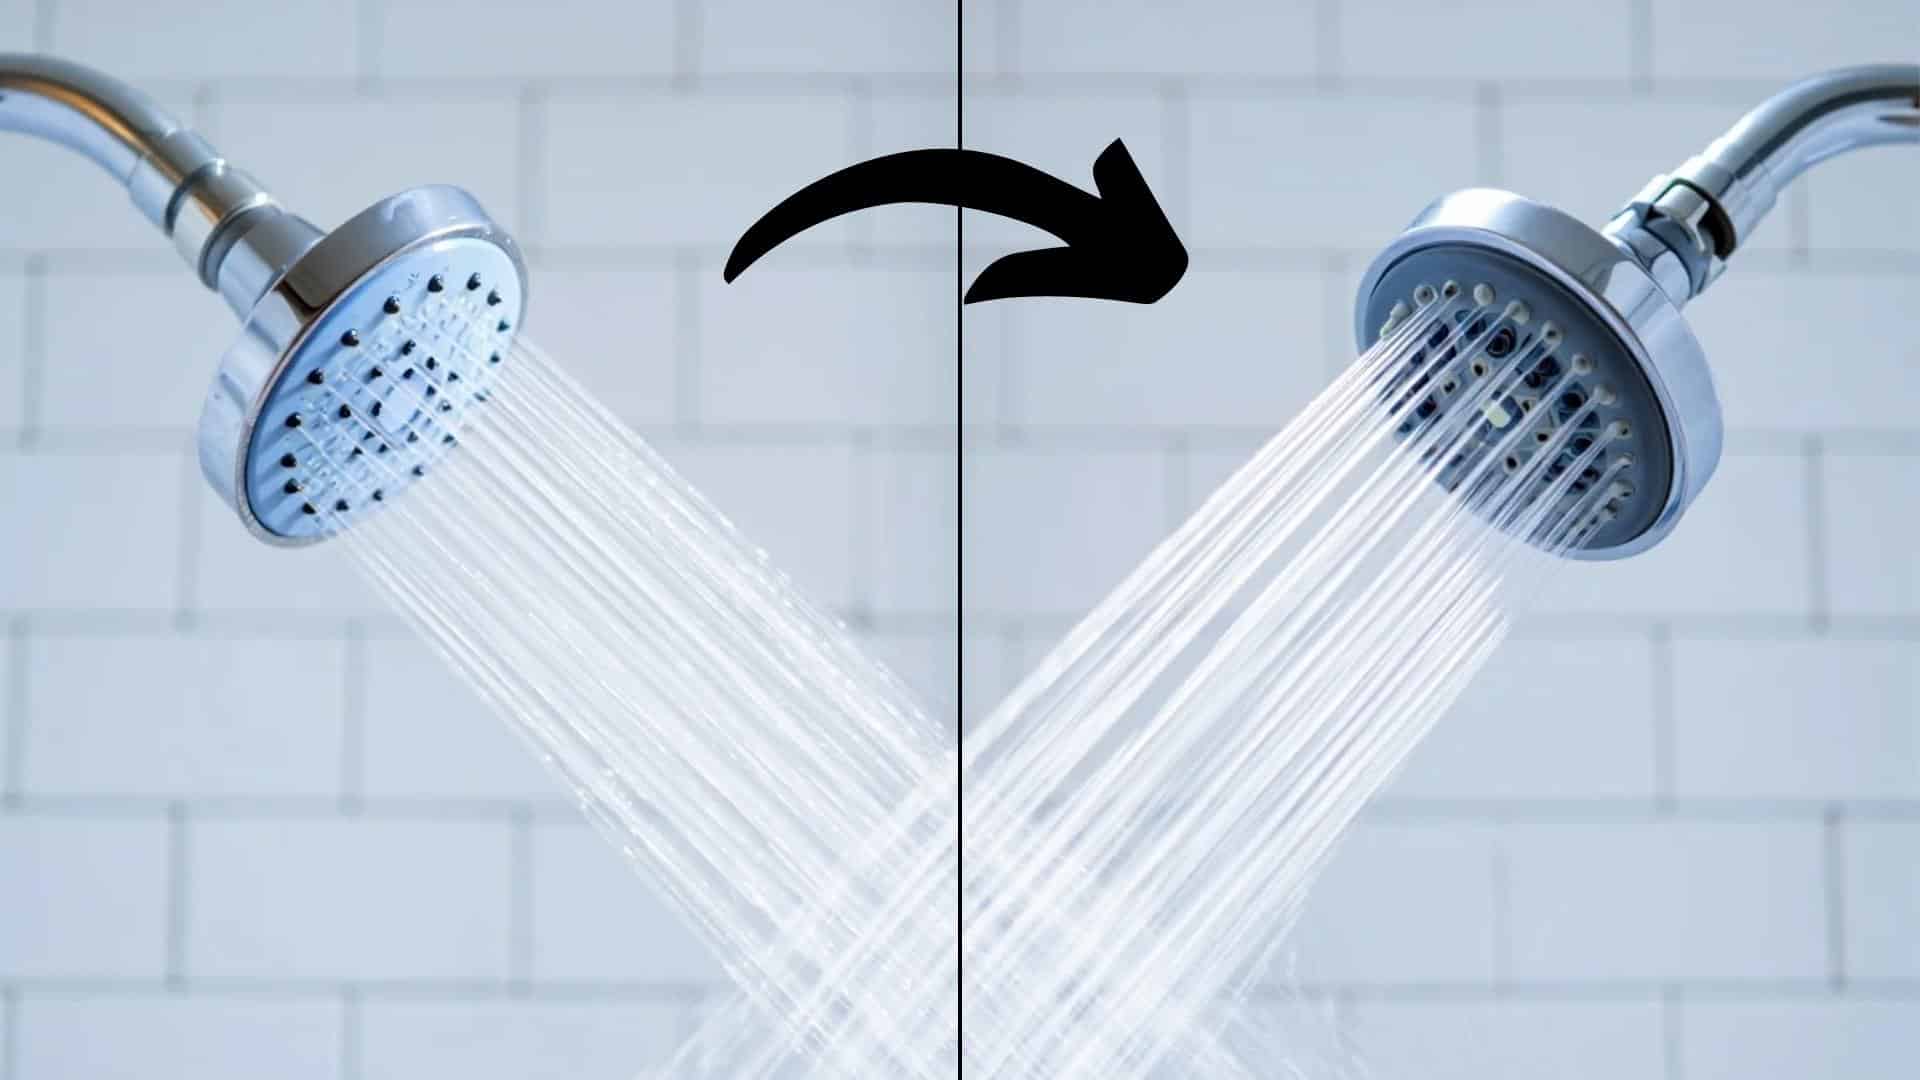
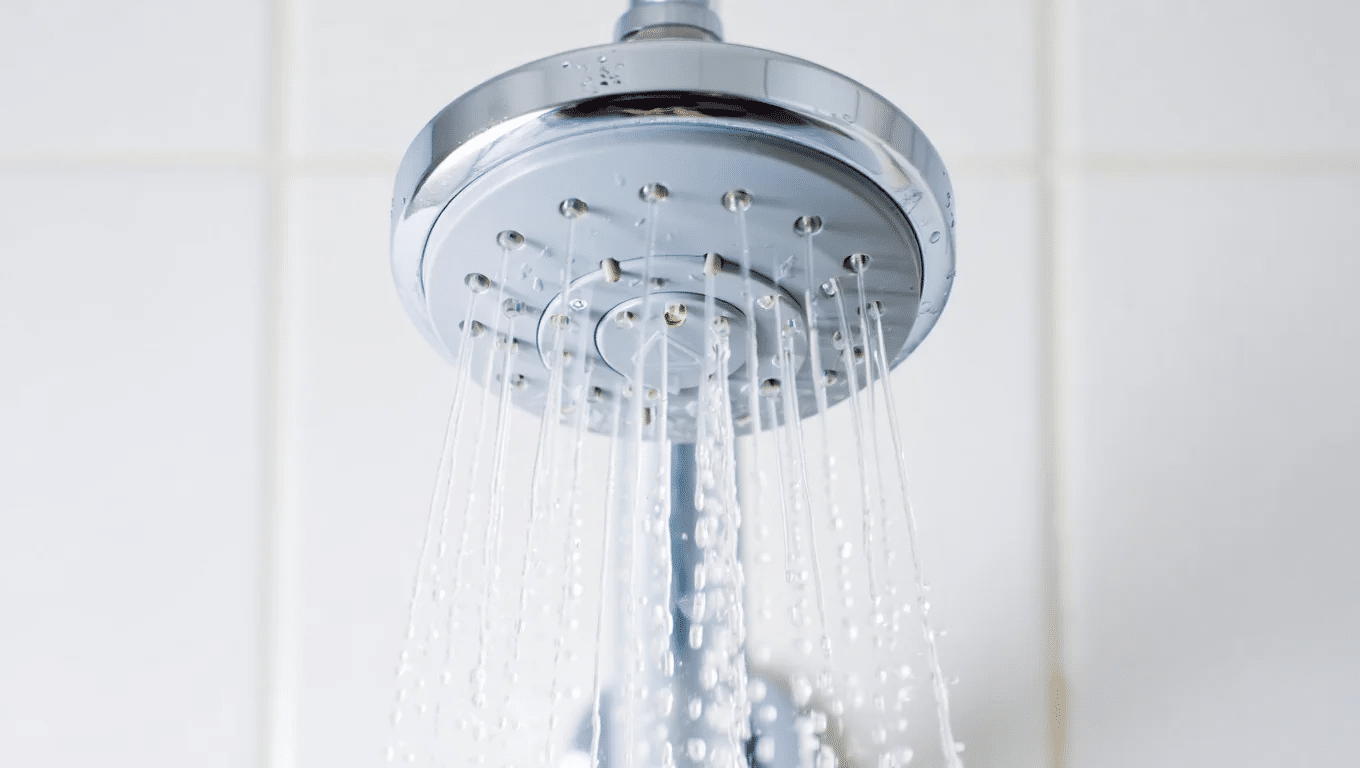
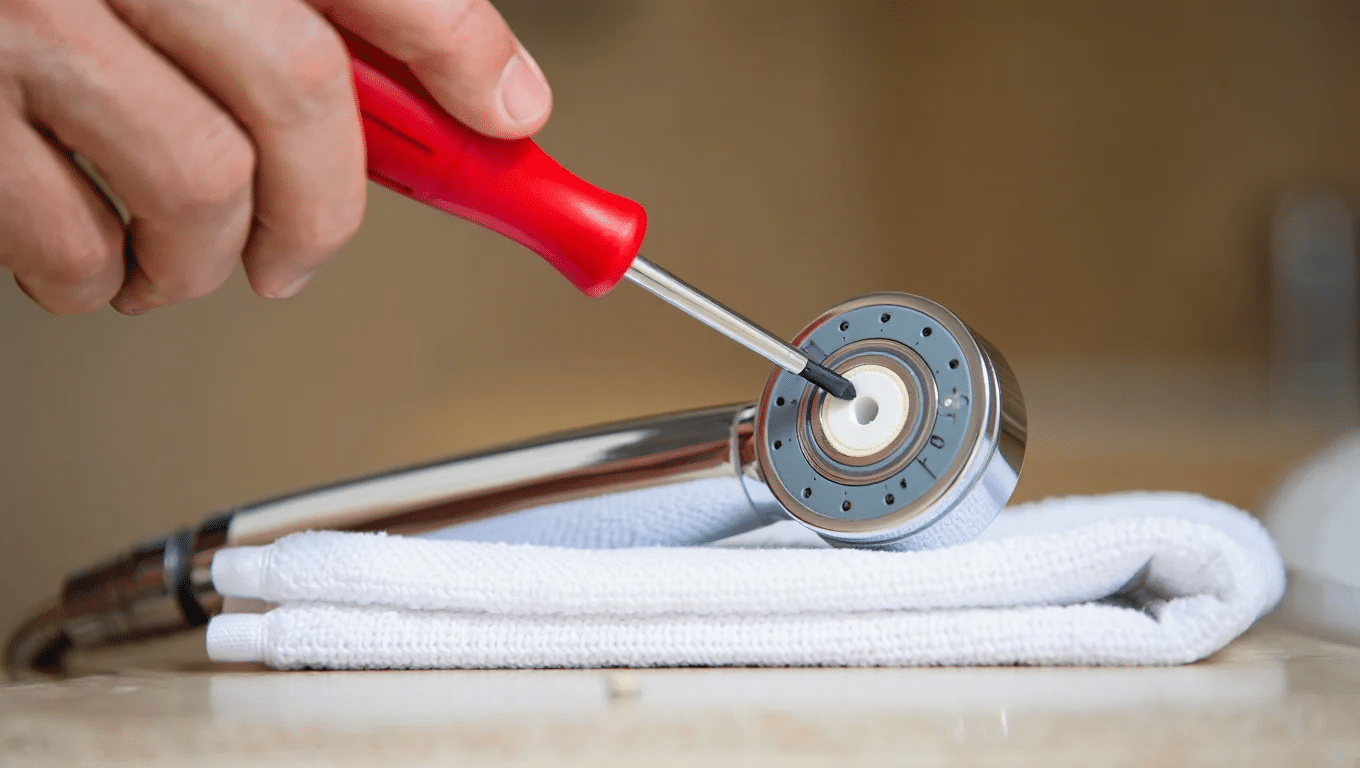
1. Deep Clean Your Showerhead Inside and Out
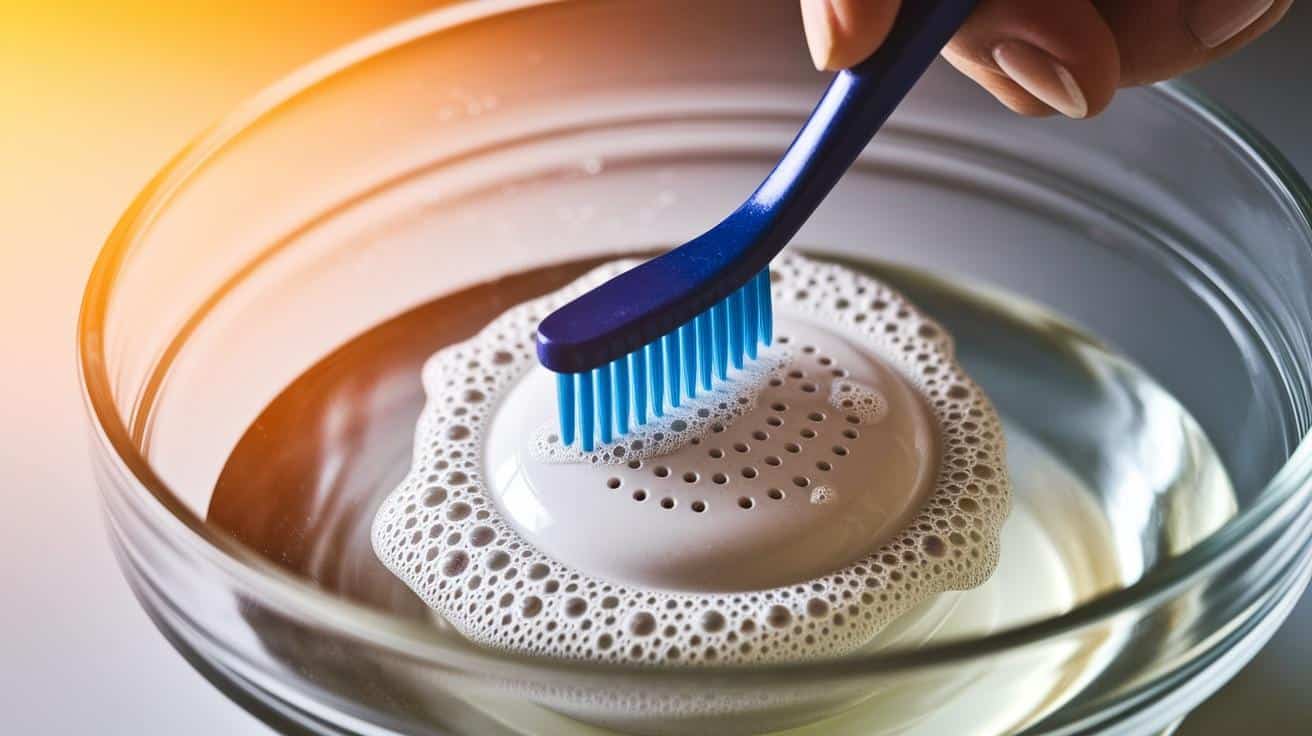
Soak your showerhead in white vinegar for several hours to dissolve mineral buildup.
Use a toothbrush to scrub away remaining debris, and rinse the internal screen thoroughly.
This clears clogs that restrict water flow and restores consistent pressure through the nozzles.
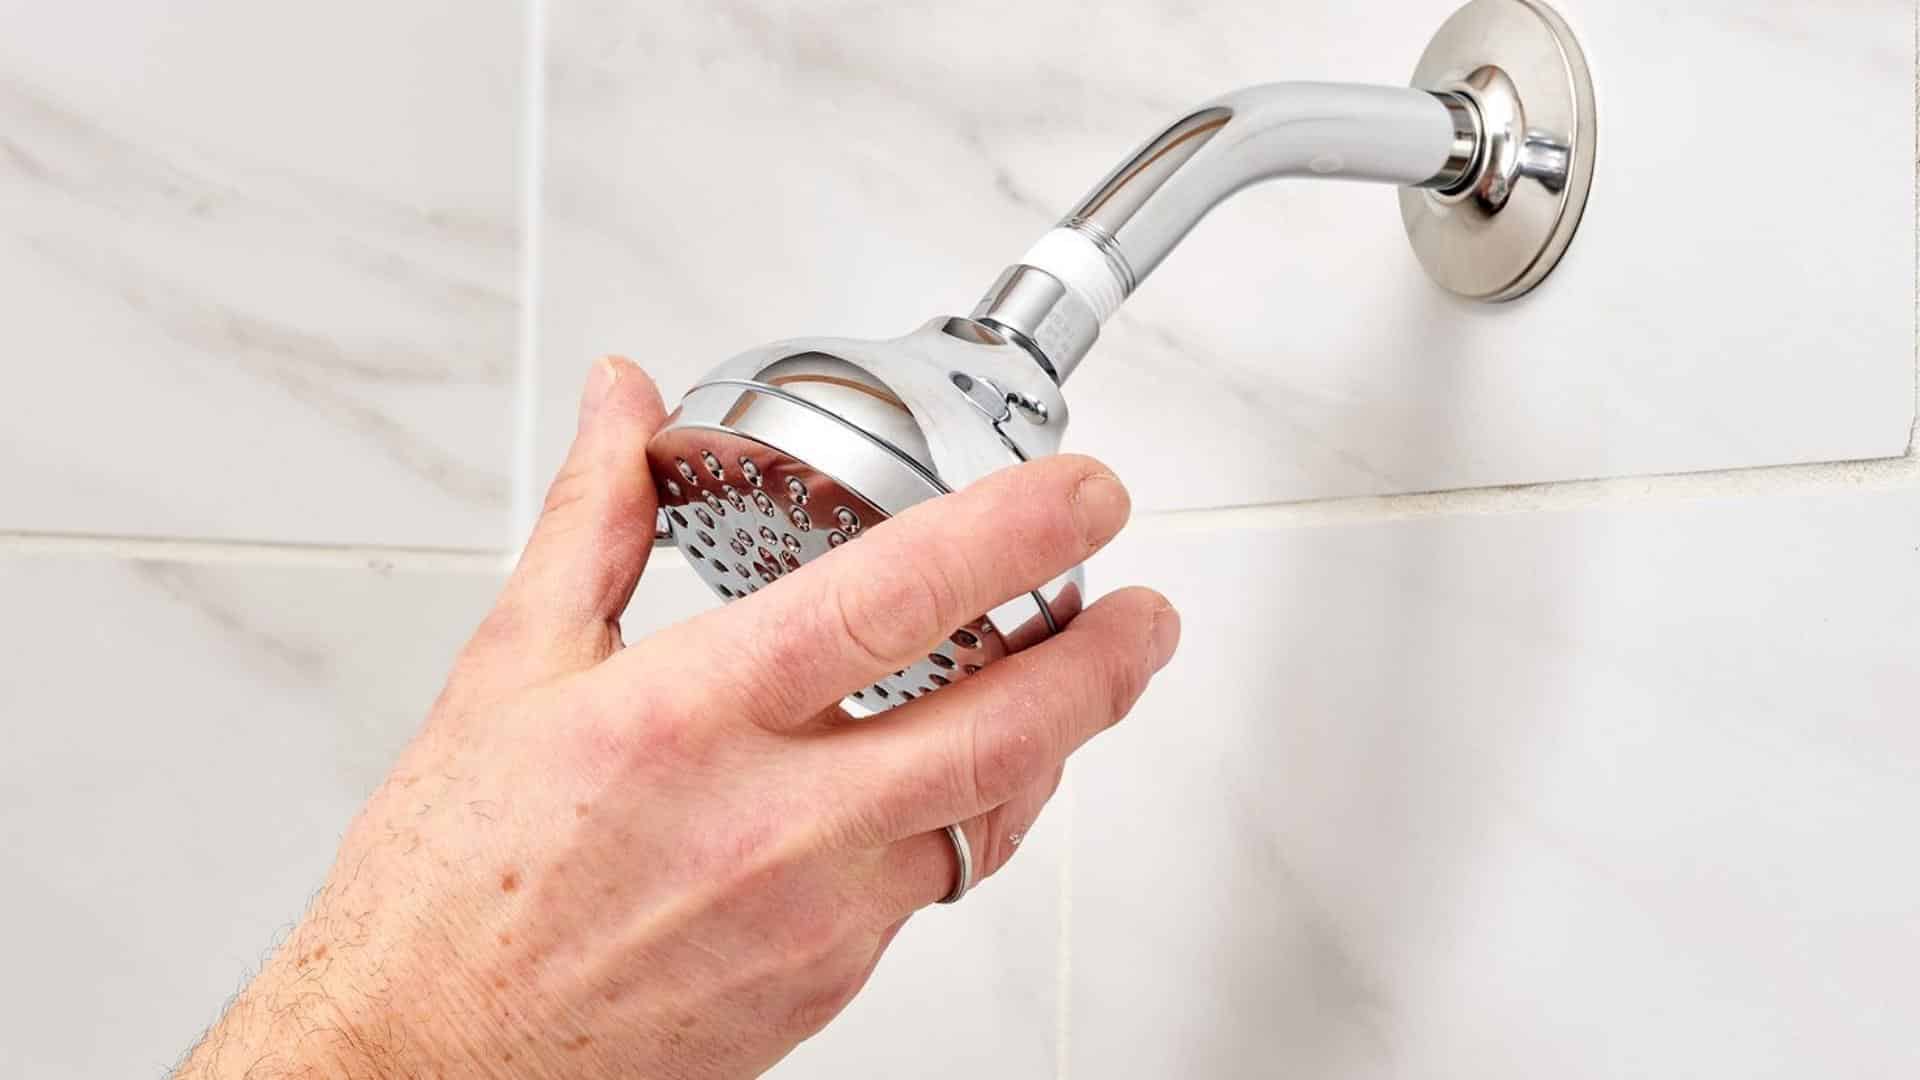
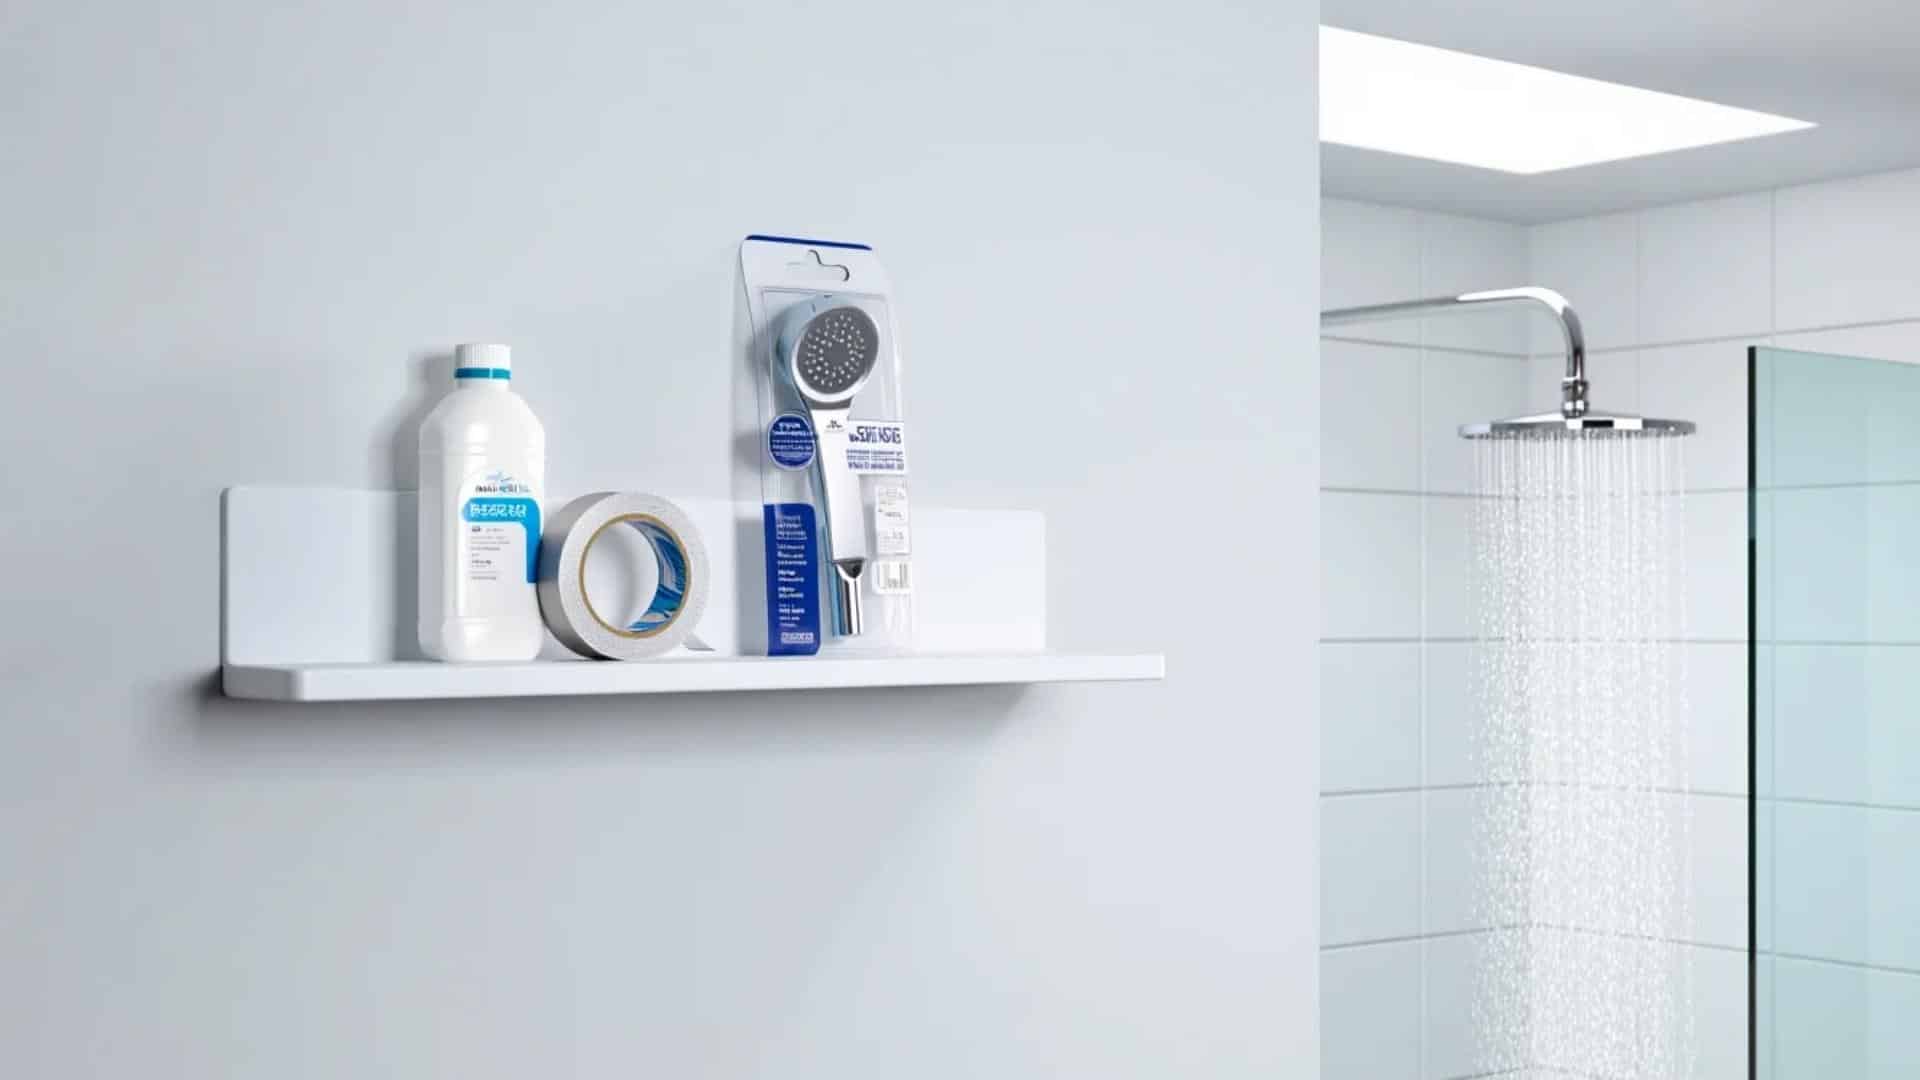
2. Upgrade Worn Shower Fixtures
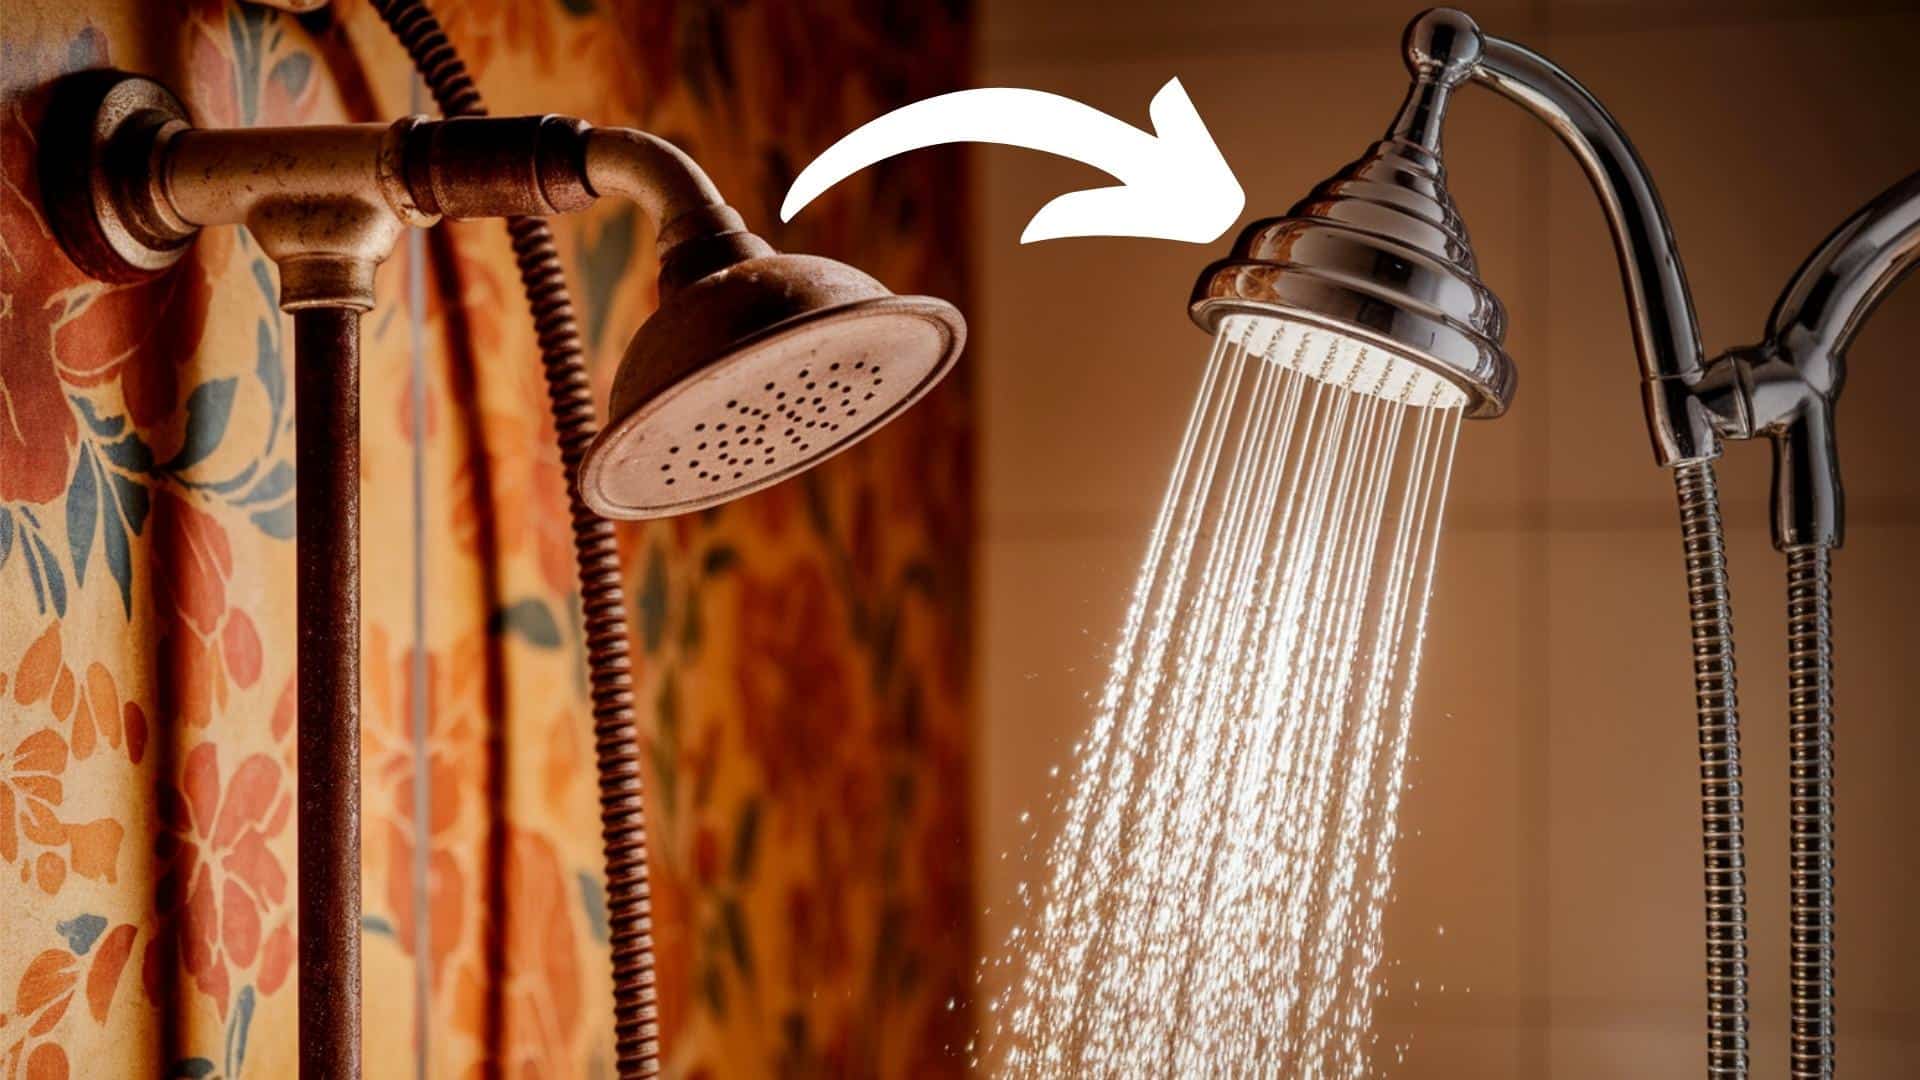
Old or kinked shower hoses and outdated heads can severely reduce water delivery.
Replace them with flexible, high-pressure showerheads designed to maintain strong water flow, even in low-pressure households.
Modern fixtures are more efficient and often easier to install than older ones.
3. Fix Minor Leaks with Teflon Tape and Tightening
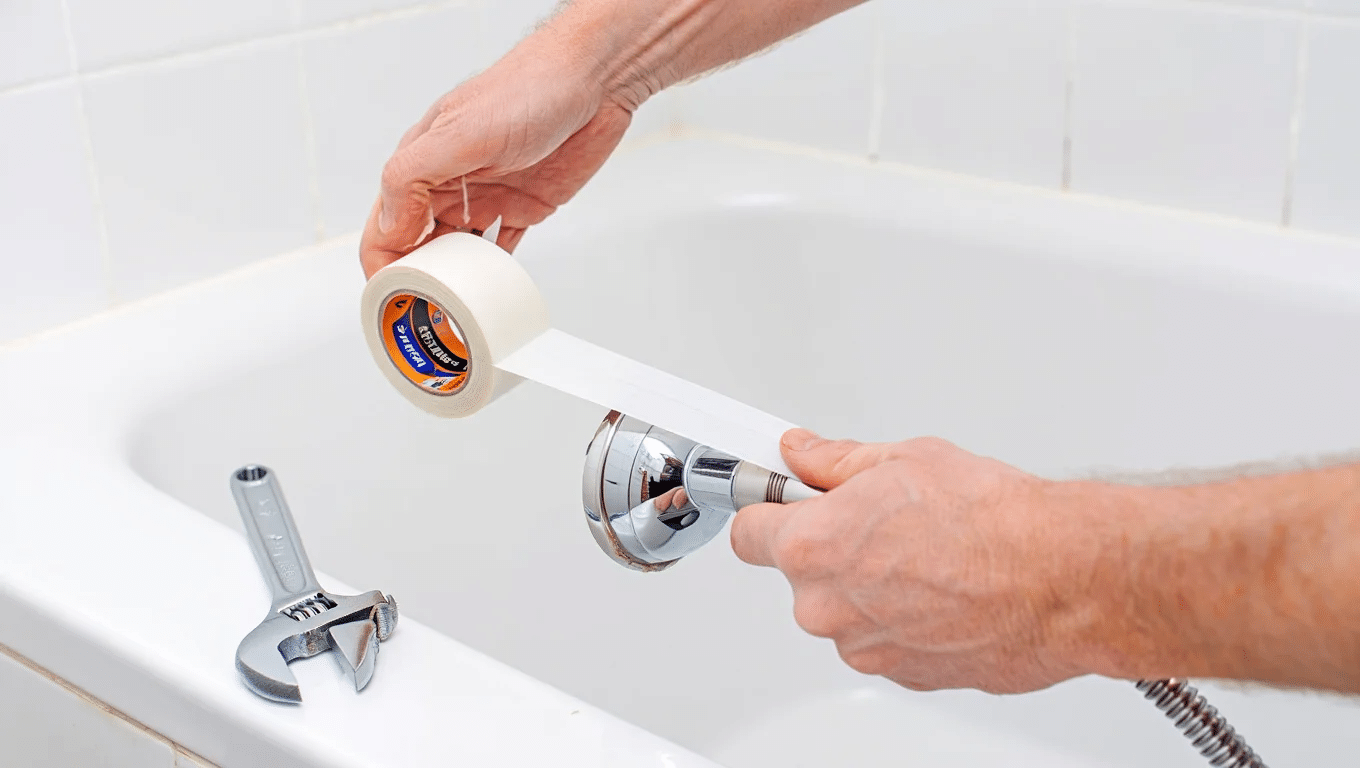
Leaks at the showerhead connection can waste pressure.
Wrap Teflon plumber’s tape around the pipe threads, then reattach the showerhead securely.
This helps create a watertight seal, reduces leaks, and channels more water through the head for stronger output.
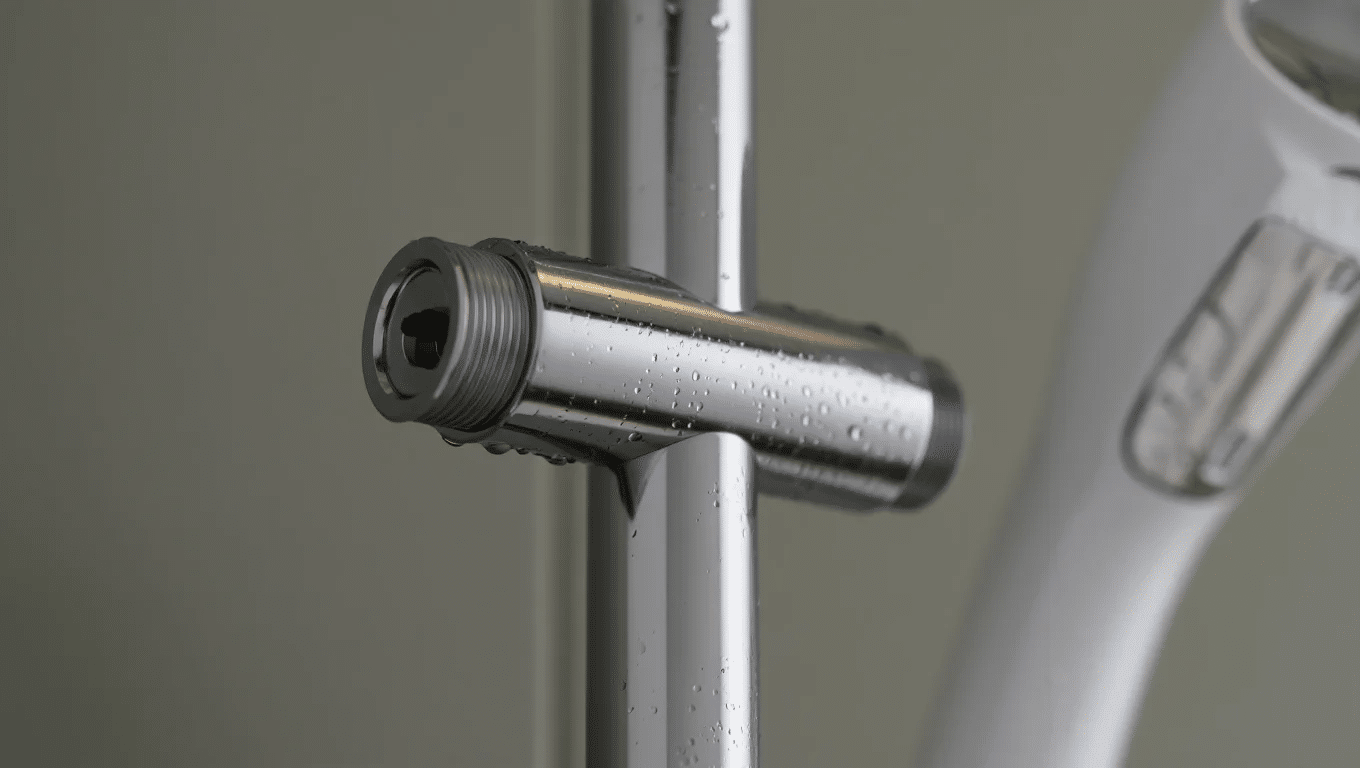
4. Clear the Shower Pipe Entrance
Sediment and debris often accumulate where the showerhead connects to the pipe.
Unscrew the showerhead and run water for a few seconds to flush out any blockage.
This quick fix can instantly improve water flow by clearing hidden obstructions.
5. Use Smart Shower Habits to Boost Perceived Pressure
Shower during off-peak times, like early morning or late evening, when water demand is lower.
Also, angle the showerhead downward so gravity assists the water stream.
These simple behavioral adjustments can make the pressure feel stronger without modifying your plumbing.
6. Add Pressure-Friendly Shower Accessories
Some shower filters, diverters, or extensions restrict water flow.
Swap these for pressure-assisted or “high-throughput” models.
They’re designed to minimize water resistance while maintaining filtration or multi-functionality, helping to boost overall shower performance.
7. Open the Main Water Valve Fully
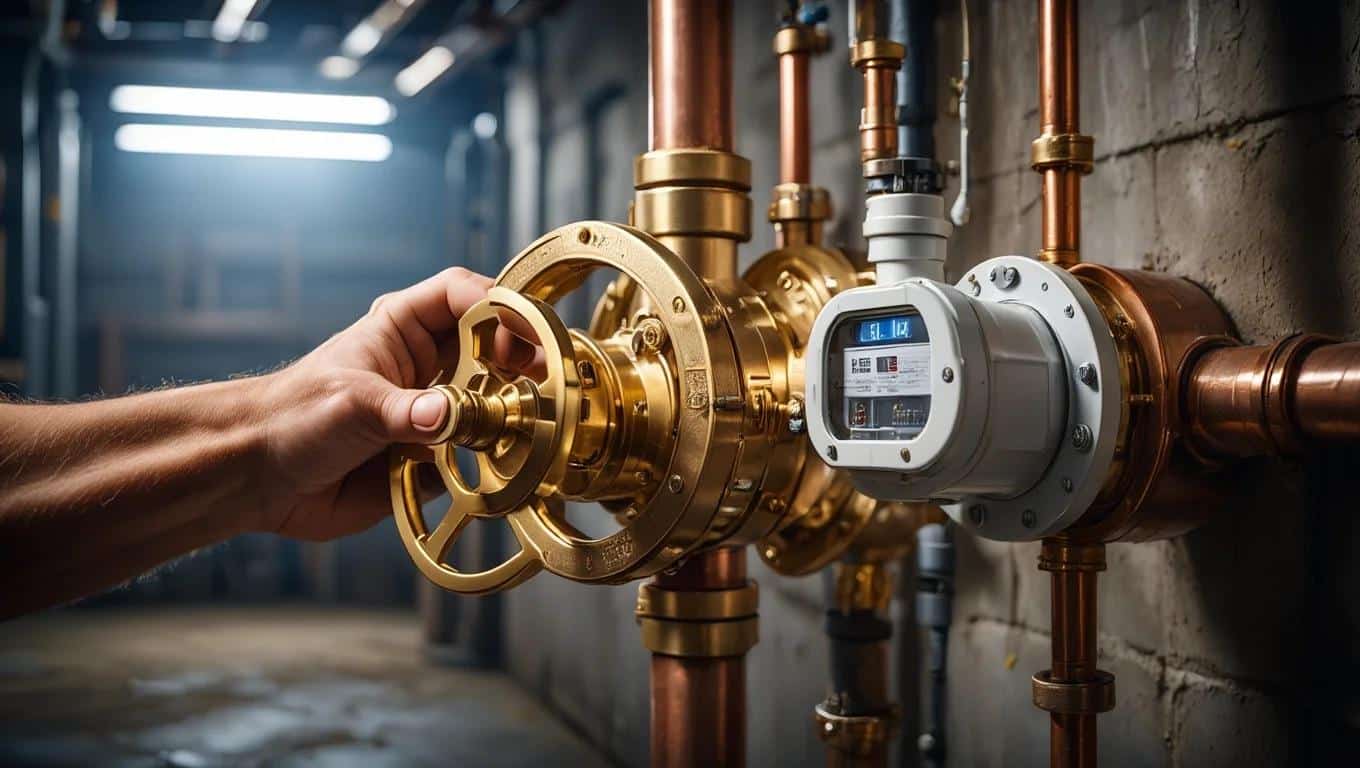
A partially closed main water valve can reduce pressure across your entire home.
Locate the valve near your water meter and ensure it’s turned fully counterclockwise.
This ensures your home receives the maximum possible water flow from the supply line.
8. Make Sure the Shower Valve Is Fully Open
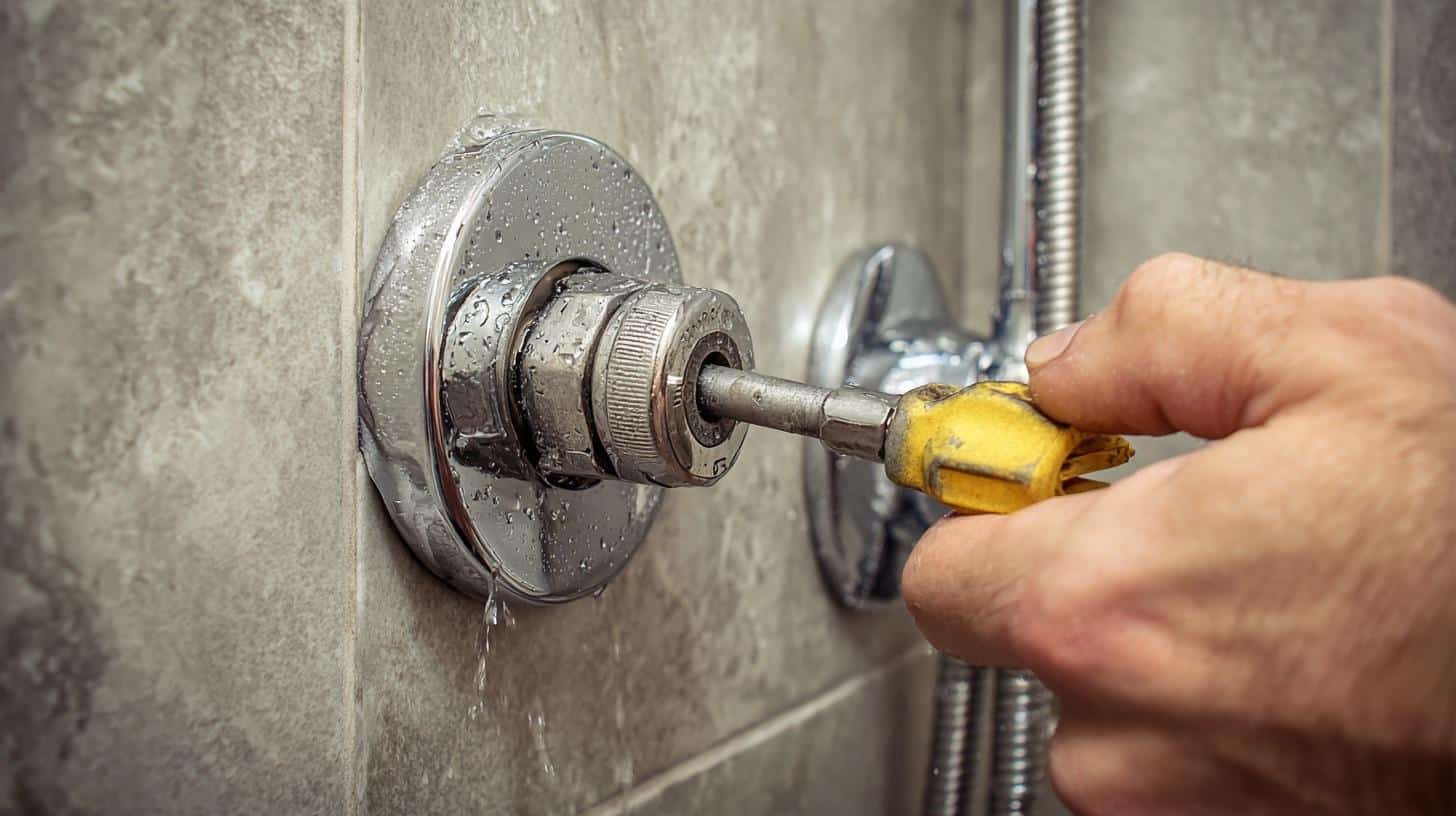
Check the in-wall shower valve (usually behind the handle or trim plate) to confirm it’s completely open.
A partially closed valve limits water entering the shower system, reducing pressure even if the rest of your plumbing is in good shape.
9. Test and Monitor Improvements Over Time
Use the one-quart jug method, which we discussed above, to measure water flow.
Time how long it takes to fill a one-quart container, and track results after each fix.
This helps you understand which DIY methods are working and whether more intervention is needed.
10. Switch to a Single-Function Showerhead
Multi-spray showerheads often divide the flow between different nozzles.
Opt for a single-function head that concentrates water through fewer jets.
This maximizes stream strength and creates a more powerful, targeted spray even with moderate pressure.
11. Enhance the Shower Pipe with an Extension Arm
Installing a shower arm extension raises the showerhead and can improve water delivery by enhancing the angle and gravity assistance.
This small hardware change may also allow a more comfortable and forceful water stream, especially in low-pressure bathrooms.
12. Flush Sediment from the Water Heater
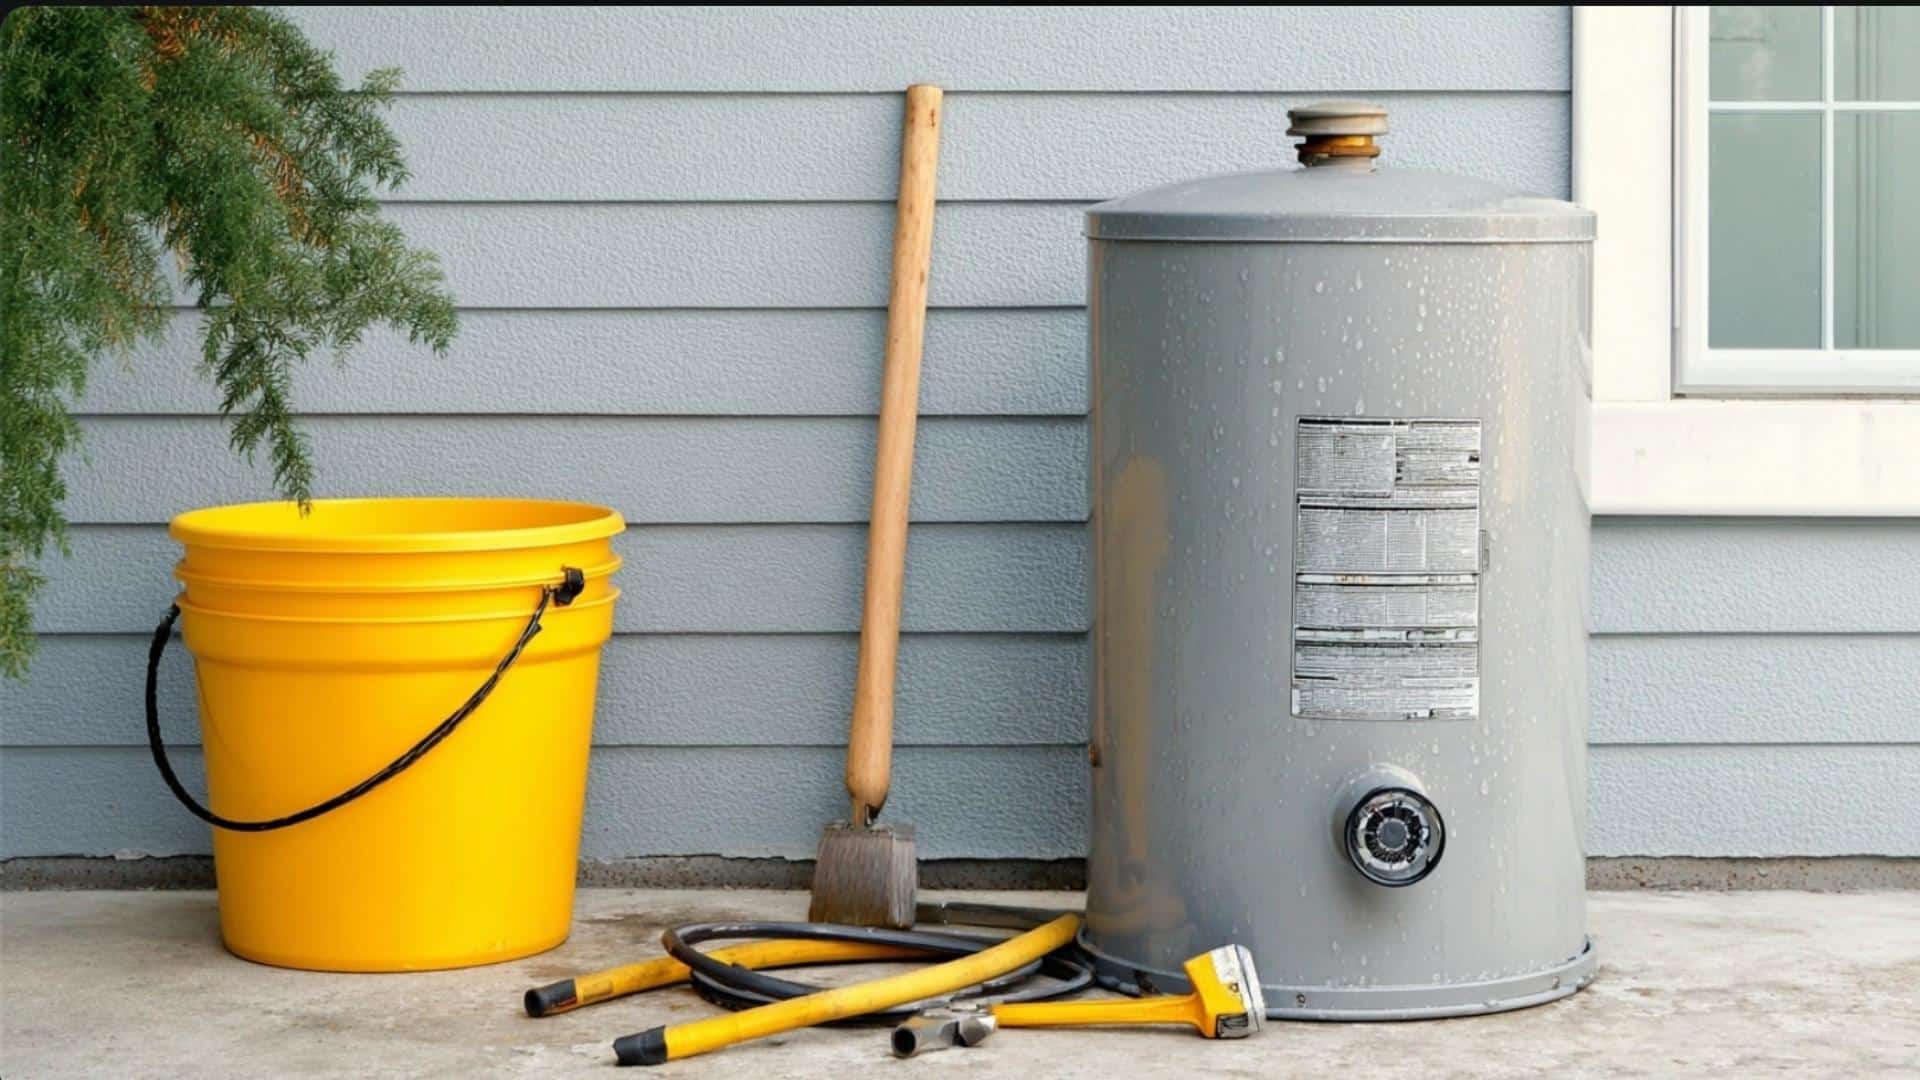
Sediment buildup inside your water heater restricts hot water flow.
Drain a few gallons from the bottom of the tank using the built-in spigot.
This maintenance step improves pressure and also extends the life of your water heater.
13. Install an Inline Shower Pressure Booster
Pressure booster attachments fit between the shower arm and head, using a flow-accelerating design to increase spray strength.
These tools are compact, affordable, and easy to install, even without prior plumbing experience, making them ideal for renters or quick DIY upgrades.
14. Replace Old Showerhead with a Pressure-Optimized Model
Modern showerheads are designed with pressure optimization in mind.
Look for models labeled “high-efficiency” or “pressure boosting,” which use engineered nozzles to amplify flow.
Swapping your old unit can make a dramatic difference in your shower experience.
15. Remove the Showerhead Flow Restrictor
Inside many showerheads is a plastic flow restrictor to conserve water.
Carefully remove it to unlock full output, but always check local regulations first.
While this method significantly boosts flow, it may increase water usage and utility bills.
With just a few basic tools and simple tweaks, these DIY fixes can quickly restore strong, satisfying water pressure to your daily shower.
When to Call a Plumber for Low Shower Pressure?
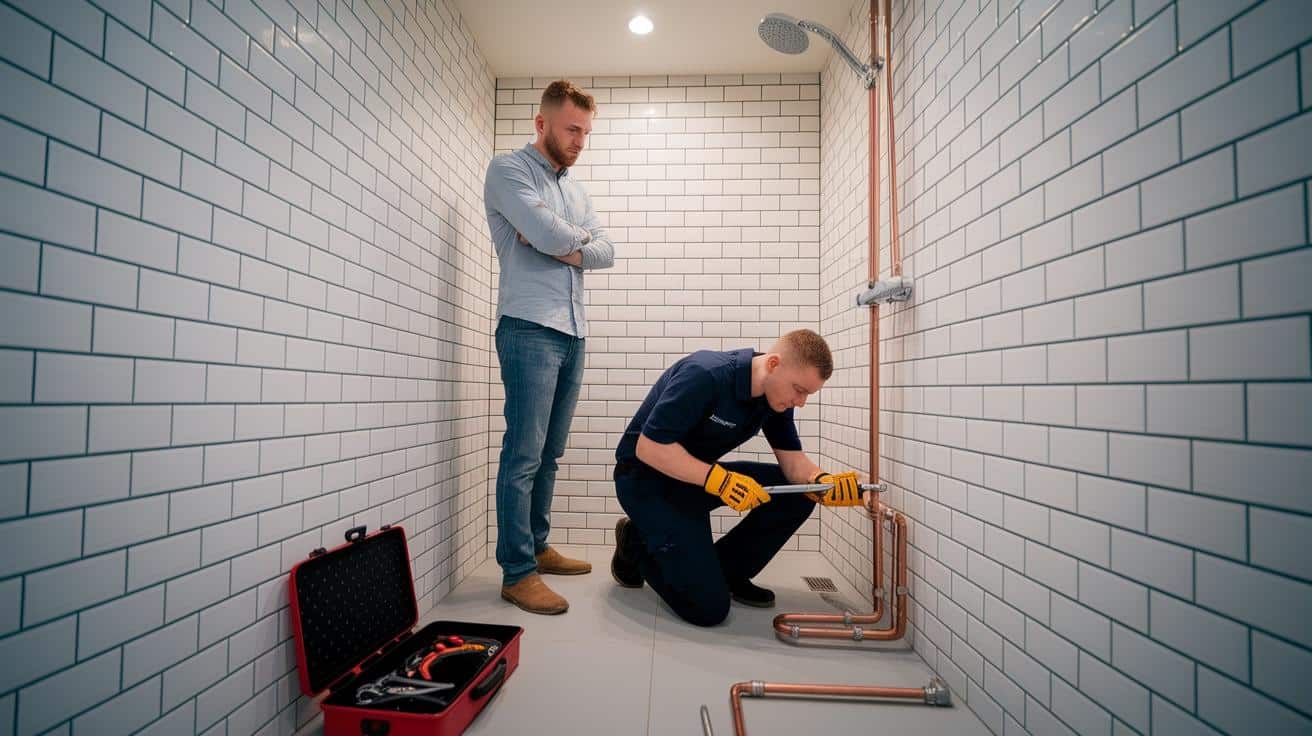
Sometimes, the problem runs deeper than simple DIY fixes can address.
Certain situations definitely need a qualified plumber’s attention.
Here are situations that require professional plumber assistance:
- Multiple fixtures have low pressure: Indicates main line or pressure regulator problems.
- Water pressure drops suddenly: This may indicate severe pipe damage or a major blockage.
- No improvement after trying DIY methods: Underlying issues need professional diagnosis.
- Visible pipe leaks or water damage: Requires immediate professional repair to prevent costly damage.
- Old galvanized pipes: May need complete replacement due to severe corrosion.
- Pressure regulator malfunction: This device controls water entering your home.
- Municipal water supply issues: The plumber can verify and coordinate with the water company.
- Hot water pressure problems only: Indicates water heater or related system issues.
Before hiring professional help, research service costs thoroughly to manage your budget effectively.
Here is a simple cost breakdown we’ve done in the next section.
DIY vs Plumber: A Complete Cost Breakdown
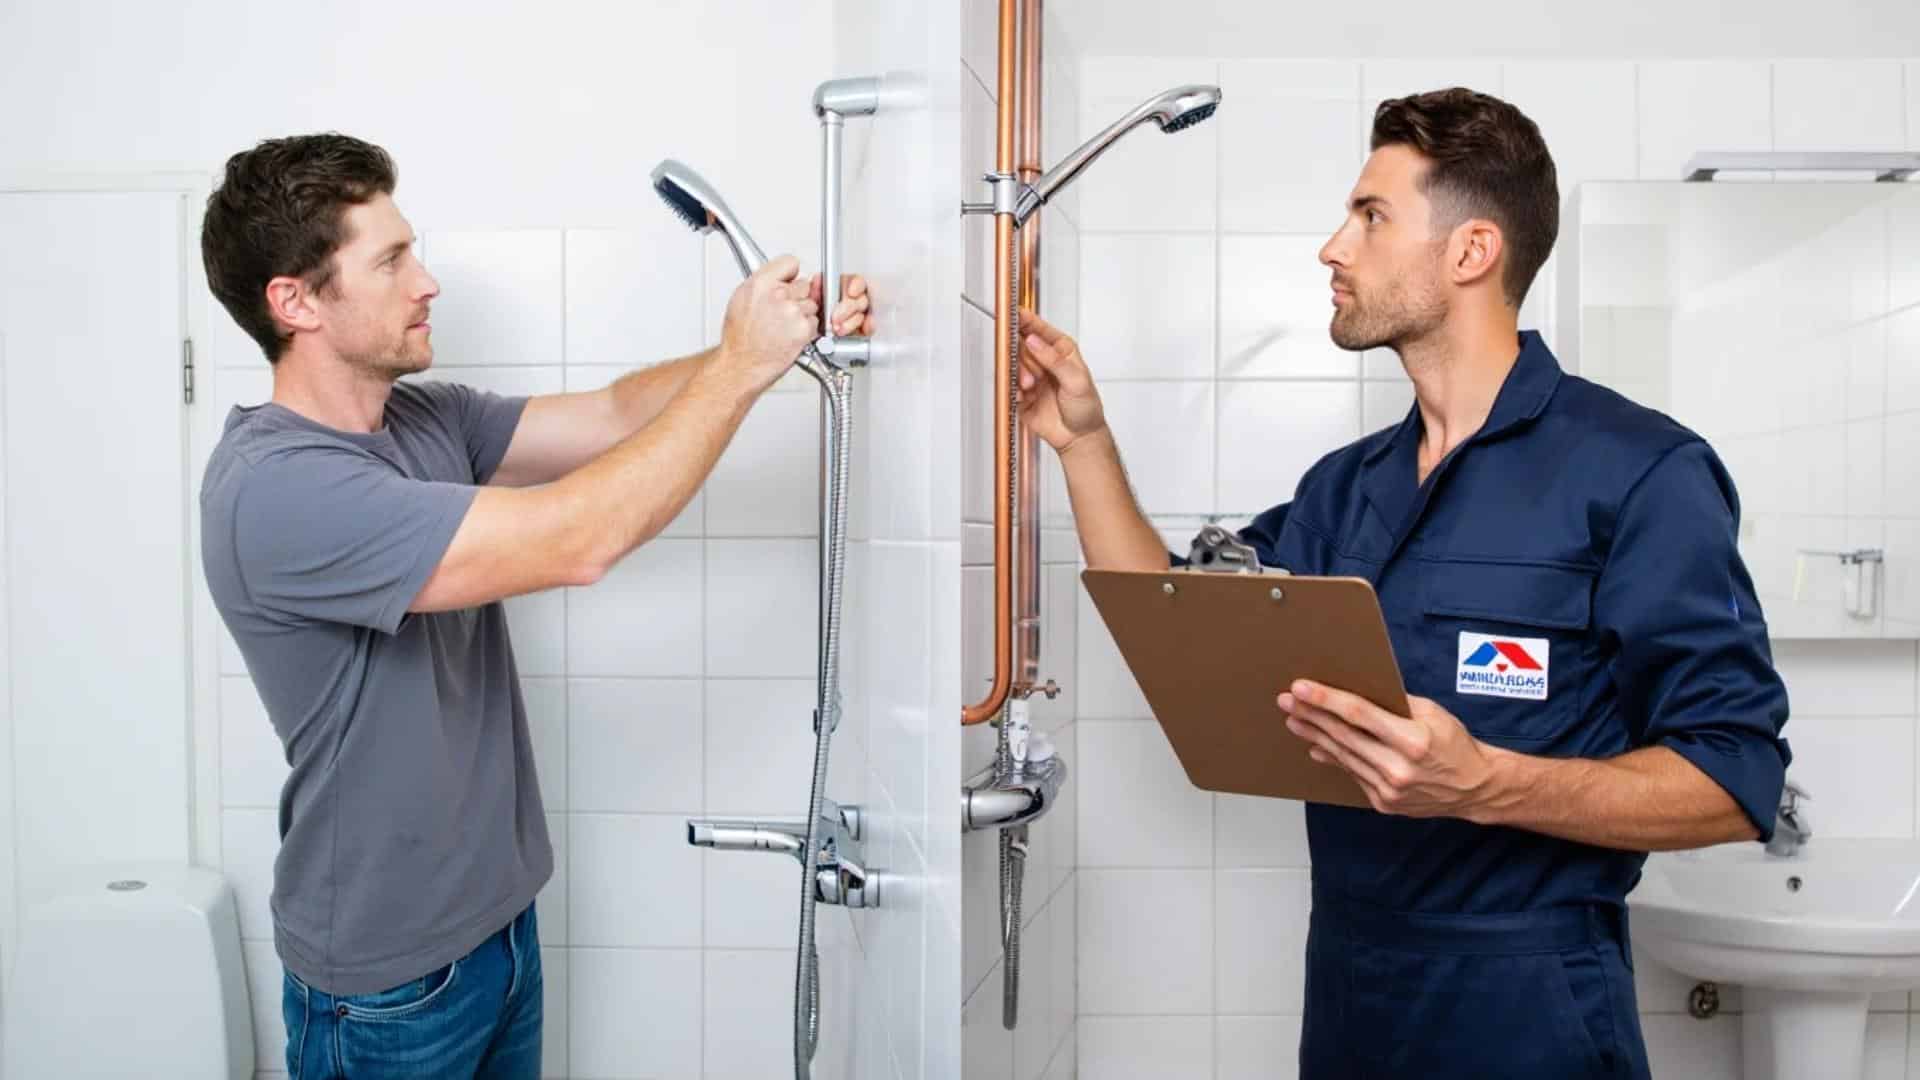
While many fixes are affordable and easy, some problems are more deeply rooted in your plumbing system.
Each method includes the typical cost if you handle it yourself versus what a professional might charge.
This will help you make a smart, budget-conscious decision.
1. Clean Your Showerhead
Mineral buildup clogs spray holes and reduces flow.
Soaking in vinegar and scrubbing restores pressure easily.
DIY Cost: $5–$10.
Professional Cost: $75–$150
2. Remove the Flow Restrictor
Taking out the built-in limiter in many showerheads can instantly improve water pressure.
Simple and tool-free.
DIY Cost: $0
Professional Cost: $75–$125
3. Check and Straighten Shower Hose
Twisted or kinked hoses reduce flow.
Straightening or adjusting its position often solves the issue.
DIY Cost: $0
Professional Cost: $75 – $150
4. Replace the Showerhead with a High-Pressure Model
Installing a pressure-boosting showerhead is easy and effective.
Most models are tool-free.
DIY Cost: $8 – $50
Professional Cost: $100 – $200
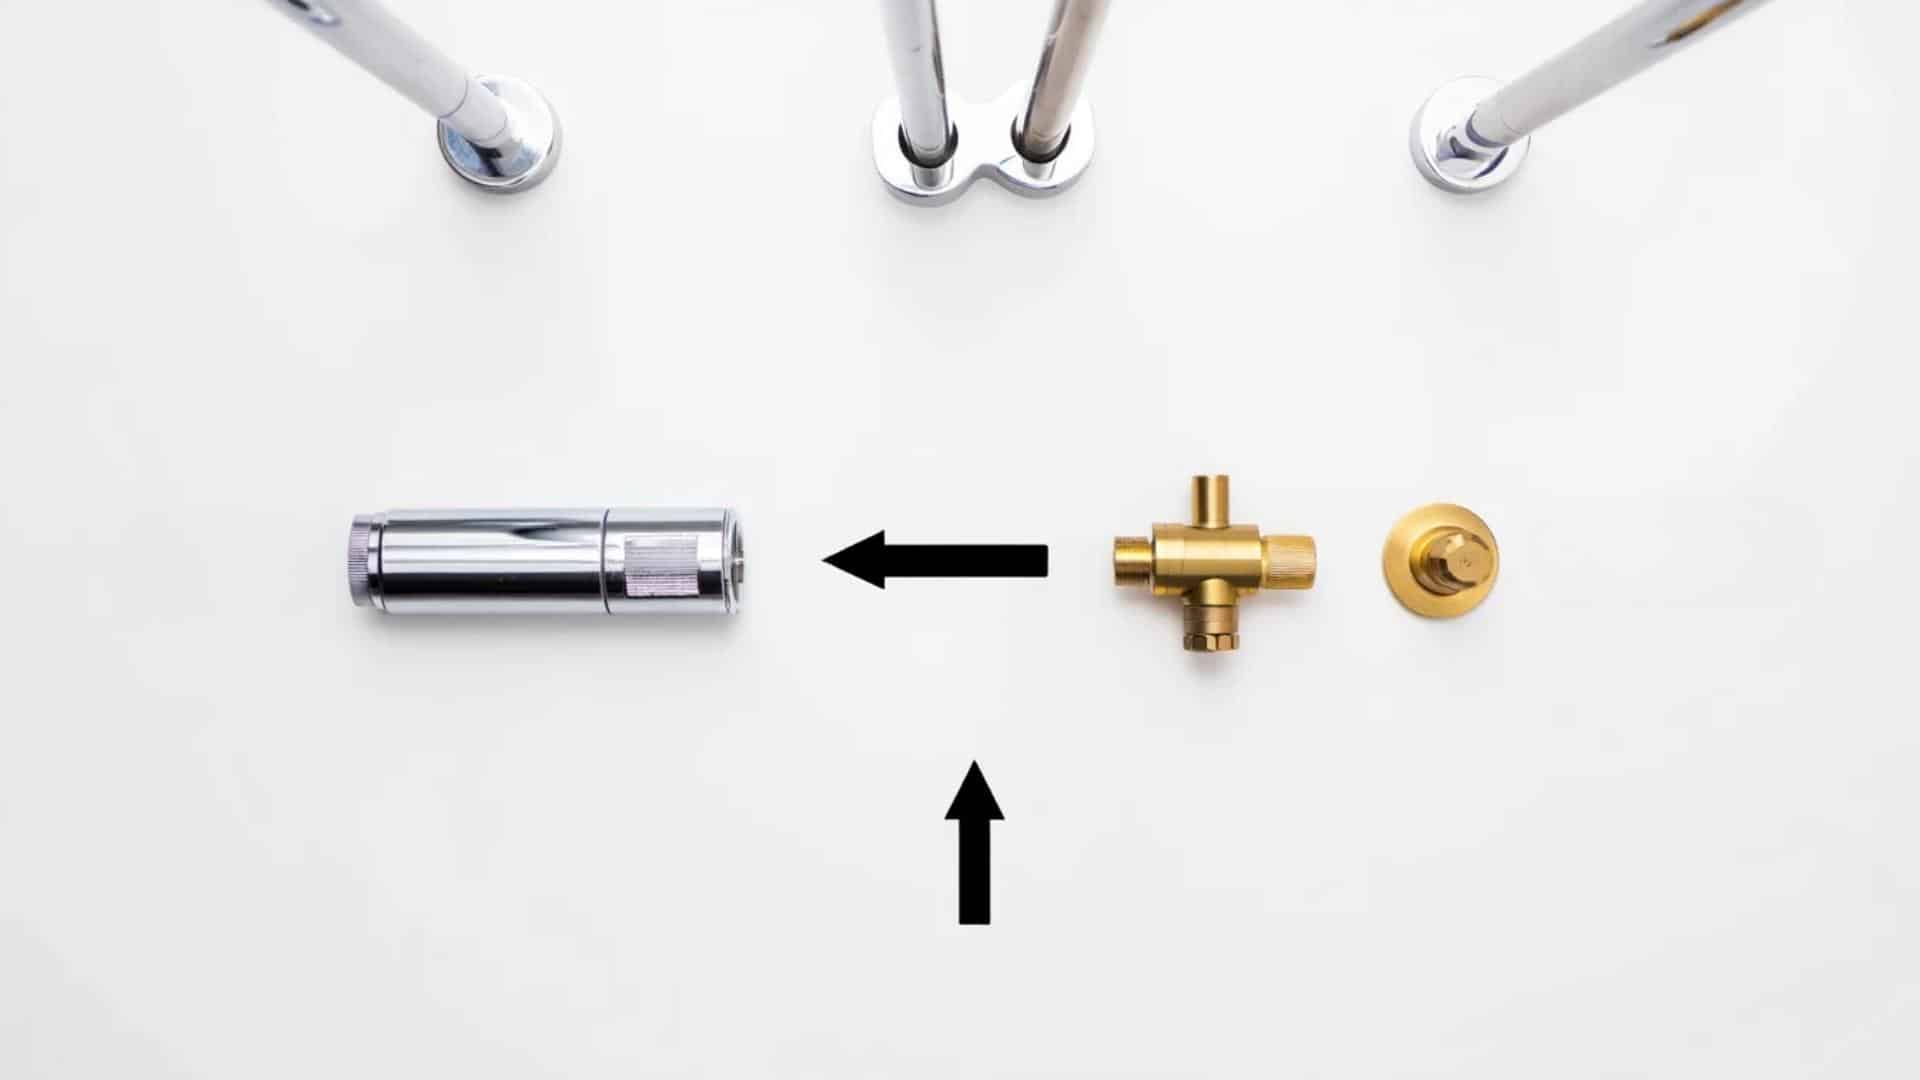
5. Replace or Adjust the Shower Diverter
A faulty diverter can block water flow.
Replacing it helps redirect full pressure to the showerhead.
DIY Cost: $50 – $100
Professional Cost: $125 – $300
6. Replace Volume Control Valve
Old volume valves can restrict water flow.
Replacing one can quickly restore normal shower pressure.
DIY Cost: $50
Professional Cost: $125 – $250
7. Install a Shower Pump
A pump boosts the water supply to the shower.
Some kits are DIY-friendly, but a pro install ensures safety.
DIY Cost: $150 – $500
Professional Cost: $350 – $1,000
8. Install a Power Shower
These units include a built-in pump for strong flow.
Plumbing and electrical work require expert help.
It is not recommended to do it by yourself.
Cost: $800 – $1,200
9. Install an Unvented Cylinder
This whole-home upgrade improves water pressure system-wide.
As it is a complex task, it’s best to let professionals handle it rather than doing it yourself.
Make sure that the person doing it is a qualified professional.
Cost: $2,000 – $3,000+
10. Inspect and Repair Plumbing Leaks
Hidden leaks can cause major drops in pressure.
DIY is limited to visible areas; pros use advanced tools.
DIY Cost: $0 – $50
Professional Cost: $300 – $4,000
11. Quick Summary: DIY vs Professional Costs
Here’s a quick overview of the cost breakdown, whether you do the shower thing yourself or hire a professional
| Attribute | DIY Cost | Professional Cost |
|---|---|---|
| Clean Showerhead | $5 – $10 | $75 – $150 |
| Remove Flow Restrictor | $0 | $75 – $125 |
| Straighten Shower Hose | $0 | $75 – $150 |
| Replace with High-Pressure Showerhead | $8 – $50 | $100 – $200 |
| Replace/Adjust Diverter | $50 – $100 | $125 – $300 |
| Replace Volume Control Valve | $50 | $125 – $250 |
| Install Shower Pump | $150 – $500 | $350 – $1,000 |
| Install Power Shower | Not Recommended | $800 – $1,200 |
| Install Unvented Cylinder | Not Recommended | $2,000 – $3,000+ |
| Inspect and Repair Leaks | $0 – $50 | $300 – $4,000 |
Note: These costs do not include any hidden fees, such as visit charges, travel expenses, or diagnostic evaluations.
Do check our blog on Plumbers’ Cost Per Hour for detailed information and smart planning.
Pro Tips to Maintain High Water Pressure Long-Term
Now that your shower water pressure is back to normal, here are proven maintenance tips to keep it flowing strong for years to come.
- Clean your showerhead monthly: Regular vinegar soaks help prevent mineral buildup that can slowly reduce the flow.
- Check for leaks quarterly: Small drips waste water and gradually lower pressure throughout your system.
- Replace shower hoses every 3-5 years: Old hoses develop internal blockages that restrict water flow.
- Monitor water usage patterns: Avoid running multiple water appliances while showering.
- Test water pressure seasonally: Use the 1-quart jug test to catch problems early.
- Keep spare plumber’s tape handy: Quick fixes prevent small leaks from becoming big pressure problems.
- Schedule annual plumbing inspections: Professional checks catch issues before they affect your shower.
- Replace filters as recommended: Clogged water filters reduce pressure and water quality.
- Maintain proper water heater temperature: Setting the correct temperature helps maintain consistent hot water pressure.
- Document pressure changes: Keep notes about when pressure drops to identify patterns.
Following these simple maintenance steps helps avoid costly repairs later.
Consistent care keeps your shower performing at peak levels without major expenses.
Wrapping It Up
Low shower water pressure doesn’t have to drain your wallet or ruin your daily routine.
We have covered the main causes of poor water flow and simple ways to test your current pressure levels.
Try these methods, starting with the easiest ones first.
Clean your showerhead, check for leaks, and remove flow restrictors before moving to more complex solutions.
Monitor the changes after each fix to see what works best for your specific situation.
Consider scheduling a professional inspection if DIY methods don’t solve the problem completely.
Investing in long-term solutions like high-pressure showerheads or regular maintenance prevents future issues.
Which of these water pressure tips do you think will work best for your shower situation?
Share your thoughts in the comments below!