Wind chimes convert ordinary spaces into melodious sanctuaries of peace and personal expression.
These beautiful musical instruments have charmed people across cultures for countless generations.
Crafting your own wind chime becomes a therapeutic trip of artistic exploration and connection.
Each gentle breeze brings life to these hanging art pieces, creating soothing sounds that calm the soul.
Handmade wind chimes reflect the unique personality and creativity of their creator.
They serve as both decorative elements and auditory companions in homes and gardens.
Whether you’re a seasoned crafter or a curious beginner, this guide will inspire your wind chime experience.
What is a Wind Chime?
Wind chimes are decorative objects that produce soothing sounds when the wind moves their components.
They have been used for centuries across different cultures.
Making a wind chime is an enjoyable and creative craft that allows for self-expression.
The sound of wind chimes is calming and has been linked to relaxation and mindfulness.
Crafting your own wind chime gives you the freedom to personalize it with unique materials and designs.
The process of building one can be therapeutic, helping you focus and reduce stress.
It’s an excellent way to connect with nature and your creative side.
Plus, a handmade wind chime can be a meaningful gift or a beautiful addition to any home.
Materials Needed
Before you begin crafting your wind chime, it’s important to gather all the necessary materials.
Here’s a simple list of what you’ll need for the project:
| MATERIAL | DESCRIPTION |
|---|---|
| Metal Tubes | These are the main sound-producing elements. You can use copper, aluminum, or bamboo. |
| Beads | Used for decoration and spacing between parts. |
| String or Twine | To suspend the chimes and attach components. |
| Wooden Dowels | Can be used for the base or frame of the wind chime. |
| Drill | Needed for making holes in the metal tubes or wood. |
| Glue or Adhesive | For securing decorations or other components in place. |
| Hammer and Nails | Optional, for attaching elements to the frame. |
| Scissors | To cut string or twine to the required lengths. |
| Paint or Varnish | Optional, for adding color or protecting wooden parts. |
Gathering these materials ensures you’ll have everything you need to start creating your wind chime.
Have fun building your masterpiece!
Wind Chime: Step-by-Step Instructions
Now that you have your materials ready, follow these simple steps to create your very own wind chime.
Let’s get started!
STEP 1: Prepare the Wood for the Chimes
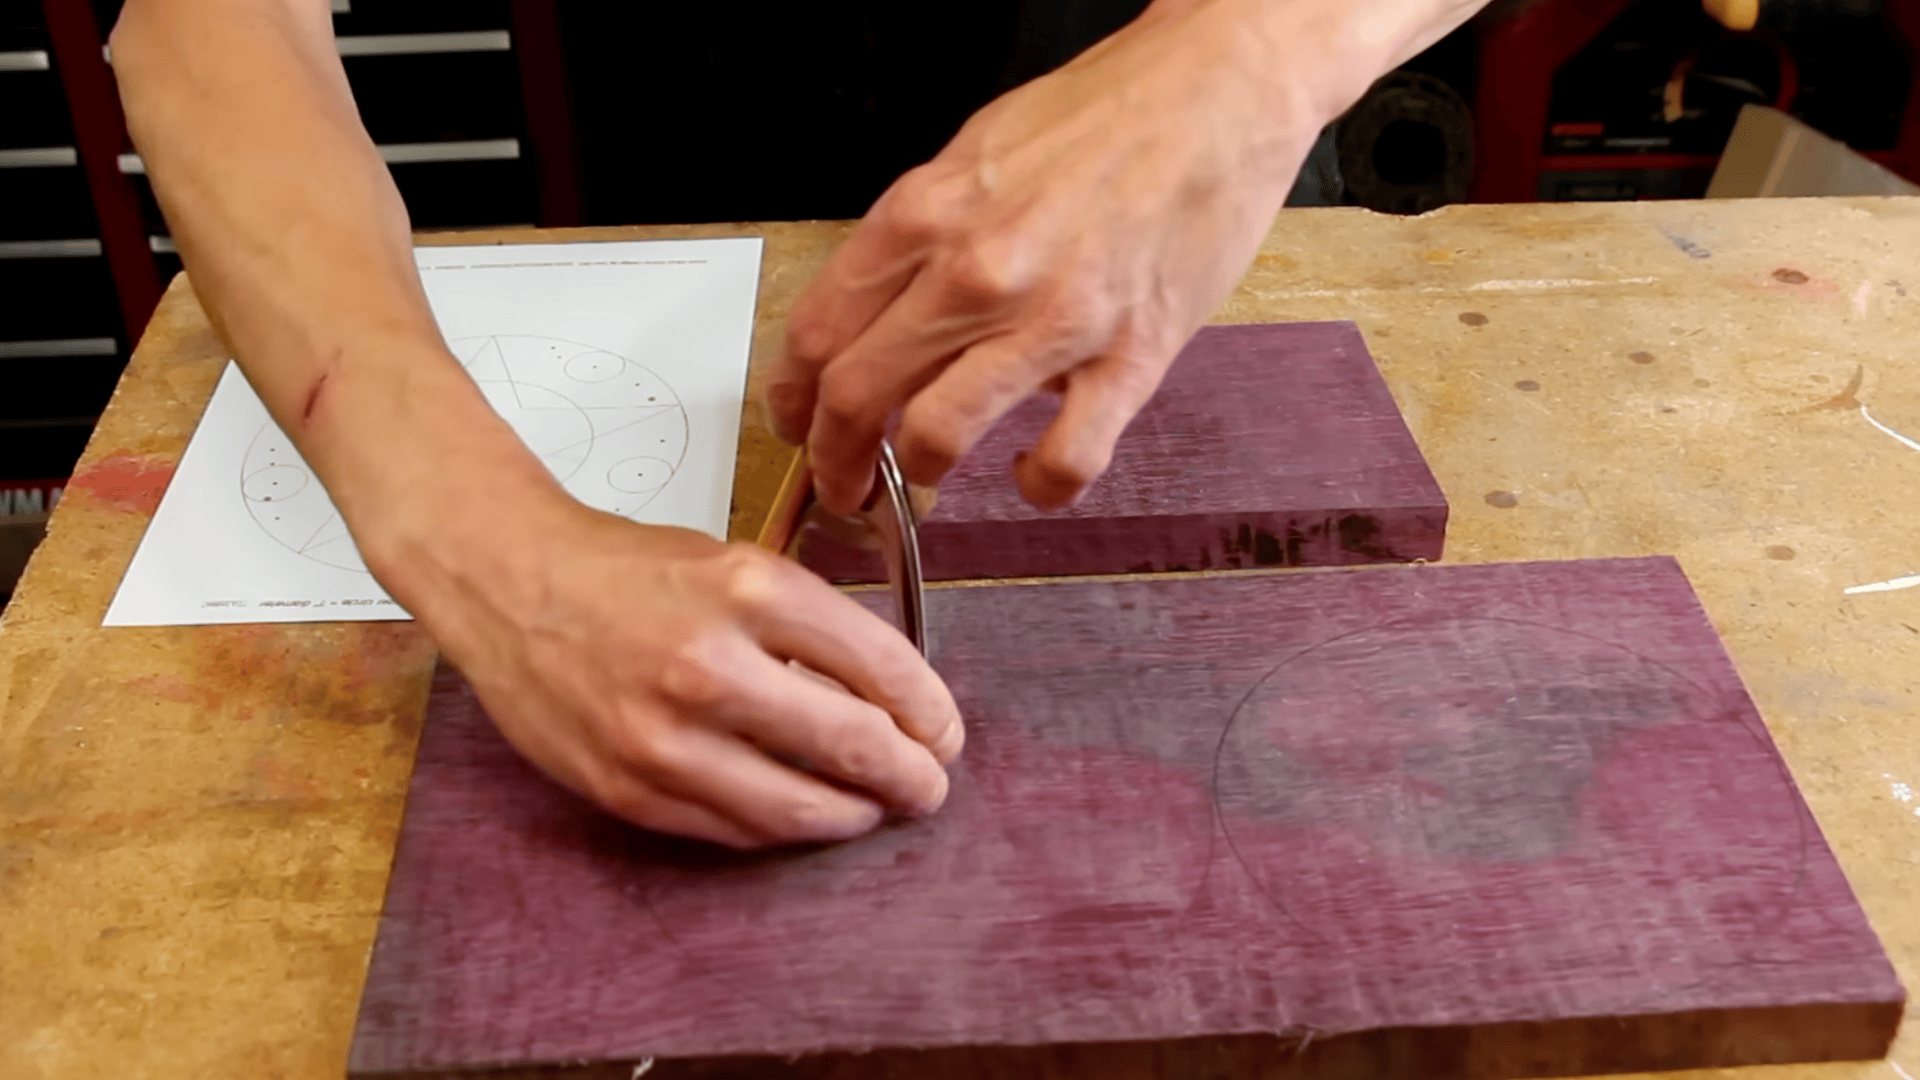
Select your wooden pieces, such as Purple Heart, which is durable and rot-resistant.
After marking your circles, use a bandsaw to cut the discs.
Sand them down to a smooth finish and round off the edges using a router, ensuring they are free from burn marks.
STEP 2: Cut the Pipes to the Correct Length

Using a tubing cutter, cut your chosen pipes—EMT conduit works well—for the wind chimes.
Refer to a note chart to ensure the pipes are cut to the correct lengths to achieve the desired tones.
Deburr the edges, both inside and outside, using a round file and a sanding spindle.
STEP 3: Drill Holes for the Mounting Hardware

Drill the necessary holes for mounting the pipes.
Ensure accurate placement based on the template, which will guide you to optimal locations for hanging the pipes.
Secure the template on your discs and mark the holes with a punch, then use a drill press to create the holes.
STEP 4: Assemble the Chimes

Once all the holes are drilled and pipes are cut, use eyelets to mount the pipes on the discs.
Attach a chain or fishing line to hang the pipes.
Make sure all chimes are aligned and properly spaced, using fishing line or heat shrink tubing to secure them safely.
STEP 5: Add Finishing Touches

Spray the wooden pieces with a clear lacquer to restore the purple hue and protect them from the elements.
Attach a wind sail and a clacker for sound production.
Finally, hang the completed windchimes, ensuring they’re tuned and ready to produce harmonious sounds when the wind blows.
This should cover the whole process of building your wind chimes, from selecting materials to final assembly!
Creative Wind Chime Ideas
Wind chimes can be customized to reflect your personal style and the materials you love.
Whether you’re upcycling old treasures or incorporating nature-inspired elements, these creative ideas will add a unique touch to your space.
Here’s a variety of wind chime concepts to get your creativity flowing and bring soothing sounds to your home.
1. Upcycled Wind Chimes: Old Cutlery, Bottle Caps, Mason Jar Lids
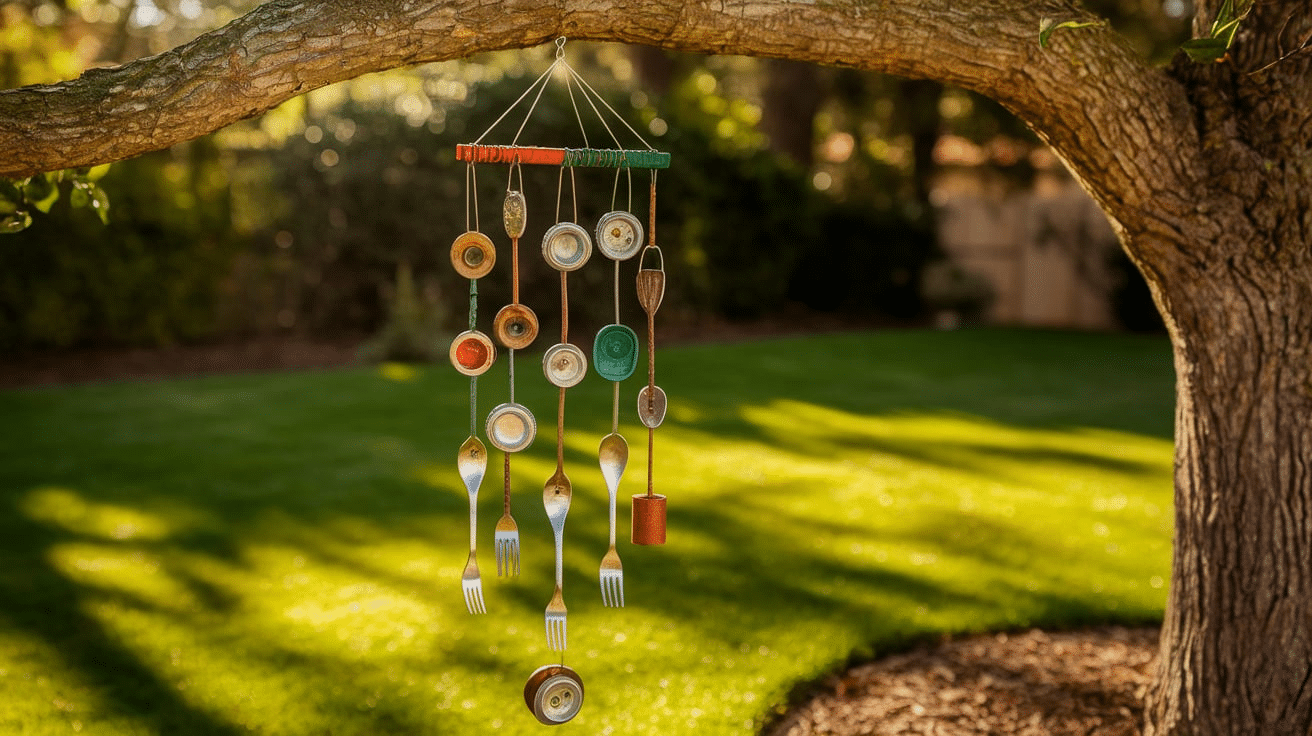
Transform everyday objects into a charming wind chime.
Use old cutlery for a quirky, metallic sound, or repurpose bottle caps and mason jar lids for a rustic aesthetic.
These items can be connected with durable strings or wires, and painted for added color and vibrancy.
This eco-friendly project is perfect for reducing waste while adding personality to your outdoor decor.
2. Natural Wind Chimes: Bamboo, Driftwood, Pinecones, Shells
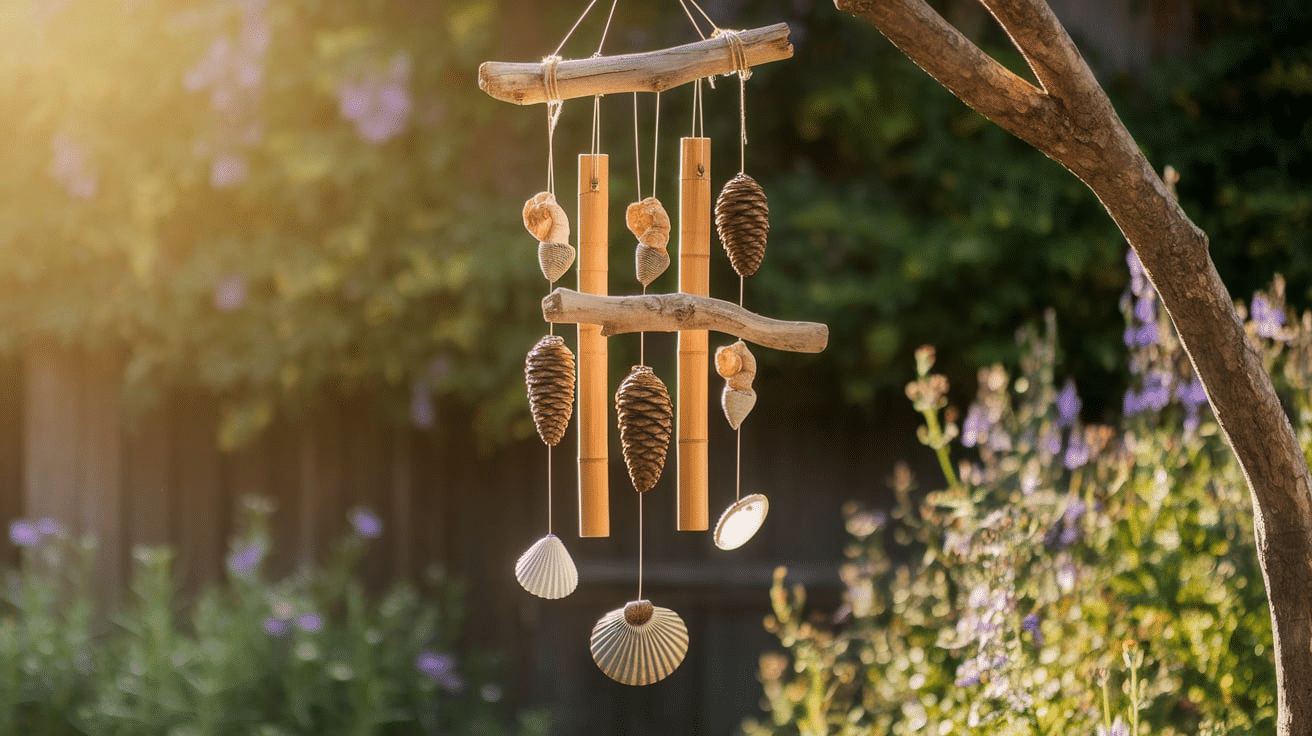
Bring the outdoors in with a natural wind chime made from bamboo, driftwood, pinecones, and shells.
Bamboo creates a warm, earthy tone, while driftwood adds a coastal charm.
Pinecones and shells can create soothing sounds as they gently chime in the wind.
These elements complement outdoor spaces, blending with gardens or patios for a calming, organic vibe.
3. Colorful Kids’ Wind Chimes: Beads, Plastic Shapes, Painted Craft Sticks

For a playful and vibrant wind chime, use beads, colorful plastic shapes, and painted craft sticks.
This is a great project for kids, encouraging creativity and hands-on crafting.
Choose bright, eye-catching colors that capture the fun and joy of childhood.
The clinking sounds of the plastic pieces create an engaging auditory experience, making it perfect for a children’s room or garden.
4. Elegant Glass or Crystal Wind Chimes
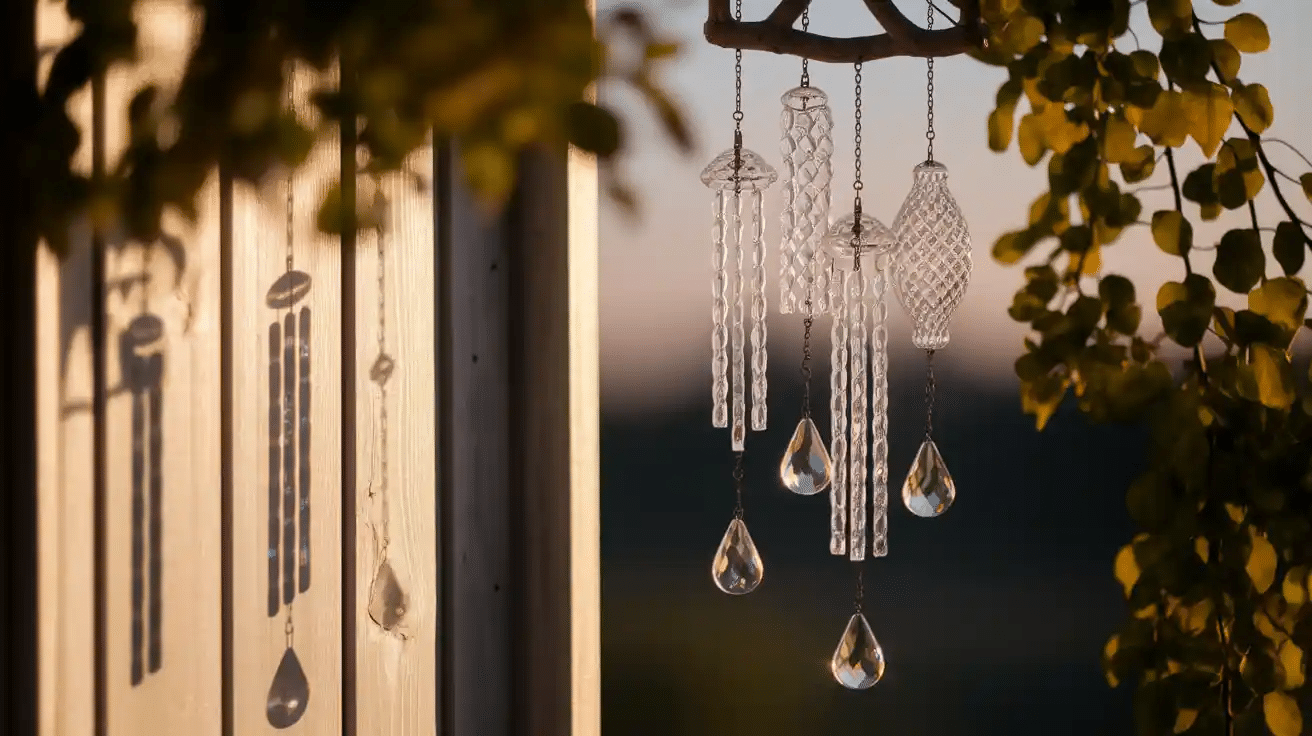
Glass or crystal wind chimes bring elegance and sophistication to any space.
Their delicate chimes produce a pure, melodic sound that adds tranquility to your environment.
Incorporate multi-colored glass pieces or clear crystals that catch the sunlight, casting beautiful reflections.
These chimes can be hung indoors or outdoors, offering a touch of refinement and peaceful tones wherever they are placed.
5. Themed Seasonal Wind Chimes: Holiday, Garden, or Rustic Styles
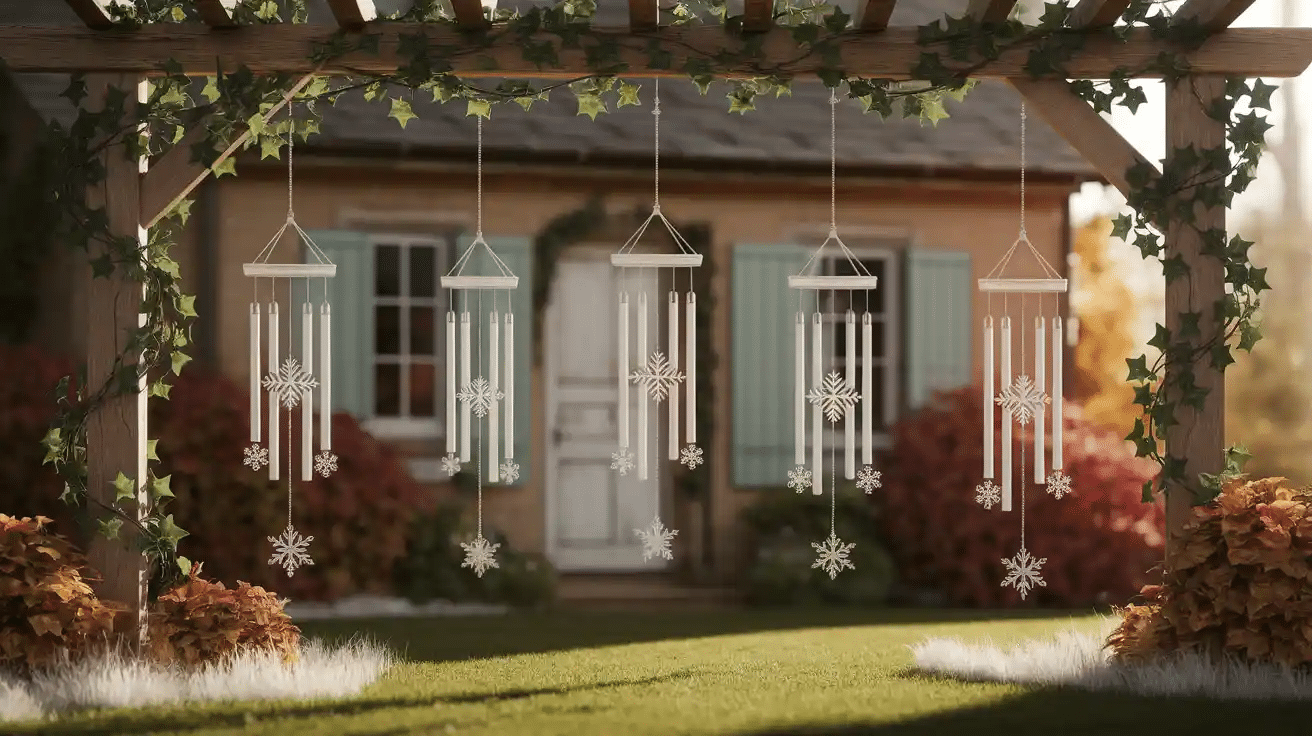
Create a wind chime that reflects the seasons or a specific theme.
For the holidays, think of festive materials like jingle bells and ornaments.
Garden-inspired chimes could feature flowers or small gardening tools, while rustic designs might include repurposed wood or wrought iron.
These chimes are a fun way to change up your decor throughout the year, celebrating each season in style.
Troubleshooting Common Issues and Their Solutions
Creating the perfect wind chime may take some tweaking.
Here’s a guide to help you adjust the sound quality and other common issues:
| ISSUES | SOLUTIONS |
|---|---|
| Uneven Pipes | Ensure all pipes are the same length and are hung at equal distances. |
| Too Heavy or Light | Adjust the weight on the pipes or use lighter materials for balance. |
| Dull Sound | Experiment with the material and length of the pipes for better tone. |
| Chimes Don’t Ring | Check for obstructions or make sure the chimes aren’t too tightly secured. |
| Pipes Too Close | Increase the space between pipes for clearer, more distinct sounds. |
With these tips, you can refine your wind chime to create a soothing melody that resonates perfectly.
Enjoy the process of fine-tuning your creation!
Safety and Weatherproofing Tips
When creating or placing wind chimes outdoors, it’s important to ensure they are protected from weather elements for longevity.
Here are some essential tips to keep your wind chimes in top shape:
-
Use clear sealant to coat materials, preventing water damage and rust from rain exposure.
-
Opt for rust-resistant materials like stainless steel or aluminum for metal chimes.
-
Apply UV-protectant spray to protect against sun damage and fading.
-
Consider indoor placement for delicate chimes that may not withstand outdoor conditions.
-
For outdoor chimes, choose a sheltered spot to avoid harsh weather conditions directly impacting them.
These steps will extend the life of your wind chimes, ensuring they continue to bring soothing sounds and charm to your space.
Wrapping It Up
Creating wind chimes is more than just a craft—it’s a meditative experience of personal growth and artistic discovery.
Every carefully selected material tells a story of creativity and intentional design.
The process connects us with nature, sound, and our inner artistic spirit.
Handmade wind chimes become cherished pieces that bring joy and tranquility to any space.
They represent a beautiful intersection of artistry, personal expression, and musical harmony.
Each chime you create carries a unique melody, reflecting your individual creativity.
Welcome the travels, enjoy the process, and let your wind chimes sing.
To read more Home-Improvement Blogs. Explore here