I am excited to show you my copy cat DIY project! I have been working on it for a couple of weeks now. Well, it really only took me about 4-5 hours total, but I couldn’t get it all done in one sitting. You know how that goes. I won’t drag this one out. Do you remember these that I shared last week?
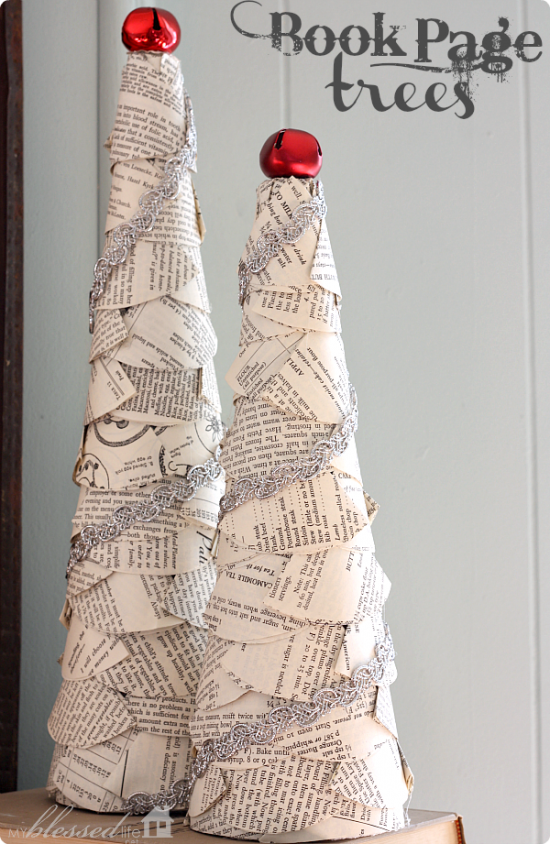
You can find them in this post. I saw them on a blog I read called My Blessed Life. She also has a good tutorial on how to do it, so I am not going to re-write the book. I just sat my laptop in front of me, opened to this tutorial and went to town. It is very simple, and more time consuming that anything else. It took me about 100 cut out circles for the larger tree, and about 75 for the smaller one. I decorated mine a little differently, and you can decorate yours any way you want to. I am extremely happy with how mine turned out, they are so adorable! Here they are!

I used red beads and a green ornament on mine. She used a jingle bell for the top of hers. It was simple to attach the ornament to the top. I simply took the metal cap off of the top of the ornament (the part where you hang it from). I used the little metal silver cap by punching it down into the Styrofoam and then pulling out. I put some hot glue down in there, and then I just stuck that little tip of the ornament into the place I carved out. Done! Thanks for the idea Myra! I love my book page trees!
Have you made anything crafty for the holiday season that you would like to share? If so, send it to me, I would love to share on my blog!
Link Parties:
these are so cute, thanks for sharing
Your book page Christmas trees are adorable! Thanks for sharing, Nicki!