Got old brass items that have lost their luster?
That factory-applied clear coating might be the culprit.
When lacquer ages, it turns yellow, cracks, and makes brass look cheap instead of charming.
But don’t worry, you can bring back that warm, rich glow!
Removing the coating from brass isn’t as difficult as it sounds.
With some basic household items and a bit of patience, you’ll turn those dull brass pieces into something special.
Many people actually prefer the look of natural brass that changes color over time, rather than the fake-looking shine found in stores.
Ready to make your brass truly yours?
Let’s remove that old coating and let your brass shine in its true colors!
Why Remove Lacquer from Brass?
Most brass items come with a clear coat that keeps them shiny at first.
However, over time, this coating can begin to deteriorate. It might crack, peel, or turn yellow in spots.
This makes your once-beautiful brass pieces look worn out and old before their time.
Removing this coating allows the brass to age naturally.
As time passes, brass without coating changes color in a way many people find attractive.
It becomes darker, richer, and more golden brown.
This natural look gives brass items more character and charm than the factory shine.
For individuals who collect old brass items, removing the coating is often necessary.
Old door handles, light fixtures, and other brass treasures can look out of place with a modern glossy finish.
Removing the coating helps these pieces fit better with their original time period.
Removing the coating helps brass items appear more handmade and less like factory-made products.
This fits perfectly with vintage-styled homes, where charm and character take precedence over perfect shine.
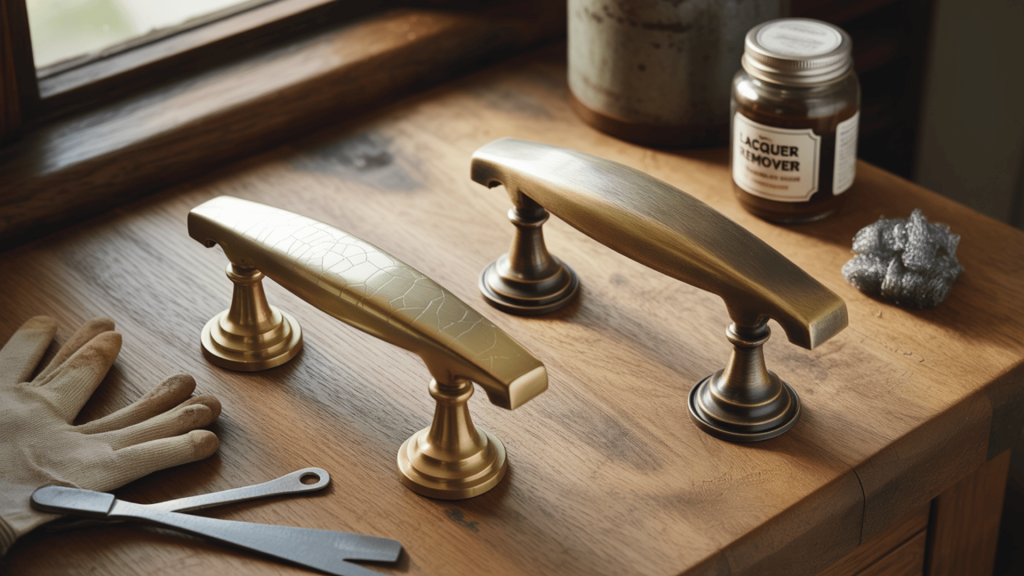
Tools and Materials You’ll Need
Before starting your brass project, gather all the necessary materials.
The right tools make the job much easier and safer. Here’s what to have on hand:
| TOOL/MATERIAL | PURPOSE |
|---|---|
| Hot water & heat-resistant container | Loosens lacquer coating |
| Scouring pad or soft-bristle brush | Removes loosened lacquer |
| Acetone & cotton balls | Dissolves stubborn lacquer |
| Denatured alcohol & clean cloths | Alternative to acetone |
| Protective gloves & eyewear | Safety equipment |
Getting all your tools and materials ready beforehand makes the lacquer removal job much simpler and safer.
With everything at hand, you’ll protect yourself from chemical exposure and prevent damage to your valuable brass pieces.
Step-by-Step DIY How to De-Lacquer Brass Tutorial
Many people think they need costly services to restore brass, but you can do this at home with basic supplies.
The method you choose may vary depending on the size of your item and the thickness of the coating.
Step 1 – Use Hot Water to Loosen Lacquer
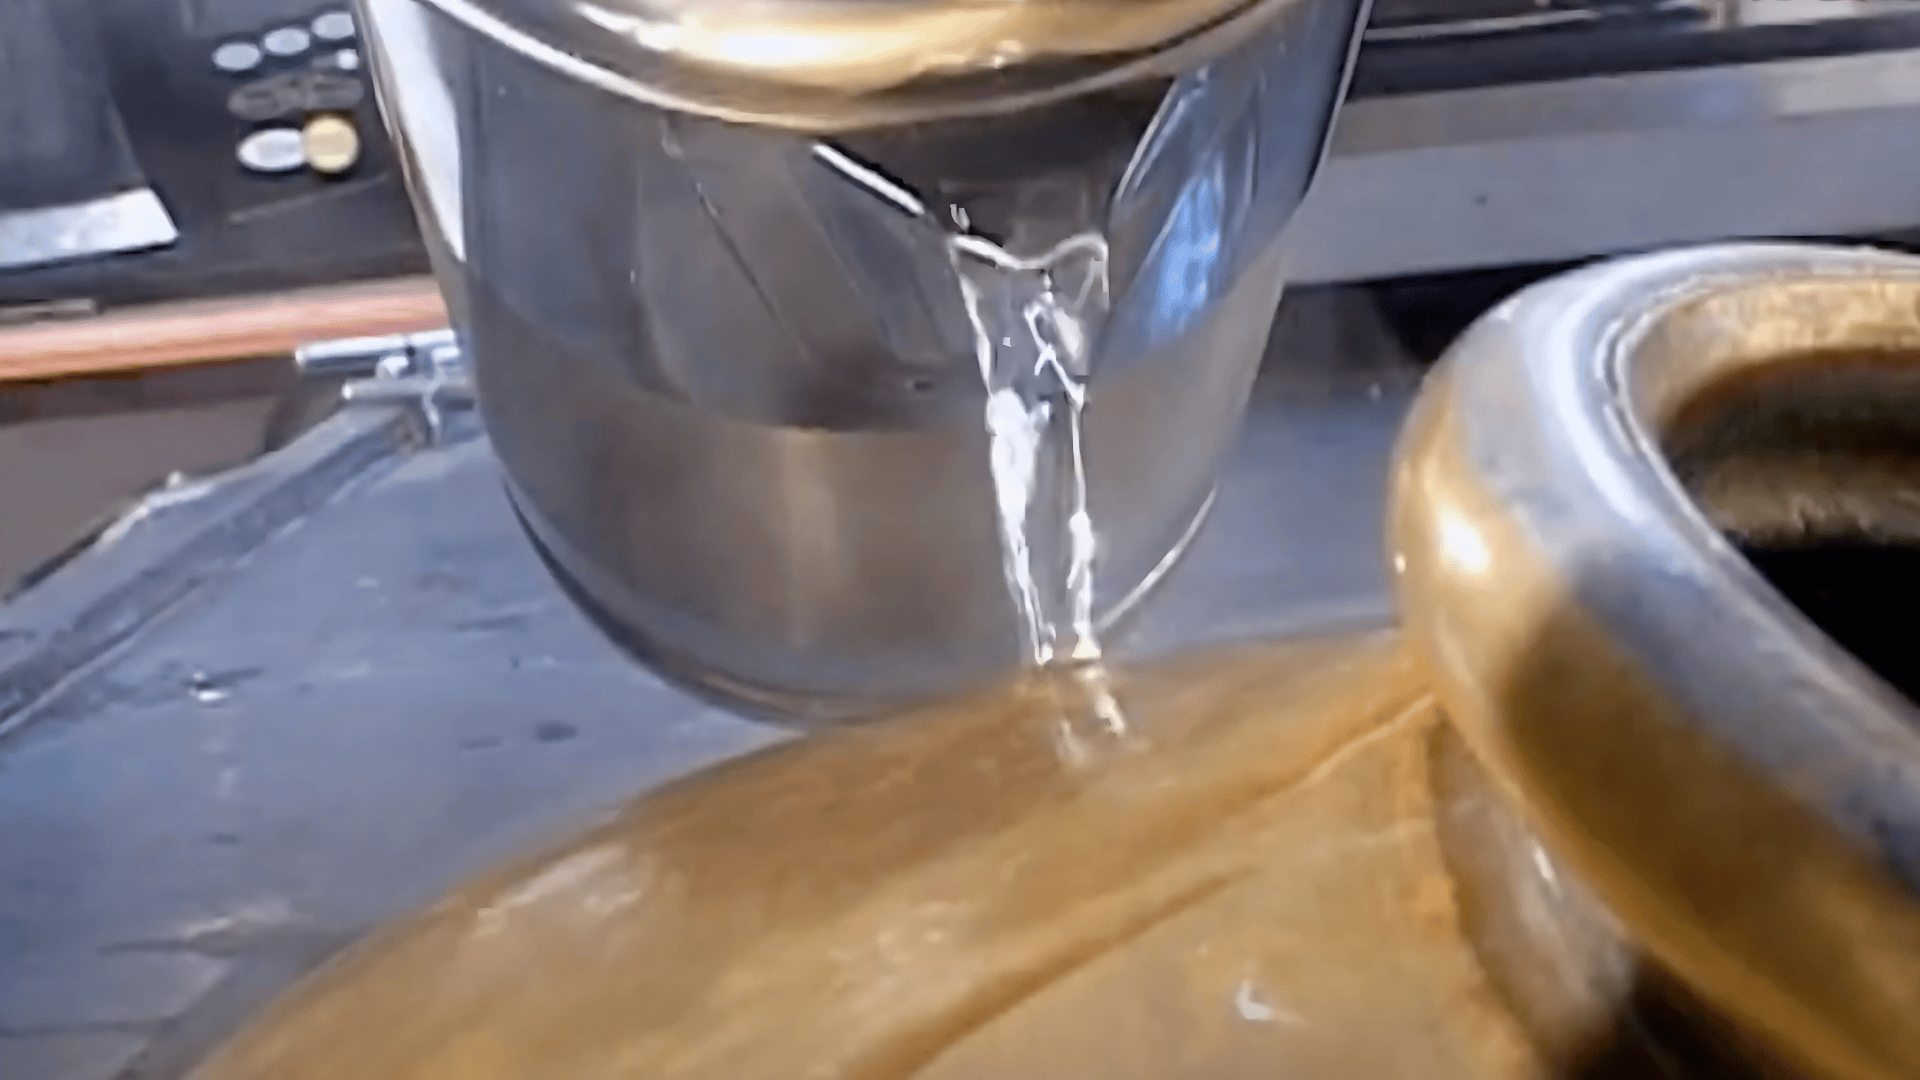
For larger brass items, start by filling a container with very hot water.
The water shouldn’t be boiling, but should be hot enough that you’d need gloves to touch it.
Put your brass item in the water and let it sit for 5-10 minutes.
The heat makes the lacquer expand at a different rate than the brass underneath.
This causes the coating to crack and start peeling away.
Thinner coatings may come off in sheets, while thicker ones require more work.
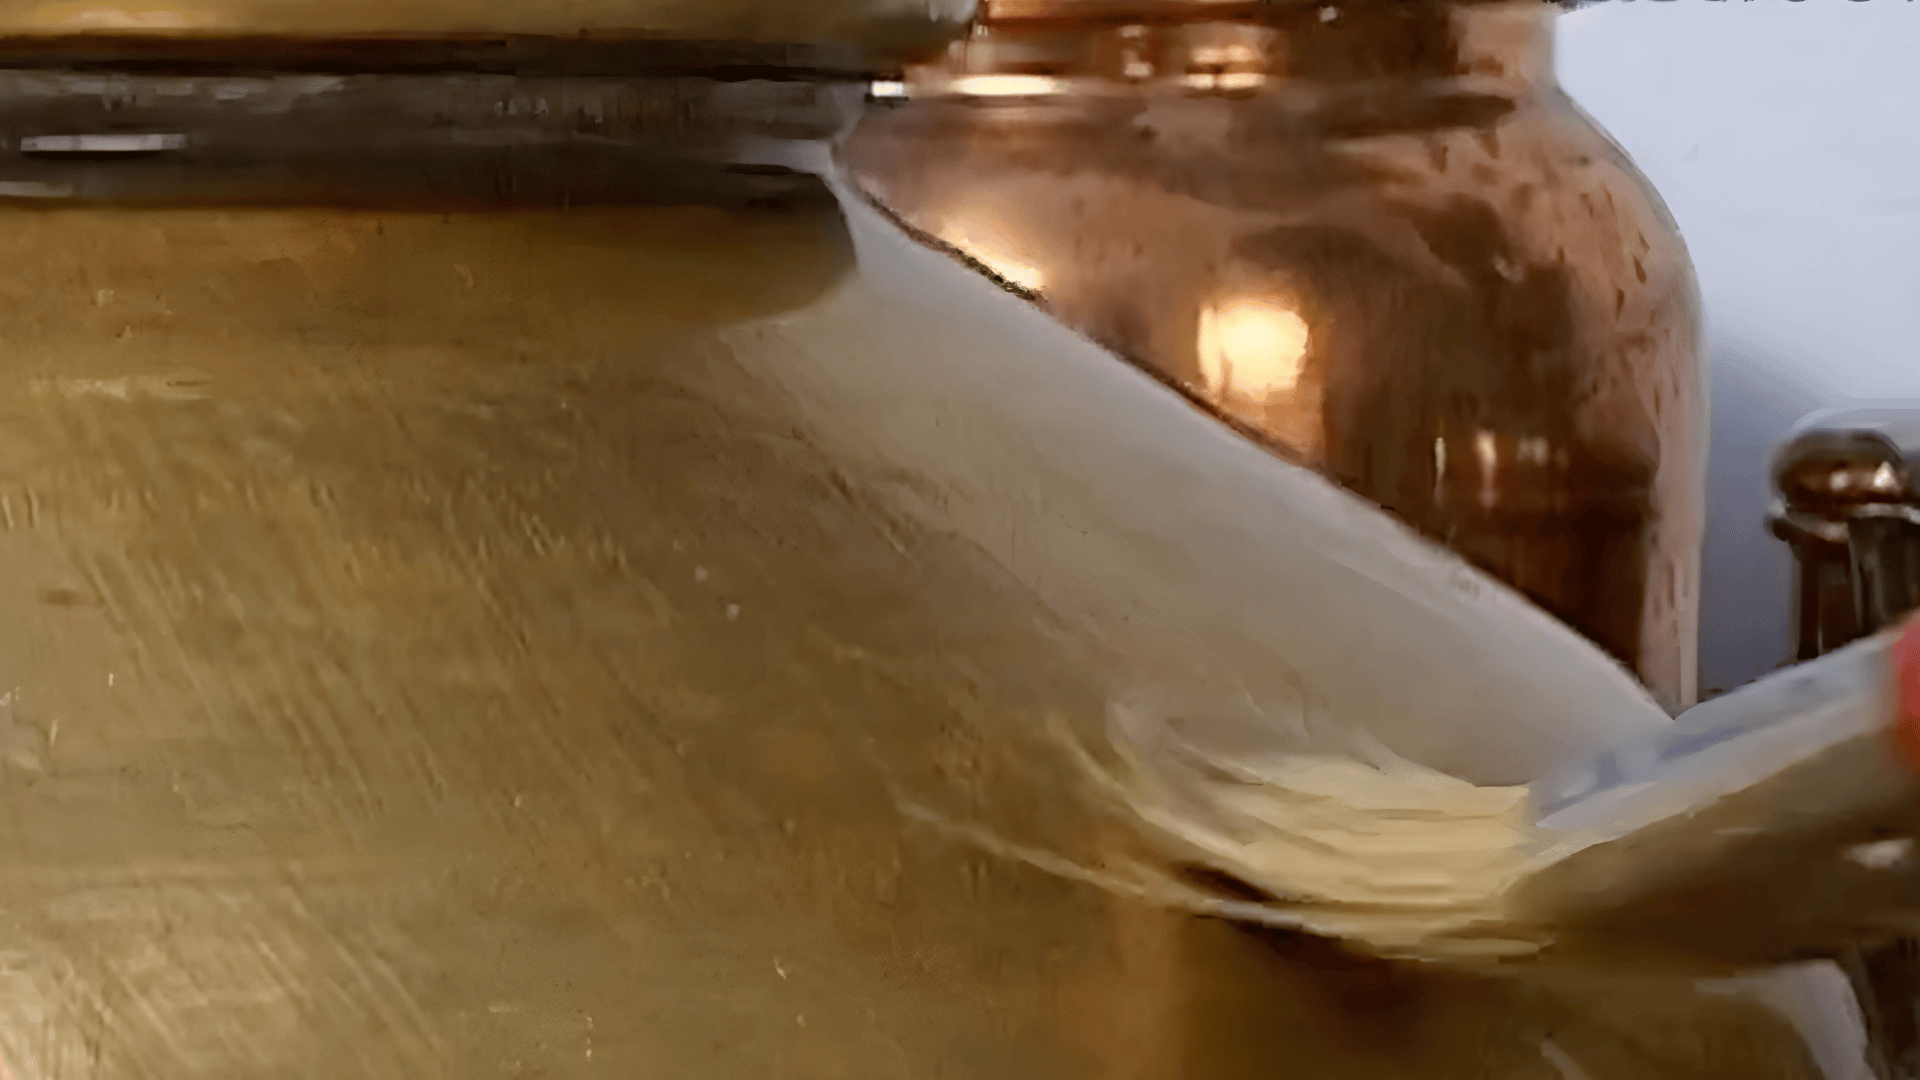
Step 2 – Scrub Remaining Lacquer with a Scouring Pad
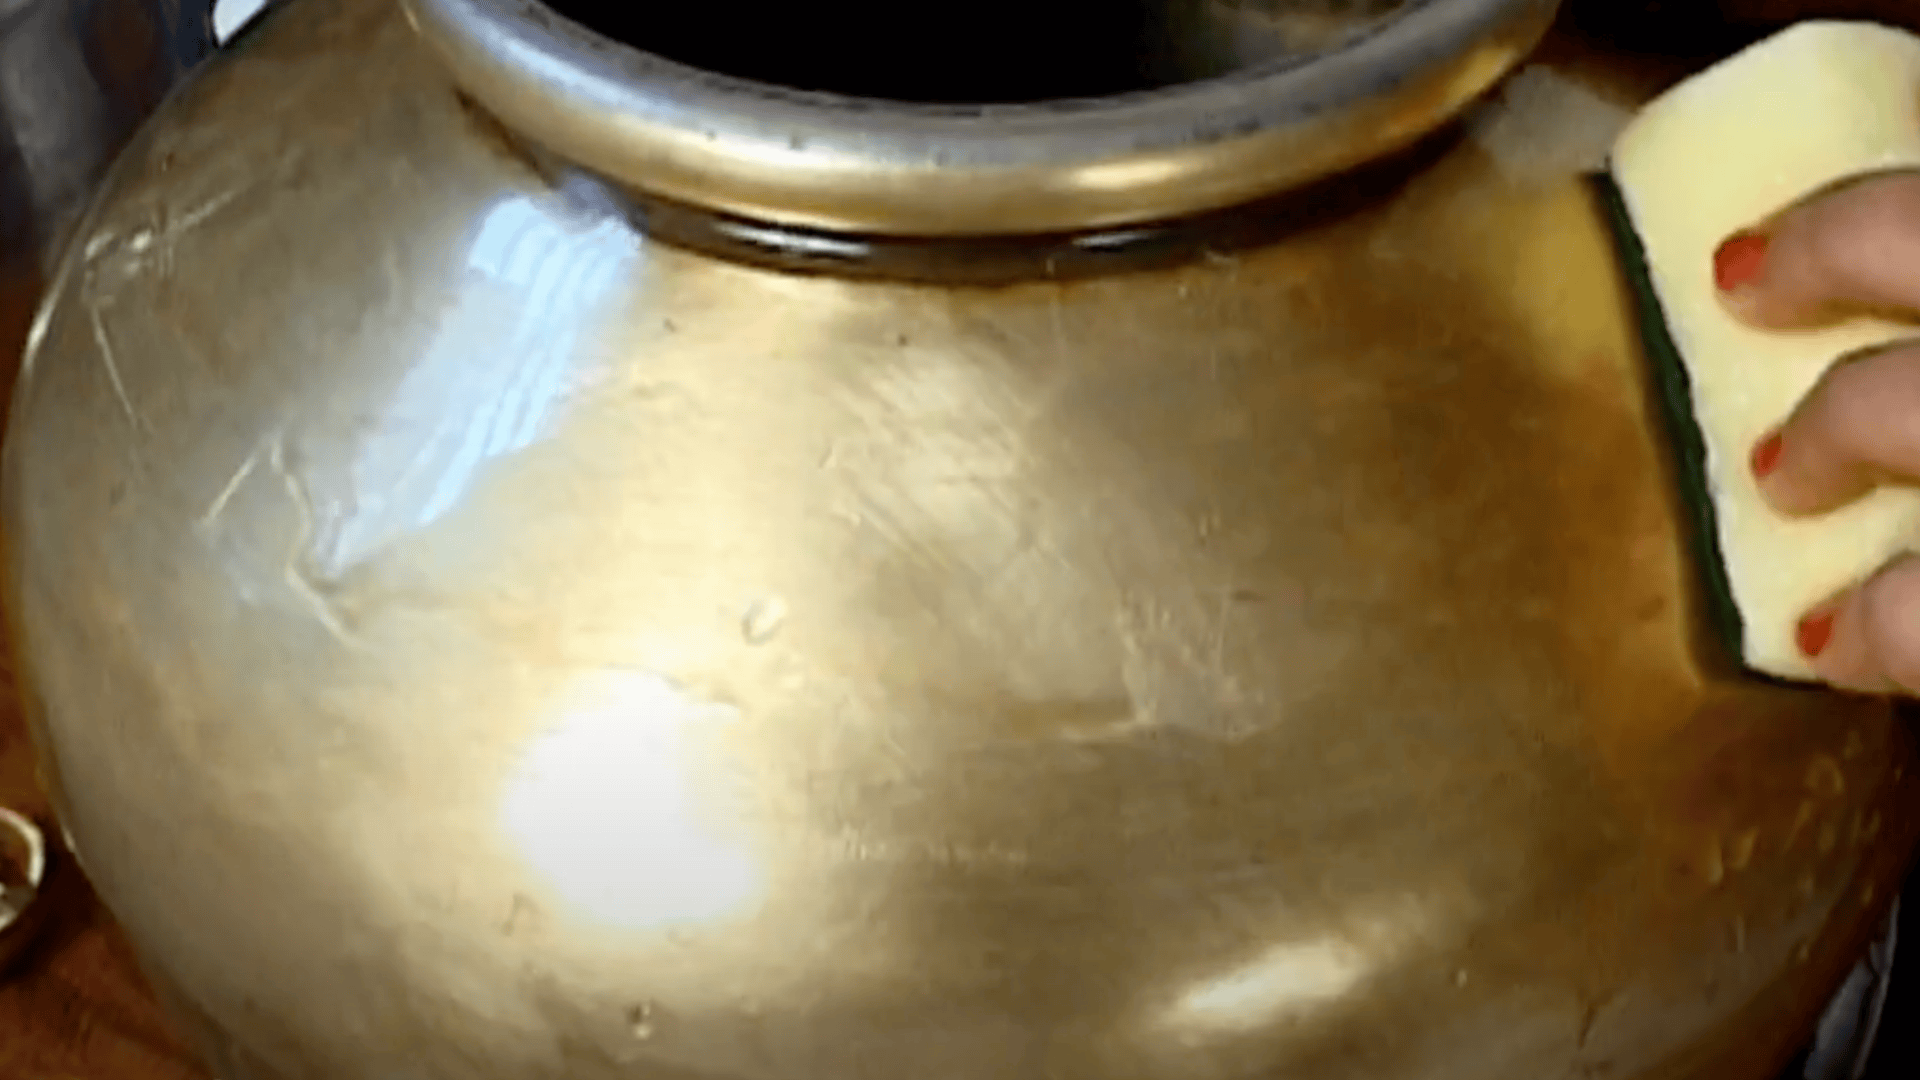
After the hot water bath, some coating will remain.
Take your scouring pad or brush and gently rub the surface of the brass.
Work in small sections and apply gentle pressure.
This step works best on solid brass items.
If your item is only brass-plated, use a softer brush to avoid scratching through the thin brass layer.
You’ll see the coating coming off as you work, revealing the true brass color underneath.
Step 3 – Apply Acetone for Stubborn Lacquer
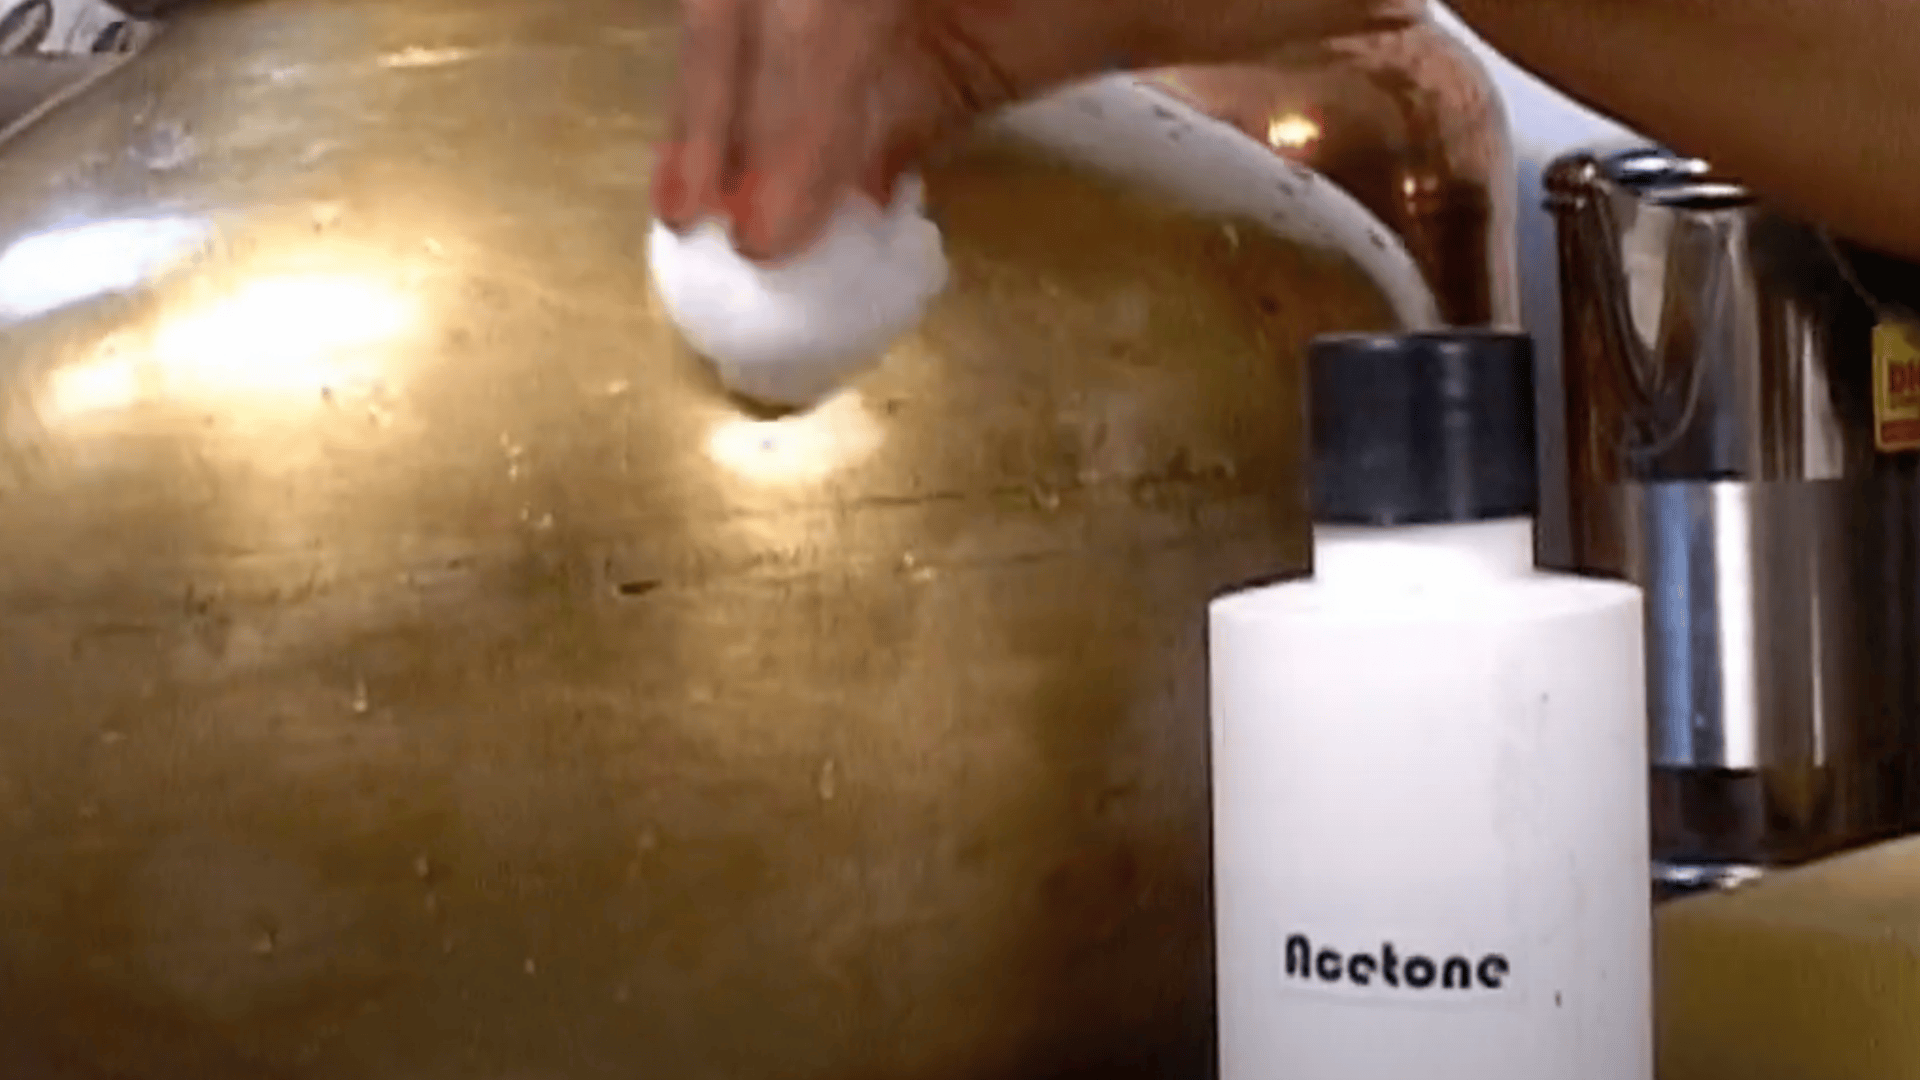
For tough spots where the coating won’t budge, acetone is your best helper.
Soak cotton balls in acetone and press them against the stubborn areas.
Hold for about 30 seconds before wiping.
For items with small details, you can use a small brush dipped in acetone to reach tight spots.
For intricate brass items with hard-to-reach areas, briefly boiling them helps loosen stubborn lacquer.
Applying acetone while the brass is still warm increases its effectiveness in dissolving the remaining coating in detailed crevices.
Step 4 – Try Denatured Alcohol as an Alternative
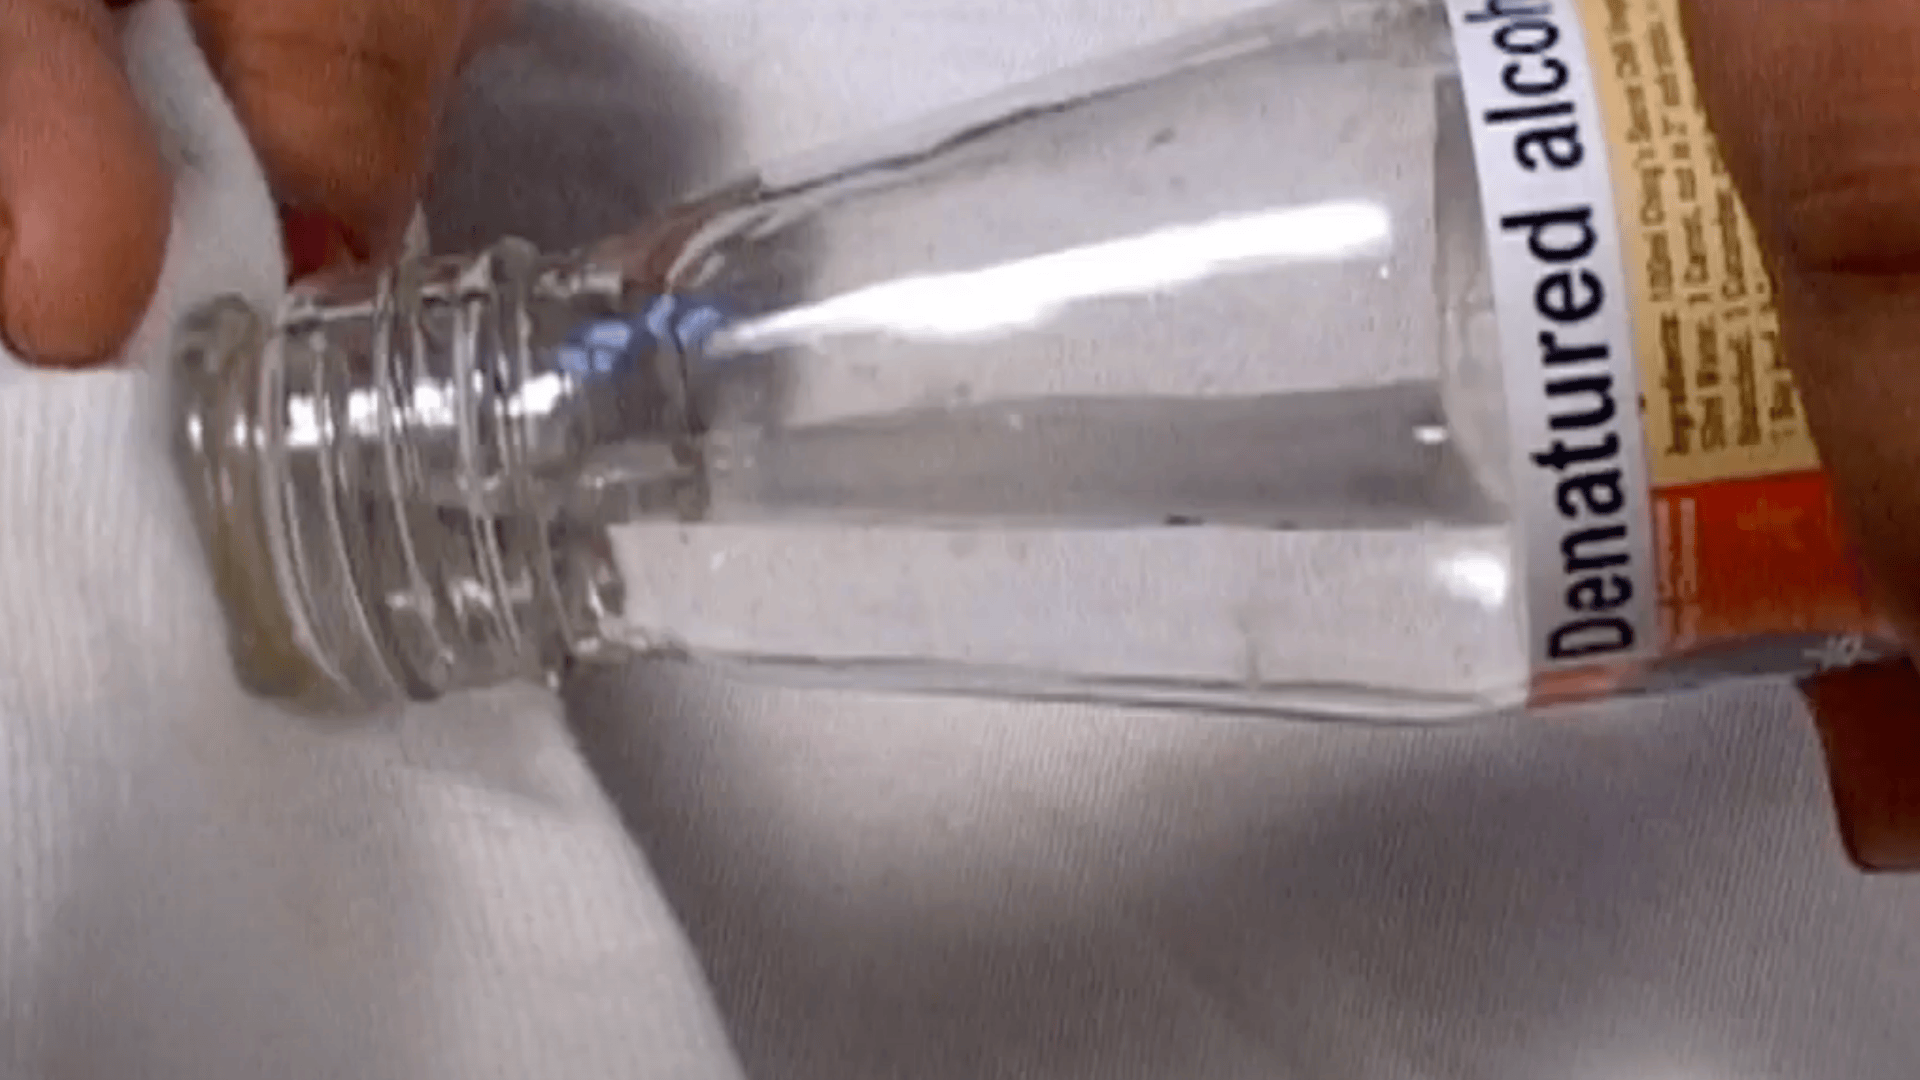
If acetone seems too strong or you don’t have it on hand, denatured alcohol works well, too.
Wet a clean cloth with alcohol and rub it over the brass surface using firm pressure.
This method is especially good for wide, flat surfaces where the coating is already starting to peel.
The alcohol softens the remaining lacquer, allowing it to be wiped away without harsh scrubbing.
Step 5 – Refinish or Let It Patina
Once all the old coating is gone, you have two choices.
You can apply new lacquer if you want to keep the brass looking shiny and new.
Follow the instructions on your chosen product for best results.
Alternatively, you can leave the brass uncoated.
Over time, it will develop a rich, warm color that many people find more beautiful than the original shine.
This natural aging gives brass character and depth.
Video Walkthrough: See How Experts Do It!
For more information, check out this video tutorial by Howcast
Safety Tips When Removing Lacquer
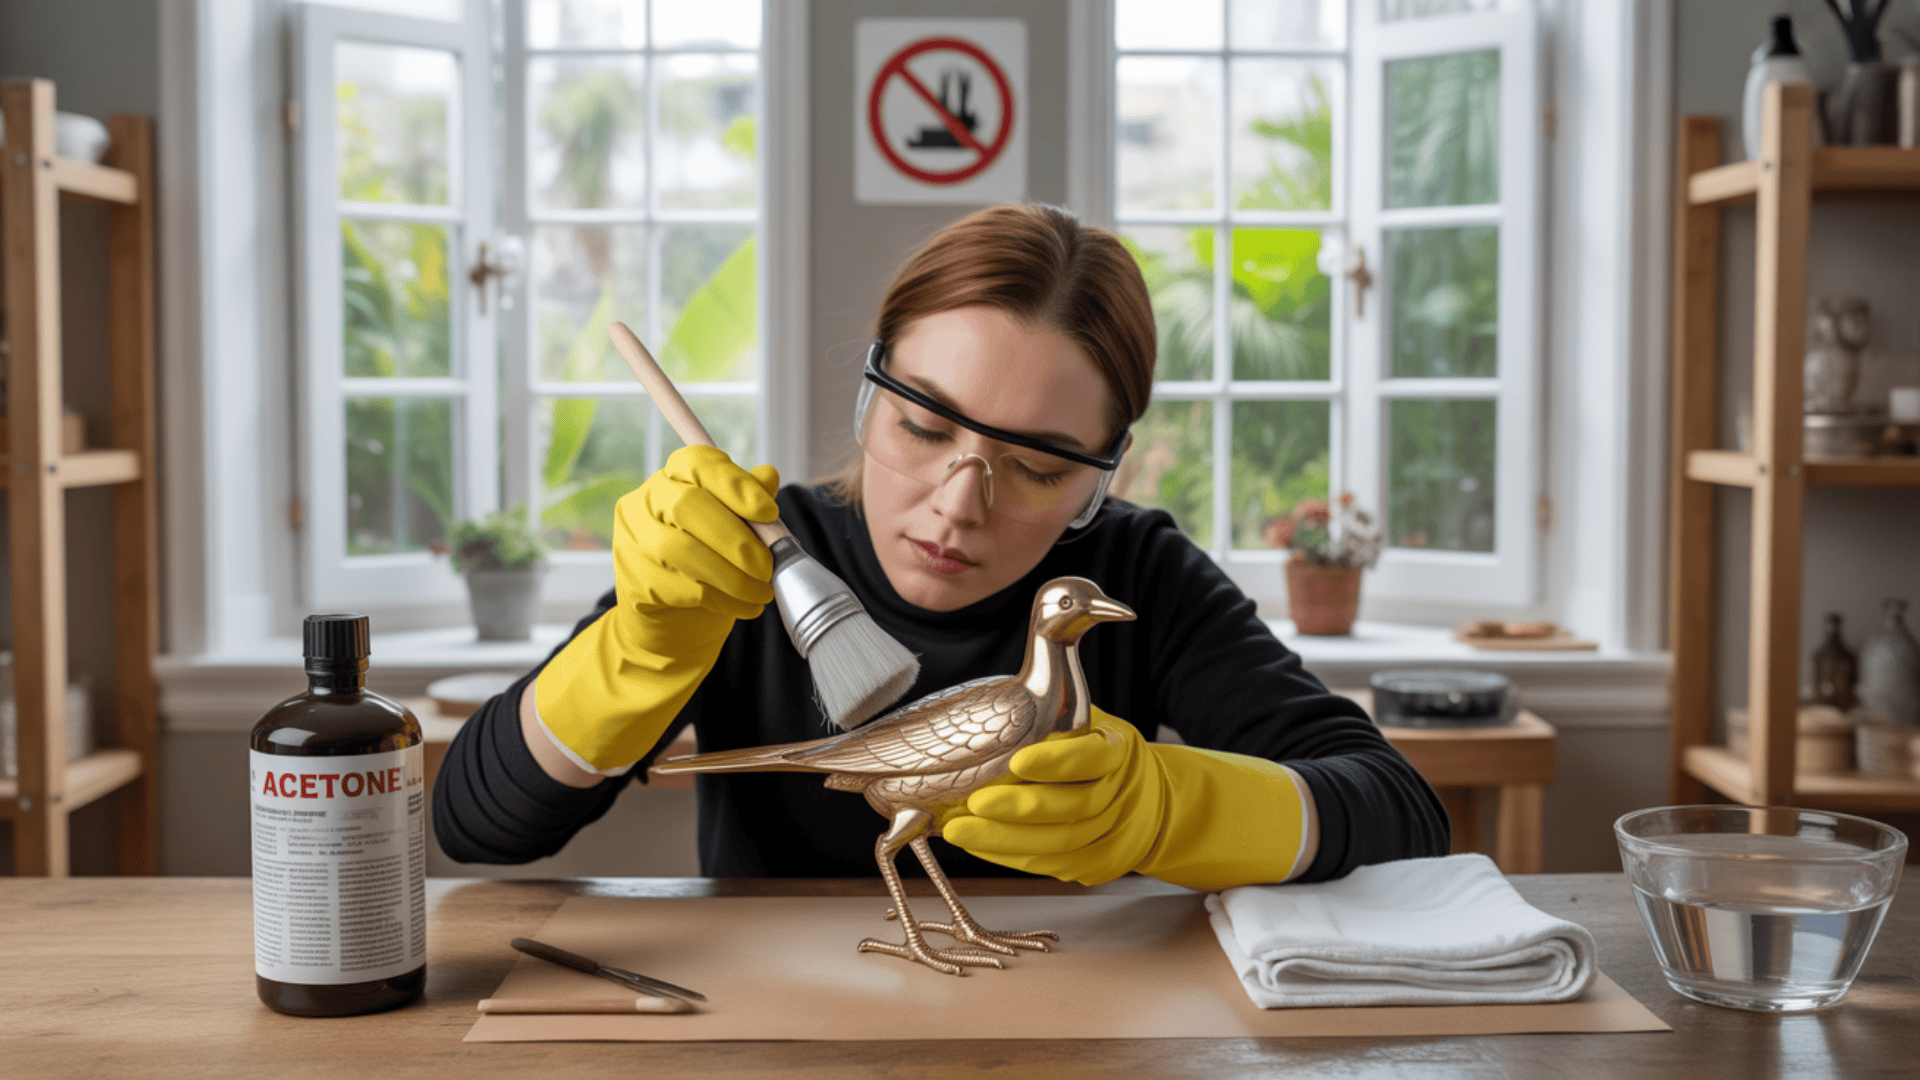
Working with chemicals to remove lacquer requires careful attention to safety.
The process isn’t dangerous if you follow basic precautions.
- Work in a room with open windows or use fans for good air flow.
- Keep all chemicals out of the reach of children, pets, and food preparation areas.
- Wear rubber gloves to protect your skin from irritation.
- Use eye protection when applying or scrubbing with chemicals.
- Never smoke or use a flame near acetone or alcohol—both catch fire easily.
Taking these simple steps keeps the project safe while you work on bringing your brass items back to their natural beauty.
Most people find the process straightforward once they have the right tools and knowledge.
Summing It Up
Now you know how to strip that old coating from your brass treasures!
The process takes some time, but seeing the true brass surface emerge makes it worthwhile.
Your items will thank you with a rich, natural look that only improves with time.
Remember to stay safe with proper air flow and hand protection.
Start with the gentlest methods first—hot water often does the trick without the need for harsh chemicals.
For tougher jobs, move up to acetone or alcohol.
The best part?
You get to choose what happens next.
Keep it shiny with a new coating or let nature work its magic.
Either way, your brass will look much better than with that cracked, yellowing factory finish!