Garden dreams bigger than your actual garden?
I’ve been there too.
One spring afternoon, watching my cucumber vines sprawl across precious soil, I found a game-changing secret: the magic happens when you grow upward.
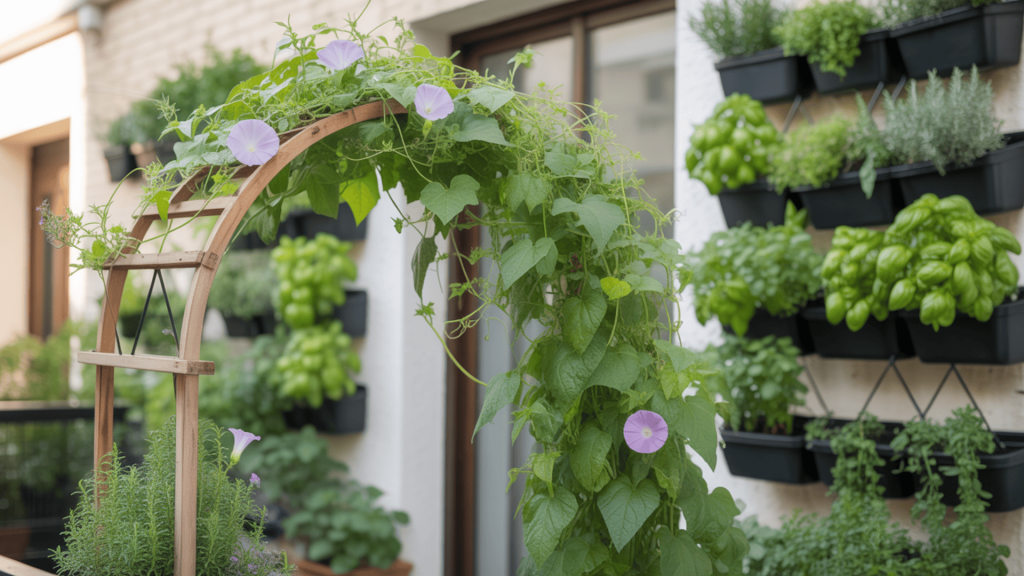
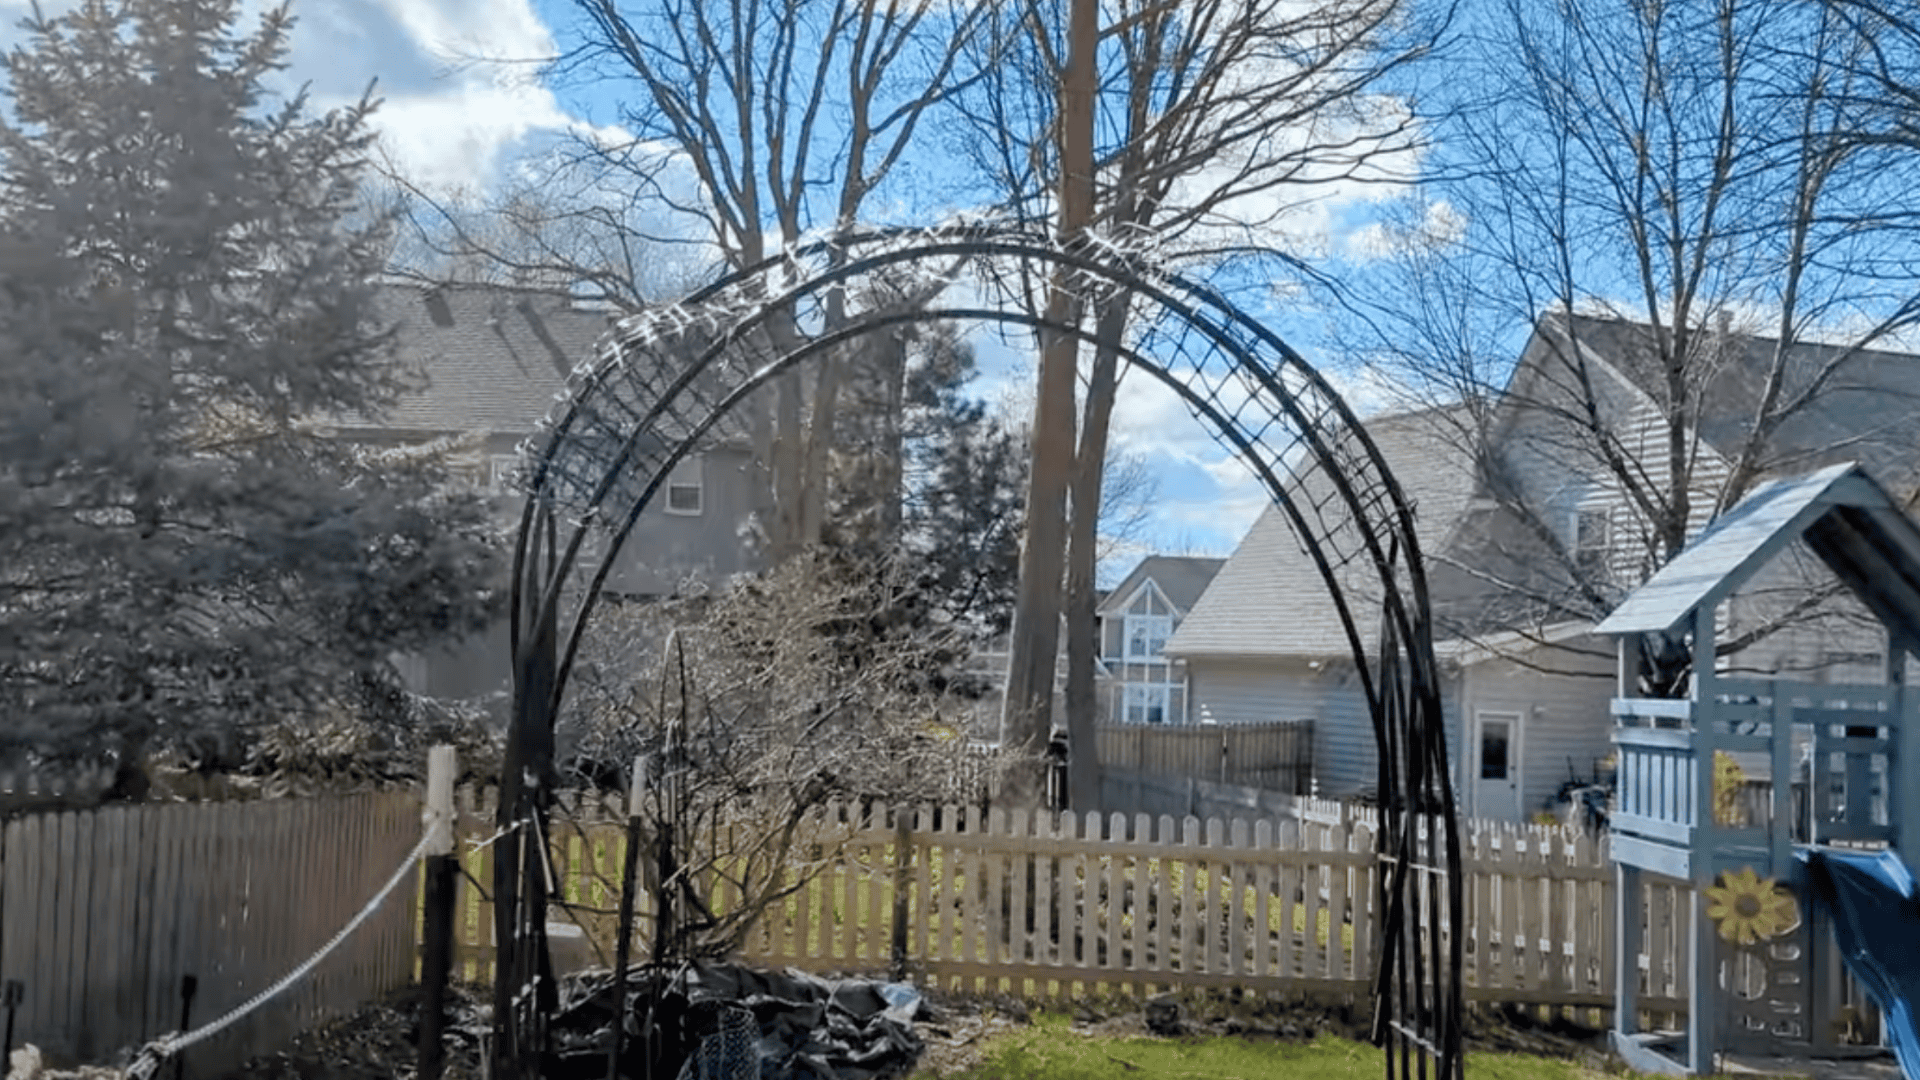
An arch trellis doesn’t just save space—it turns your garden into something almost magical.
Imagine walking beneath a living tunnel of flowering beans or reaching up to pluck a sun-warmed tomato at eye level.
The gentle curve of vines following your handmade arch adds an artistic touch that flat gardens can’t match.
And here’s what surprised me most: I created mine during my lunch break with odds and ends from my garage.
No special skills needed, just a few simple pieces coming together to change how you garden forever.
Ready to see your garden from a whole new angle?
What is DIY Arch Trellis?
Gardeners everywhere are looking up—literally!
The vertical gardening movement has taken root in homes across the country, from tiny apartment balconies to sprawling backyards.
Instead of spreading out, smart gardeners are growing upward.
Think about it: when you run out of floor space in your home, you add shelves on the walls.
The same idea works brilliantly in gardens!
Vertical gardening lets you grow more food and flowers in less space.
People living in cities love this approach because they can finally grow fresh vegetables without needing a big yard.
Those with larger gardens are finding they can grow climbing plants like beans, pumpkins, and cucumbers more efficiently when they climb upward rather than sprawl across the ground.
The best part?
Our arch trellis project costs just $15 and takes only 30 minutes to build.
Imagine harvesting your own homegrown vegetables this season from a beautiful garden arch you made yourself in less time than it takes to watch your favorite TV show!
Materials You’ll Need
Setting up your garden arch doesn’t require fancy equipment or specialized tools.
With just a few basic items, you can create a sturdy and charming structure for your climbing plants.
| ITEM | DESCRIPTION/PURPOSE |
|---|---|
| 2 four-foot-tall T-posts | To anchor and support the sides of the garden arch |
| 2 garden trellises (sturdy) | Forms the vertical structure of the arch |
| 3 half-inch wide, 10-feet long PVC pipes | Bends over to form the arch’s curved top |
| 5 feet of chicken wire or garden mesh | For additional support or to help plants climb |
| Zip ties (steel preferred) | To secure components together, steel offers extra durability |
| Optional: All-weather Gorilla tape | For color matching or additional hold in harsh weather |
Note: Always double-check measurements and material flexibility before assembly to ensure a safe and secure setup of your garden arch.
Pro Tip: Visit nearby ReStore or discount building supply shops for cheaper materials—many gardeners finish this whole project for less than $15!
Step-by-Step DIY Garden Arch for Vertical Gardening
Before starting our project, let’s gather everything you’ll need.
With just a handful of affordable materials, you’ll be set to change your garden space completely.
Step 1: Prep and Position the Garden Trellises
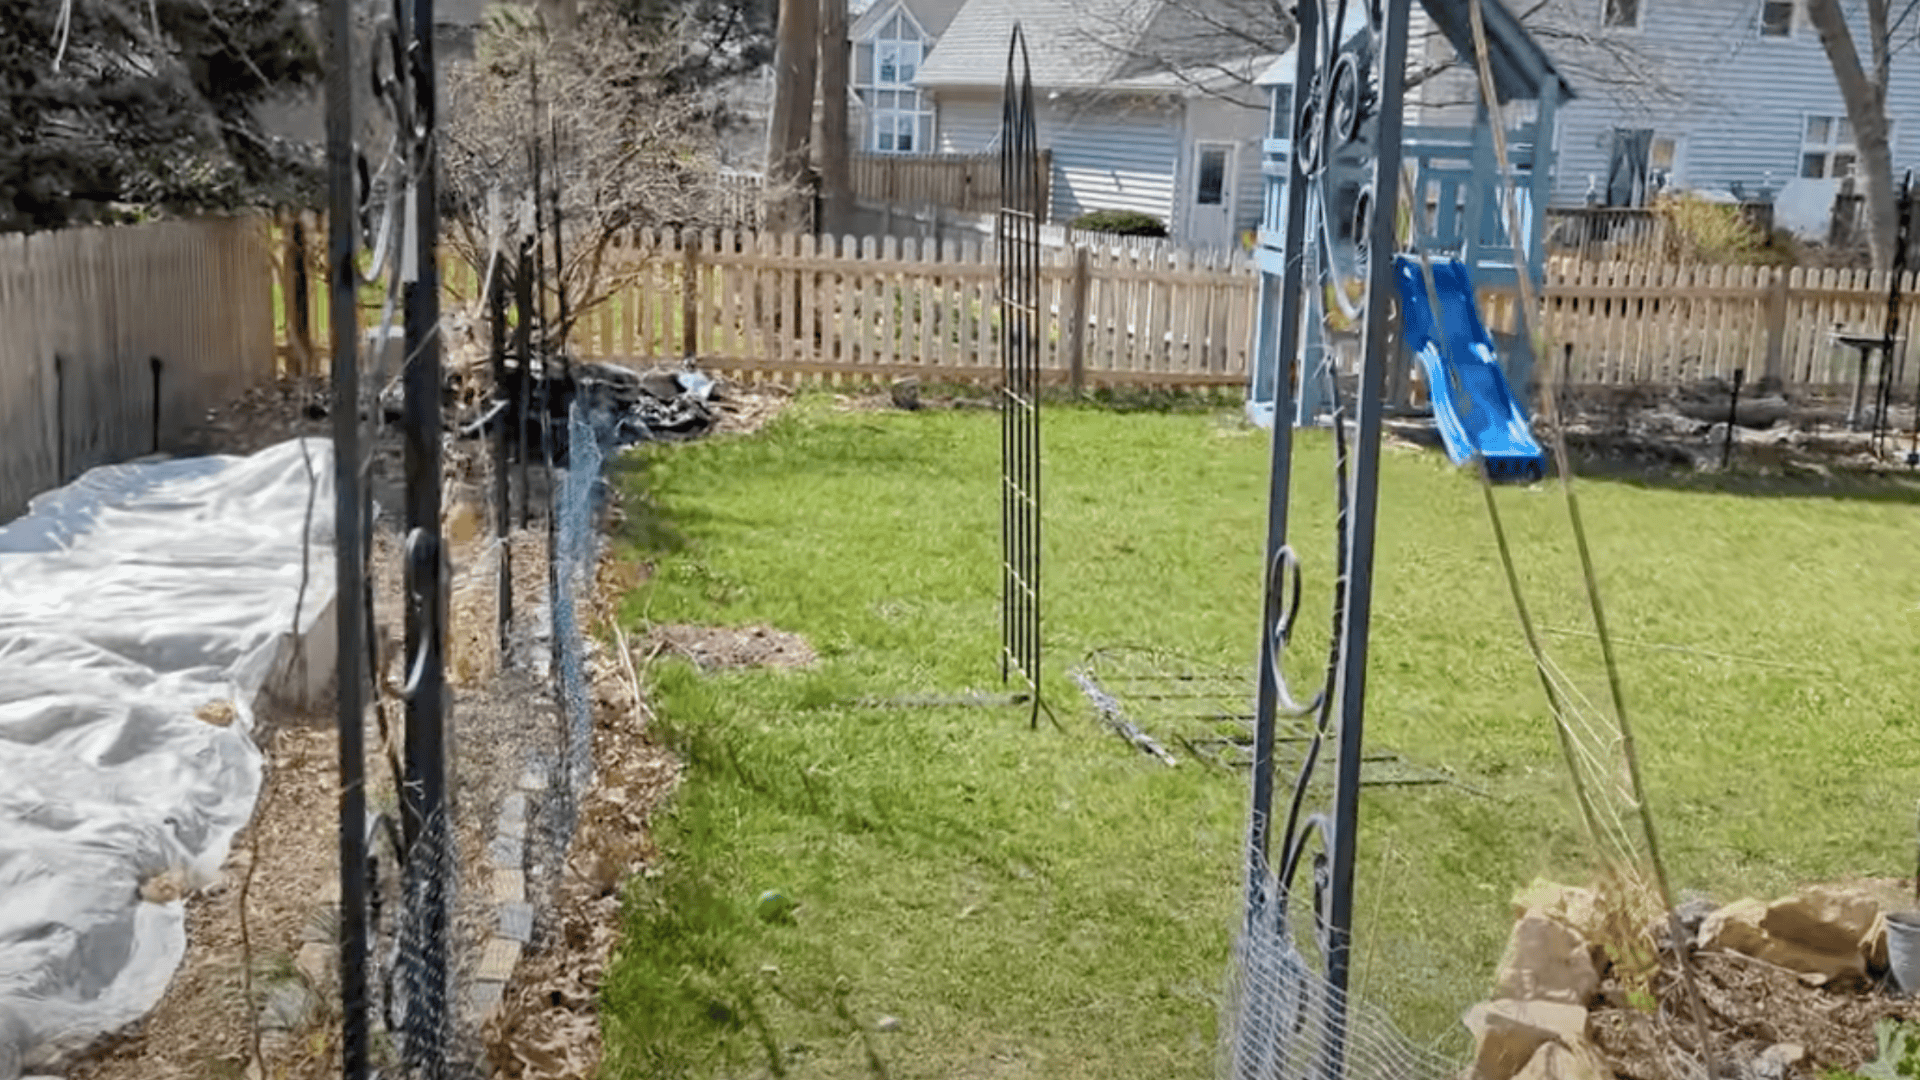
First things first—let’s figure out where your arch will stand. This step is all about planning and initial setup.
Think about where your climbing plants will grow best.
Once you’ve picked the perfect spot, loosely place your trellises in the soil about 3-4 feet apart.
This creates the base for your arch.
Take a moment to walk through your new garden feature.
Is it wide enough?
Can you comfortably reach through it?
Now’s the time to make adjustments before anything is permanently set.
If you already have arches in your garden, consider matching this new one to create a unified look throughout your space.
Step 2: Secure Trellises with T-Posts
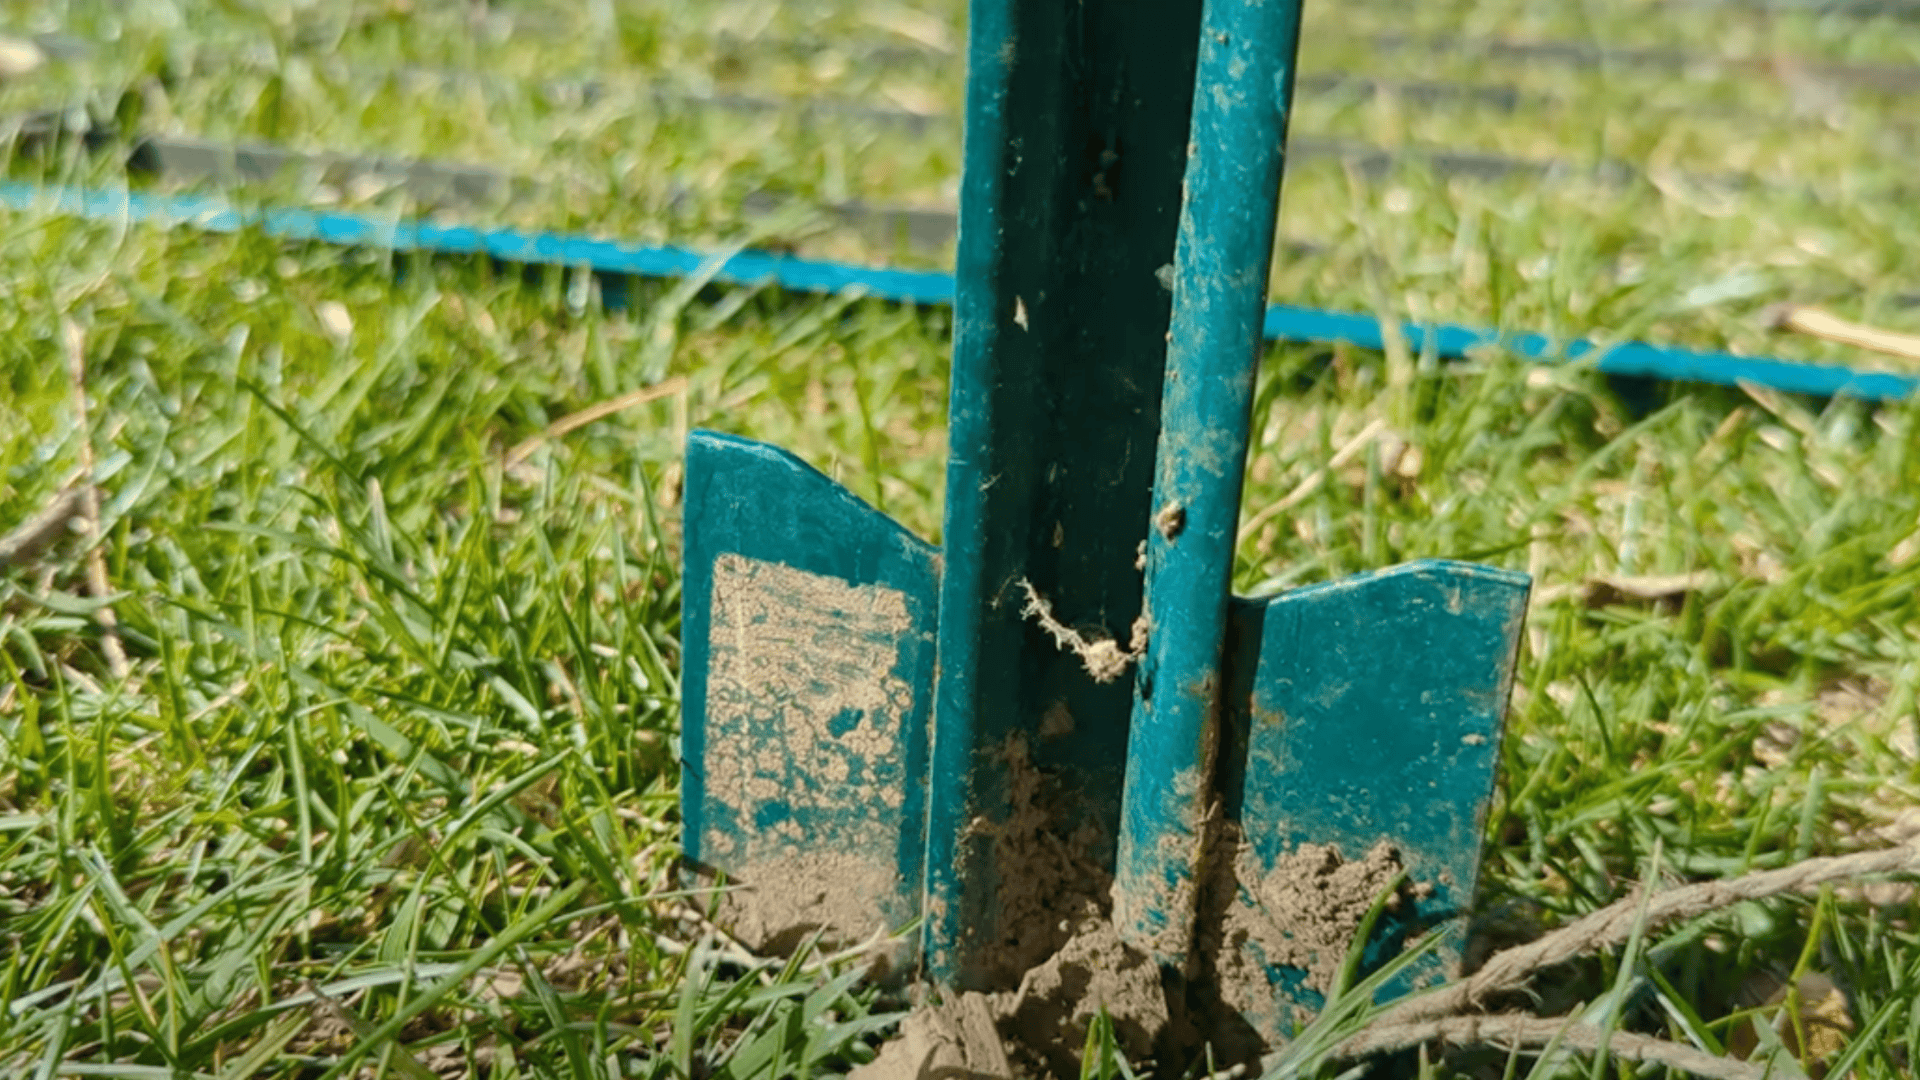
Now it’s time to create a strong foundation.
Your arch needs to withstand wind, rain, and the weight of growing plants.
Take your T-posts and drive them firmly into the ground next to each trellis.
Aim for at least 12 inches of depth for proper stability.
The T-posts act like anchors, preventing your arch from toppling over when loaded with heavy produce.
Position each trellis directly against its T-post, making sure they’re perfectly upright.
Remember that climbing plants like pumpkins and squash can become surprisingly heavy as they grow and produce fruit!
Step 3: Assemble the Arch Top Using PVC and Mesh
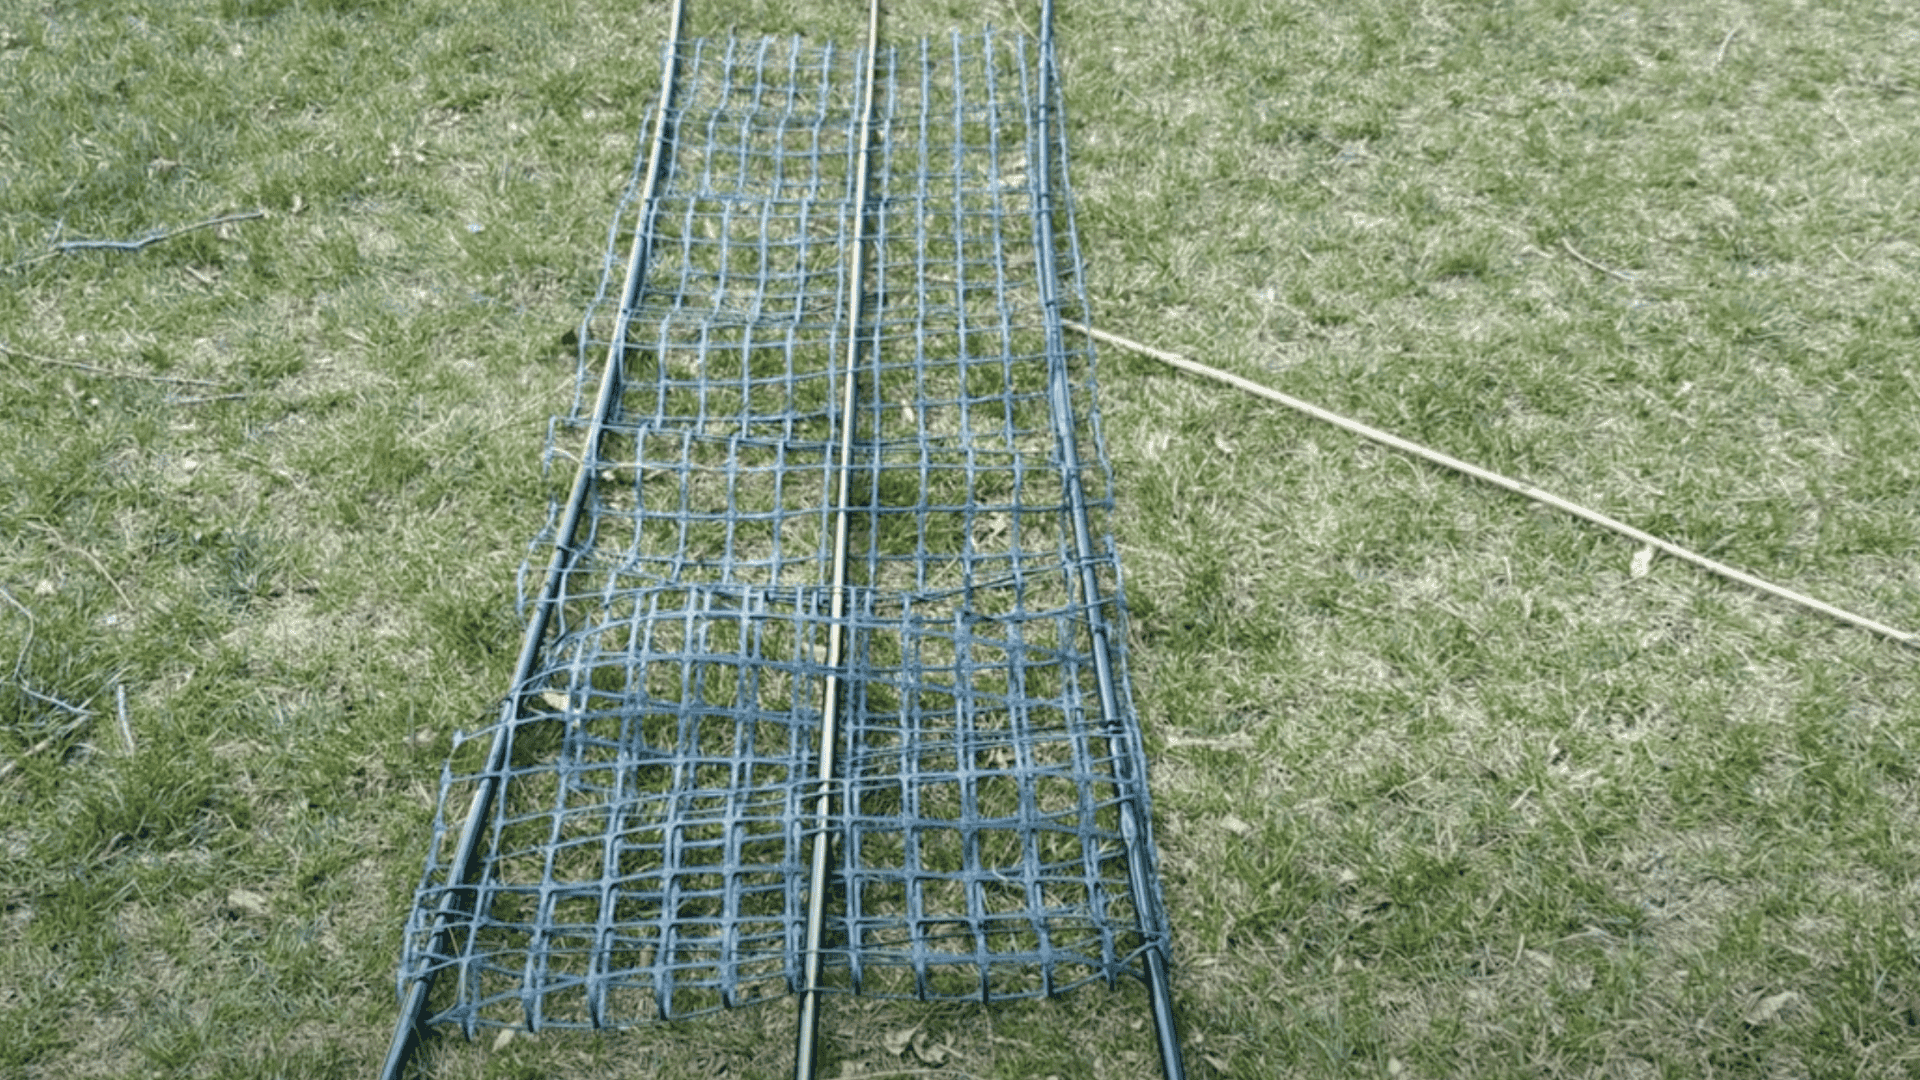
Here’s where your arch takes shape!
This clever combination of materials creates both structure and support for your climbing plants.
Lay out your chicken wire or garden mesh on flat ground.
Next, weave the PVC pipes through the edges of the mesh—one pipe along each side and one down the middle.
This creates a surprisingly strong yet flexible structure.
Gently test the assembly by bending it into an arch shape.
It should flex nicely but maintain enough rigidity to support plant growth.
DIY Hack: Don’t stress about finding chicken wire—flexible garden fencing or plastic mesh works just as well, so simply use what you already have at home!
Step 4: Attach the Arch to the Trellises
This is the moment when your project truly comes together!
You’ll turn separate pieces into one cohesive structure.
Carefully lift your PVC and mesh assembly and place it on top of the trellises, bending it to create your desired arch shape.
The natural tension will help hold everything in place.
Guide the ends of the PVC pipes into the sides of the trellises.
They should nestle in naturally, creating locked points that secure the arch in place.
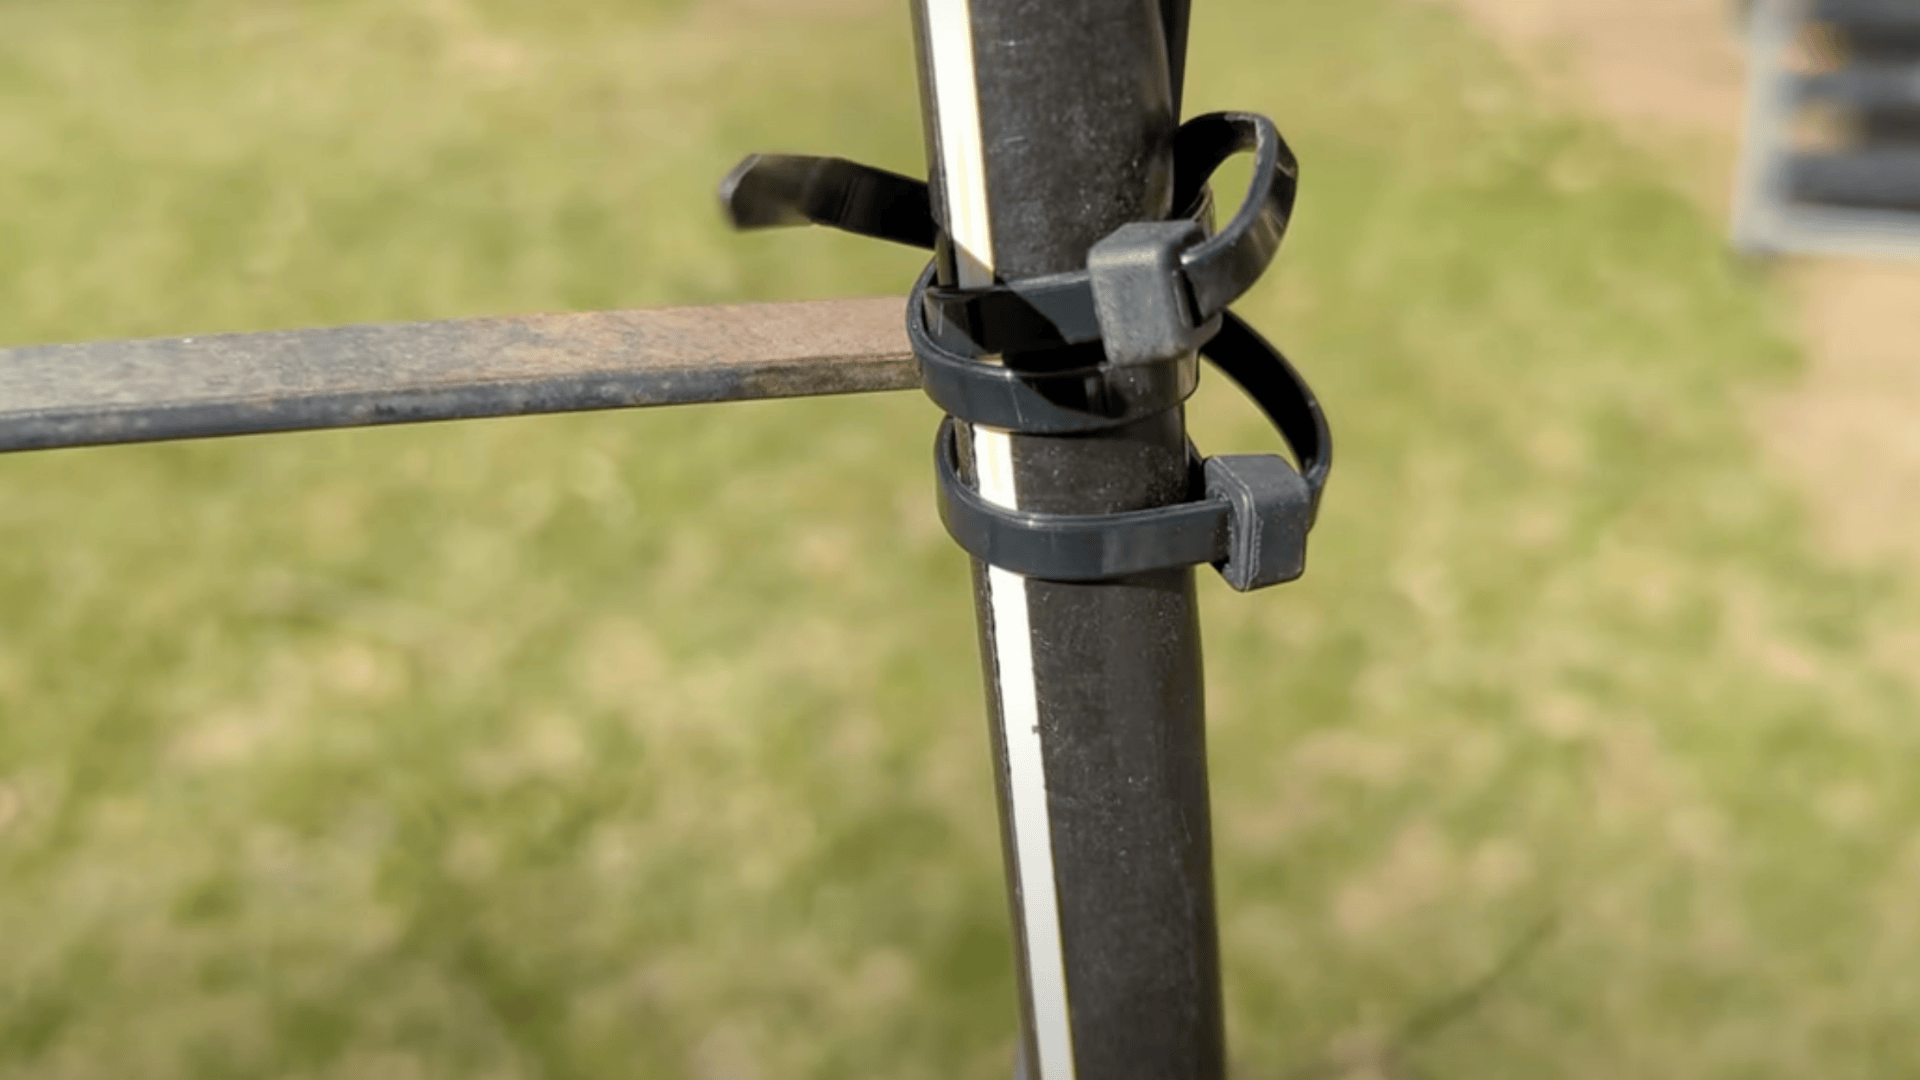
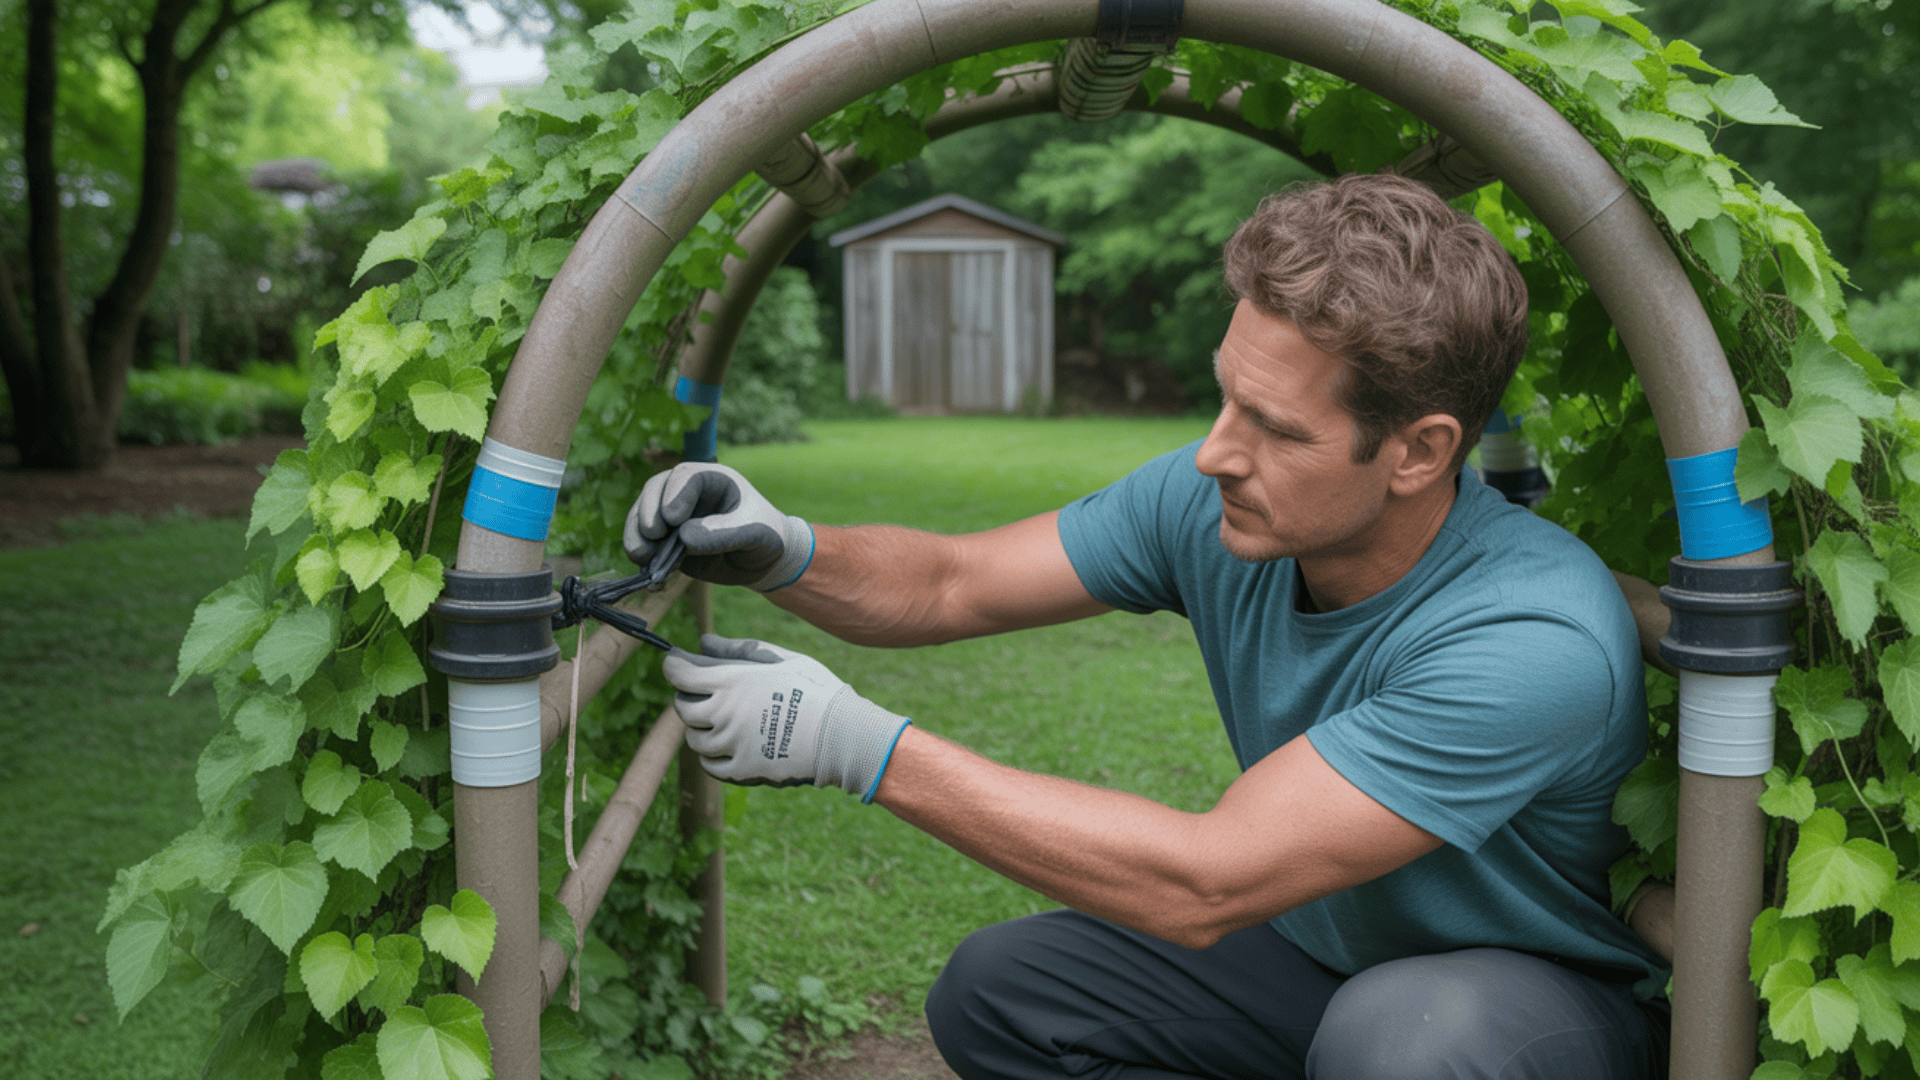
Step 5: Reinforce with Zip Ties
The final construction step ensures your arch will stand strong throughout the growing season.
Use steel zip ties (for maximum durability) to secure all points where materials connect—where the trellises meet the T-posts and where the PVC pipes meet the trellises.
Give your completed arch a gentle shake.
If you notice any wobbling, add more zip ties to reinforce those areas.
For a more polished look, consider wrapping the PVC pipes with all-weather Gorilla tape in a color that matches your garden aesthetic.
This simple touch makes the structure look more finished.
Video Walkthrough – See How Experts Do It!
For more information, check out this video tutorial by The Garden Tinkers
Cost and Time Details
Creating this garden arch is not only simple but also budget-friendly.
Below you’ll find a complete breakdown of materials and time needed for this project.
Most gardeners are surprised by how affordable and quick it is to complete!
| ITEM | COST |
|---|---|
| Trellises (2) | $10 ($5 each) |
| T-Posts (2) | $2 ($1 each) |
| PVC Pipes (3) | $1.50 ($0.50 each) |
| Mesh/Fence | $1.50 |
| Total Cost | $15 |
| Build Time | 30 minutes |
The value here is incredible—for less than the price of a takeout meal and half an hour of your time, you’ll create a garden feature that produces food all season long!
Plants that Thrive on an Arch Trellis
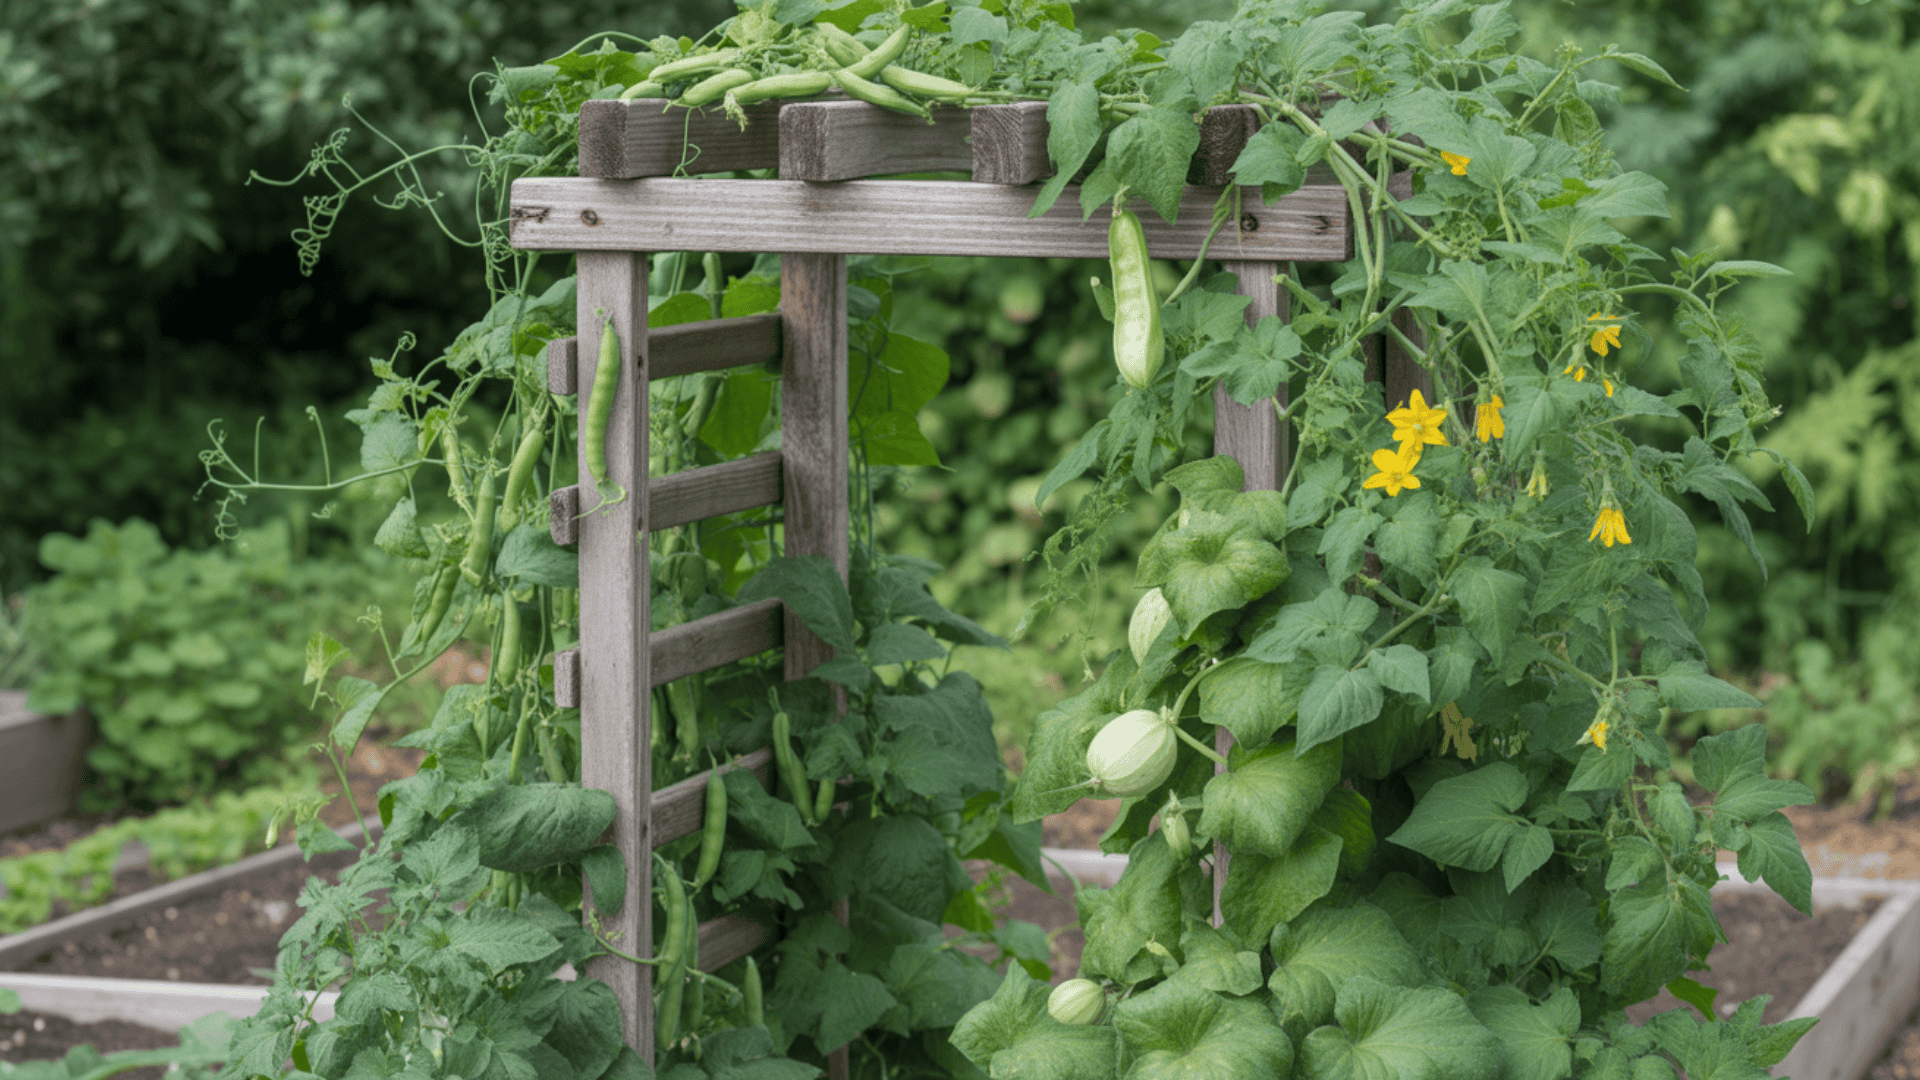
Your new garden arch is the perfect support system for many climbing vegetables.
These plants naturally reach for something to climb, making them ideal companions for your vertical structure.
Climbing vegetables that work beautifully include:
- Snap peas and snow peas
- Green beans and pole beans
- Loofahs (yes, you can grow your own natural sponges!)
- Summer squash varieties like zucchini
- Winter squash and pumpkins (just make sure your arch is extra strong)
- Cucumbers
- Certain tomato varieties (indeterminate types)
For best results, plant your climbers about 6-8 inches apart at the base of each side of the arch.
This gives them enough room to grow without overcrowding.
Remember that plants will naturally find their way up the trellis, but you may need to gently guide young vines at first.
Maintenance Tips
With minimal effort, your garden arch will serve you for many growing seasons.
Here’s how to keep it in top shape:
- Check all zip ties every few months (especially after storms) and replace any that show signs of wear or loosening.
- If you live in an area with harsh winters, take down the arch, roll up the PVC and mesh for compact storage, and keep the trellises and T-posts in a shed or garage.
- Apply a fresh layer of weather-resistant tape on the PVC pipes each spring to prevent UV damage and extend your arch’s life.
- This simple structure can be easily fixed or changed as needed—that’s what makes working with basic, affordable materials so great!
Your garden arch trellis is an investment that pays off with each harvest, giving you vertical growing space that maximizes your garden’s potential.
With proper care, this $15 project can last for years, making it one of the most cost-effective additions to your garden.
That’s a Wrap
Your $15 DIY arch trellis does more than just save garden space—it restyle how you grow.
As your beans climb upward and squash hangs effortlessly, you’ll wonder why you ever let plants sprawl across valuable ground.
Maintenance takes minutes, harvesting becomes easier, and the visual appeal can’t be beaten.
Best of all, your homemade garden arch stands as proof that gorgeous, productive gardens don’t require big budgets or special skills.
So grab those simple materials, set aside half an hour, and create a vertical growing space that will feed your family and delight your eyes all season long!
Imagine walking under your arch trellis this summer, reaching up to pick fresh beans or peas…
Which vertical crop would make your garden complete?
Tell us below!