Building your own ladder is a rewarding DIY project that combines practicality with the joy of craftsmanship.
It saves money while providing a custom tool tailored to your exact needs.
With basic woodworking skills and some careful planning, you can create a functional and safe ladder.
Each measurement you make will ensure proper stability and reliability.
You’ll also have the freedom to choose the materials, height, and finish, making the ladder uniquely yours.
Along the way, you’ll pick up valuable woodworking skills and enjoy the satisfaction of making something both useful and personal. Ready to get started?
Why DIY Ladder?
Many homeowners overlook the benefits of building their own ladders.
However, this approach offers numerous advantages that surpass those of commercial options.
- Perfect customization for unique spaces and projects that standard ladders can’t accommodate
- Significant cost savings compared to specialty access equipment, with better long-term value through repairs and modifications
- Superior material quality control ensures strength and durability that exceeds mass-produced alternatives
- Environmental sustainability through locally-sourced materials and reduced shipping impacts
- Skill development in woodworking techniques is applicable to many other home projects
- Special features integration, like custom tool holders or specific weight capacities, not available commercially
Building your own ladder isn’t just about creating a functional tool.
It’s an investment in your home maintenance toolkit that pays dividends through versatility and the satisfaction that comes with craftsmanship.
Tools Required
Here’s a quick rundown of the essentials you’ll want to gather before you get started.
Trust me, having everything on hand will make the whole process go much smoother!
| ITEM | USE |
|---|---|
| Wooden Beams | Structure for ladder and rungs |
| Wood Glue | Bonding joints securely |
| Screws | Reinforcing connections |
| Clamps | Holding glued parts while drying |
| Band Saw | Cutting beams and lap joints |
| Router | Smoothing and shaping joints |
| Drill | Driving screws into place |
Pro Tip: Let wood glue cure for at least 24–48 hours under strong clamps for maximum bonding strength—rushing it can weaken your ladder!
Step 1: Prepare and Cut the Beams
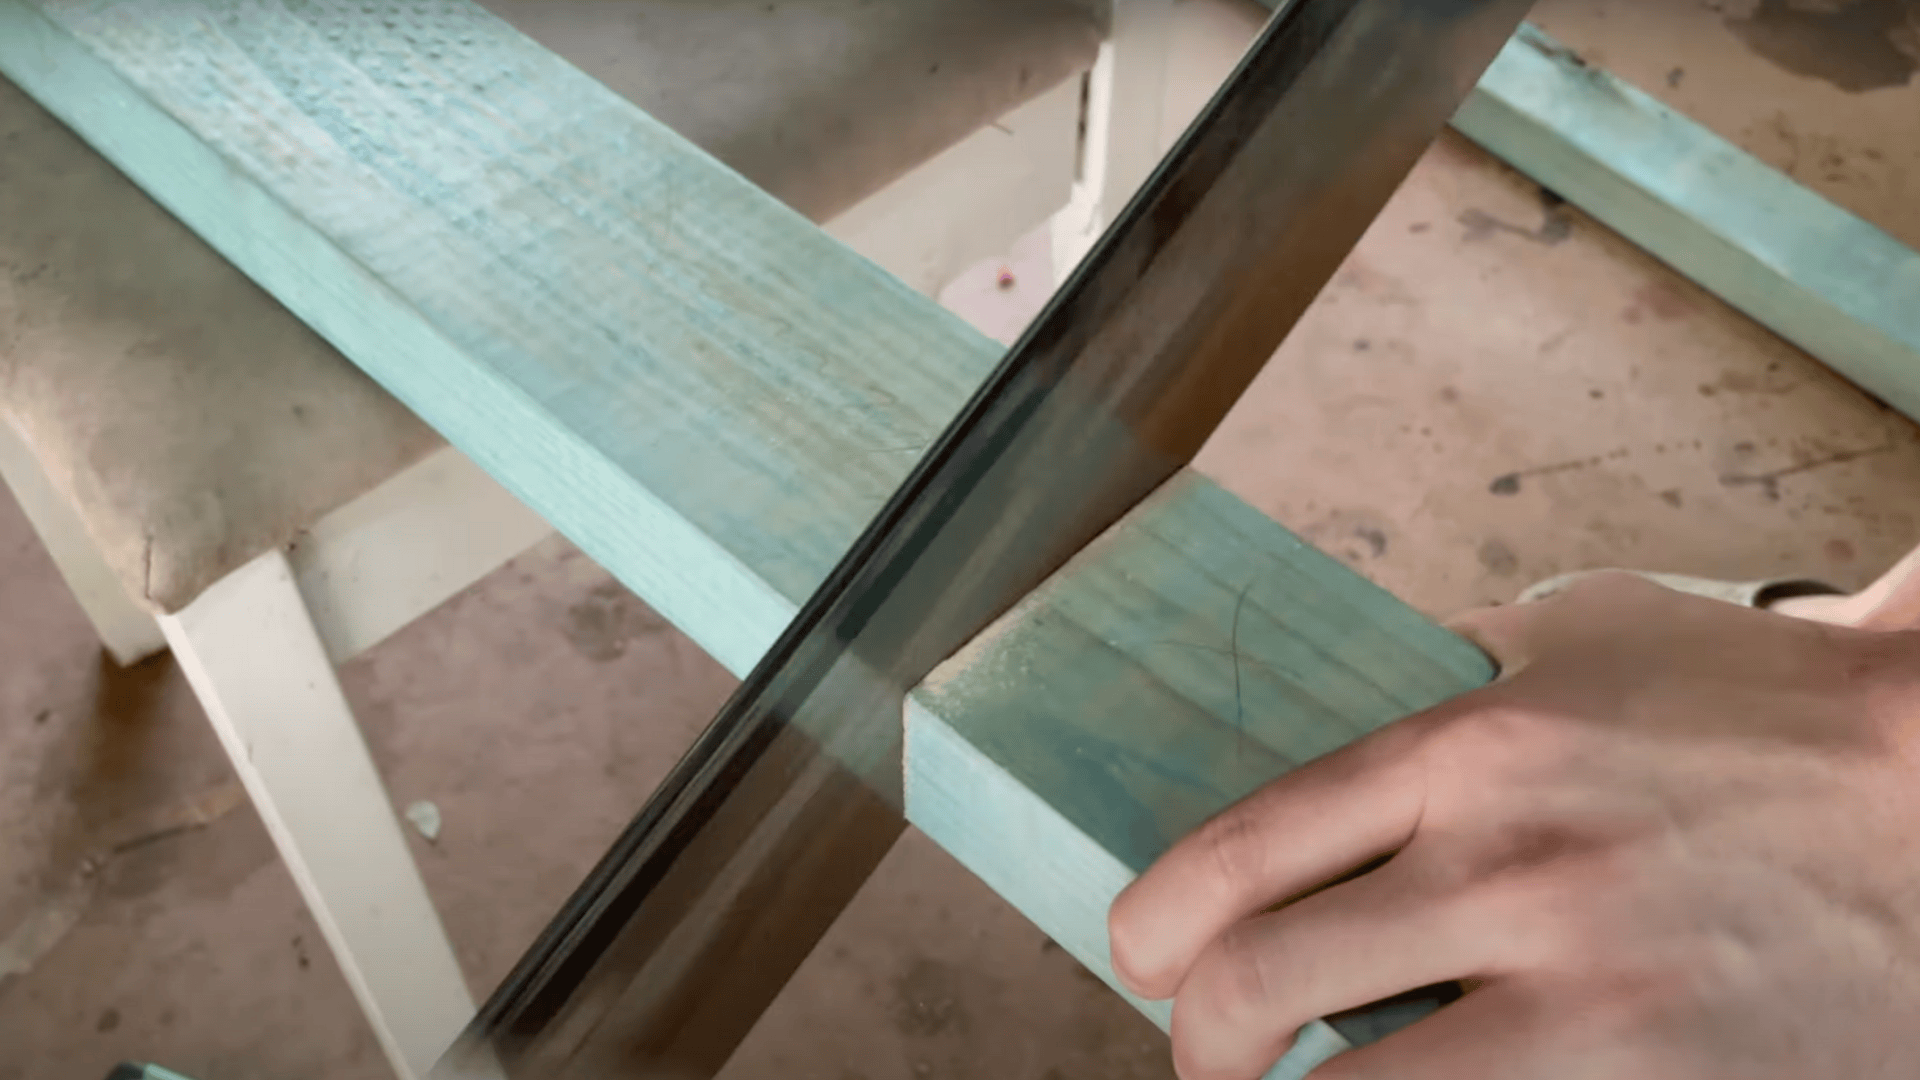
Start with five 2.4-meter beams, cutting any excess to fit your project’s required length.
Mark each centerline accurately before cutting.
Use a band saw just below the scribe line and finish with a router.
Test fit lap joints by overlapping equally cut beam ends.
Adjust as needed.
Ensure cuts are clean and surfaces are flush for better glue adherence.
This step sets the foundation for your strong and stable ladder structure.
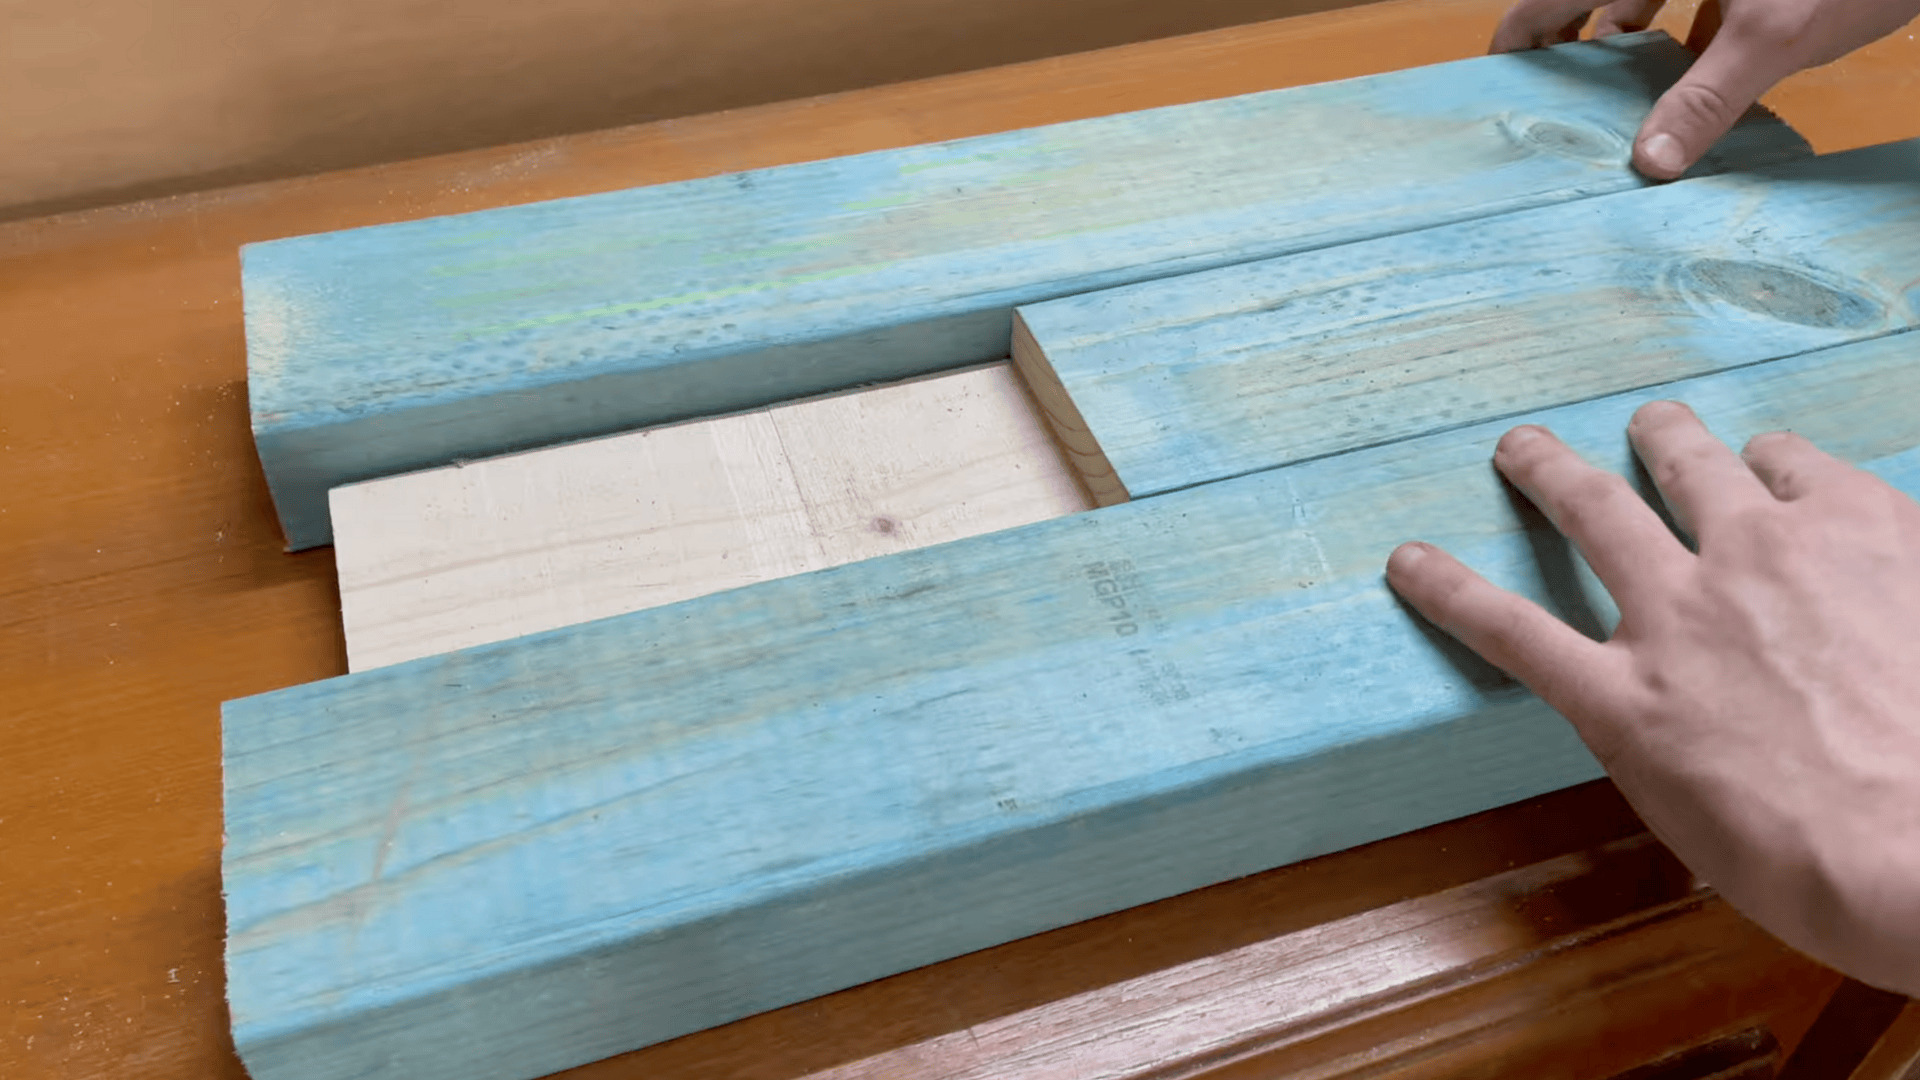
Step 2: Make Lap Joints for Extension
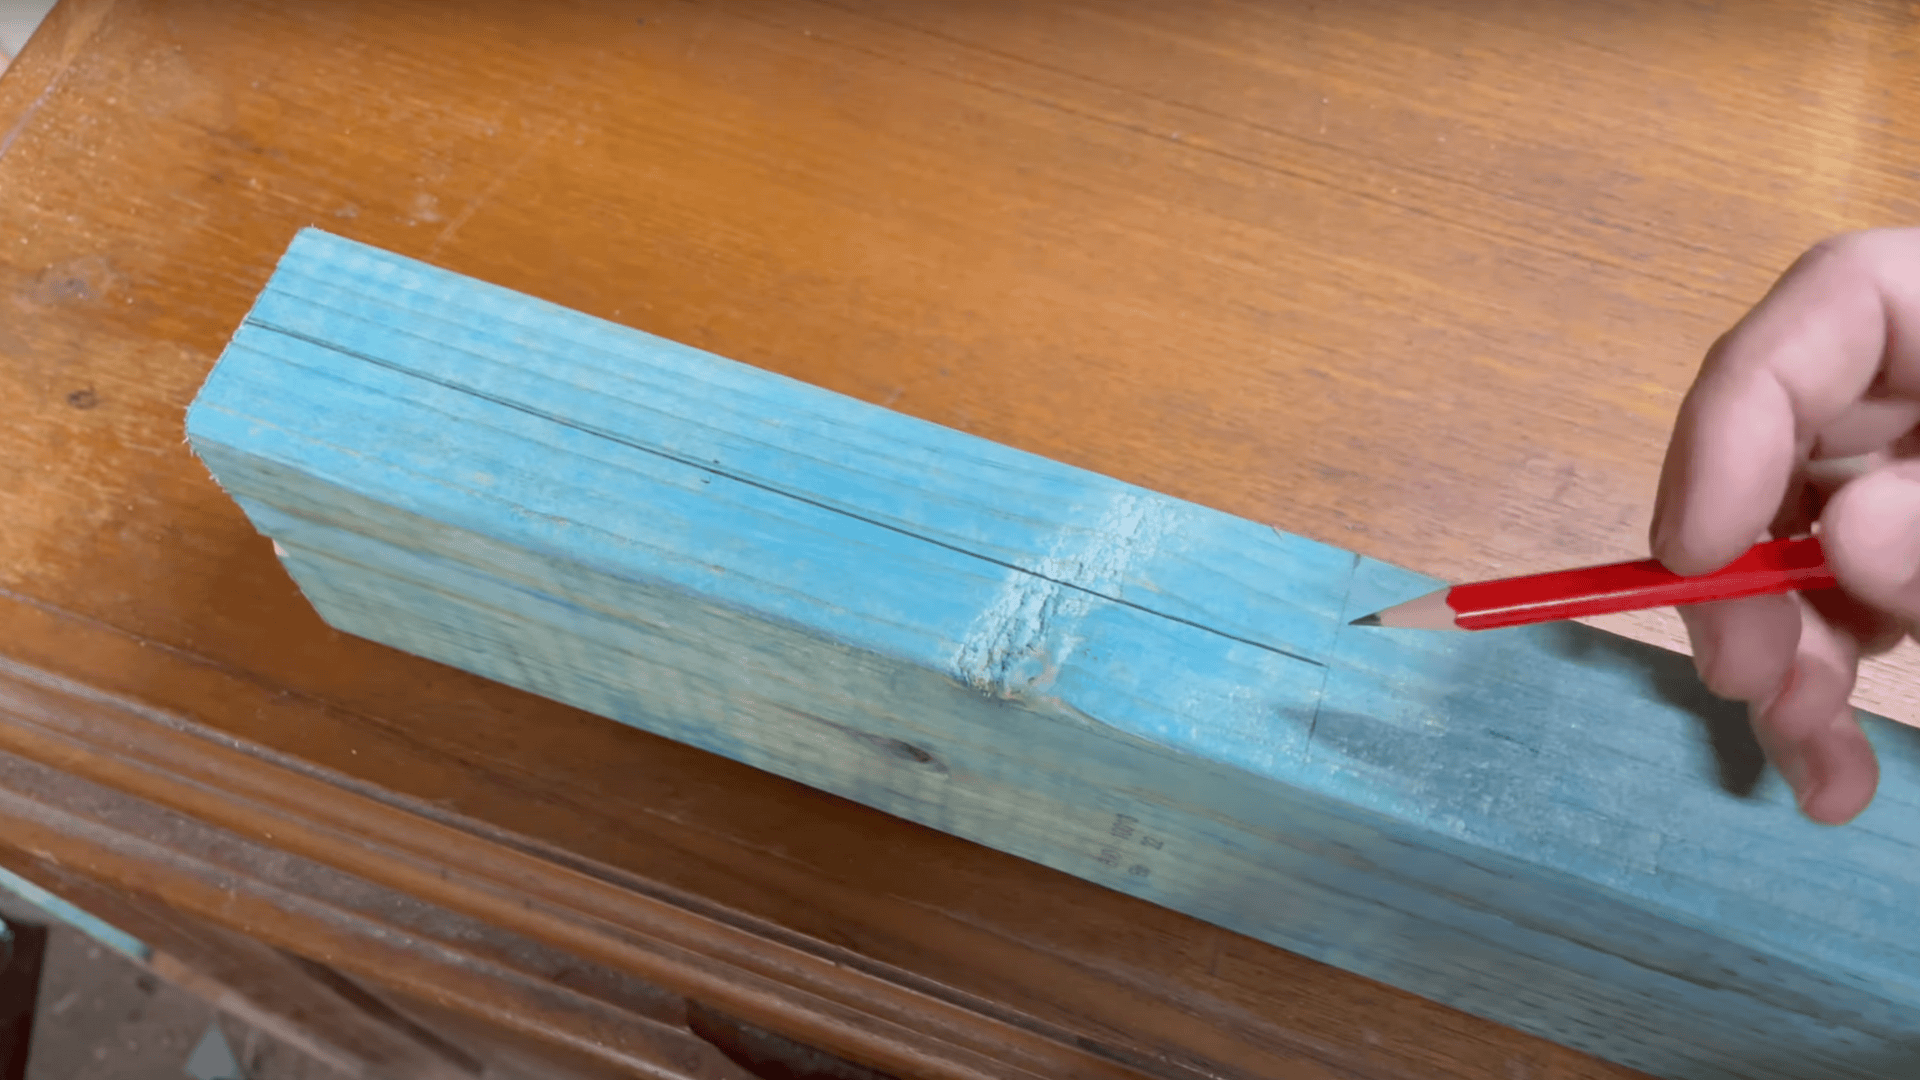
Create lap joints by cutting half the thickness of each beam end.
Align and test before proceeding.
Use a router for smoother finishes, ensuring surfaces are flat.
Wooden shims help support while routing, but thick, even ones work best.
Glue jointed beams generously, clamp tightly, and let them cure for 48 hours.
Stacking glued sections helps reinforce the bond.
Proper lap joints extend beam length safely and provide core support to your ladder.
Step 3: Set Ladder Angle and Cut Sides
Estimate a comfortable climbing angle and cut accordingly.
While precision isn’t critical, make sure both side rails match consistently.
For smooth, even cuts, consider using a router sled to shape the angle.
With the right prep, this step takes roughly ten minutes.
The ladder’s angle ensures steady support while climbing and avoids excessive flexing.
A proper width keeps the ladder stable and enhances comfort and confidence during use.
Step 4: Cut and Attach Ladder Rungs
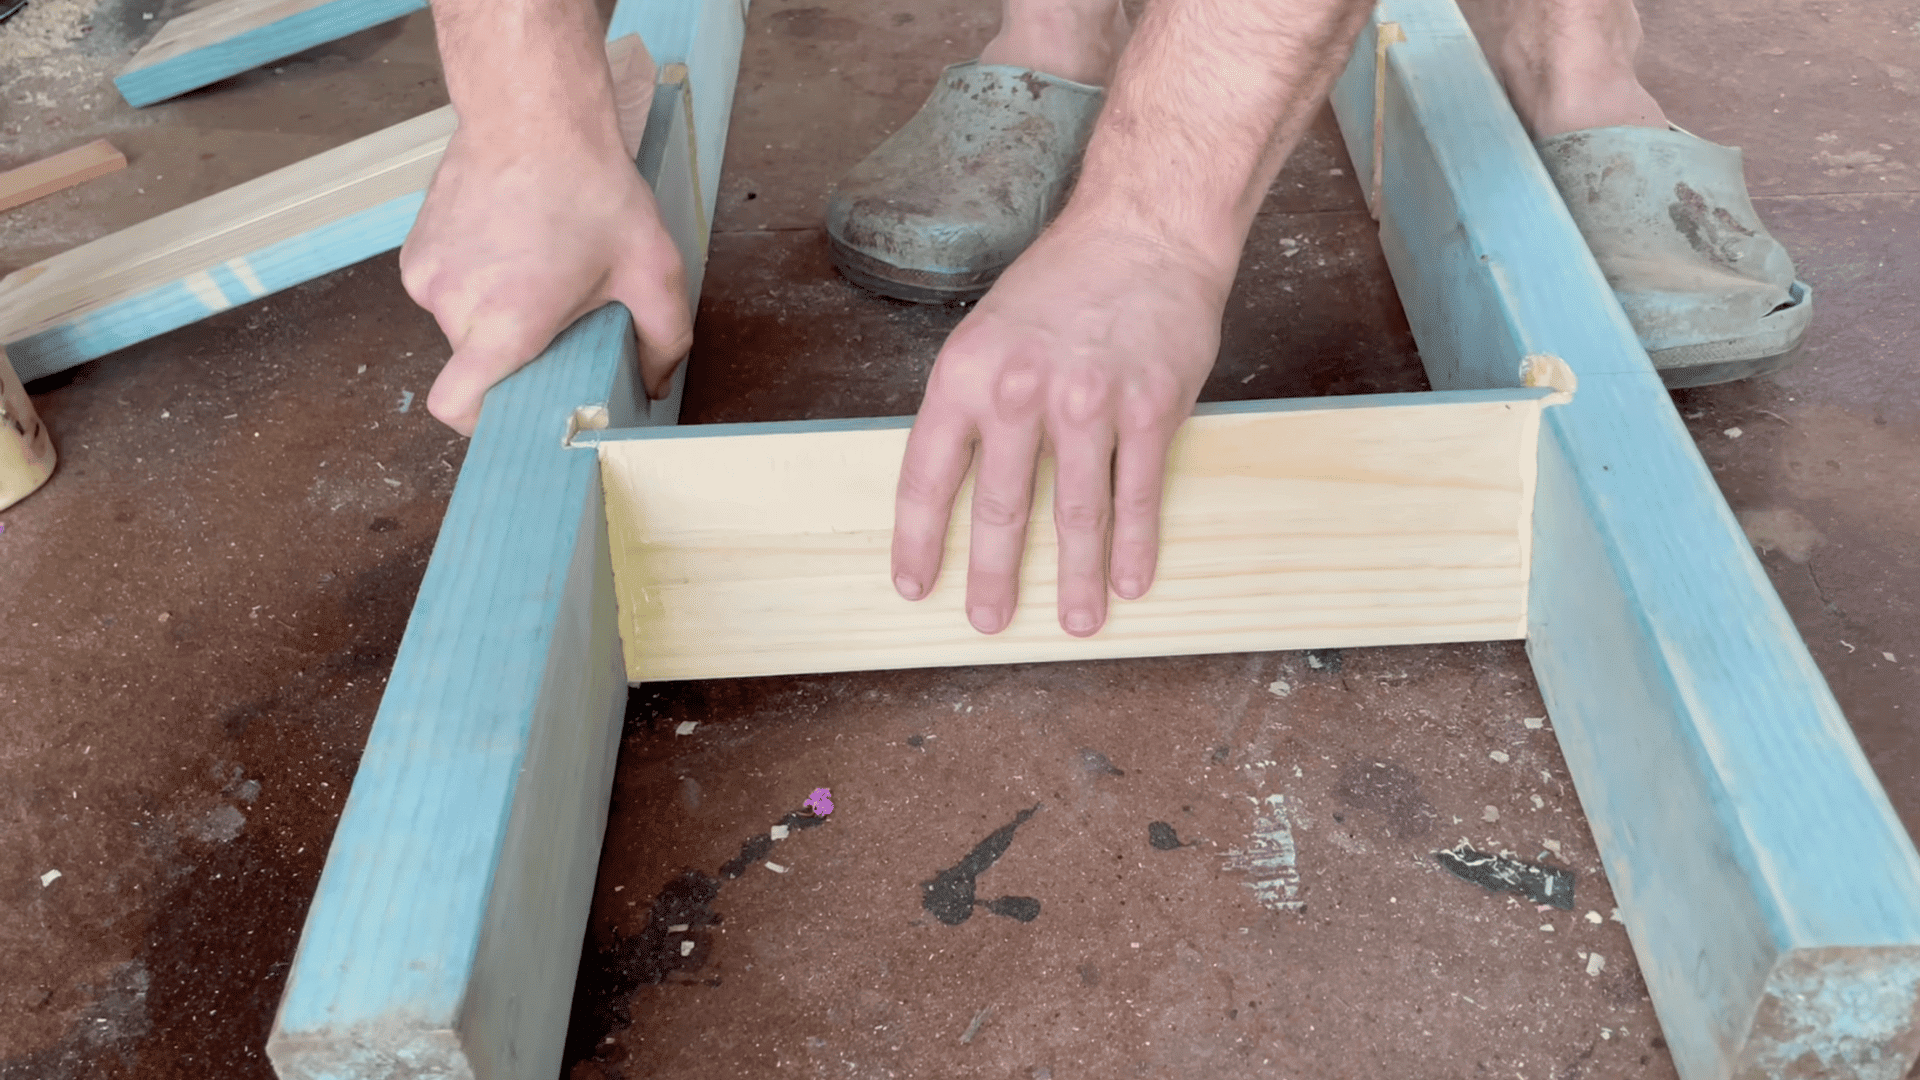
Measure and cut rungs from the fifth beam—each rung is half a beam length.
Make eleven rungs total, spaced evenly.
Apply glue carefully to each notch—avoid applying glue to all simultaneously, which causes rushed assembly.
Clamp all rungs securely and let cure.
Add screws for reinforcement; they hold well despite end grain.
Check the rung alignment before drying.
Each rung must be tightly set and even for maximum safety and user comfort during use.
Step 5: Reinforce and Final Test
Add extra reinforcement for safety, especially around load-bearing areas.
Let everything cure fully before testing.
Check ladder height and stability.
It’s heavy due to glue and multiple layers, but sturdiness is vital.
Pick up and move with caution.
Ensure everything feels secure under body weight.
Test the ladder on a flat surface before using it for drain maintenance.
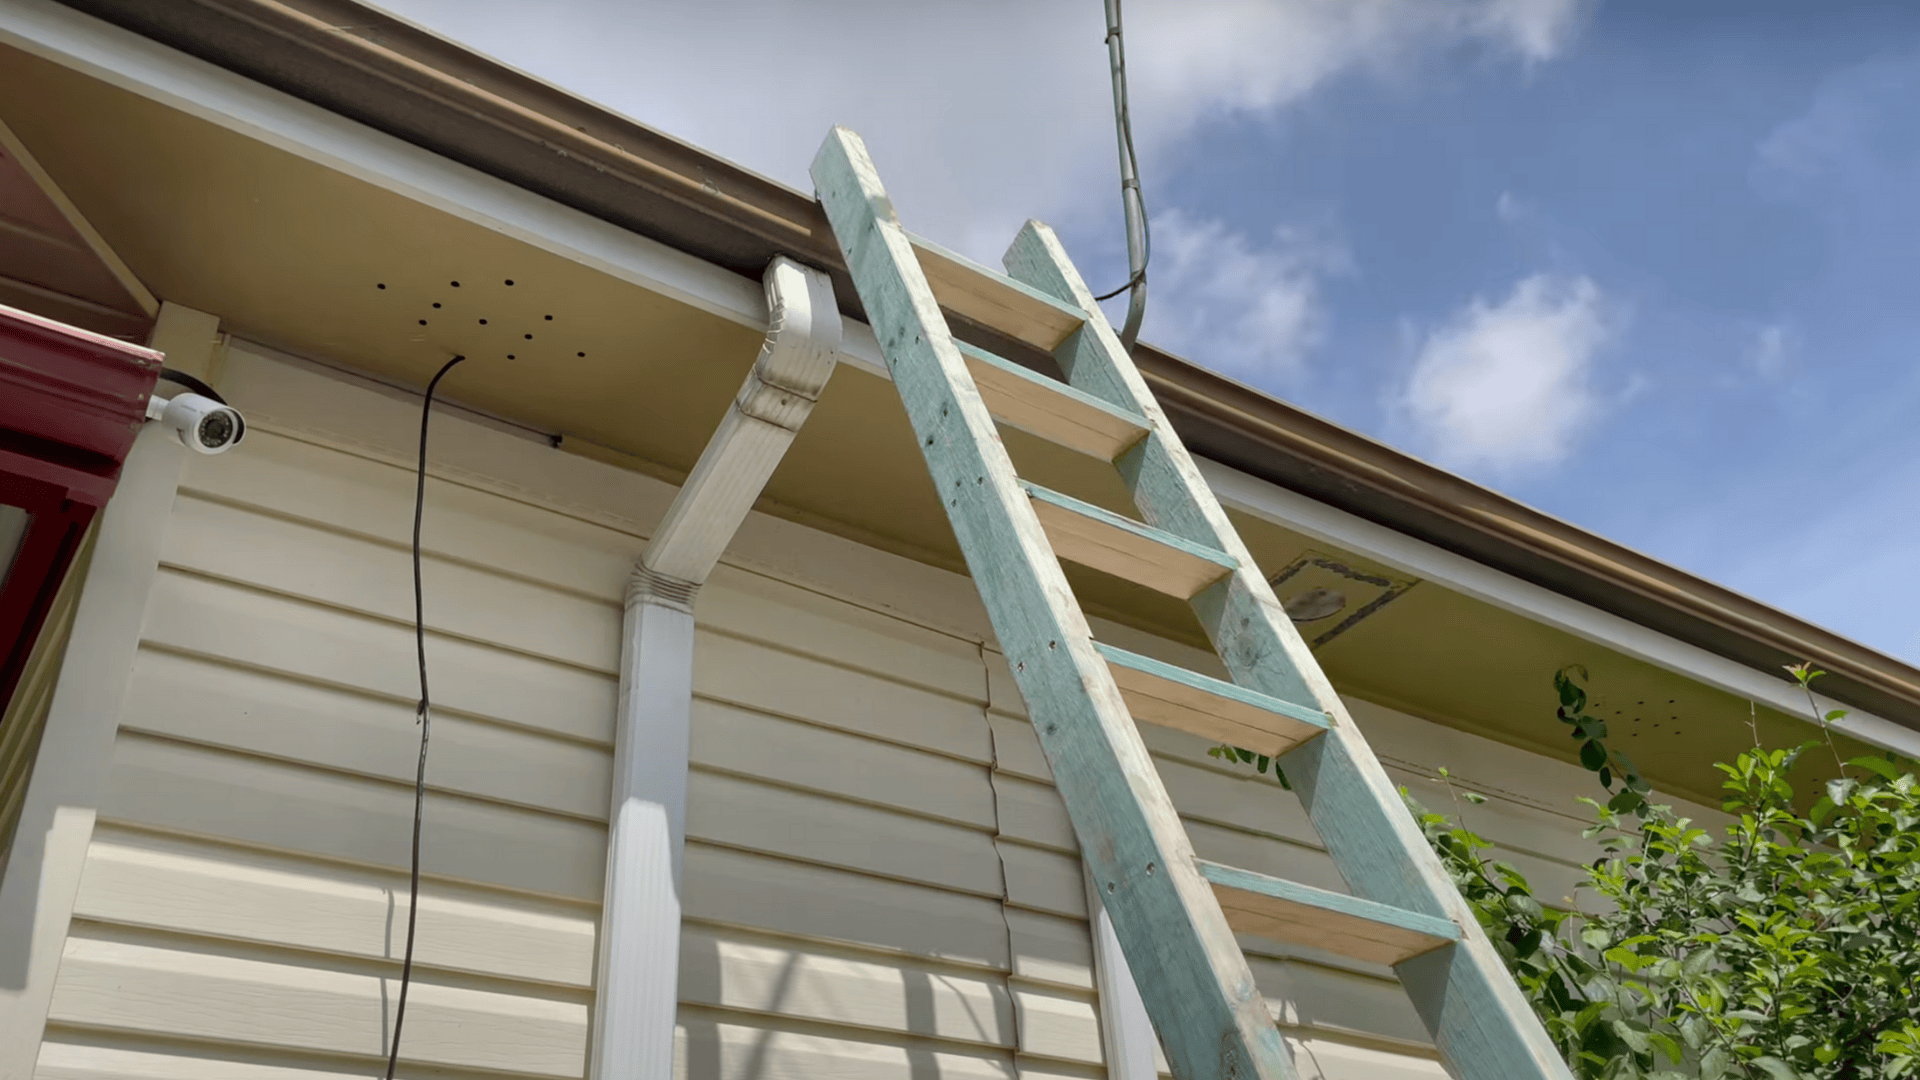
Congratulations—you now have a strong, custom-built ladder for those hard-to-reach jobs!
Video Walkthrough – See How Experts Do It!
For more information, check out this video tutorial by E∞J Woodhouse Restorations
Essential Ladder Safety
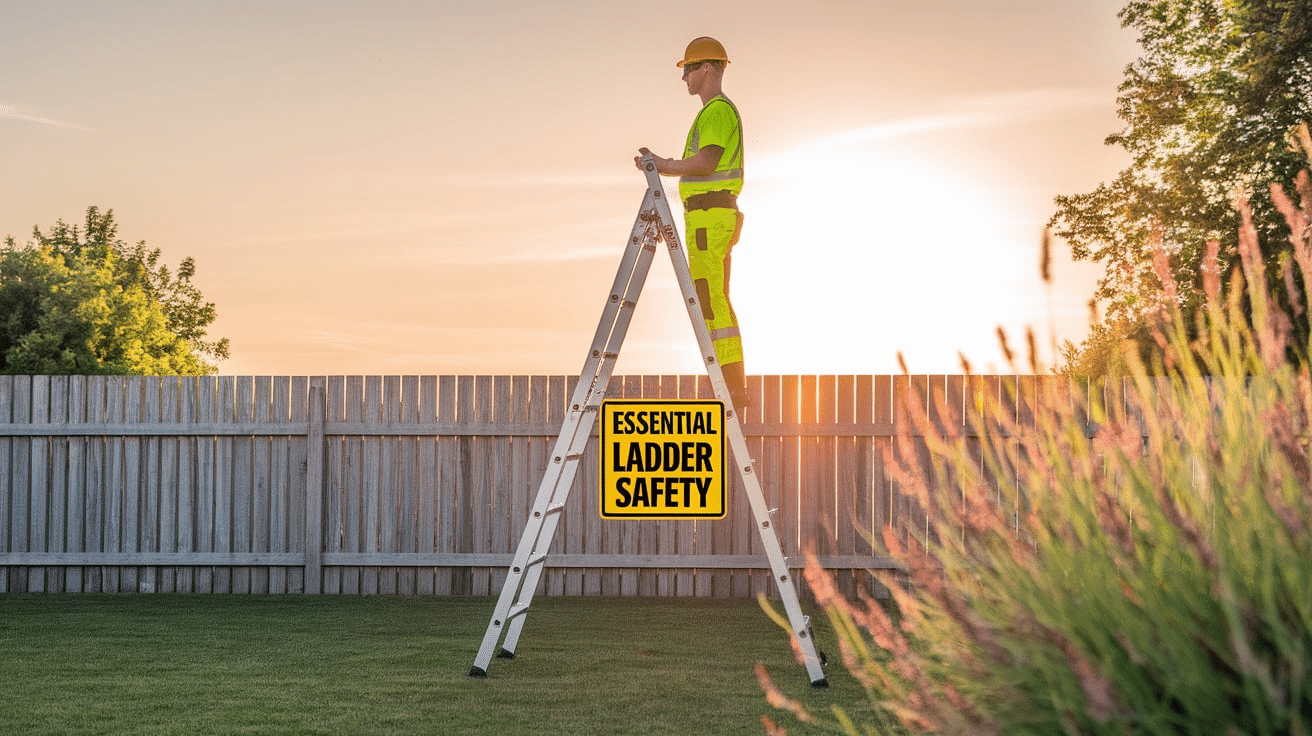
A well-built and properly maintained ladder is crucial for safety during any DIY or professional project.
Following these key guidelines will help prevent accidents and extend the life of your ladder.
- Use strong, undamaged materials and secure fasteners that can support your weight
- Measure carefully to ensure stable, evenly spaced rungs at appropriate distances
- Sand all surfaces and apply protective sealant to prevent splinters and moisture damage
- Inspect for cracks and tighten hardware before each use
- Store in a dry location and apply wood preservative annually
- Replace worn components (especially rubber feet) and document all repairs
Remember that a few minutes of preparation and regular maintenance can prevent serious injuries.
Never rush construction or use your ladder on uneven surfaces, as these are among the most common causes of ladder-related accidents.
Wrapping It Up
Building your own ladder is more than just a project; it’s a personal achievement in craftsmanship and practical problem-solving.
With basic woodworking skills and quality materials, your custom ladder will provide long-lasting reliability.
The time you invest will save you money while creating something specifically suited to your needs.
Each precise measurement and cut ensures a safer, sturdier option compared to commercial alternatives.
This project also teaches valuable woodworking skills that can be used throughout your home.
Regular maintenance and proper storage will ensure its durability.
Your DIY ladder is a testament to self-reliance, creativity, and the joy of making something useful.
To read more Home-Improvement Blogs. Explore here
Frequently Asked Questions (FAQs)
1. What Type of Wood is Best for Building a Diy Ladder?
Different woods offer varying levels of strength, weight, and durability.
Hardwoods like oak or maple are stronger and longer-lasting, while softwoods like pine are lighter and easier to cut but may not support as much weight.
2. How Much Weight Can a Diy Wooden Ladder Support?
This depends on the wood type, rung spacing, joint strength, and construction quality.
Generally, a well-built wooden ladder with hardwood and proper reinforcement can support 200–250 lbs safely.
3. Do I Need Any Special Permits or Approvals to Build and Use My Own Ladder?
For personal home use, no permits are typically required.
However, DIY ladders may not meet workplace safety standards and should not be used in commercial or jobsite settings.