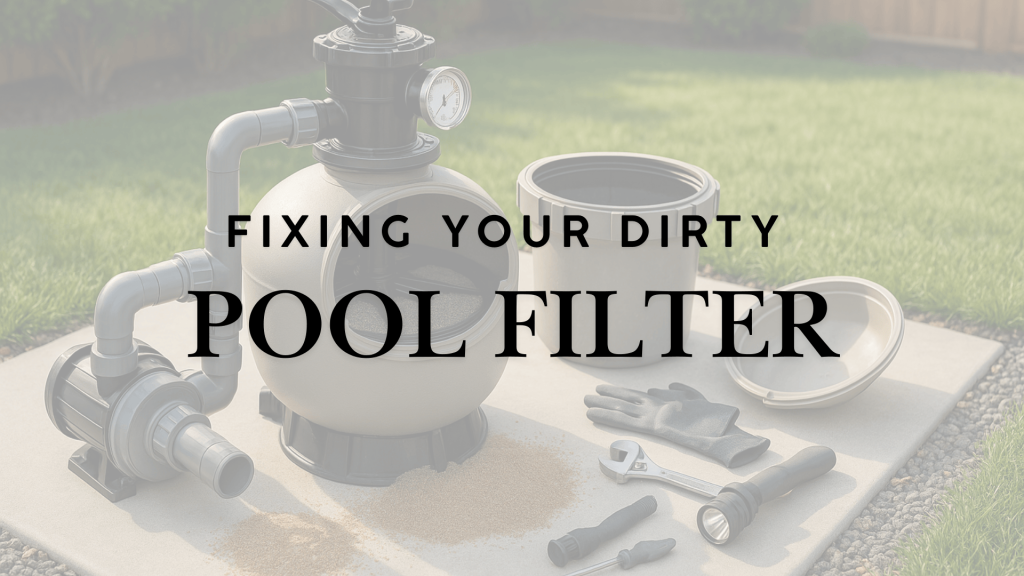
Your pool should be a clean oasis on hot summer days, not a cloudy, murky mess. Behind the scenes, your sand filter works tirelessly to trap dirt and keep water crystal clear.
But what happens when that sand gets filled with oils, debris, and gunk? Pool maintenance becomes a constant battle.
Dirty filter sand affects everything from water clarity to pump efficiency, potentially damaging your equipment and ruining your swimming experience.
Recognizing the signs of worn-out filter sand saves you time, money, and headaches. Let’s explore how to identify dirty filter sand, its causes, and the straightforward steps to resolve the issue before it impacts your pool season.
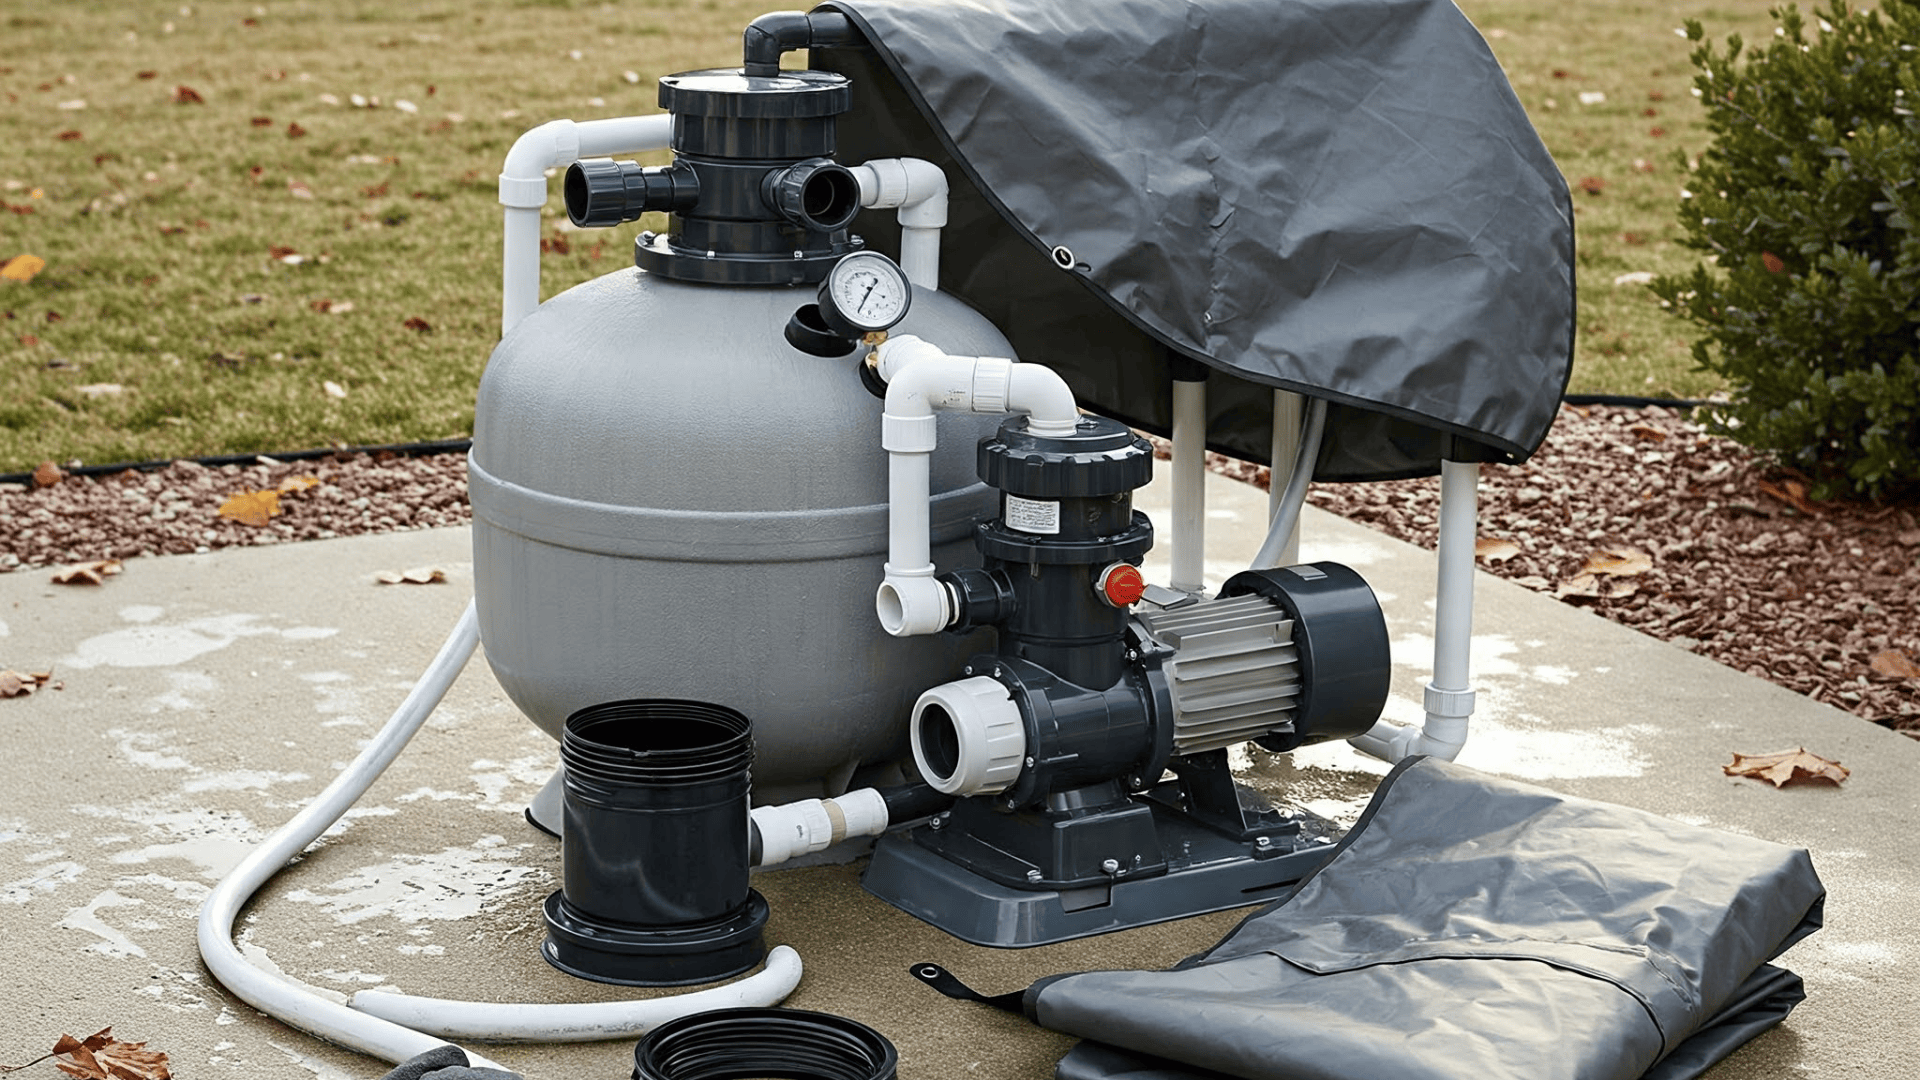
Pool Sand Filters and Their Importance
Sand filters stand as one of the most common and cost-effective options for home pools, working tirelessly to trap dirt and keep your swimming water clean.
These filters employ a simple yet effective method: as water passes through fine sand grains, small particles and debris become trapped in the tiny spaces between sand particles.
This process removes most impurities from your pool water, leaving it clean and safe for swimming.
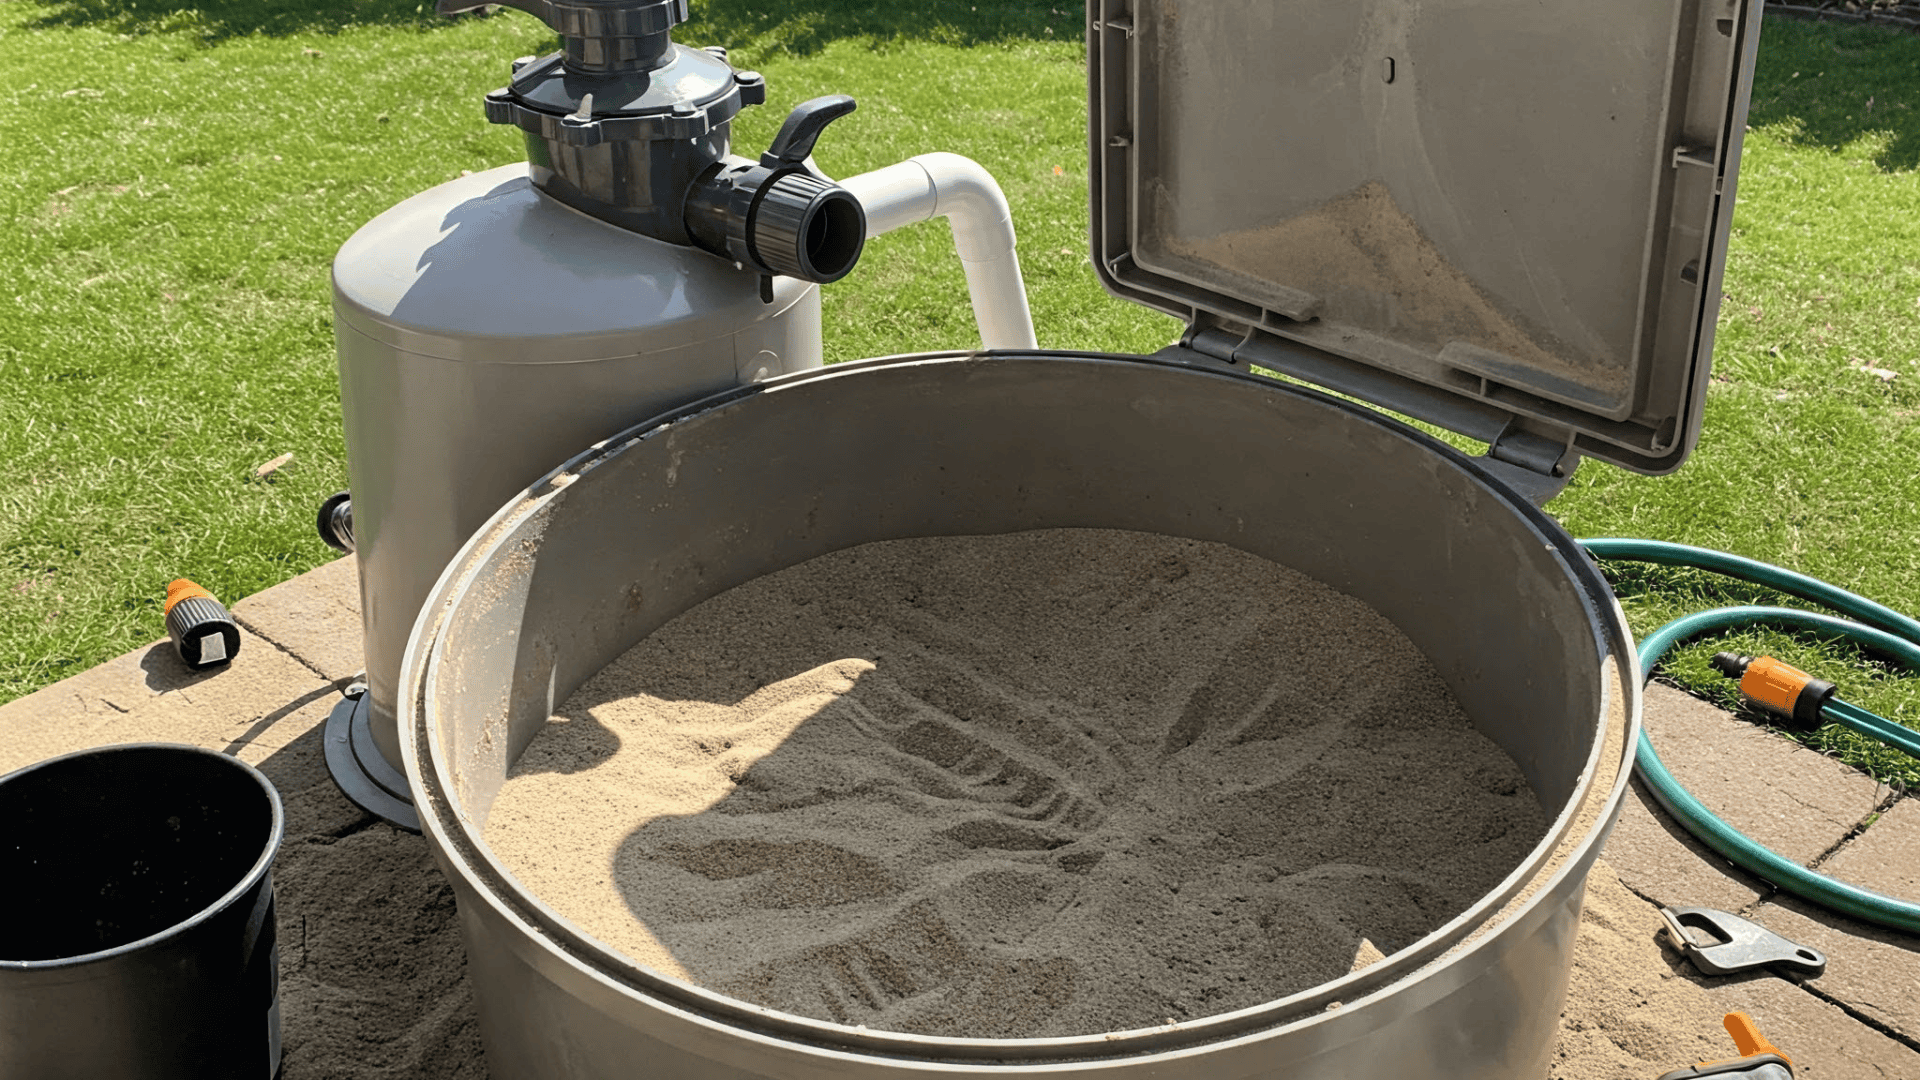
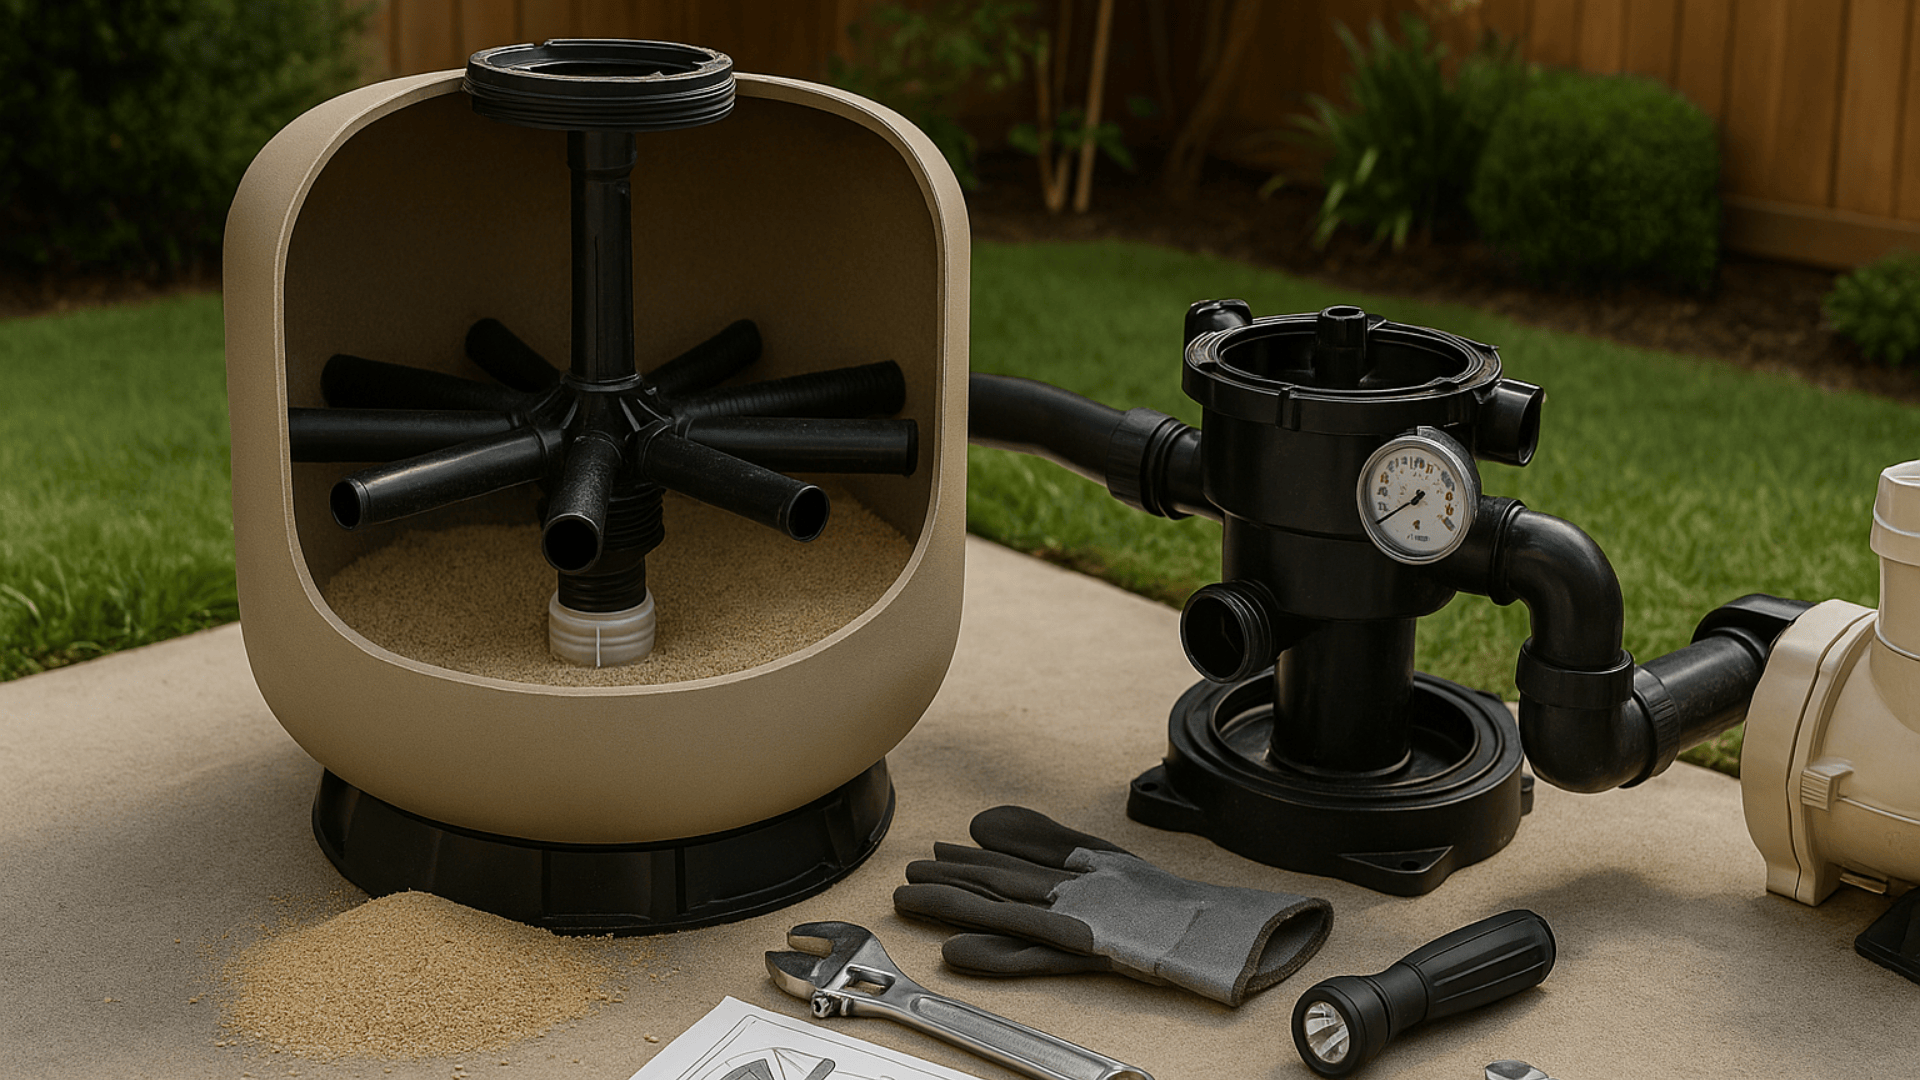
The magic happens inside a large tank filled with specially graded pool sand. Water enters the tank from the top, and pressure forces it through tightly packed sand layers. The sand catches and holds unwanted particles, allowing clean water to flow back into your pool.
Over time, these trapped particles accumulate, which is why proper care of your filter sand is crucial.
Clear Signs Your Pool Filter Sand Needs Attention
Your pool filter works hard to keep water clean, but it can’t tell you when it’s struggling.
Over time, your pool filter sand will naturally collect dirt and become less effective. This happens through several common processes:
1. Normal Debris Accumulation
Pool sand filters trap a wide range of pool debris, including skin cells, sunscreen, leaves, and bugs. Month after month, this material builds up in the sand bed.
While backwashing removes some debris, not all debris is removed during this process. Over time, this accumulated debris reduces filtration efficiency, leading to poor water quality despite regular maintenance.
2. Sand Wear and Breakdown
Sand particles start sharp and angular, which helps them catch tiny particles. With time and use, these edges wear down and become smooth.
Round, smooth sand can’t trap dirt effectively, allowing more unwanted material to re-enter your pool. Manufacturers typically recommend replacing filter sand every 3 to 5 years, even if the sand appears clean.
3. Channel Formation
Sometimes water creates paths of least resistance through the sand bed. When this happens, water rushes through these channels instead of filtering evenly through all the sand.
Channel formation can occur due to improper backwashing techniques or by allowing the sand level to drop too low, thereby compromising the filter’s ability to clean your pool water effectively.
4. Chemical and Oil Buildup
Oils from swimmers’ bodies, sunscreen, and pool chemicals can coat sand grains over time. This sticky coating makes it harder for the sand to do its job and can’t be removed by normal backwashing.
This buildup is problematic in pools with heavy usage or in hot climates where more sunscreen and body oils enter the water. Special filter cleaners can help with this issue, but eventually, sand replacement becomes necessary.
Step-by-Step Backwashing Process
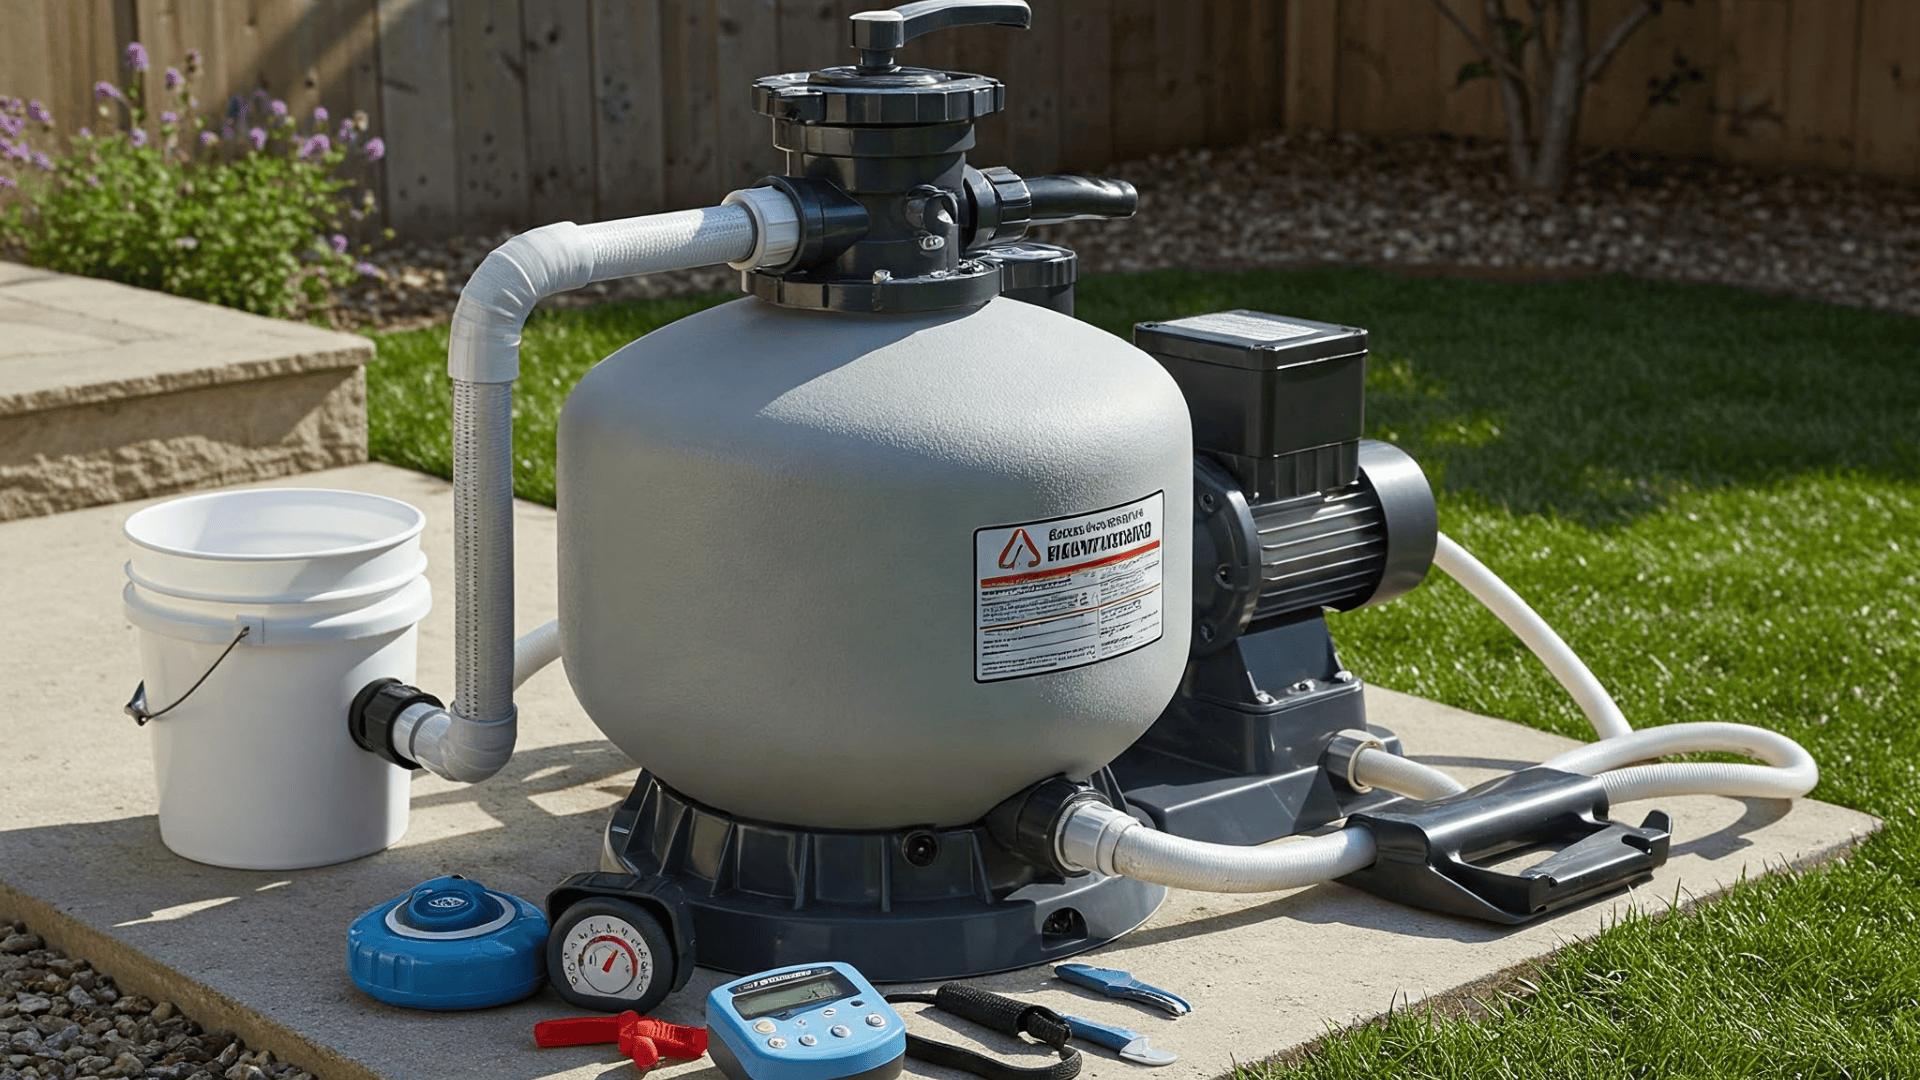
Backwashing your sand filter removes trapped debris, keeping your system running smoothly. This simple yet vital maintenance task helps your filter work more efficiently and last longer.
Many pool owners find it confusing at first, but with practice, it becomes a quick and easy part of pool care. When done right, backwashing sends water backward through your filter, flushing out dirt and waste.
Step 1: Prepare Your System
Begin the backwashing process by shutting off your pool pump completely to prevent damage to the system.
Once powered down, locate your multiport valve on top of the filter tank and carefully rotate it to the “Backwash” position. This prepares the system for reverse water flow that will flush out trapped contaminants.
Step 2: Flush Out Contaminants
Power your pump back on and observe the sight glass on your filter system. You’ll initially see cloudy, dirty water flowing through it.
Allow the system to run in this backwash mode until the water appearing in the sight glass becomes completely clear, which typically takes between 2 and 3 minutes, depending on the level of dirtiness in your filter.
Step 3: Set Up for Rinse
Once the water runs clear, turn off your pump again and move the multiport valve to the “Rinse” position. This important step prevents blowback of dirty water into your pool.
The rinse cycle helps settle the sand bed back into its proper filtering position after it has been disturbed during backwashing.
Step 4: Complete the Rinse Cycle
Turn the pump back on and let it run in rinse mode for 30 to 60 seconds. This shorter cycle clears any remaining dirt from the filter system and helps repack the sand.
When complete, turn the pump off again to prepare for normal operation.
Step 5: Return to Normal Operation
Finally, rotate the multiport valve back to the “Filter” position for normal pool operation. Turn your pump back on and check that the water flow has returned to normal.
Verify success by checking your pressure gauge, which should now show significantly lower pressure than before backwashing, indicating your filter is clean and working efficiently.
Stick to this sequence every time you backwash. Skipping steps or rushing the process can damage your equipment or push dirty water back into your pool.
When Backwashing Isn’t Enough: Replacing Your Sand
Every pool owner faces that moment when backwashing just won’t cut it anymore. After years of faithful service, pool filter sand eventually becomes too worn, coated, or damaged to work properly.
The tiny grains that once trapped contaminants lose their effectiveness, and no amount of backwashing can restore them.
Most filter sand reaches this point after 3-5 years of service, although this timeline can vary depending on your pool usage patterns, local climate, water chemistry management, and the quality of your original sand installation.
Heavy pool use, harsh weather conditions, poor chemical balance, and budget sand varieties all accelerate the replacement schedule. Watch for these unmistakable signs that your sand has reached the end of its useful life:
- Pressure stays high even after thorough backwashing
- Water remains cloudy despite normal chemical levels
- You see sand coming back into your pool
- Your filter sand is more than 5 years old
When multiple indicators appear together, it’s almost certain that your filter sand has reached the end of its useful life and needs replacement rather than just another backwashing cycle.
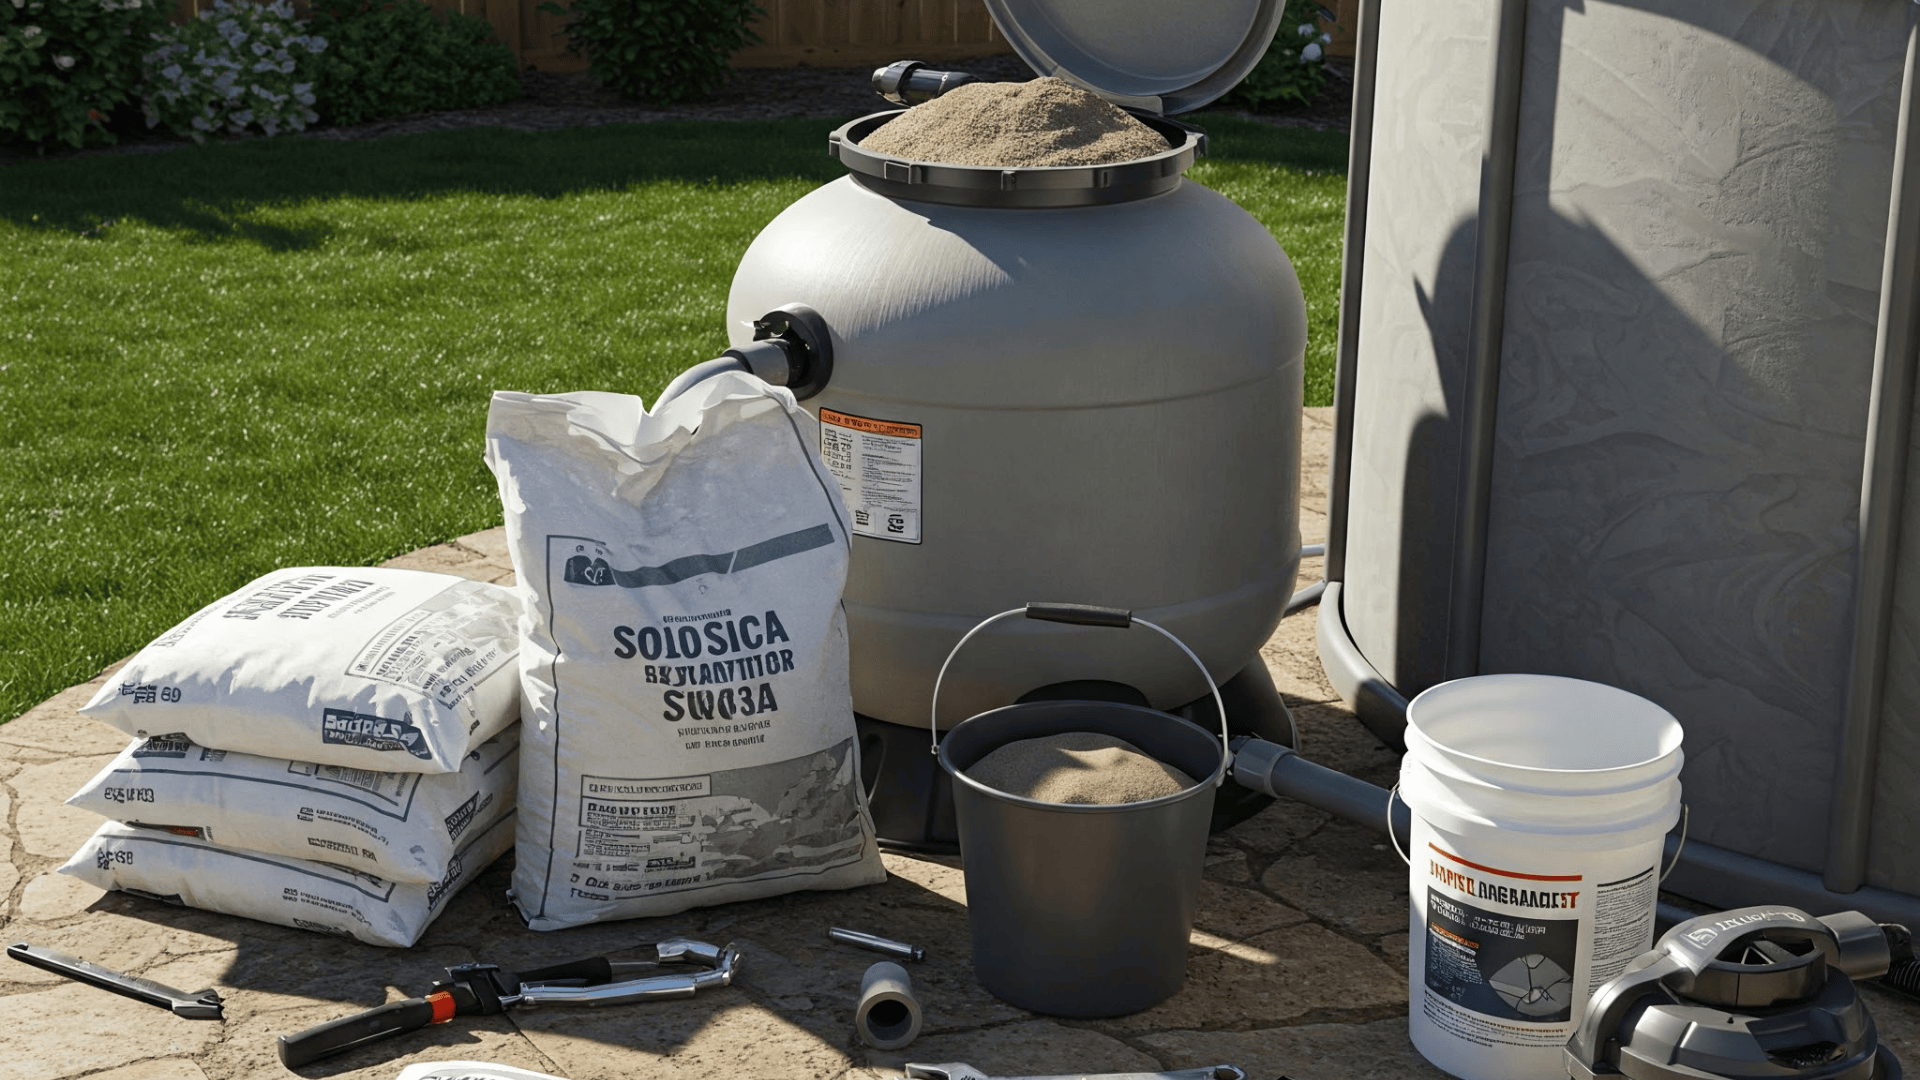
Selecting Quality Replacement Sand
When the time comes for fresh sand, don’t grab just any bag from your local hardware store. Pool filters demand specific #20 silica sand designed exclusively for water filtration. This specialized sand features:
- Precise particle sizing (0.45-0.55 mm) that traps debris while allowing proper water flow
- Pre-washed, contaminant-free material that won’t introduce impurities into your pool
- Sharp, angular edges that efficiently catch tiny particles swimming past
- Durable composition that withstands years of filtering and backwashing cycles
The few extra dollars spent on premium filter sand pay off with better filtration performance and longer service life.
Look for bags specifically labeled for pool use, as landscape or play sand lacks the proper characteristics for effective filtration.
Making the Replacement Decision: DIY or Pro?
This choice comes down to your comfort with pool equipment, available time, and budget constraints. Many pool owners save hundreds by handling sand replacement themselves, while others prefer the convenience and security of professional service.
| FACTOR | DIY APPROACH | PROFESSIONAL SERVICE |
|---|---|---|
| Cost | $20-50 for sand only | $200-300 total service |
| Time investment | Half-day project (2-4 hours) | Quick service (typically 1-2 hours) |
| Equipment needs | Screwdrivers, wrenches, and a shop vacuum | Pros arrive fully equipped |
| Physical demands | Significant (moving 100+ lbs of sand) | None for you |
| Warranty protection | None – you assume all risk | Service typically warranted |
The DIY approach costs significantly less—typically just $20-50 for the sand itself—but requires proper tools, physical strength to move heavy sandbags, and several hours of your time.
Maintaining Your Sand Filter for Optimal Performance
Good care extends the life of your filter sand and keeps your pool water clean. Here’s a seasonal approach to filter maintenance that helps maximize your system’s effectiveness while minimizing the need for premature sand replacement.
During peak swimming season, running your filter system 8-12 hours daily provides optimal results. This timing allows water to circulate completely through your system multiple times each day.
For winter protection in cold areas, follow this simple process:
- Backwash and rinse the filter thoroughly to remove all accumulated debris
- Turn off and unplug the pump to prevent accidental activation during the off-season
- Open all drain plugs on the filter and pump to allow complete water drainage
- Remove the pressure gauge to avoid freezing damage that could crack the delicate instrument
- Cover equipment with a waterproof tarp to protect against harsh weather conditions
Proper winterizing prevents expensive freeze damage to your equipment. Even in areas with mild winters, taking steps to protect your filter system during periods of non-use helps extend its service life and ensures it’s ready when swimming season returns.
Troubleshooting Common Sand Filter Problems
Even well-kept sand filters can have issues. Here’s how to fix the most common problems:
Sand Going Back to the Pool
If you see sand in your pool, check for these possible causes:
- Broken lateral pipes inside the filter
- Damaged filter standpipe
- Sand that’s too fine for your filter
- Cracked multiport valve
Fix: For broken parts, you’ll need to empty the filter and replace the damaged components. If sand is too fine, replace it with proper #20 silica sand.
Pressure Problems
When your pressure gauge gives unusual readings, use this quick guide:
| PROBLEM | POSSIBLE CAUSES | SOLUTIONS |
|---|---|---|
|
Too High (15+ PSI above normal) |
Clogged sand; Blocked skimmer, Closed return valves |
Backwash filter, Clean baskets, check valve positions |
| Too Low | Air leaks, blocked impeller, Large debris | Check pump lid seal; Clean pump impeller; Empty baskets |
Many filter problems can be fixed with simple steps. However, for some issues, calling a professional makes more sense:
- Cracked filter tank
- Failed internal parts
- Major valve issues
- If you’ve tried fixes and problems continue
Remember that paying for professional help can save money compared to fixing damage from ongoing problems.
Conclusion
Clean filter sand makes all the difference between a pool that shines and one that stays cloudy despite your best efforts.
By watching for warning signs, such as high pressure readings, cloudy water, weak return flow, and constant backwashing needs, you can catch problems early.
Regular maintenance ensures your filter operates properly and extends the lifespan of both your sand and your entire pool system.
Remember that sometimes a simple backwash isn’t enough—knowing when to replace your sand completely is key to maintaining water quality.
With these tips in mind, you’re now ready to keep your pool sparkling clean all season long, making every swim the refreshing experience it should be.