Hey friends! It is time for week 3 of the $100 room makeover, and I am excited to report that we have made some significant progress on our mudroom makeover. We have completed our DIY coat hook wall and antique trunk makeover. In case you are catching this for the first time, let me catch you up to speed. I have committed to makeover a room in my house aaannndd stay within a $100 budget. That is a tall order, and a tight budget, but I am confident that I can get it done. After all, I am the girl with champagne taste and a tight budget! This challenge was created by Erin at Lemons, Lavender, and Laundry, and I am thrilled to be a part of it all. The room I have chosen to make over is my mudroom. I have until the last Wednesday of March to reveal this room, so that gives me about 2 more weeks to get it done. If you are new to my mudroom makeover, or to Sweet Parrish Place, please make yourself at home and welcome! You might want to start by checking out week 1 and week 2. Go ahead, I’ll wait! Now, let’s see where we are for week 3.
MUDROOM MAKEOVER | DIY Coat Hook Wall
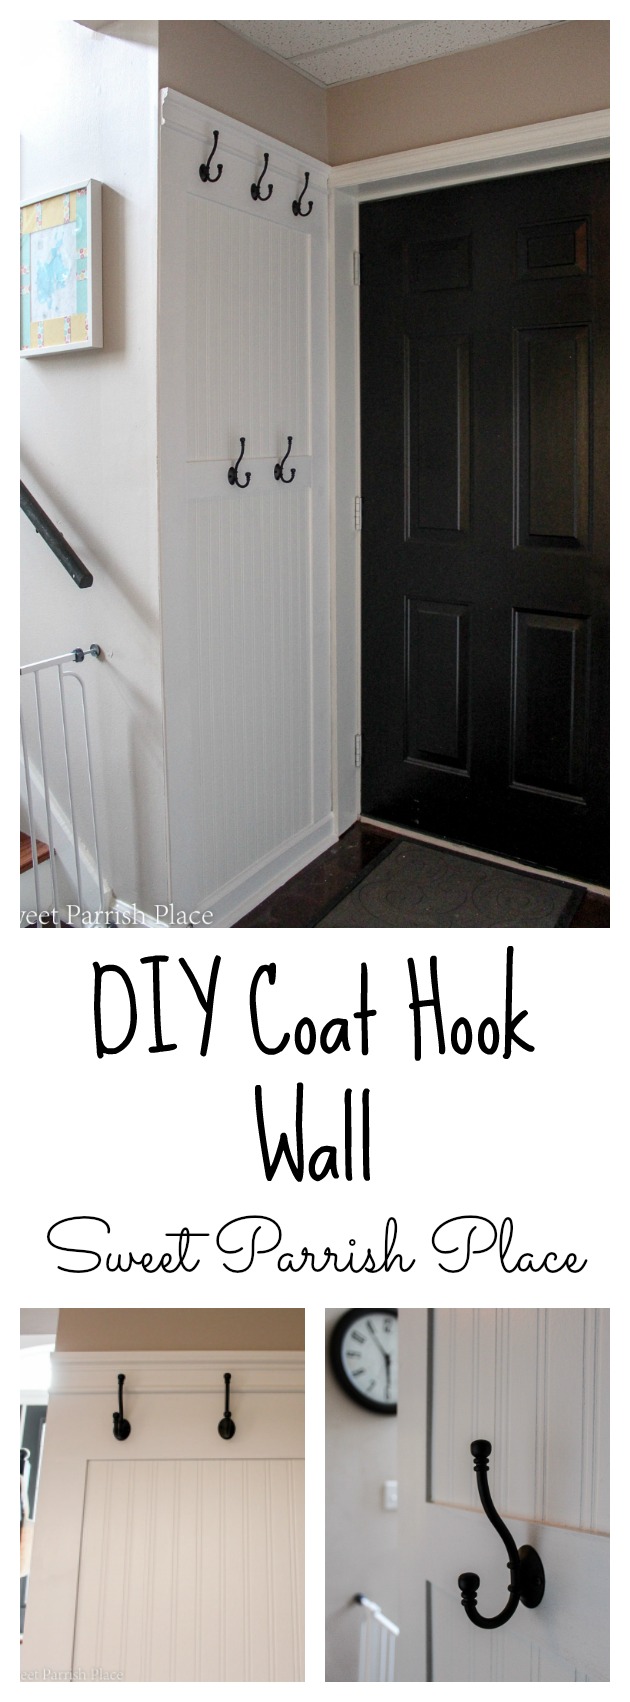
I am happy to report that we finished our DIY coat hook wall! And you guys, we are over the moon with how it turned out! It is so functional and pretty all at the same time,and I can’t wait to load this baby up! I shared a list of the supplies I used last week, so you can check that out if you are thinking of building one for yourself. After this challenge is behind me I plan to write a full tutorial post so that you can see exactly how we did this wall. But here she is in all her splendor!

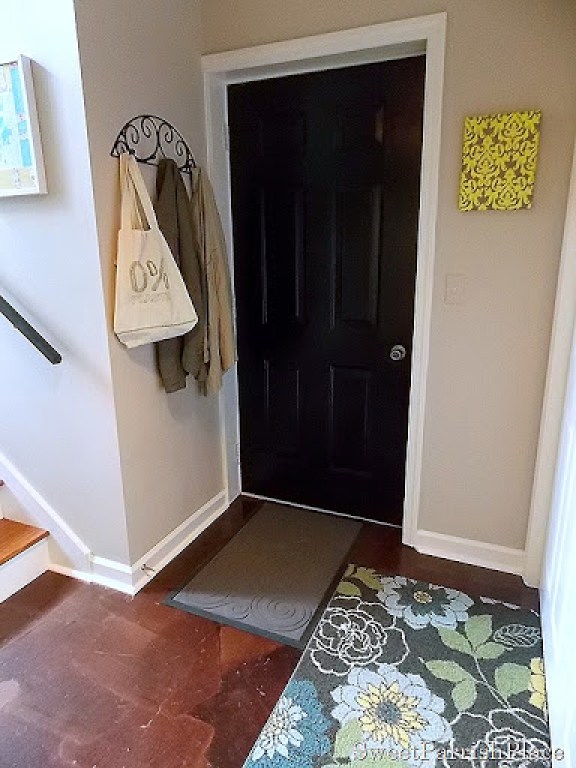
As a quick reminder, here is a look at what this wall looked like before this transformation. I am just so happy about this upgrade! I did this entire project for around $75. and it was the main part of this makeover that we spent money on. The rest is pretty much happening for free (almost), because we are using things we already had on hand to do most everything else.

I used beadboard wallpaper here, and it looks so realistic, I now want to beadboard wallpaper all of the things! And the black hooks are speaking my language! I got all 5 of these hooks from Amazon in a pack for $15.99. I think that is a great price, and I used a gift card, so they were really free to me. And let me just say, this wall was pretty darn simple to build, and if I can do it, so can you! Remember, I will be sharing a full tutorial, hopefully some time in April, so check back for it, or you can always subscribe to my email list and you will receive a notification in your inbox whenever I have a new post live! I would absolutely love to have you as a subscriber to my blog! You can subscribe right from my sidebar, or there will be a pop window before you leave today.
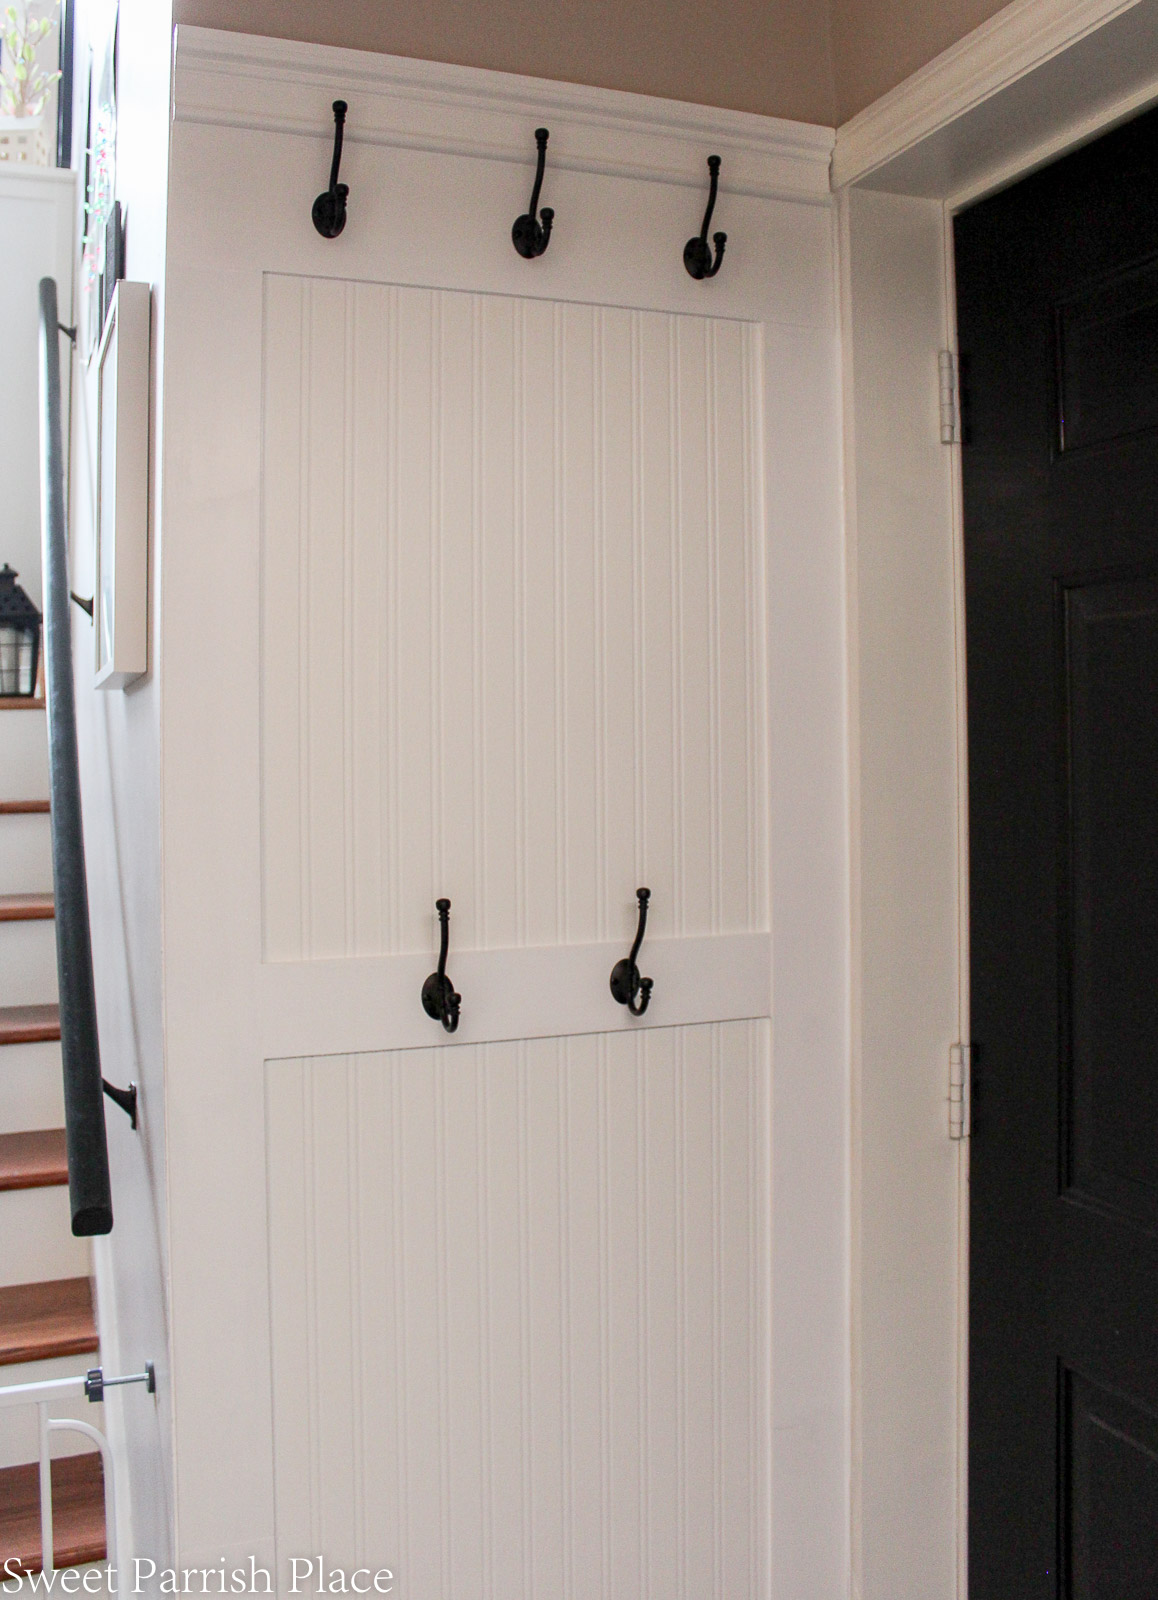

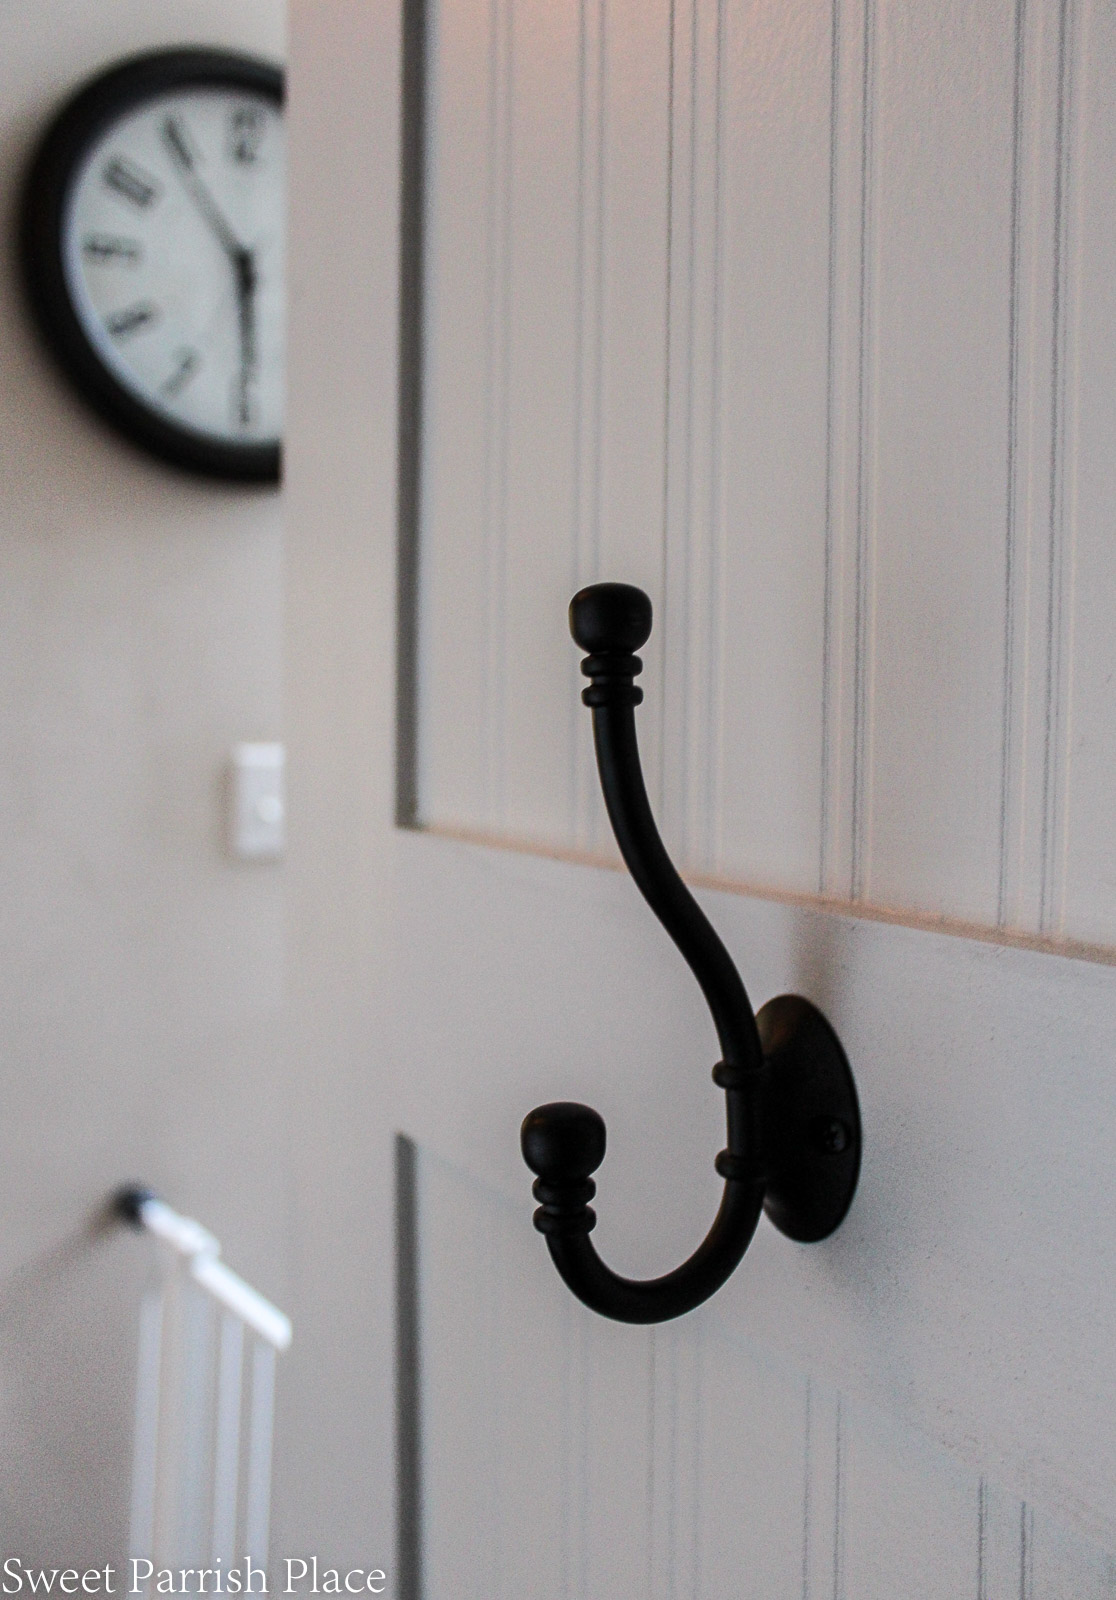
Black hooks | Beadboard wallpaper
Antique Trunk Makeover
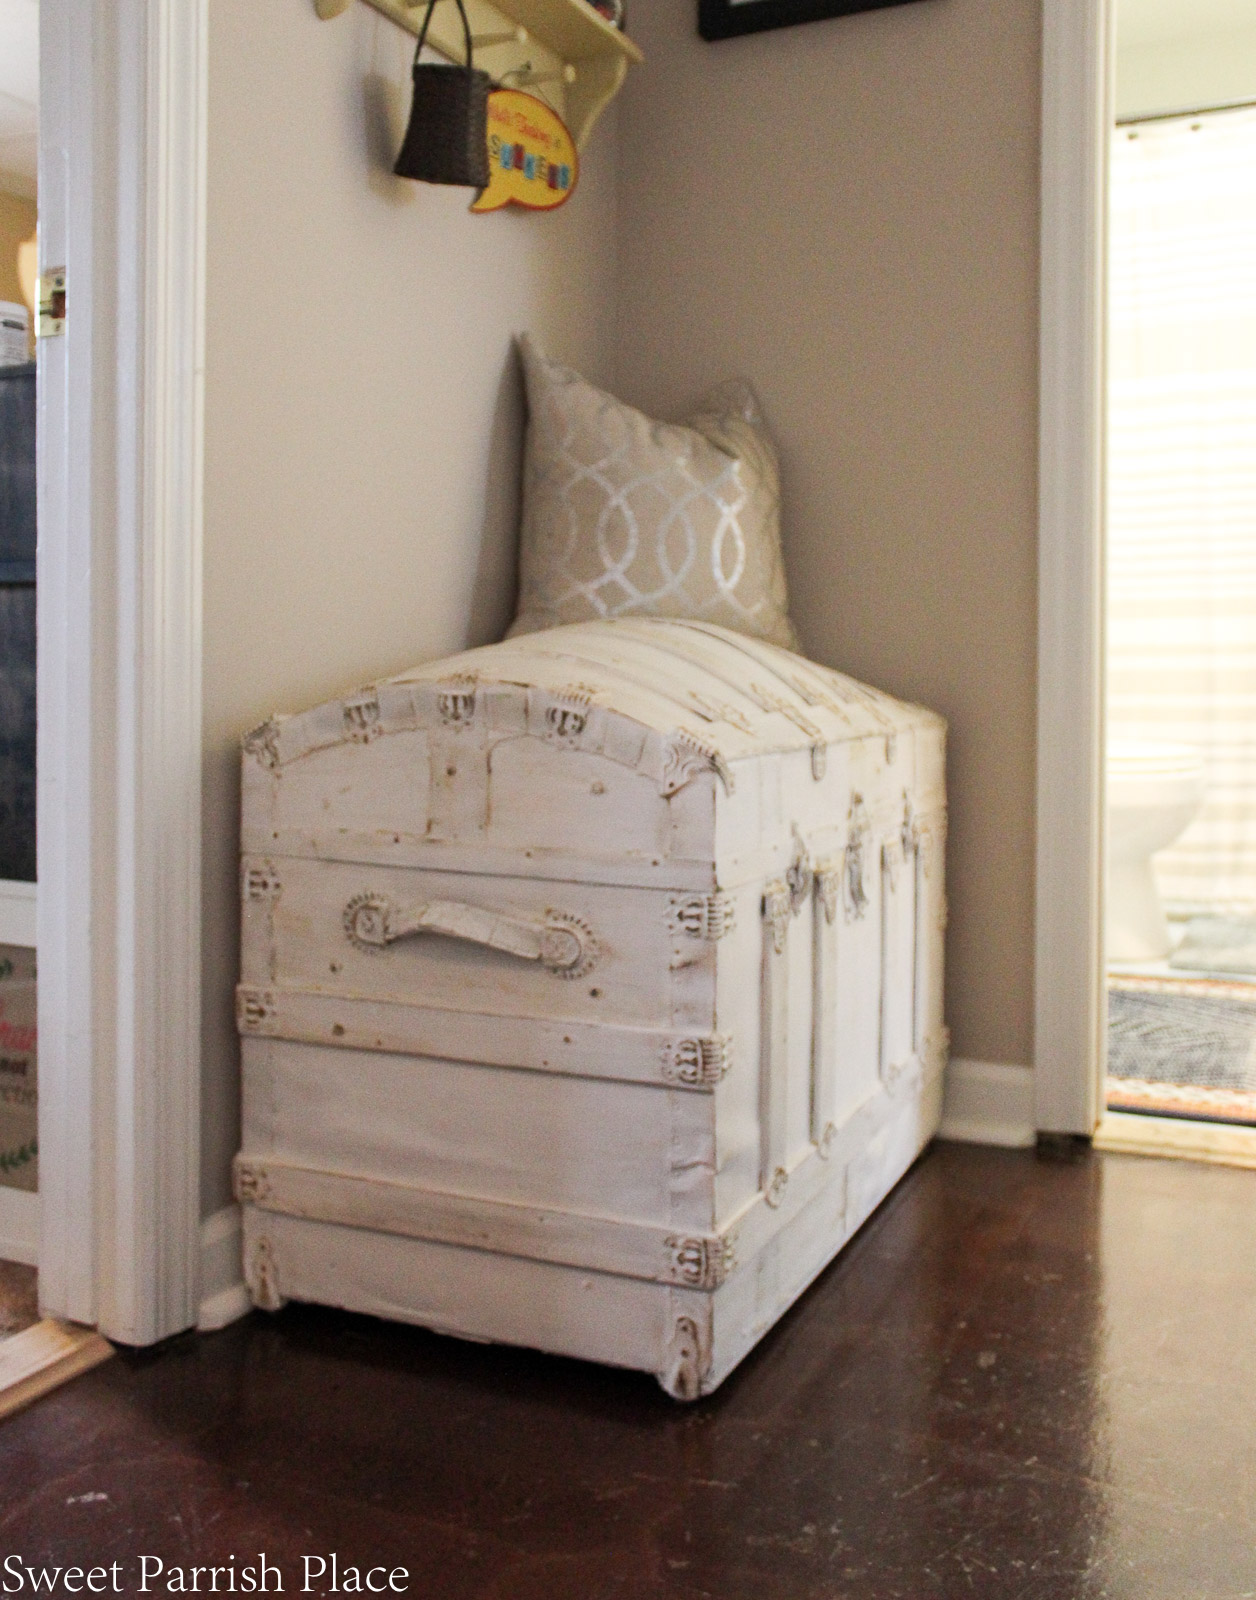
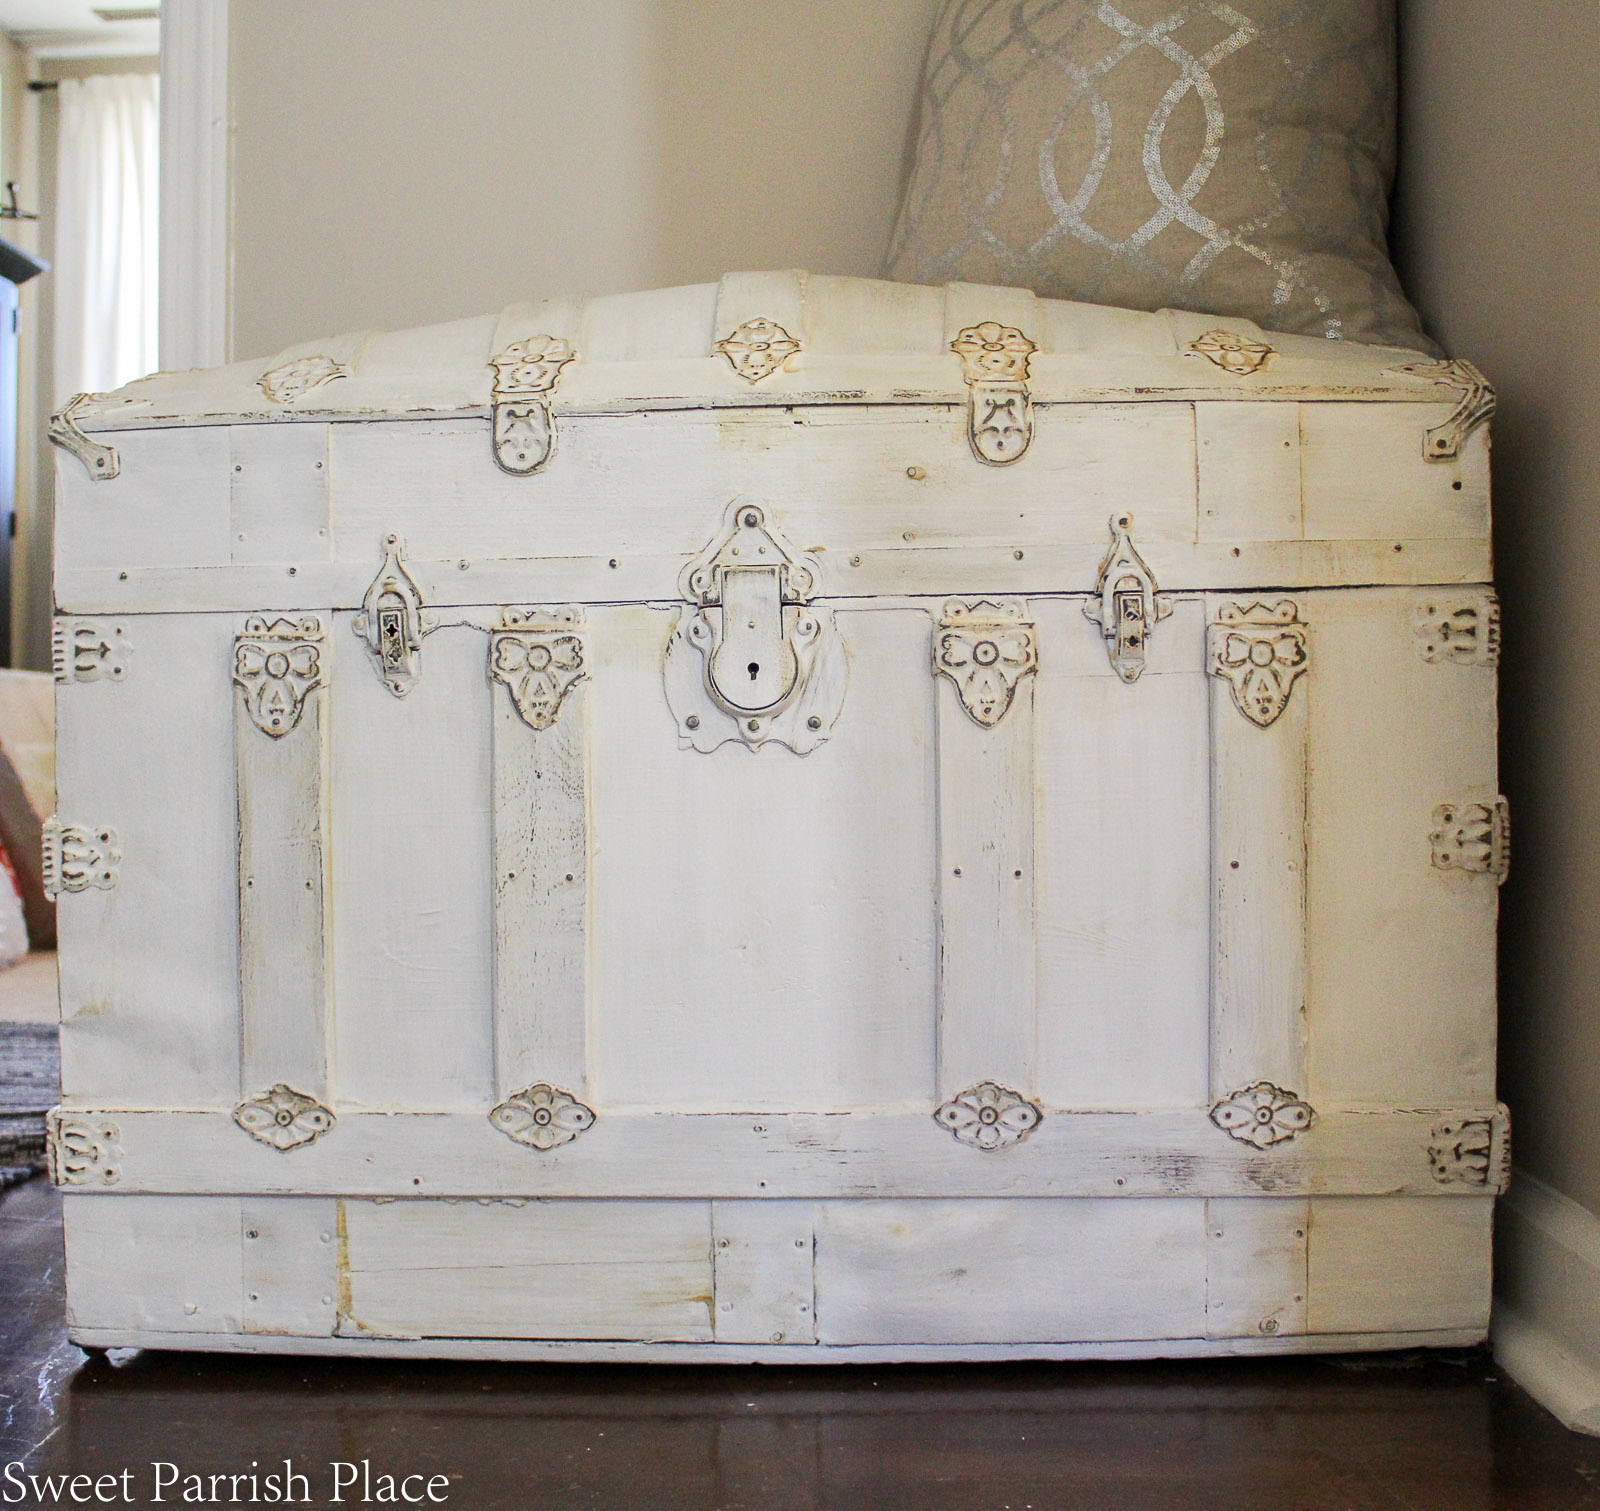
This antique trunk makeover is by far my most favorite makeover I have ever done on anything- EVER you guys! I’m giving this all the heart eyes and emojis! To think that this trunk sat in our garage for over a year before I got around to this makeover. If I had known how much I would love the end result I would have done it much sooner. You can see a before picture of this trunk by clicking here. I plan to write a full tutorial for how I made over this trunk in the near future, after this challenge is over, as well.
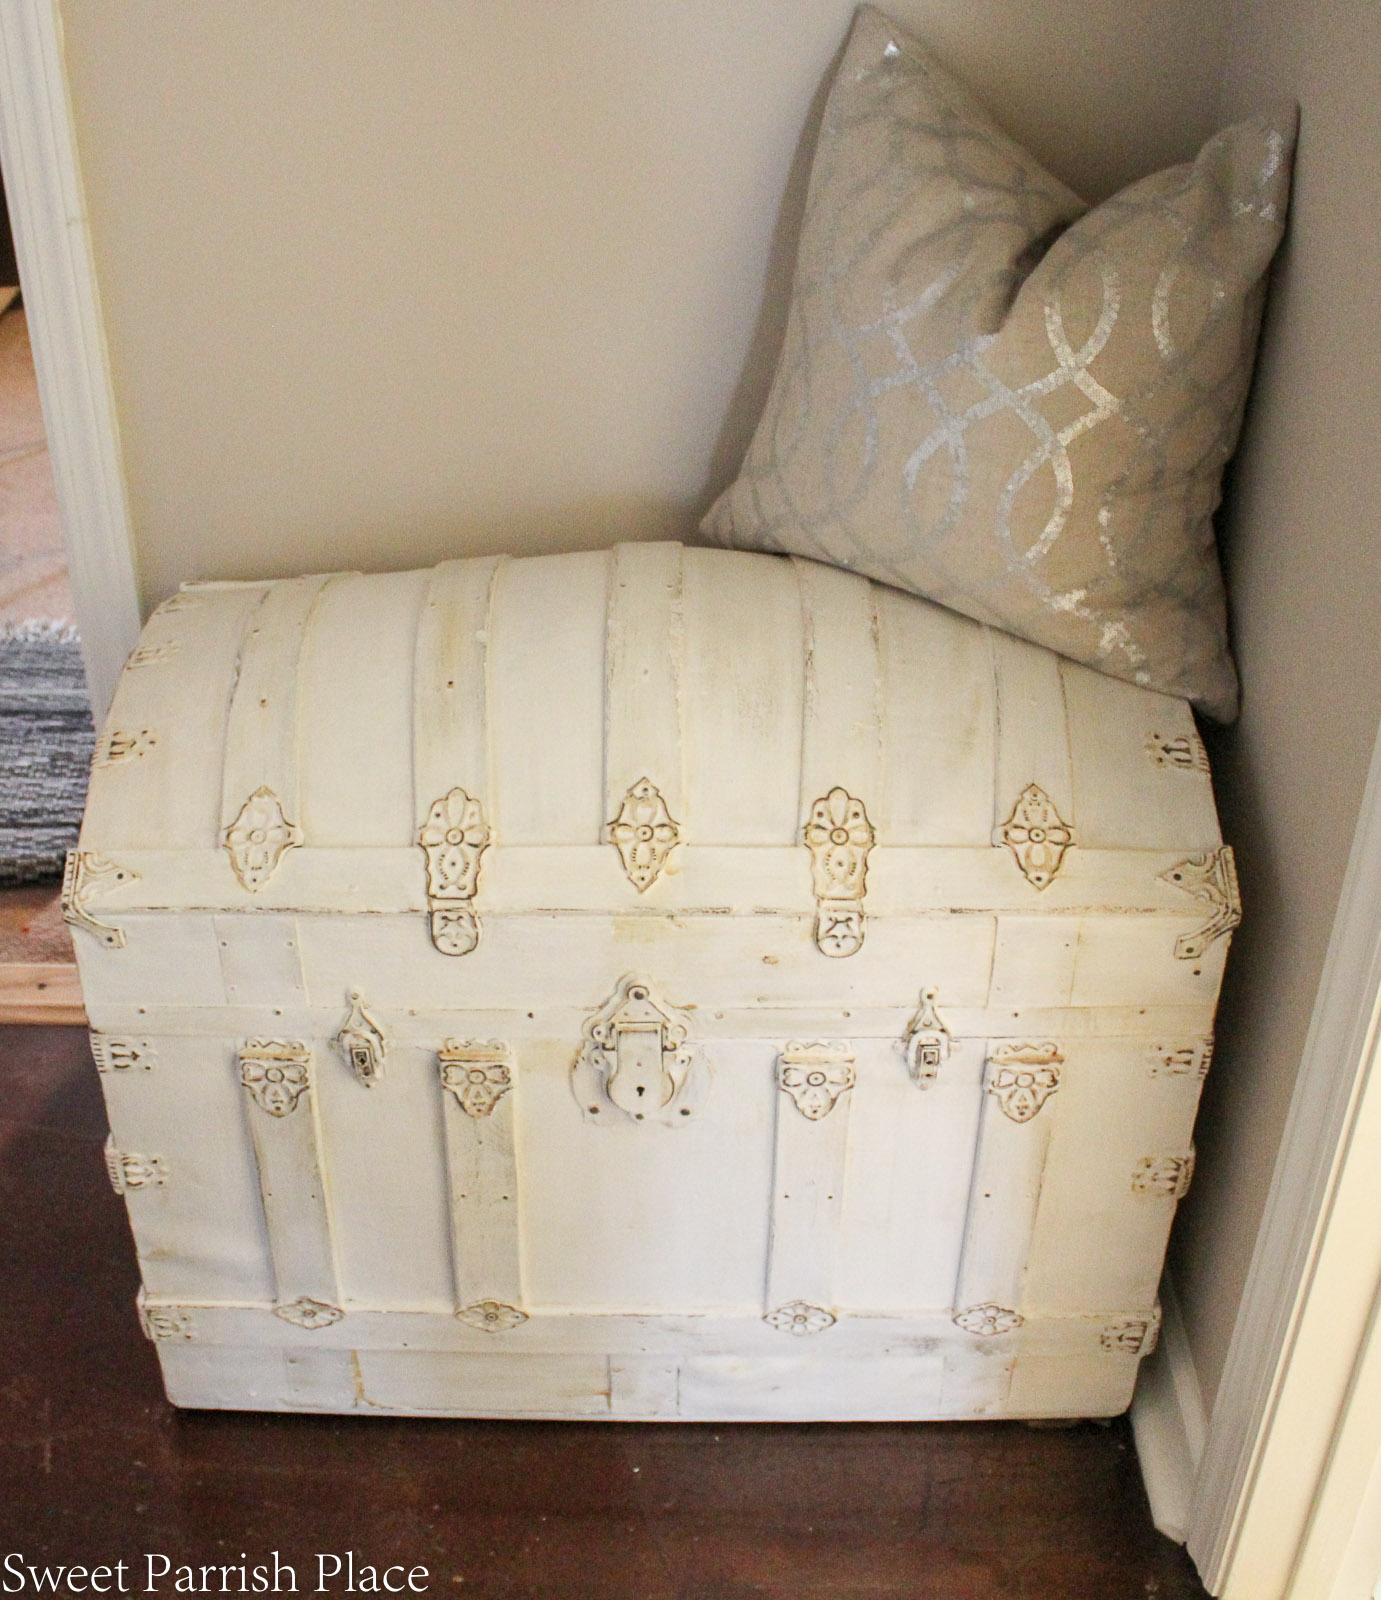
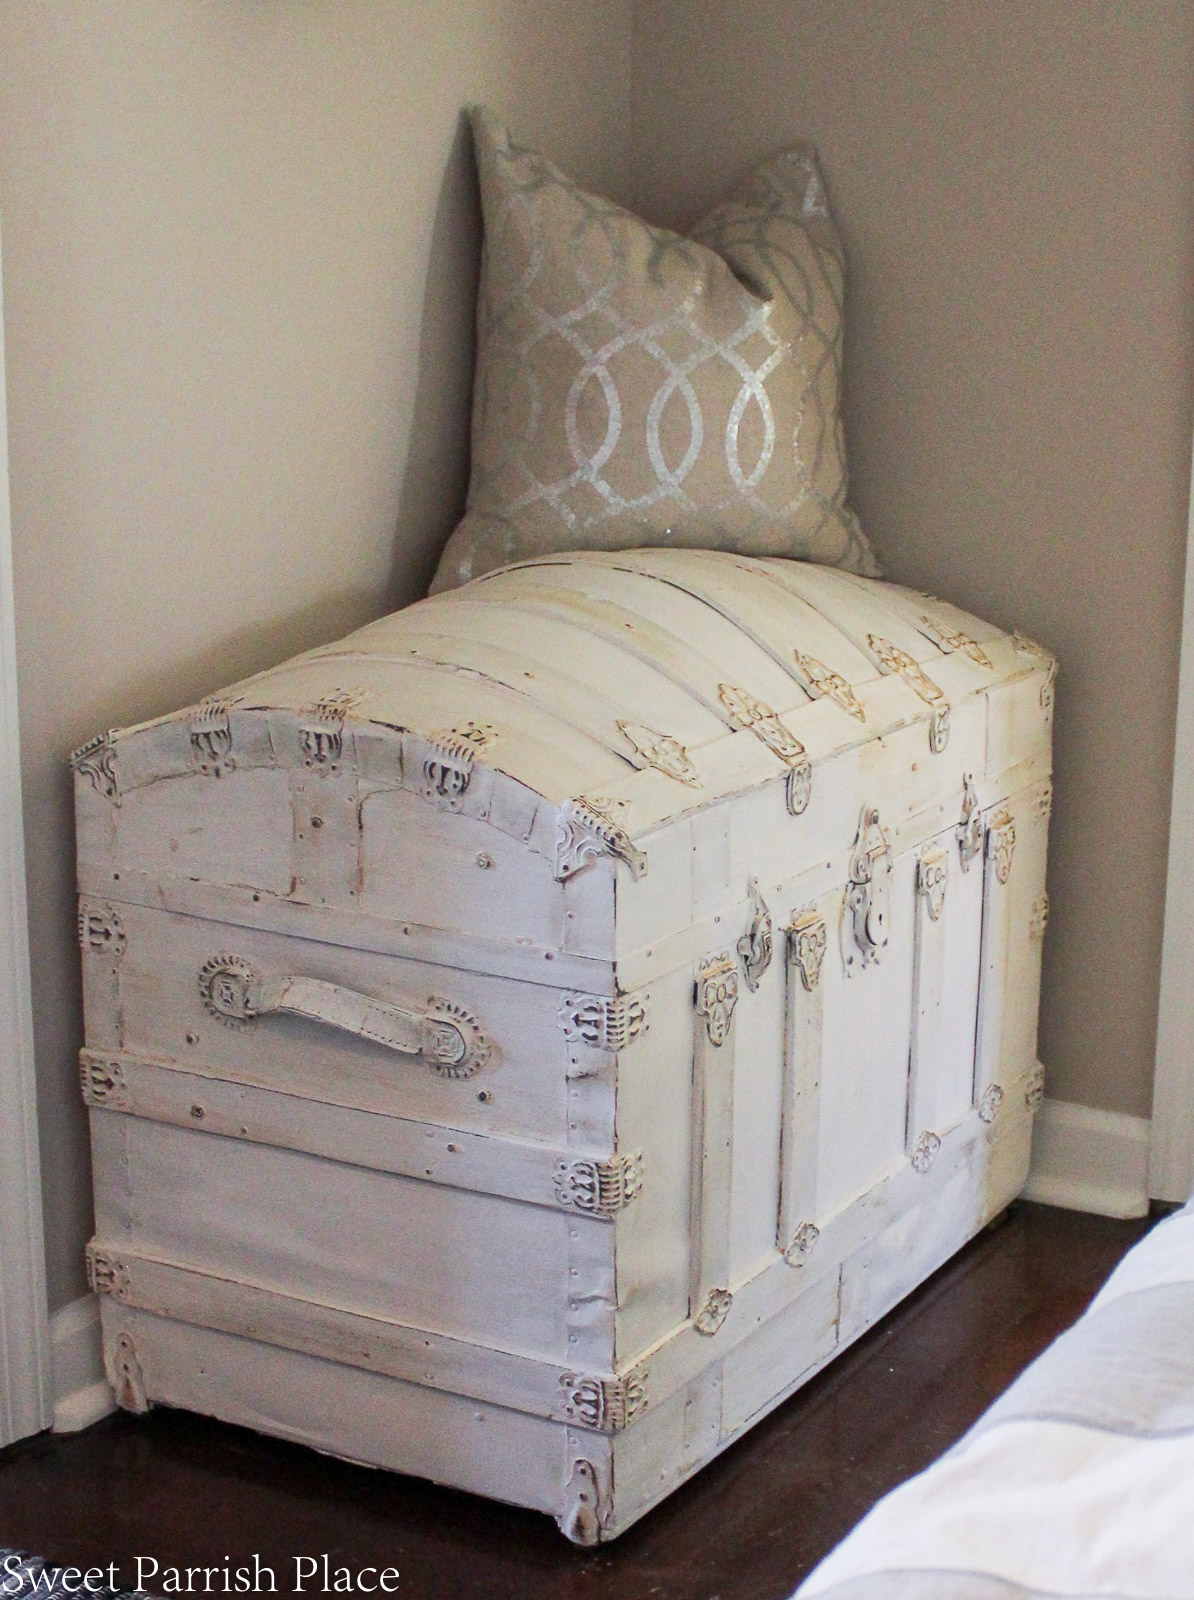
This antique trunk completely steals the show in this mudroom makeover in my opinion. and it took up zero percent of my budget! I found a date on this trunk while I was distressing it that I had never seen before, but the paint and the distressing brought it out. It is dated 188_ I can’t make out the very last number. But I have a friend who is an antique dealer, and she tells me it is post industrial made after the industrial revolution and that it is not so rare, and was perfectly fine for me to paint it! Yay! My husband brought it home to me as a gift one day. He got it from a physician that he calls on. The physician literally drove him to his home and gave it to him for like $20! While he was there at his office making a call on him! It is fairly large, and I left it in the garage feeling like I had no place in our current home where I could fit it. But when I was planning this room makeover, it dawned on me that it would fit right here in this corner, and it fits like a glove!
This trunk now serves as storage for blankets and pillows that we use when the kids have sleepovers. And it is right outside of our downstairs family room, which is the kid’s hangout space, so it is perfectly placed for that! I thought about painting the inside, but I didn’t think I would have time to finish it during this challenge. So I may go back and do that in the future.
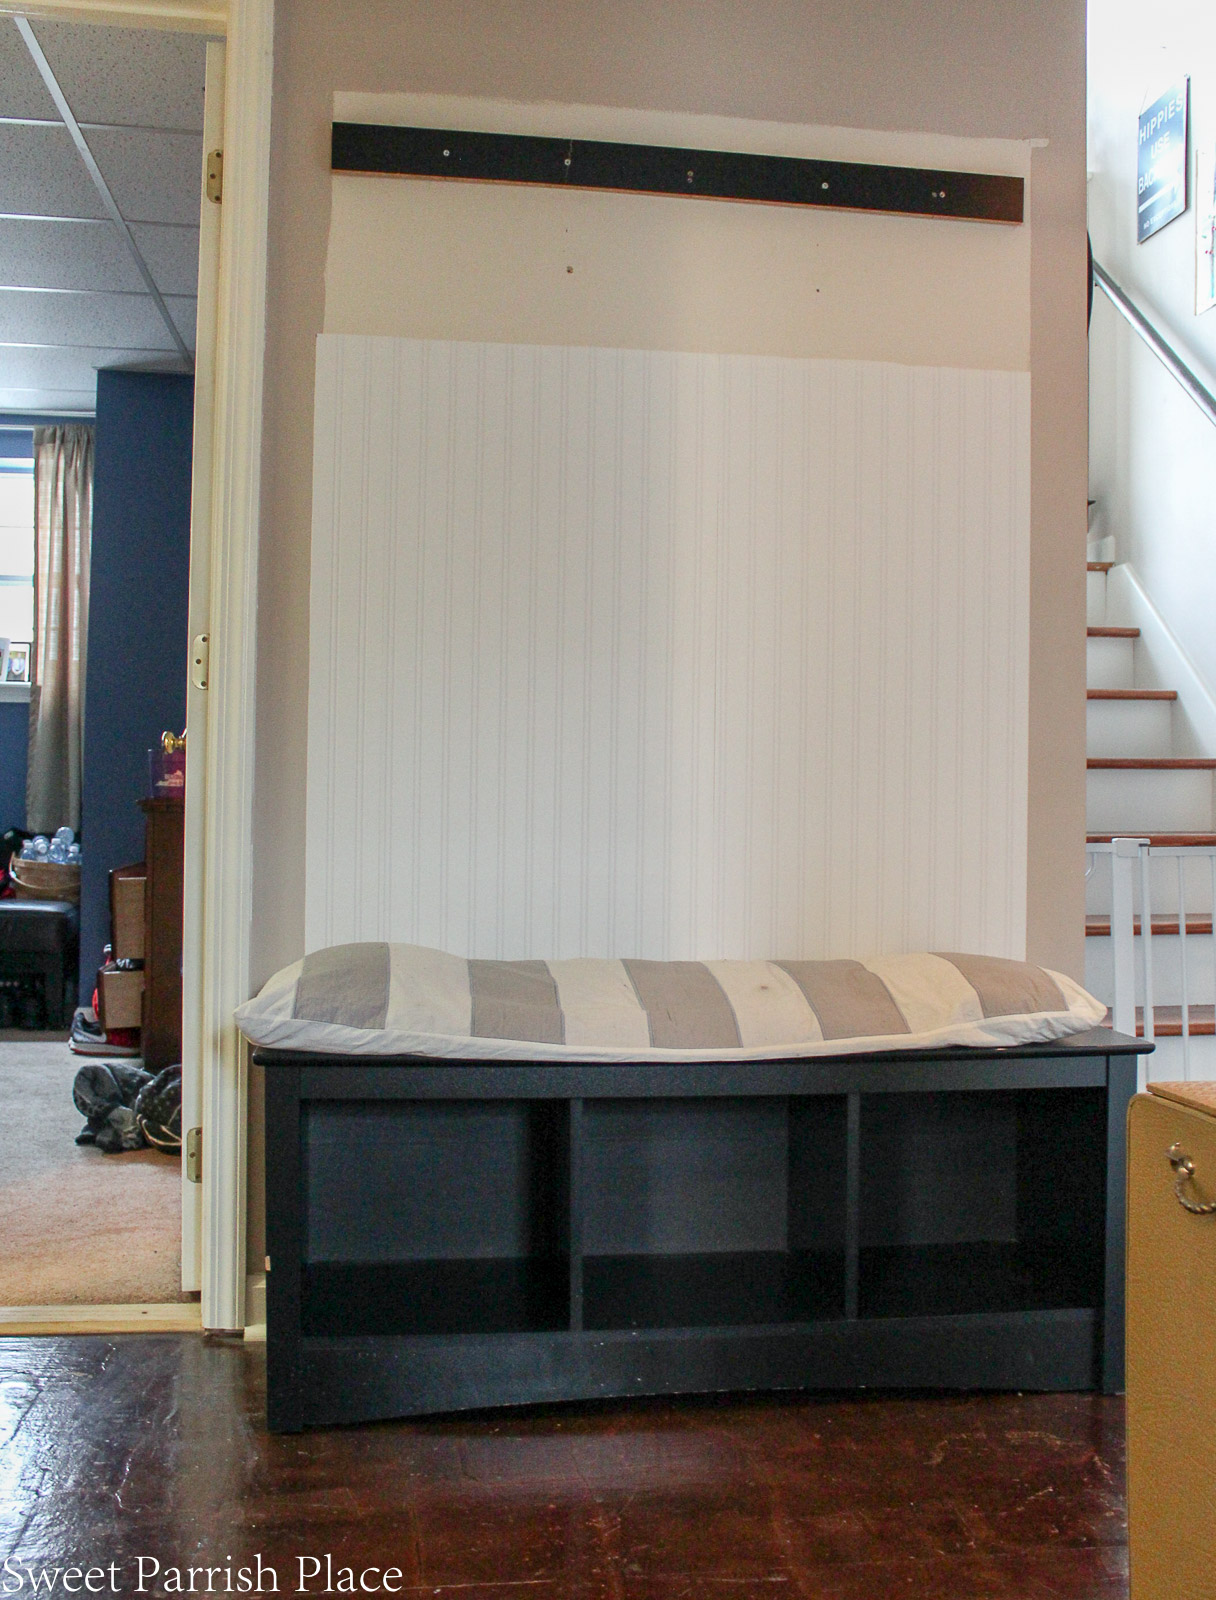
More Progess on the Bench area
What you are seeing here is the last part of this mudroom makeover that we have to complete. As you can see, we have removed the large shelf with hooks from the wall. and we have applied more beadboard wallpaper between the shelf and the bench. I will be painting both pieces white, and then adding some wood trim on either side of the wallpaper, which will also be painted white. I am hoping this will make it look similar to a built-in. I really wanted to paint these pieces with my paint sprayer, so I have been holding out for good weather. But I am starting to lose hope, and may have to break down and hand paint them.
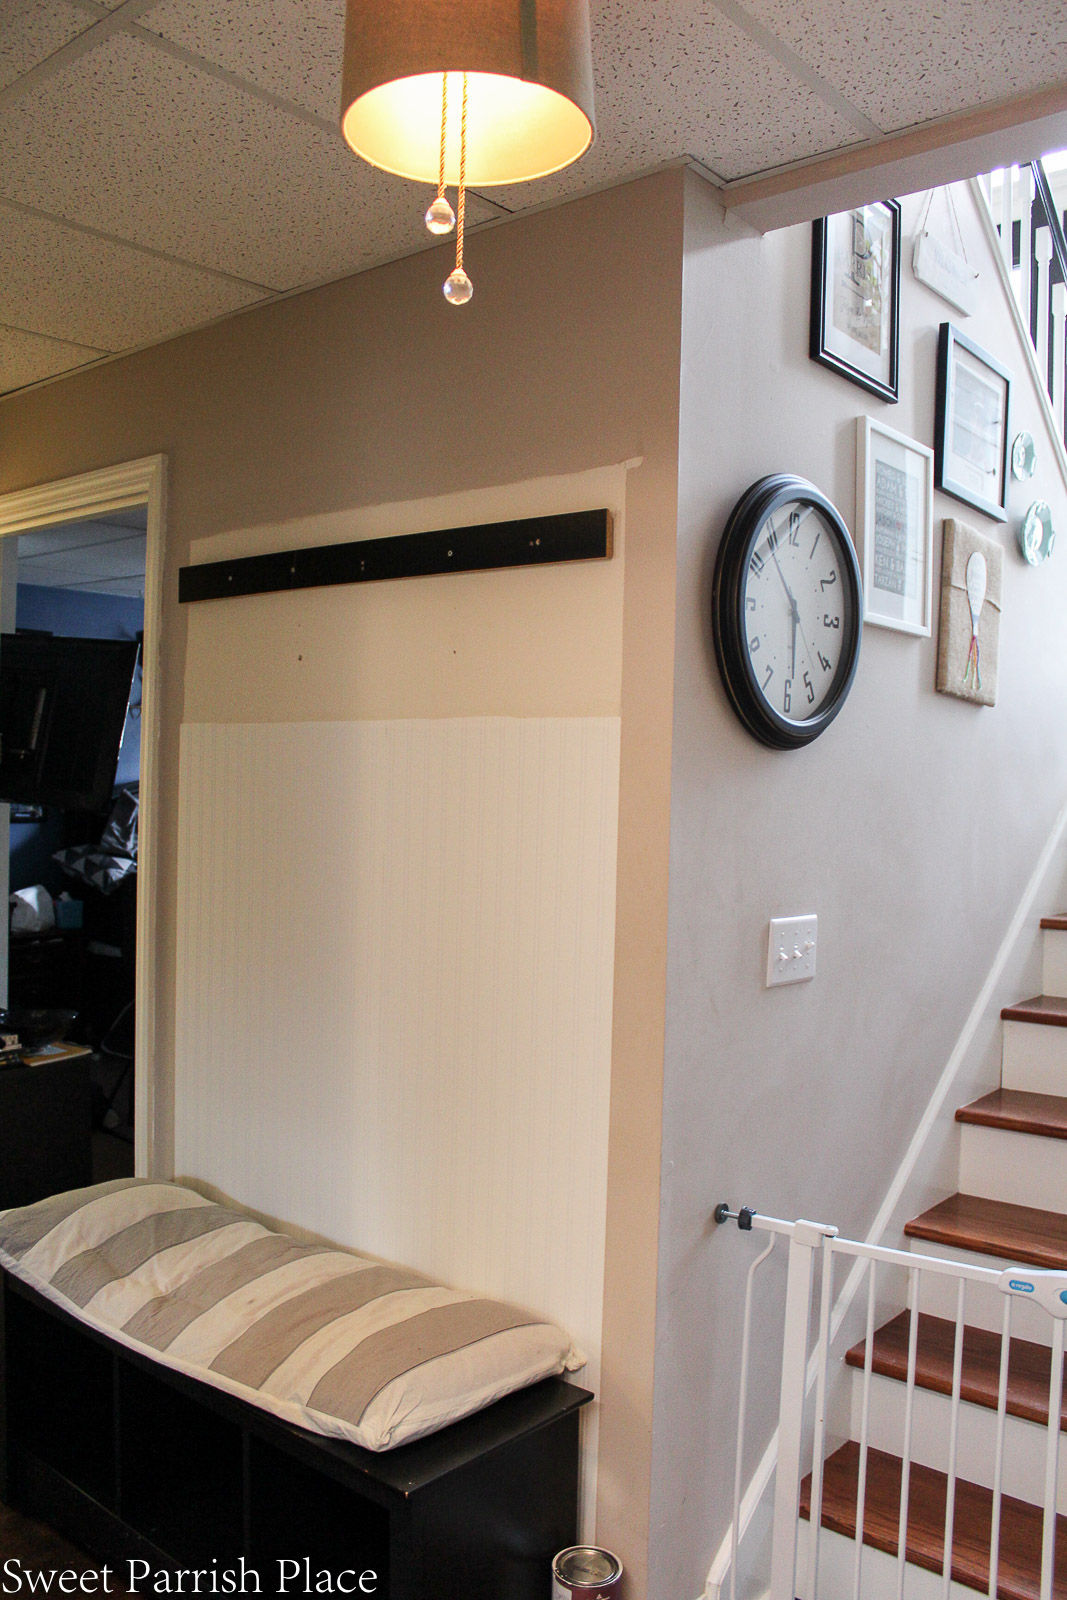
You can also see in the picture above that I added a little bling to the ceiling drum shade. That is a drapery tie that I just tied around a piece of metal inside the shade. That was something I had lying around the house, so it was free. And I like the little sparkle it adds to the light. It looks pretty when the light is turned on. I can’t wait to see what this bench and the coordinating shelf look like all white!
For your convenience, this post has affiliate links. If you click on them and buy an item, I will receive a small percentage of commission. By clicking the link, you are NOT paying any more than you ordinarily would, and you are helping support me in keeping this blog up and running, so thank you for that!
The total I have spent so far in this room is still $77.27. I did use a gift card I had from Amazon to purchase the hooks and the foam cushion that will go on the bench, so I am not counting the cost of those, because the gift card was a gift. I do have to purchase one more piece of polar board to finish out my bench area, and it is going to cost me $4.26. I would also like to find some matching containers to go in the top shelf cubbies, if my budget allows. and remember to check back in a month or so for tutorials for both the DIY coat hook wall and antique trunk makeover.
As a reminder, here is the to do list for this space. I even got to mark some things off!
MY TO DO LIST FOR THE MUDROOM MAKEOVER
- Hang antique mirror
- Upcycle some thrift store art for the space
- Add some bling to the drum shade
- Hang beadboard wallpaper and paint it white
- Add a buffalo plaid cushion to the bench
- Install trim and hooks to small wall area behind door leading to garage
- Paint bench and shelf white
- Paint and distress antique trunk
- Paint laundry closet doors ( undecided as to what color)
If you like it, then you wanna put a pin on it!
What do you think of my DIY coat hook wall and antique trunk makeover? I would love to read your thoughts in the comments. I love your comments and read every one! I will be back next Wednesday, and every Wednesday this month with progress posts. And on the last Wednesday in March will be the big reveal of my Mudroom Makeover , so I do hope you will stick around and see the progress I make in this mudroom makeover! I am really excited about these changes. Now, there are a whole slew of other bloggers who are also participating in this $100 Room challenge, so make sure to check out their spaces as well!

Do you have champagne taste and a tiny budget too?
Love fashion, DIY, crafting, all things vintage and thrifty?
Stick with me, I’ve got you covered!
Sign up to get my posts delivered to your inbox here
Follow me here:
Love the coat hook wall, and that truck is AMAZING! I cant wait to see it all done.
Kati recently posted…Office & Craft Room Makeover {Week 3}
Thanks so much Kati! I am very happy with the results so far!
Oh that looks awesome, Nicki! Way better than before!
Thanks so much Brittany! It is a much welcomed change, for sure!
WOW! Everything is looking good. Girl, you are steady checking that list off! Good for you. Hugs and blessings, Cindy
You are so sweet Cindy, thanks so much! Have a great day!
I’m thinking about doing our mudroom for the One Room Challenge and this is such a great idea! Thanks for sharing!
Thanks so much Jess! I guarantee you can do this project! Good luck!
Looking good! The trunk definitely steals the show! I have a trunk in my garage now that I planned on selling but I may wait for your tutorial, and see if I can give it a makeover.
Linda recently posted…Engineering Prints DIY Wall Decor | $100 Room Challenge Week 3
Thanks so much Linda! Definitely wait! It may turn out to be a treasure for you!
Your beadboard looks so great. I love how you matched it with the other wall with the bench and the hooks just make it look so high end. Can’t wait to see more.
Sue Purdy recently posted…Powder Room Update – Week 3
Thanks Sue! I hope I will like the way the other wall turns out as well as the first wall!
I appreciate your blog post!
http://www.imfaceplate.com/inghamcurtain
Wow! beadboard wallpaper? Are you kidding me? Love it!!! Never knew it existed!!! Thanks for sharing.
I know, it’s amazing stuff! Now they just need to make ship lap wallpaper, right?
I love the way the wall hooks turned out! You can’t tell it isn’t real beadboard. And what a perfect fit for the trunk!
I am so glad I used the wallpaper! and I was so excited when I realized the trunk would fit there! Thanks so much!
I absolutely love the hook wall! It looks fabulous.
Thanks Morgan, that is so sweet of you!
Wow, those are some awesome makeovers this week! Love how it’s coming along!
Thanks Cindy!
You have made some amazing progress this week! The wall with the hooks looks amazing. I have thought about trying beadboard wallpaper, and yours looks gorgeous. And that trunk?! Love the way you distressed it. Perfect for all those blankets. You’re doing an awesome job!
Erin @ Lemons, Lavender, & Laundry recently posted…$100 Room Makeover: White Paint
Thanks so much Erin, I’ve been enjoying being a part of the challenge! It’s great!
The trunk looks ah-mazing!!!! I love the board and batten, too!
Honestly, I didn’t think I’d love the trunk painted. But it looks SO good. And the beadboard is amazing. You chose the perfect hooks!
Corinna – ADesignerAtHome recently posted…Bohemian Spring Mantel
Thanks Corinna! I am glad that I painted it, and I can understand the aprehension, I had the vision, so I was pretty sure I was going to like it,a nd I’m so glad I did!
I love how that wall turned out–what a difference! I used beadboard wallpaper in my mudroom too. It’s so realistic! 🙂
It really is awesome. I’m so glad I bought it!
LOVE what you did with the hooks behind the door! SO pretty! I’ll be featuring this at the Creative Gallery tomorrow night 🙂
Thank you so much Lindi! How awesome!
What a great makeover! The Beadboard wall adds so much more interest to the room and the trunk is beautiful!
Thanks for sharing! #HomeMattersParty
Jeannee
Thanks so much Jeanee! The full reveal is on the blog today!