Looking to change your living space with a practical, cost-effective furniture addition? A DIY bench seat offers the perfect solution for homeowners seeking both functionality and personalization.
By building your own bench seat, you’ll save 50-70% compared to store-bought alternatives while creating a piece that perfectly fits your unique space and style preferences.
Whether you need extra seating in a dining area, storage in an entryway, or want to utilize an awkward nook, a custom-built bench delivers versatility that mass-produced furniture can’t match.
This rewarding project allows you to select specific materials and dimensions while developing valuable woodworking skills.
Beyond the practical benefits, crafting your bench seat provides a genuine sense of accomplishment as you witness your vision become a reality.
Follow our complete principles to create a beautiful, functional bench seat that improves your home’s vibe while reflecting your craftsmanship.
Why Build a DIY Bench Seat?
Building your own bench seat offers multiple advantages over purchasing mass-produced furniture.
From significant cost savings to perfect customization for your space, DIY benches deliver both practical and personal benefits.
You’ll gain valuable woodworking skills while creating a piece that perfectly matches your home’s aesthetic and functional needs.
Whether you’re looking to maximize seating in a small space or create a statement piece, a DIY bench seat project delivers satisfaction beyond the finished product.
1. Cost-Effective and Customizable
A DIY bench seat significantly reduces costs compared to store-bought alternatives. By purchasing raw materials and handling construction yourself, you can save 50-70% on comparable furniture.
This approach allows you to select specific woods, finishes, and dimensions that perfectly fit your space and complement existing décor—options rarely available with pre-made pieces.
2. Adds Functionality to Your Space
Creating a DIY bench seat is a practical project that adds both style and utility to your home. Here are some key benefits and uses of building your bench:
- Creates versatile seating for dining areas, entryways, or living rooms
- Can incorporate hidden storage compartments for blankets, toys, or seasonal items
- Fills awkward spaces like bay windows or hallway nooks that standard furniture can’t accommodate
- Can double as a coffee table or workspace when needed
- Offers space-efficient seating that maximizes floor area in small rooms
3. Sense of Accomplishment and Personal Touch
Completing a DIY bench project delivers genuine satisfaction as you witness your vision become a reality. Each cut, join, and finish decision reflects your style and craftsmanship.
The finished piece carries stories and memories of the creation process, transforming ordinary furniture into a meaningful heirloom that friends and family will appreciate for its uniqueness.
Tools and Materials Required
| MATERIAL | USE | ESTIMATED COST ($) |
|---|---|---|
| MDF (Medium Density Fiberboard) | Base & lid cutting and assembling | $25.0 |
| Timber | Base structure | $40.0 |
| Hinges | Attach lid to frame | $5.0 |
| Screws | Secure hinges and structure | $10.0 |
| Glue | Assemble wooden pieces | $3.0 |
| Paint | Paint lid & inside | $8.0 |
| Cladding Boards | Cover exterior | $15.0 |
| Kickboards | Create base support | $7.0 |
| Wall Studs | Secure boxes to wall | $6.0 |
| Measuring Tape | Measure size & materials | $2.0 |
| Drill | Attach hinges & screws | $20.0 |
| Total Estimated Cost | $141.0 |
A Step-by-Step Guide on DIY Bench Seat
From measuring your space to adding the final touches, we’ll guide you through the entire process. No advanced woodworking skills needed – just basic tools and a weekend of your time.
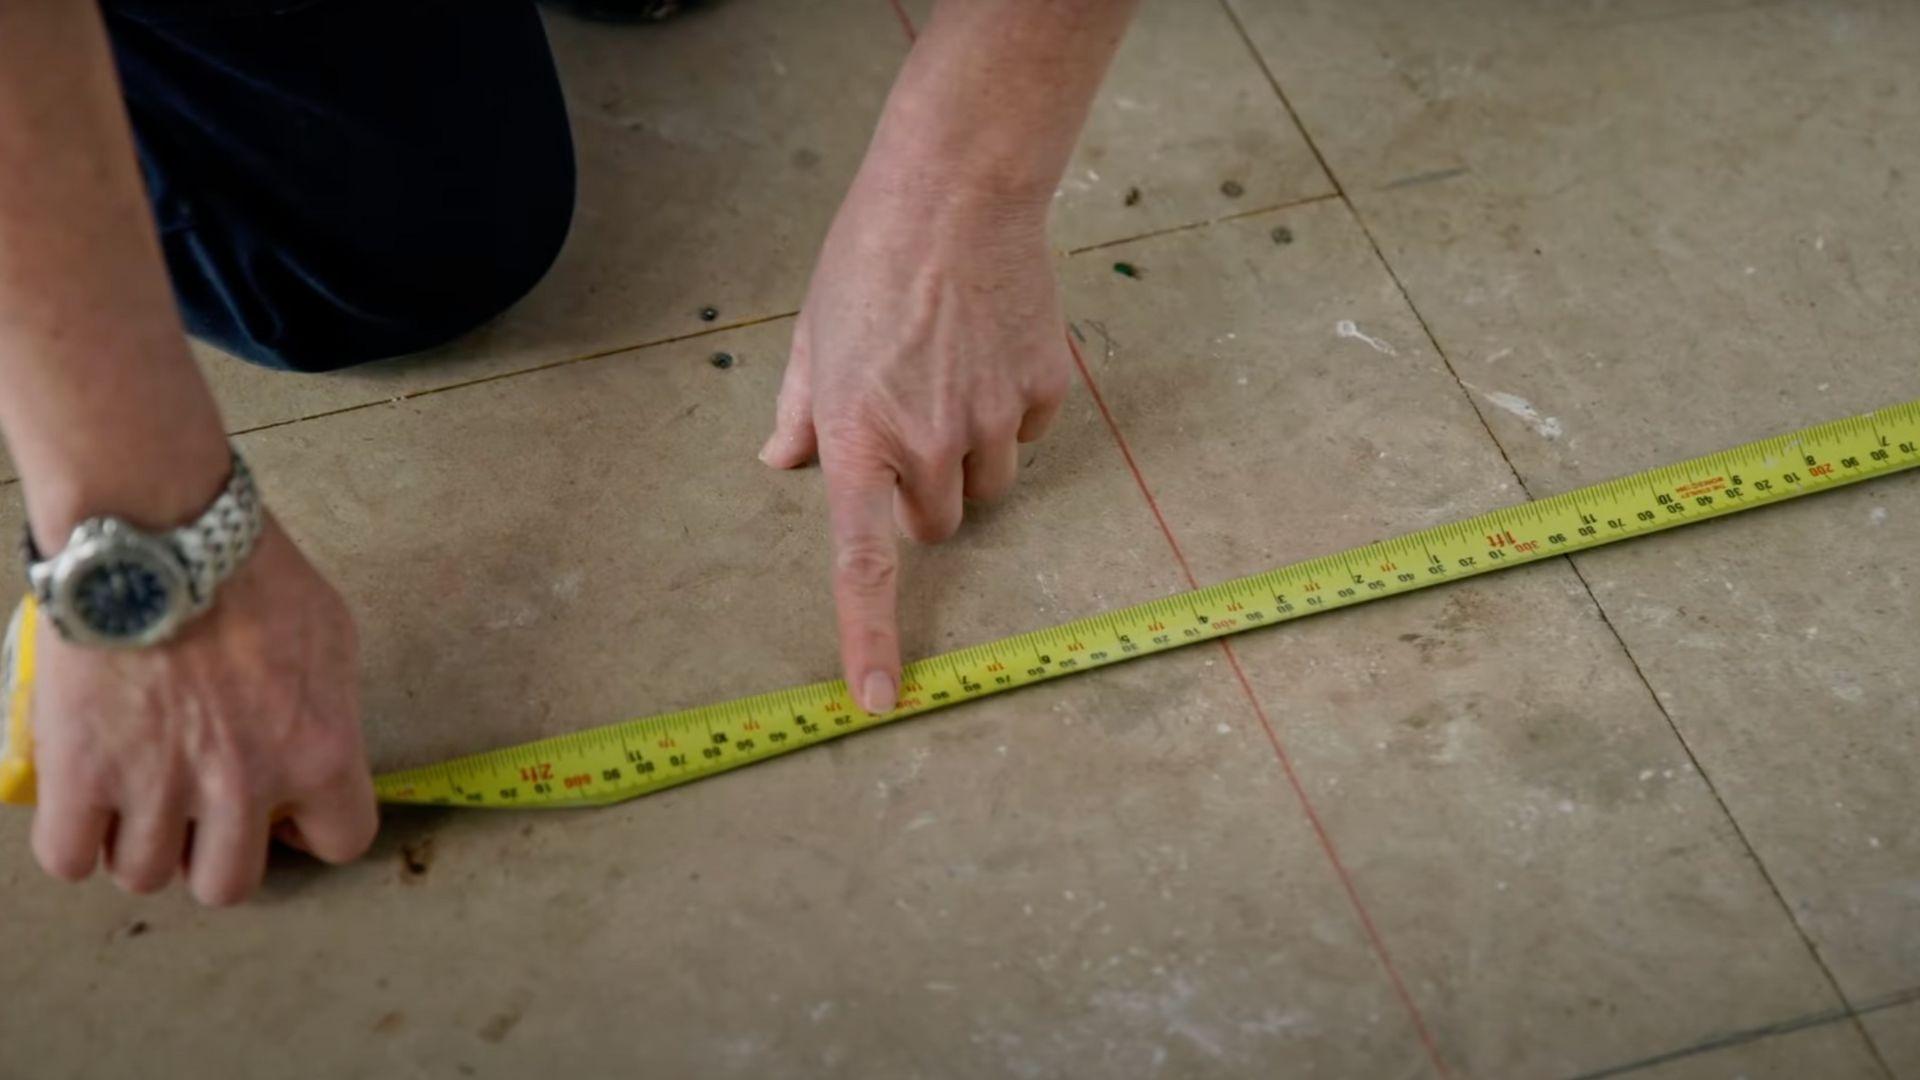
STEP 1: Choose the Bench Location
Start by selecting the spot where you want to place the bench seat. Measure and mark the kickboards, positioning them 100mm back from the seat to ensure proper alignment for the build.
This step is crucial to get a solid foundation for the next stages of construction.
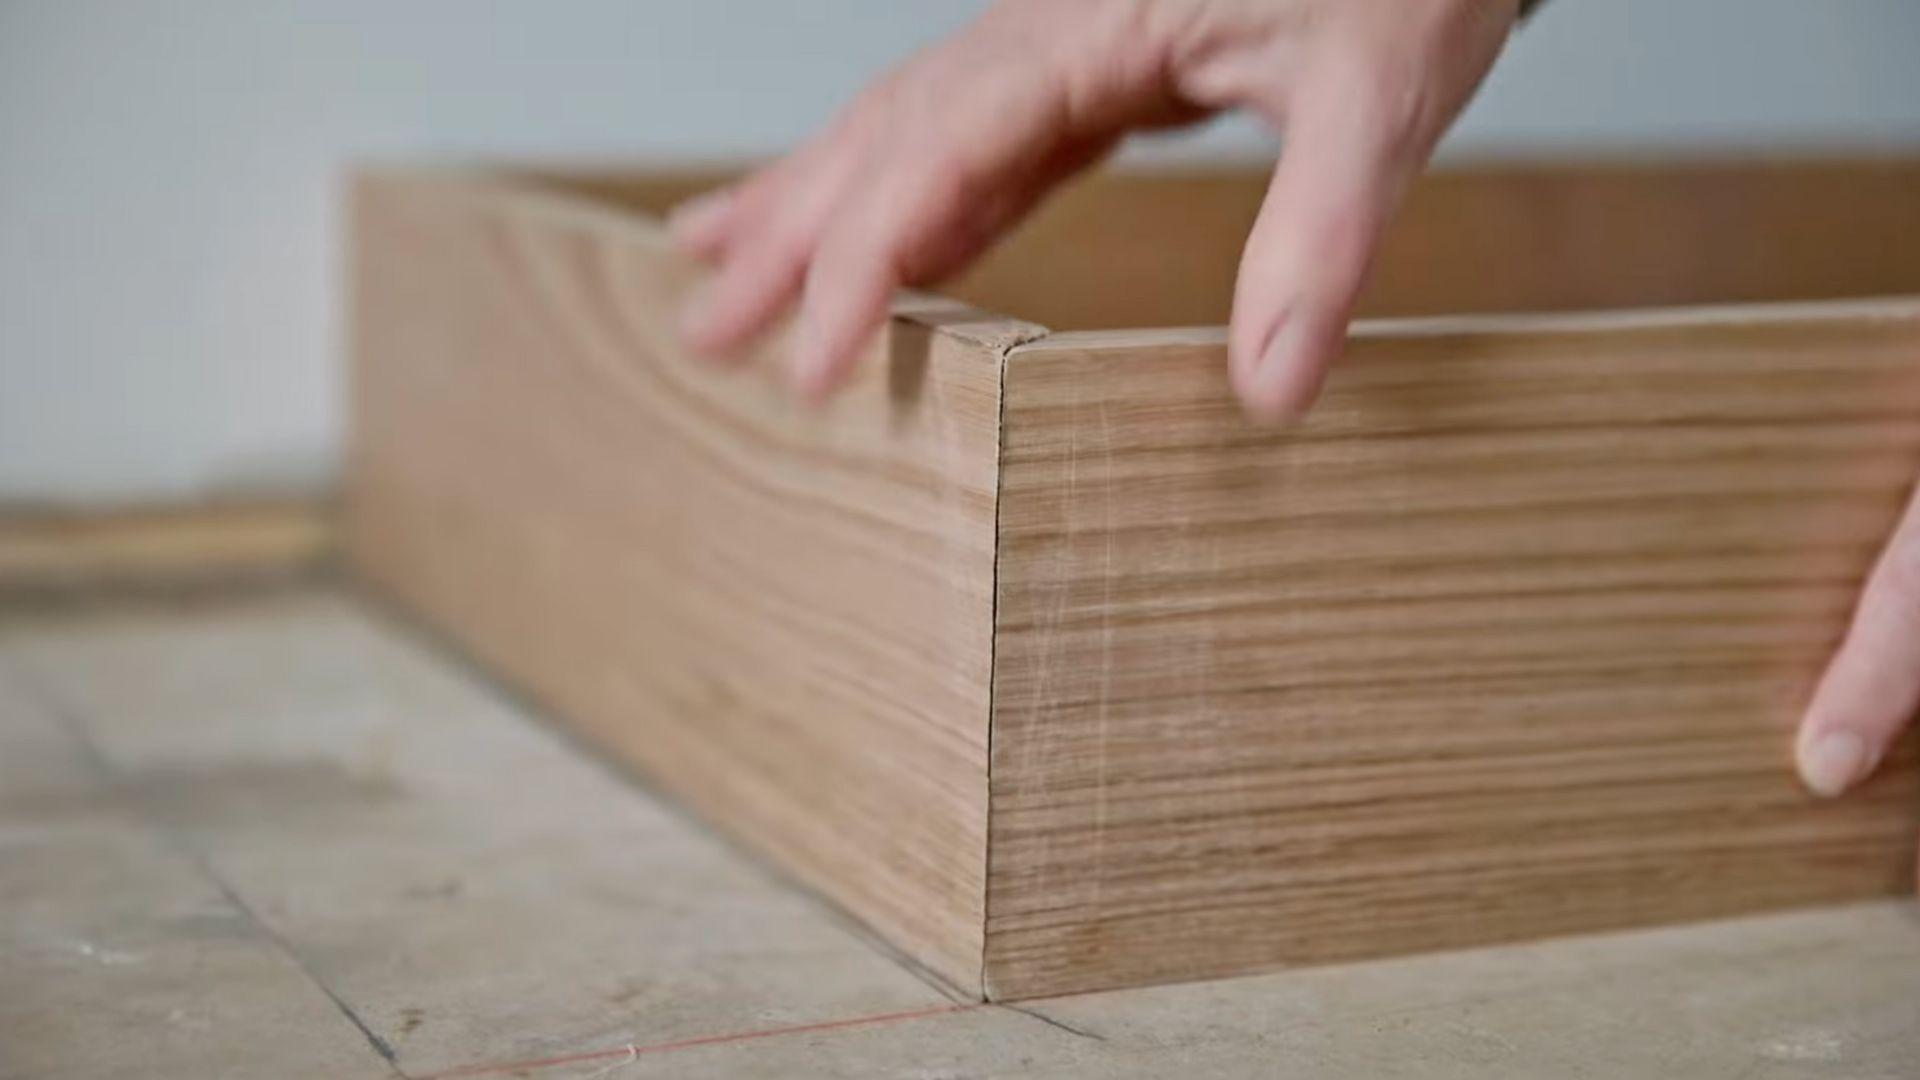
STEP 2: Build the Frame Boxes
Next, construct two sturdy boxes that will form the bench’s base. Once the boxes are built, slide them into the designated position and secure them to the wall by finding and fastening them to the wall studs. This step creates a secure and stable foundation for your bench.
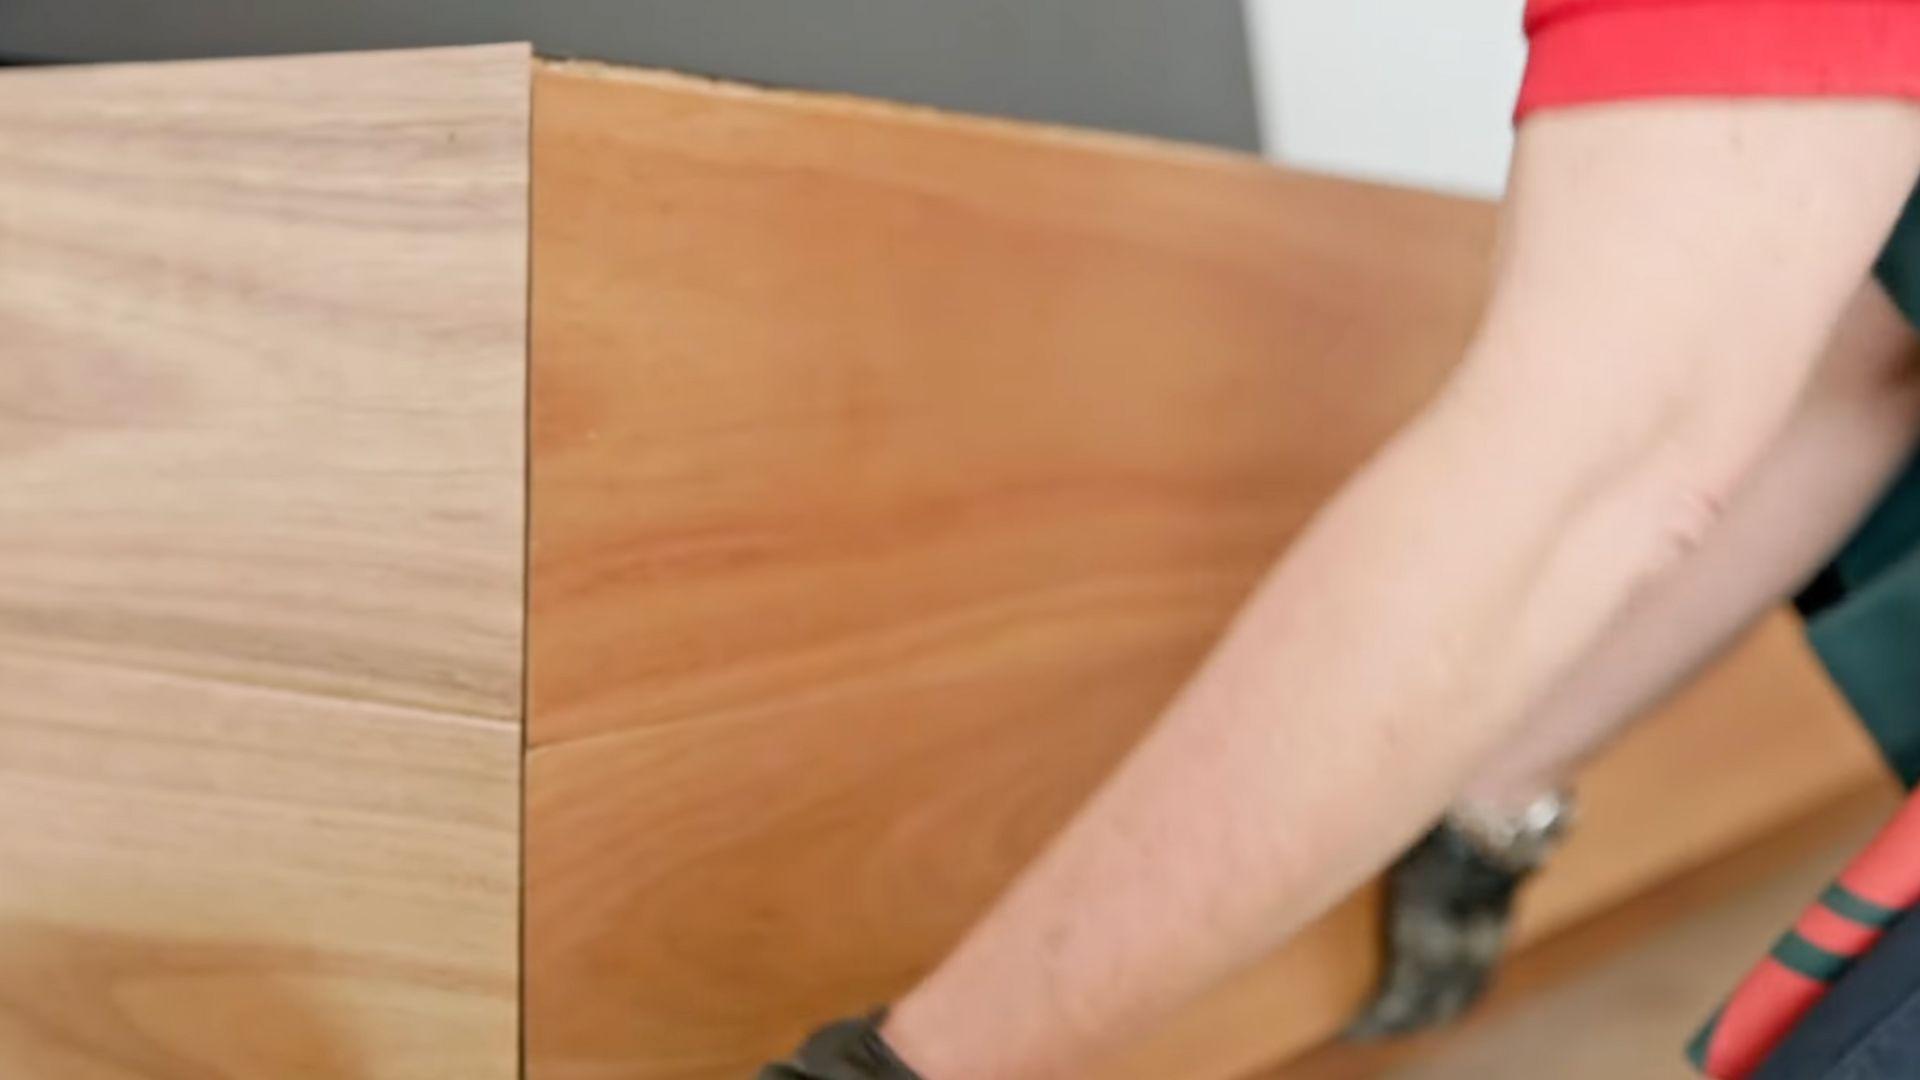
STEP 3: Cut and Assemble the Base

Measure and cut the timber for the base, leaving a 60mm overhang on the front and sides.
Once you have your pieces cut to size, assemble them and glue them together. This will form the strong base structure of your bench seat.
STEP 4: Prepare and Attach the Lid
For the lid, measure and cut MDF to fit, ensuring it has a 40mm overhang. Attach the hinges to the lid with a drill, but do not tighten the screws too much initially.
After checking that the lid closes properly, secure the hinges tightly to finish the attachment.
STEP 5: Cladding and Final Assembly
Measure and cut the cladding to fit the sides of your bench seat. Before gluing, do a dry run to check for proper fit.
After gluing the pieces, attach the finished lids to the kickboards, ensuring everything is level and securely in place for a polished final look.
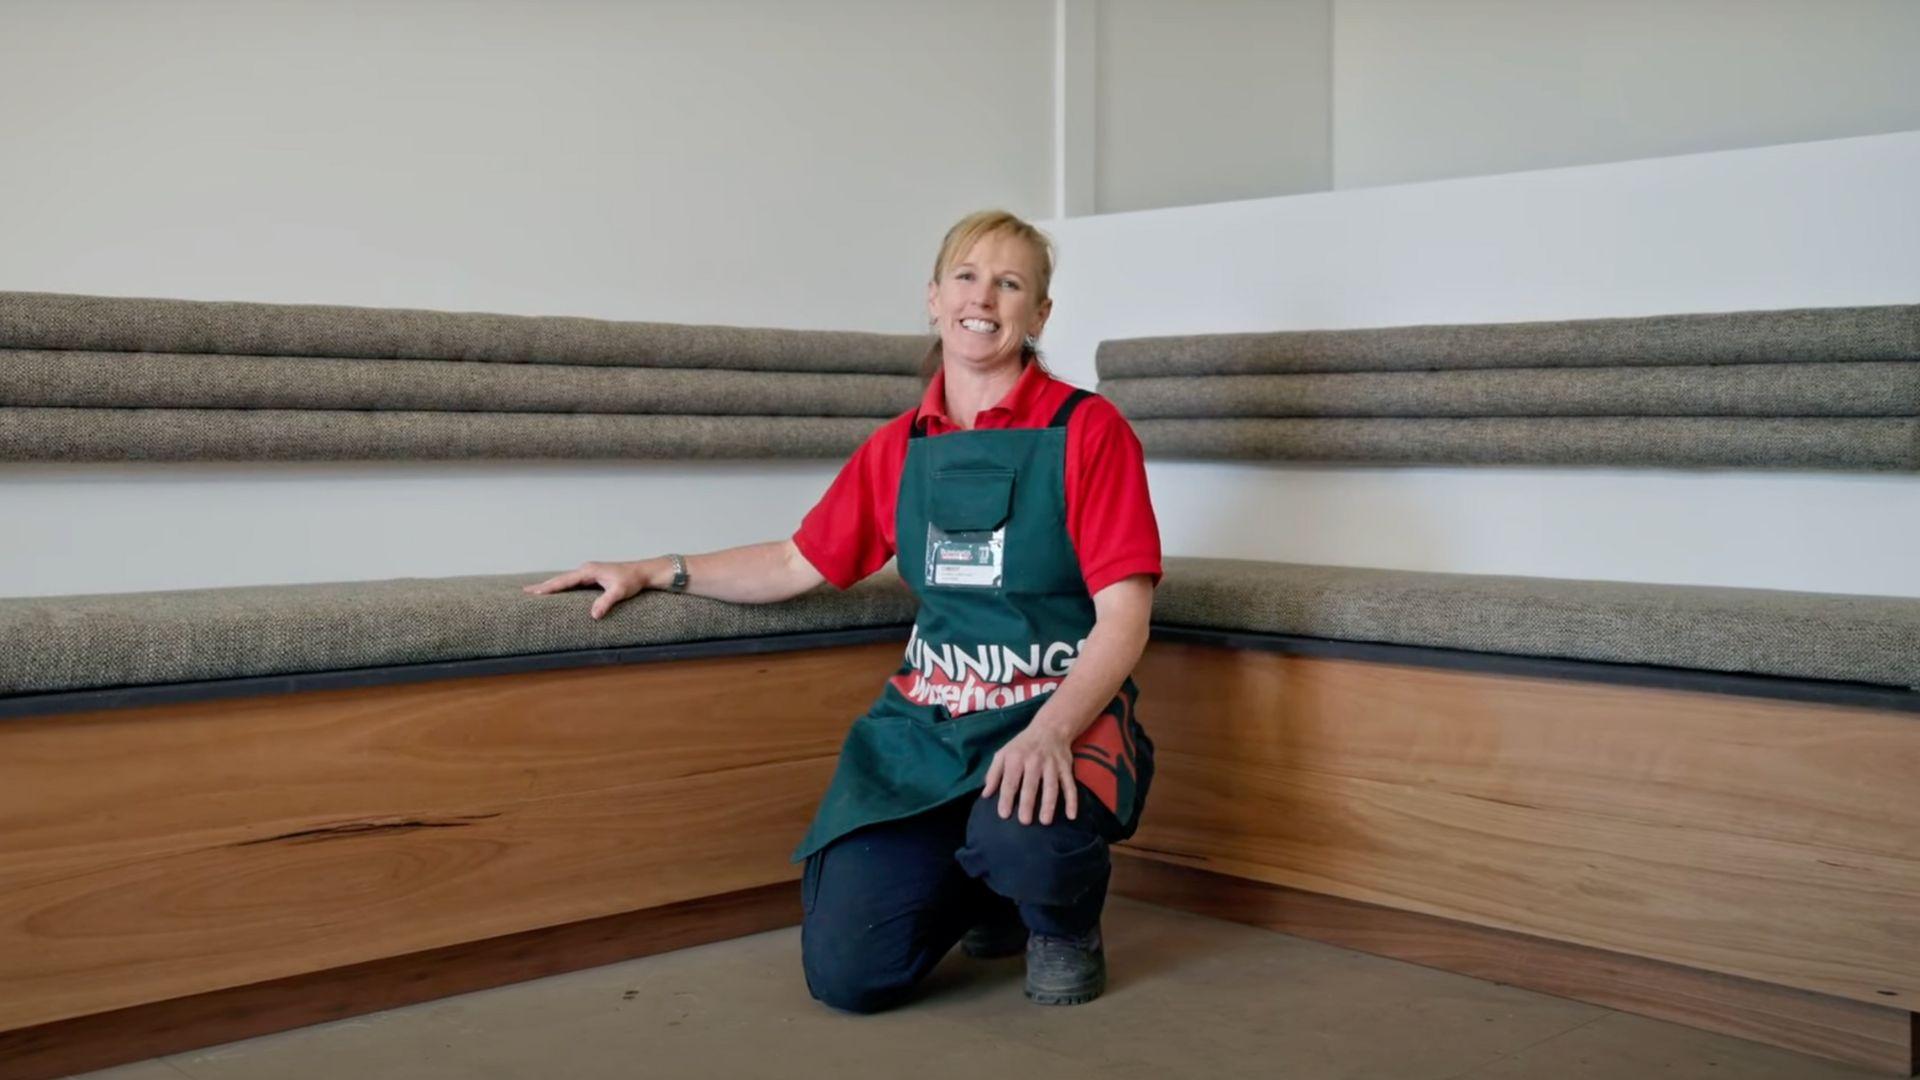
Video Tutorial
For more information, check the video tutorial by Bunnings Warehouse
Tips for a Successful DIY Bench Seat
Creating a DIY bench seat combines functionality with personal expression. Quality materials, proper tools, and patience are essential.
Plan thoroughly, select climate-appropriate wood, and don’t rush the finishing touches. With a methodical approach, even beginners can achieve professional results.
Bench Seat Maintenance
- Dust weekly with a soft, damp cloth and clean spills immediately to prevent staining or warping.
- Apply quality furniture polish or oil every 3-6 months to nourish wood and maintain its appearance.
- Inspect and tighten all hardware quarterly, as regular use often loosens connections.
- Keep bench away from direct sunlight and heating vents to prevent warping and color fading.
- Apply a fresh coat of protective finish annually for heavily used benches, and use coasters to protect surfaces.
Final Thoughts
Creating your own DIY bench seat is a total game-changer for your home! Not only will you save tons of money, but you’ll also get a piece that fits perfectly in your space.
Imagine the proud feeling when friends ask, “Where did you buy this?” and you can say, “I made it myself!”
Whether you’re looking for extra seating, hidden storage, or just want to fill an empty corner, your homemade bench will do the job better than anything from a store.
The skills you learn while building it will come in handy for future projects too.
So grab your tools, pick out some wood, and get started this weekend! Your perfect bench seat is just a few steps away, and the satisfaction of creating something with your own hands is priceless. You’ve got this!
Start your DIY bench seat project today and change your space! Share your progress photos or questions in the comments below – we’d love to see your creative designs and help you along the way.