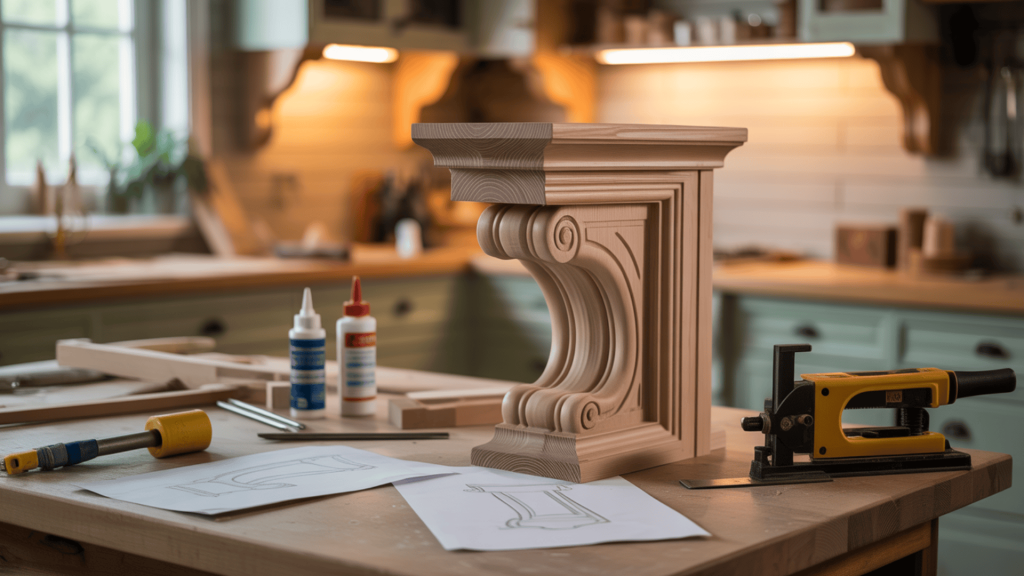
Have you ever noticed the elaborate brackets that hold up shelves and countertops in high-end homes?
Those are corbels, and making them yourself is easier than you might think!
DIY corbels let you add charm to your space at half the store price.
With just basic tools and some 2×6 boards, you can create custom wooden supports that perfectly match your home’s style.
From rustic kitchen accents to bookshelf upgrades, handmade corbels add both strength and beauty wherever they’re placed.
Ready to roll up your sleeves and build something that makes guests ask, “Where did you buy those?”
Let’s get started on a simple weekend project that pays off big in both savings and style points.
What Are DIY Corbels and Why Build Them?
Wooden supports that sit under counters, shelves, or roof edges – that’s what corbels are in simple terms.
These bracket-like structures add both strength and beauty to your home.
They hold up things while making them look better at the same time.
Making corbels at home instead of buying them comes with several advantages.
First, you save money; store-bought corbels can be expensive, but making them yourself cuts that cost by half or more.
Second, you get to make them exactly how you want.
The size, shape, and look are all up to you.
Third, there’s nothing like the feeling of pointing to something in your home and saying, “I made that!”
You can place corbels in various locations around your house.
They work great under kitchen counters that stick out, giving both support and style.
You can even use small ones indoors as wall art or bookends.
When you make your own corbels, you’re not just saving money – you’re adding your personal touch to your home.
Tools and Materials You’ll Need
Before starting your corbel project, gather all the necessary materials.
Having all supplies ready saves time and makes the work go smoother.
| CATEGORY | ITEMS NEEDED |
|---|---|
| Cutting Tools | Miter saw, Table saw with 45° tilt capability |
| Assembly Tools | Corner clamps, Brad nailer, Wood glue |
| Sanding Supplies | Sandpaper (60, 120, 320, and 400 grit) |
| Wood | 2×6 boards cut to 5″ width (main arms) and 4″ width (gussets) |
| Safety Equipment | Dust mask, Safety glasses, Ear protection |
| Finishing Items | Hickory gel stain (Minwax), Gap filler (sawdust mixed with glue) |
Ensure all tools are in good working order before commencing.
Sharp blades make cleaner cuts and save you time on sanding later.
A Step-by-Step DIY Decorative Corbel Tutorial
Creating your own corbels isn’t as hard as it might seem.
Follow these steps carefully, and you’ll have beautiful wooden supports that look store-bought but with your personal touch.
Step 1 – Cut and Prep the Main Corbel Arms
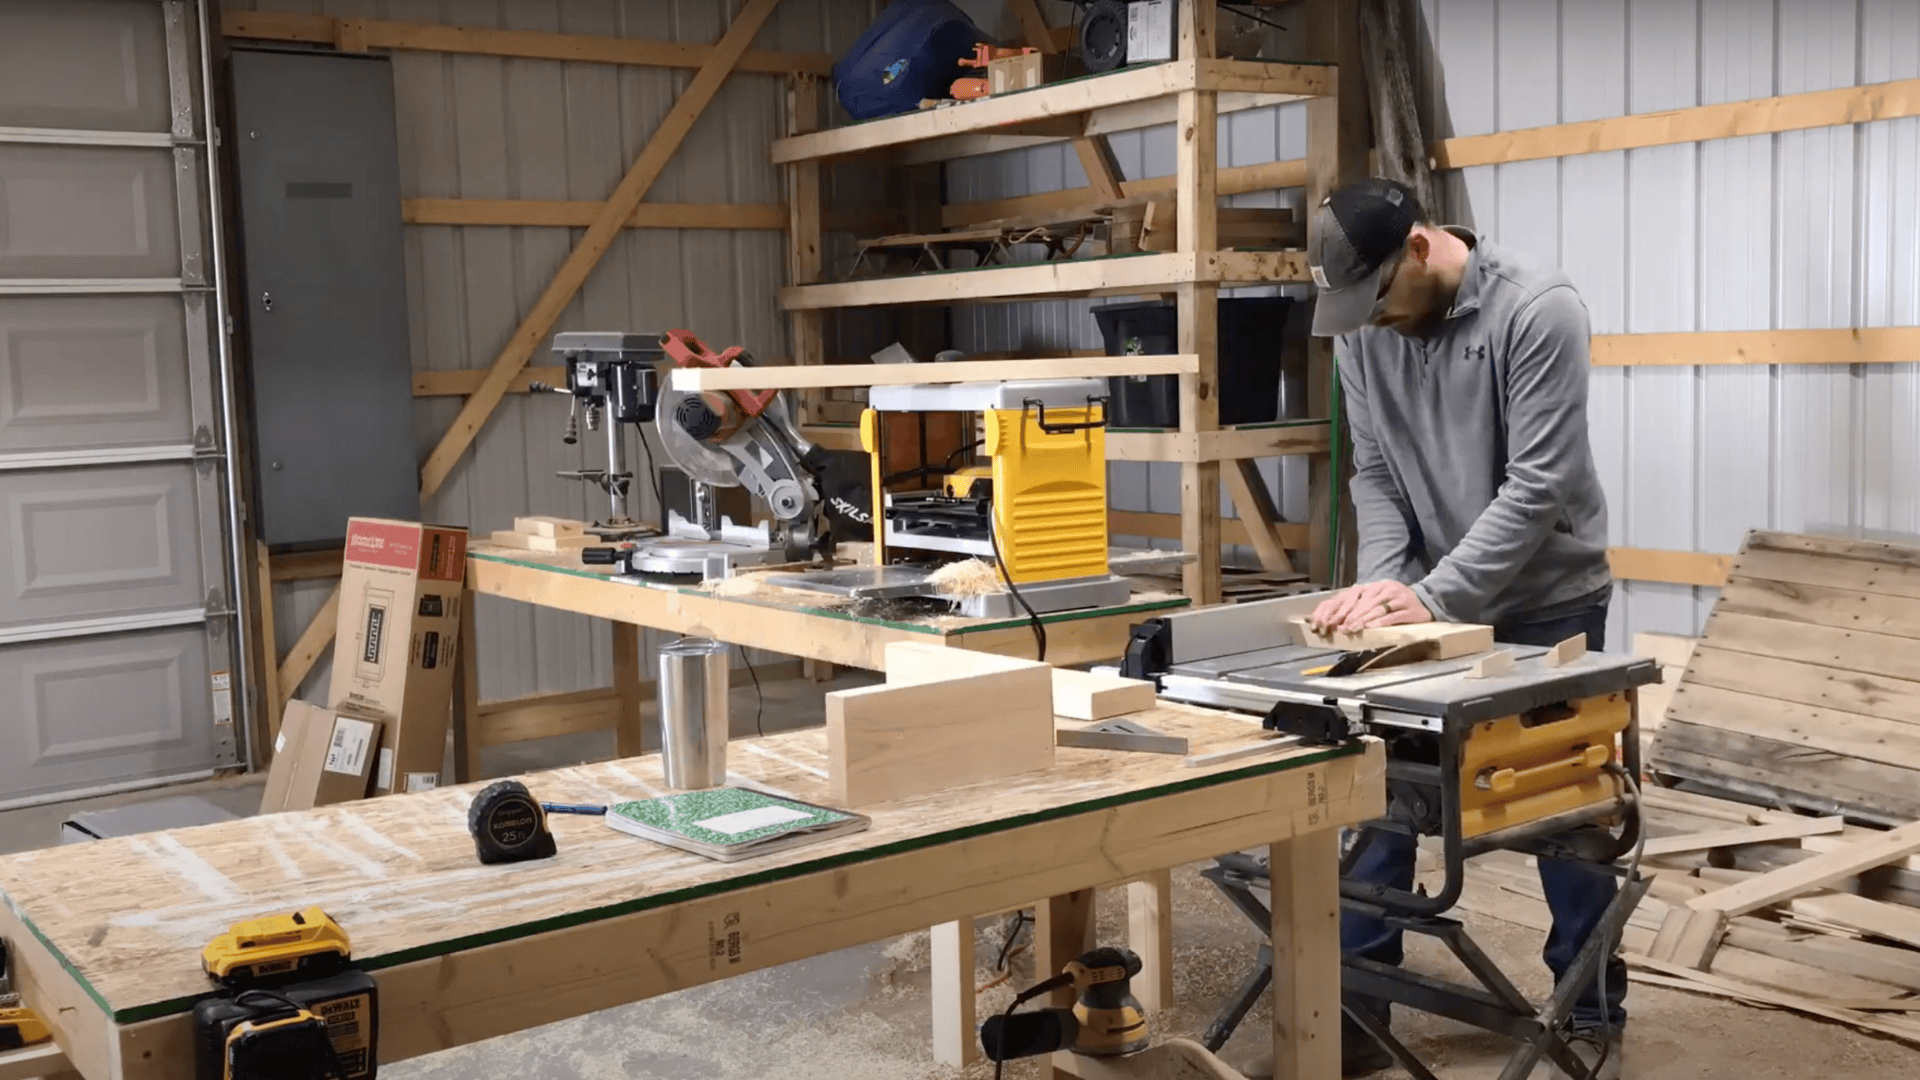
Start with your 2×6 boards and rip them down to 5 inches wide.
This gives your corbels a solid, sturdy base without looking too bulky.
Use your miter saw to cut the boards to a rough length.
For most home projects, 12 to 16 inches works well; however, you can adjust the height based on your space’s needs.
Now comes an important part: setting your table saw to a 45° tilt and making the miter cuts.
Take your time here – these cuts create the main shape of your corbel and need to match up perfectly.
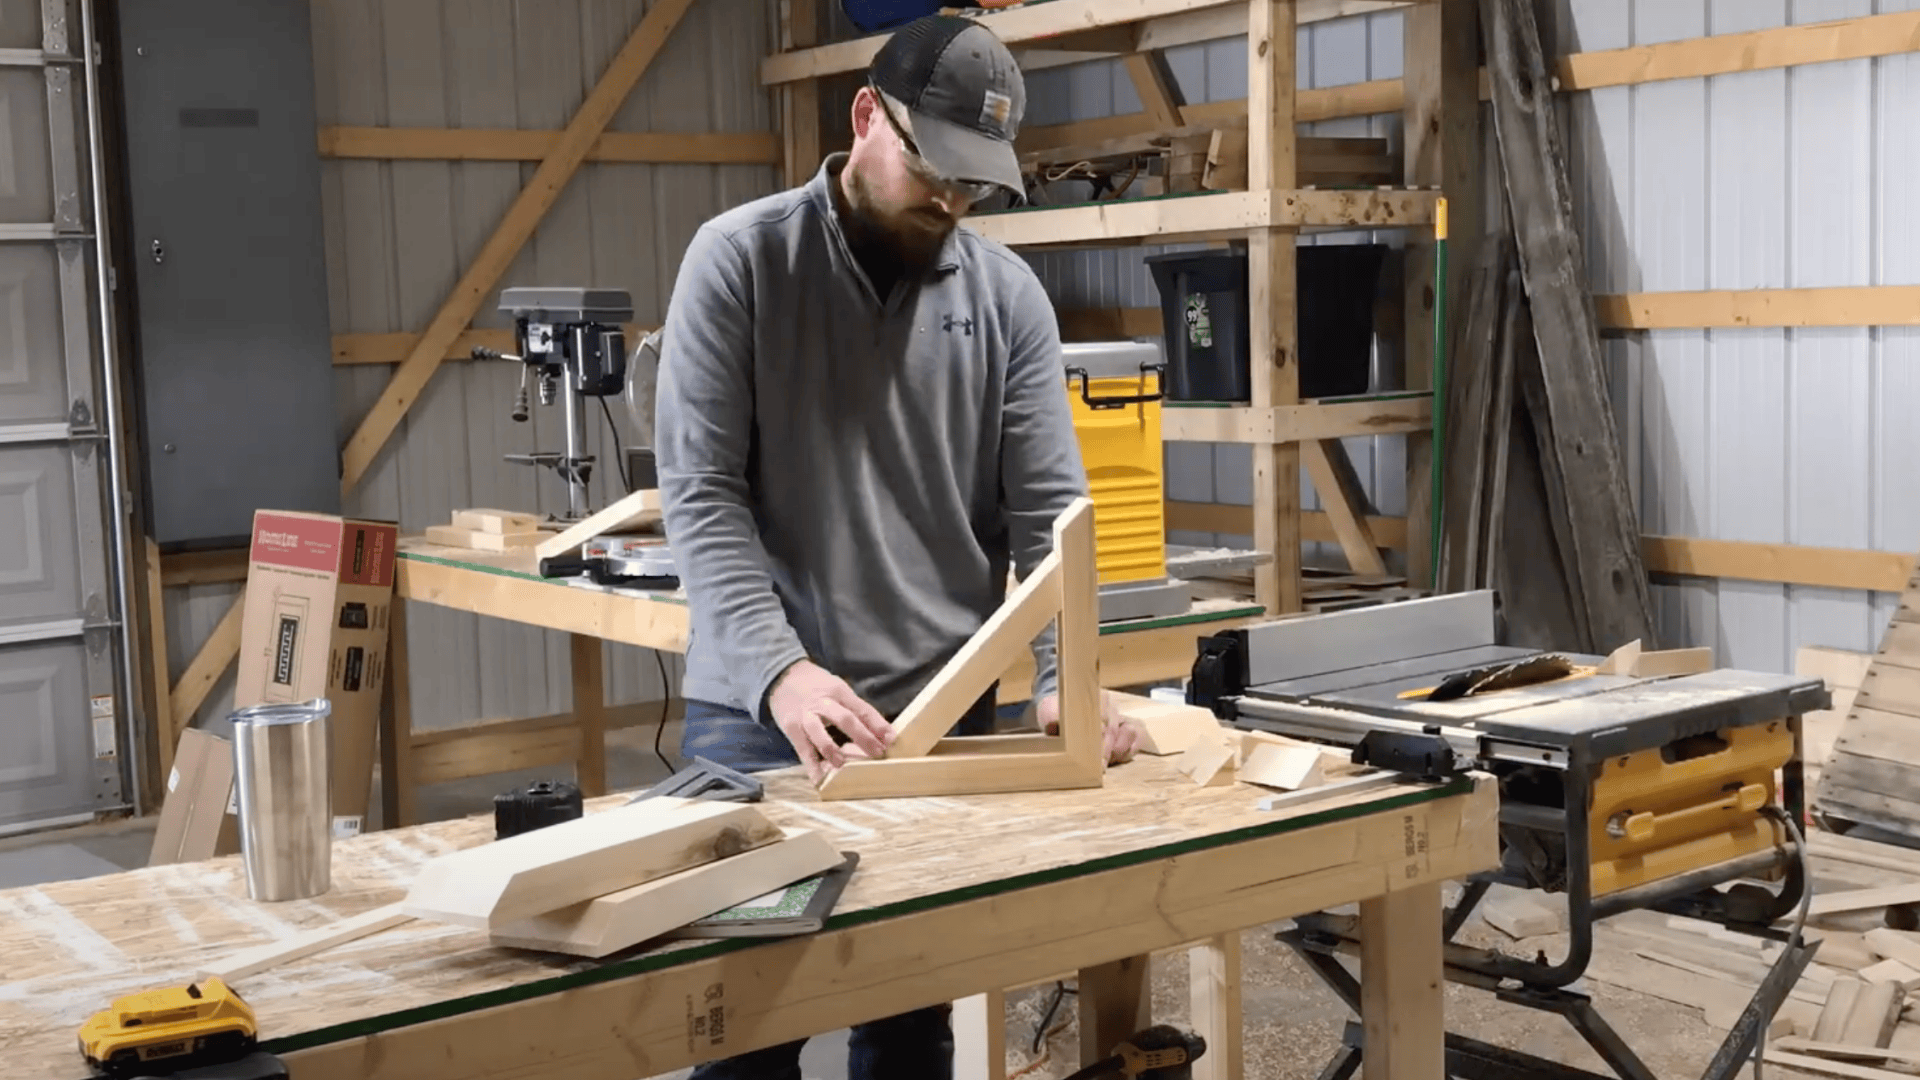
Test-fit the pieces after cutting.
They should form an L-shape with clean, tight corners.
If the fit isn’t right, adjust and cut again until you’re happy with how they match up.
Step 2 – Make the Gussets
The gussets are the small pieces that fit in the inside corner of the corbel.
Take your 2×6 boards and cut them to 4 inches in width.
Just like with the main arms, cut these to length using your miter saw.
Then set your table saw to that 45° angle again to create the mitered edges.
These pieces will be smaller than the main arms, 4 to 6 inches on each side works well.
The exact size depends on how big you want the triangle support to be.
Check that your gussets fit snugly in the corner formed by the main corbel pieces.
They should fill the space without extending beyond the edges of the main pieces.
Step 3 – Sand All Pieces Thoroughly
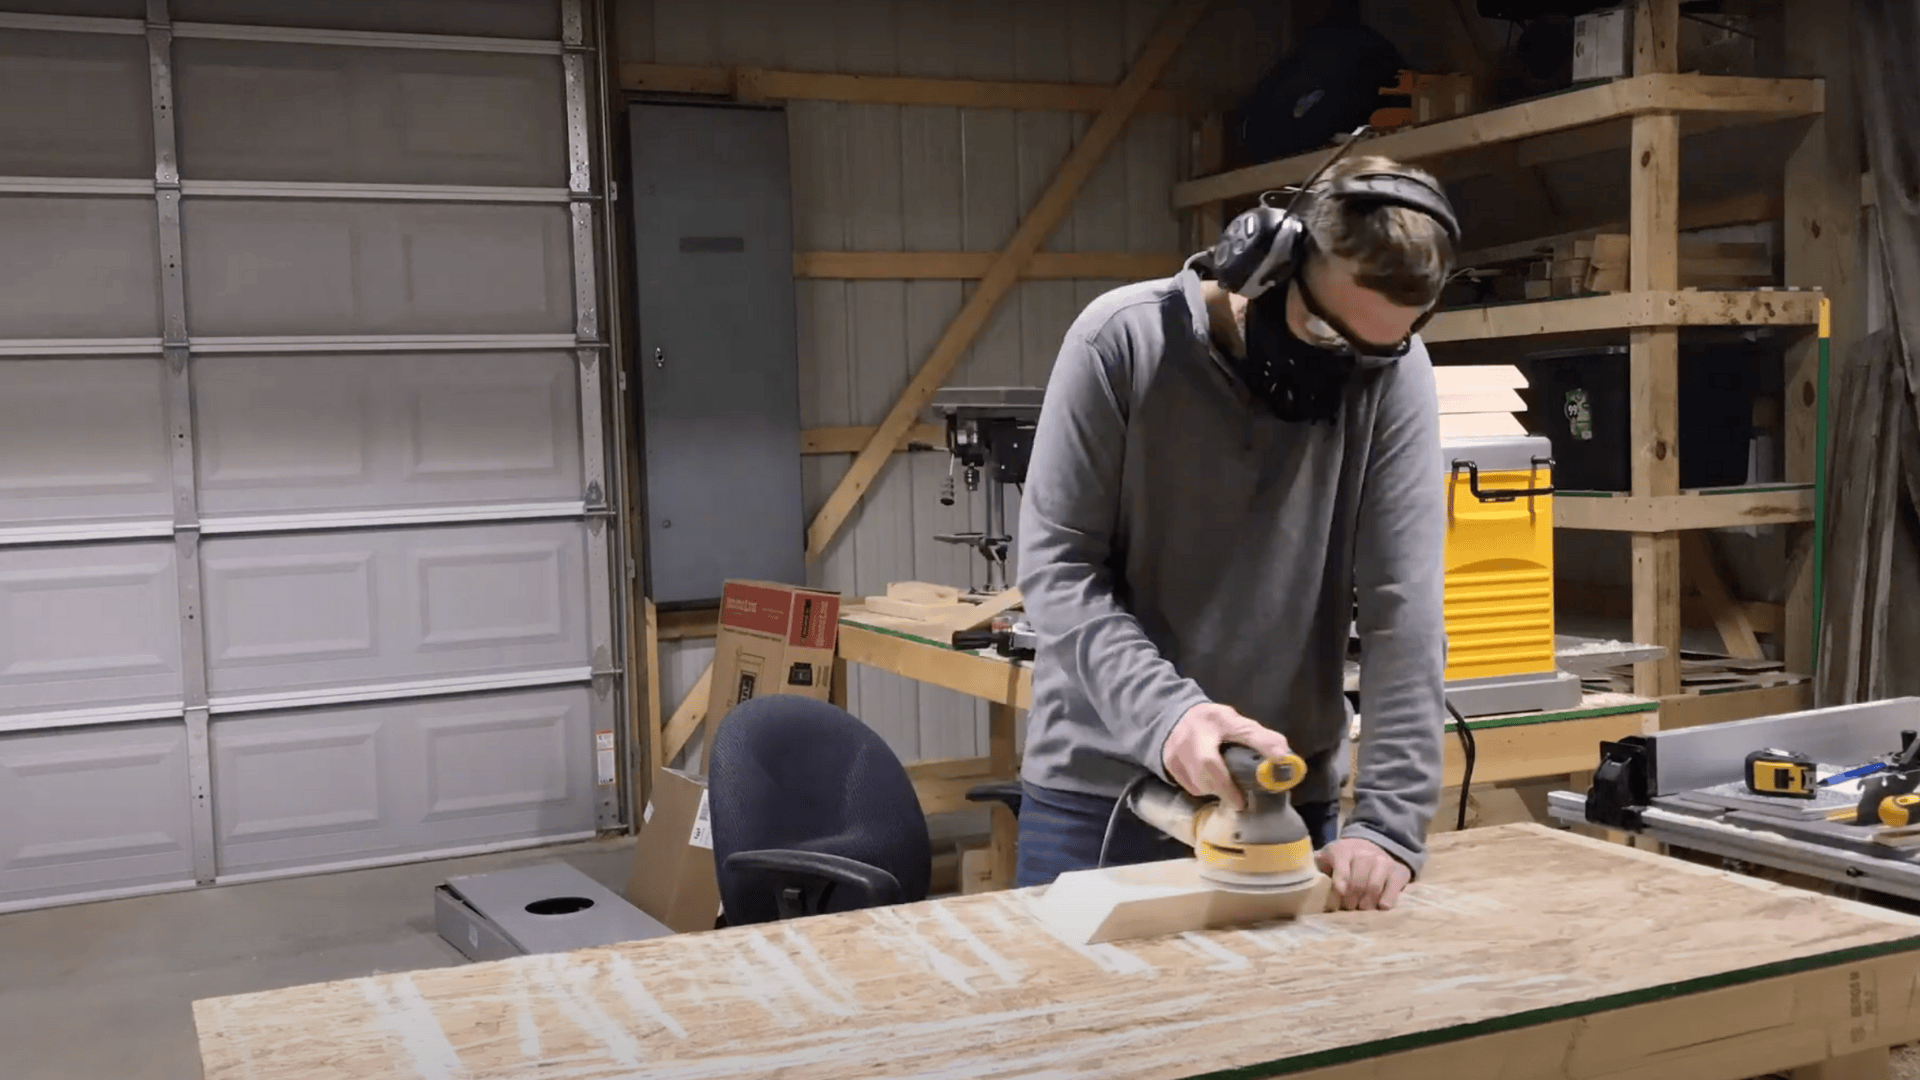
Good sanding makes the difference between a rough, homemade look and a smooth, professional finish.
Begin with 60-grit sandpaper to remove any saw marks or rough spots.
Work through each level of sandpaper: start with 120 grit to smooth things further, then proceed to 320 grit for a fine finish.
Finish with hand-sanding using 400-grit paper for an extra-smooth finish.
Pay special attention to the mitered edges, as these will be very visible in the finished product.
Sand with the grain of the wood to avoid scratches that will show up after staining.
Make sure to remove all dust between sanding steps.
A clean cloth or an air compressor works well for this task.
Step 4 – Glue and Clamp the Arms
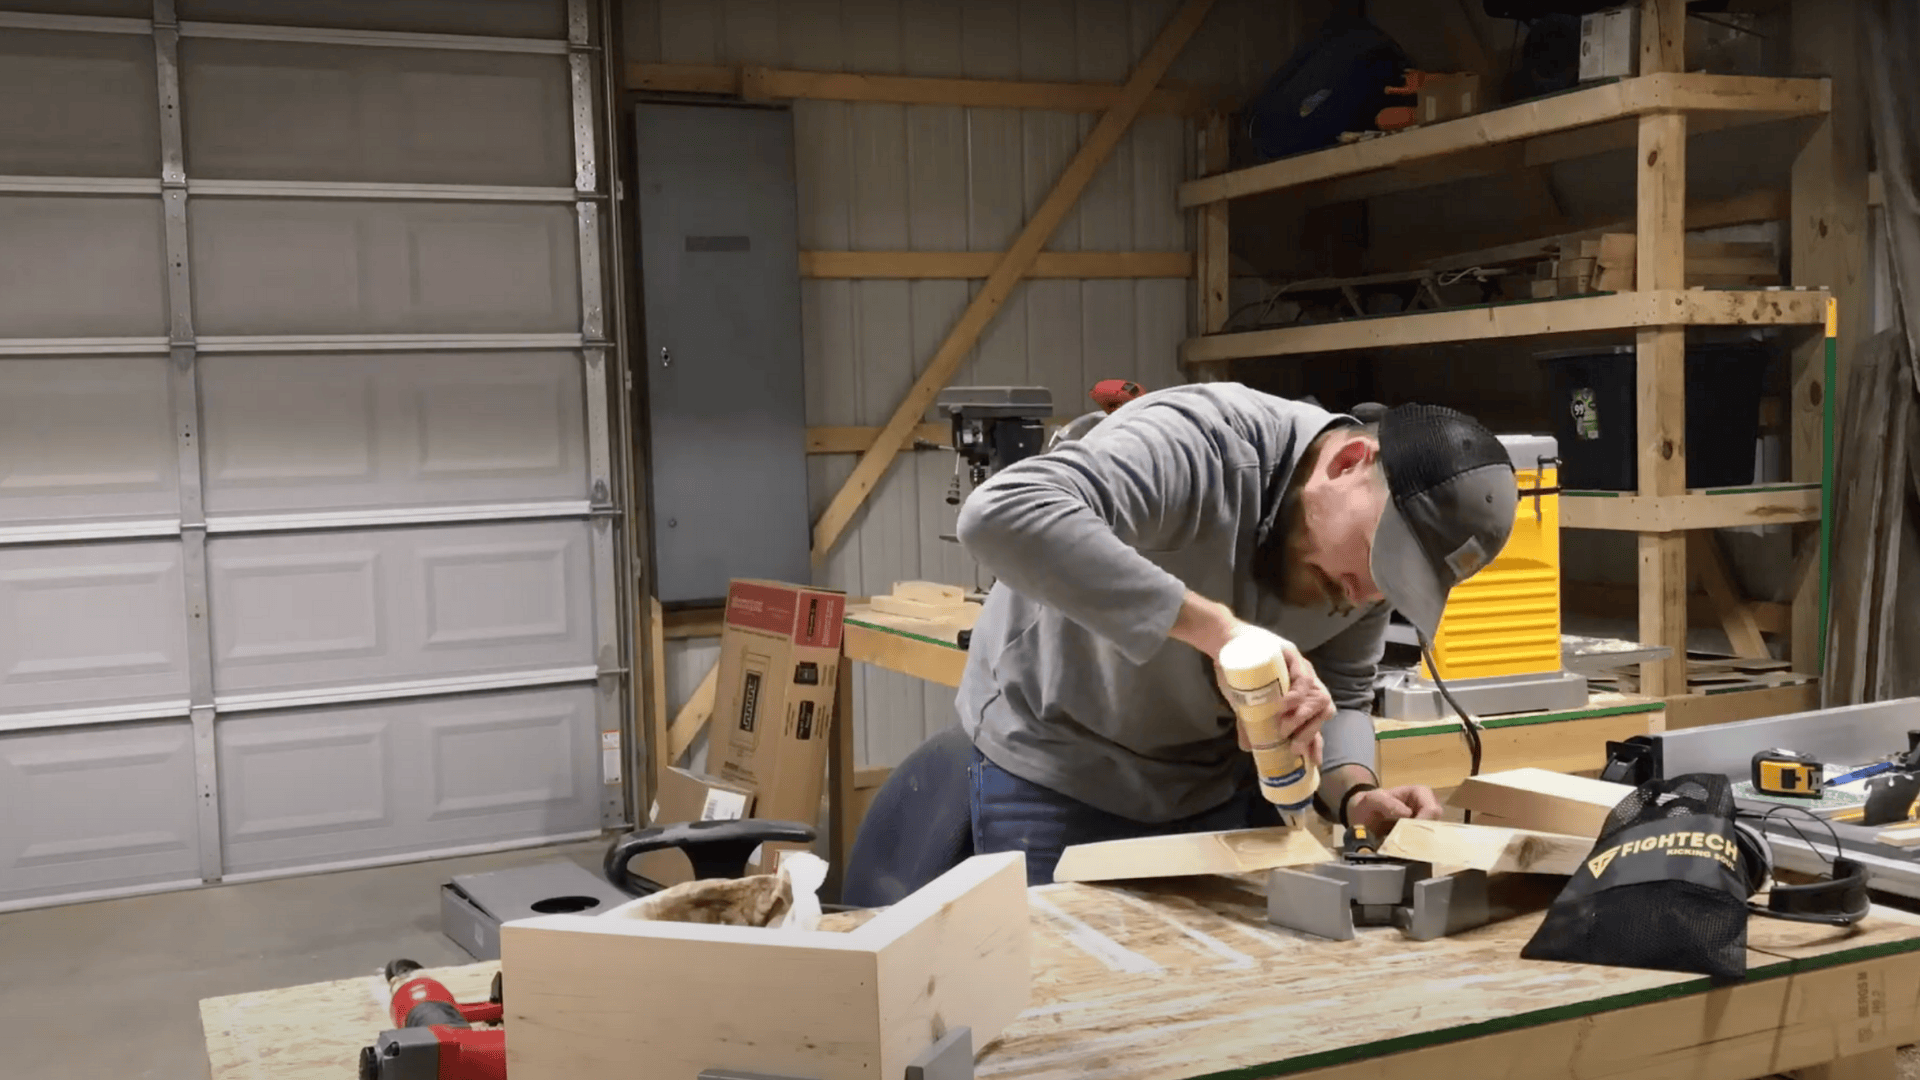
Now it’s time to put everything together.
Apply wood glue to both mitered edges that will meet.
For end-grain joints (where the wood grain is cut across), apply glue twice: once to allow it to soak in, and then again for bonding.
Use corner clamps to hold the pieces at a perfect 90° angle while the glue sets.
This keeps everything straight and tight.
While the pieces are clamped, add some brad nails through both directions of the joint.
This gives extra holding power while the glue dries and helps prevent separation later.
If you notice small gaps in your miter joints, make a filler paste by mixing sawdust with wood glue.
Push this mixture into any gaps and let it dry fully before moving on.
Step 5 – Stain and Assemble the Final Product
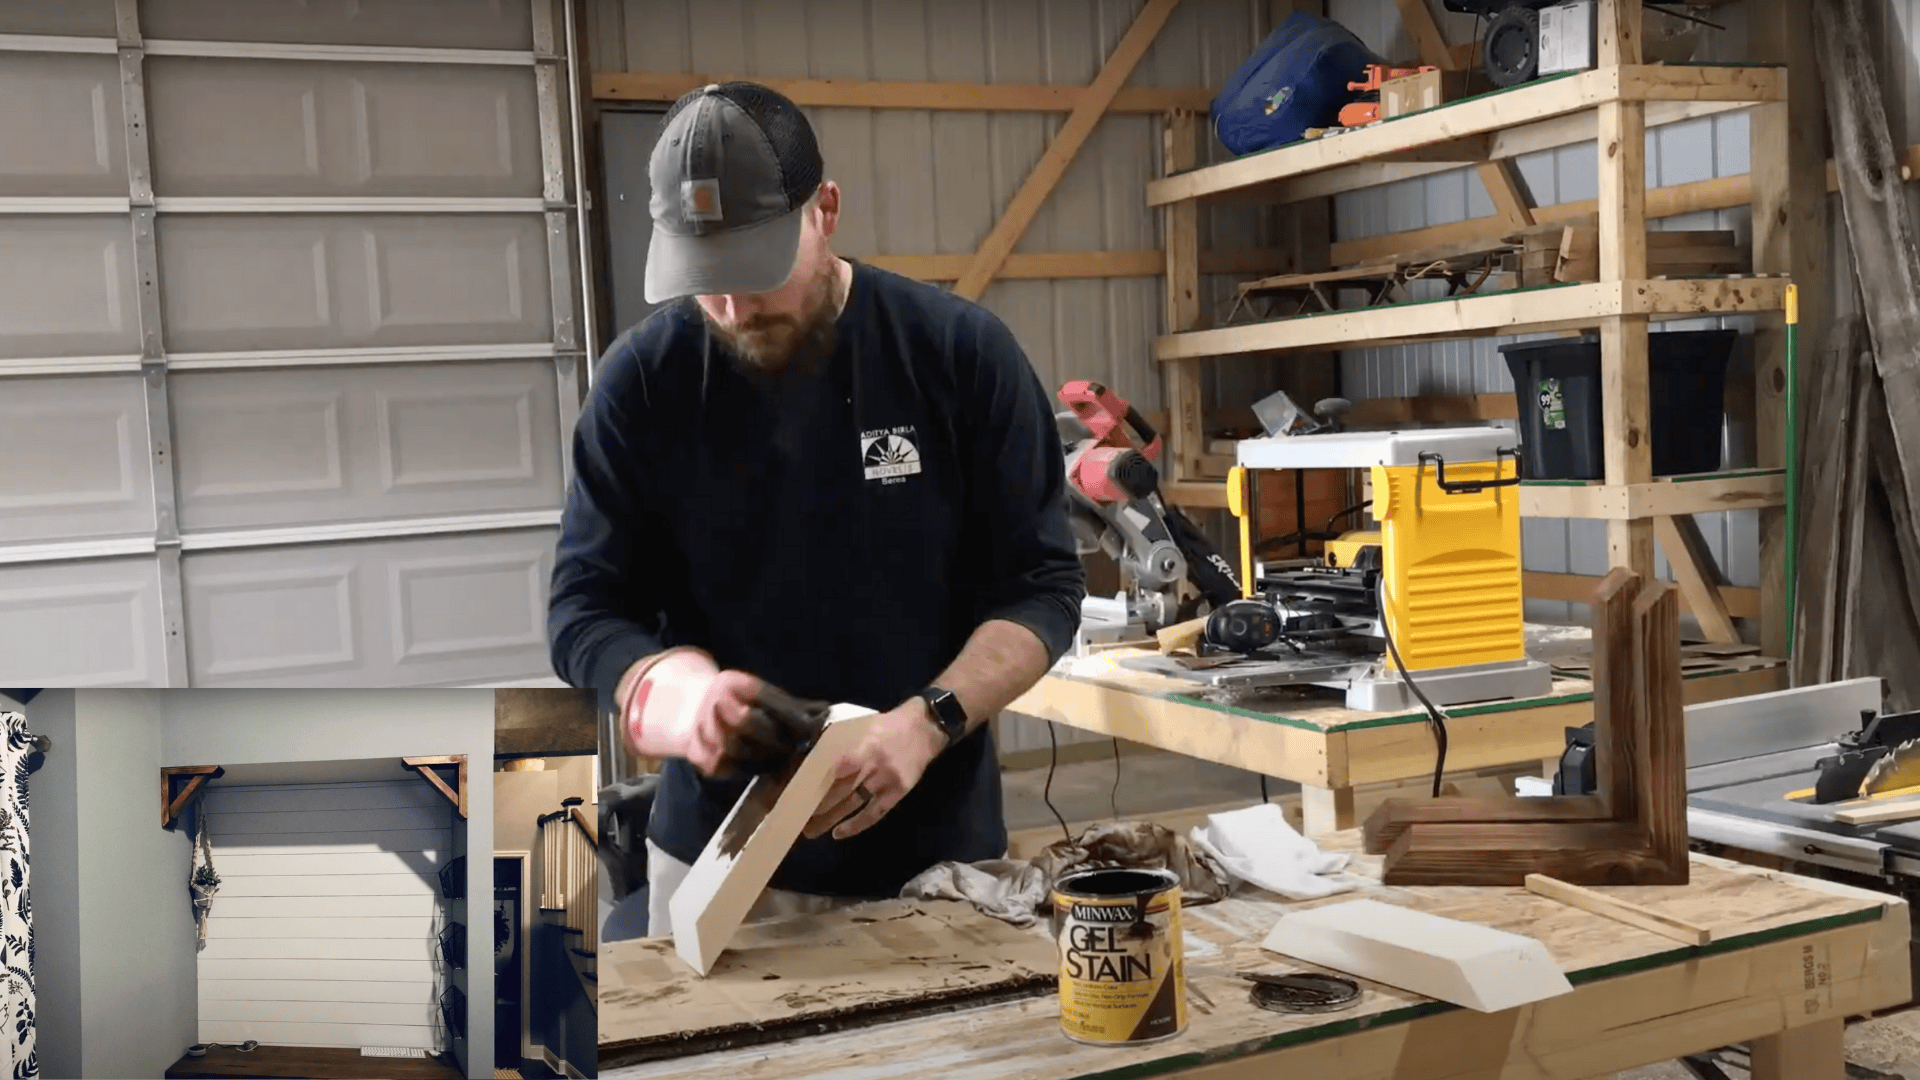
For the best-looking finish, stain all your corbel parts separately before final assembly.
This ensures you get stain in all the nooks and corners.
Apply the Hickory gel stain with a cloth, working it into the grain.
Wipe off extra stain after a few minutes for a natural look. Let it dry completely.
When mounting your corbels, attach the main leg piece directly to wall studs using screws for maximum support.
This provides the necessary strength to ensure the corbel can hold its weight.
The gusset pieces can be attached with brad nails and glue.
These aren’t the main supports they’re mostly there for aesthetic purposes and to conceal the mounting screws on the main piece.
Video Walkthrough: See How Experts Do It!
For more information, check out this video tutorial by Hunny Done
Pro Tips and Common Mistakes to Avoid
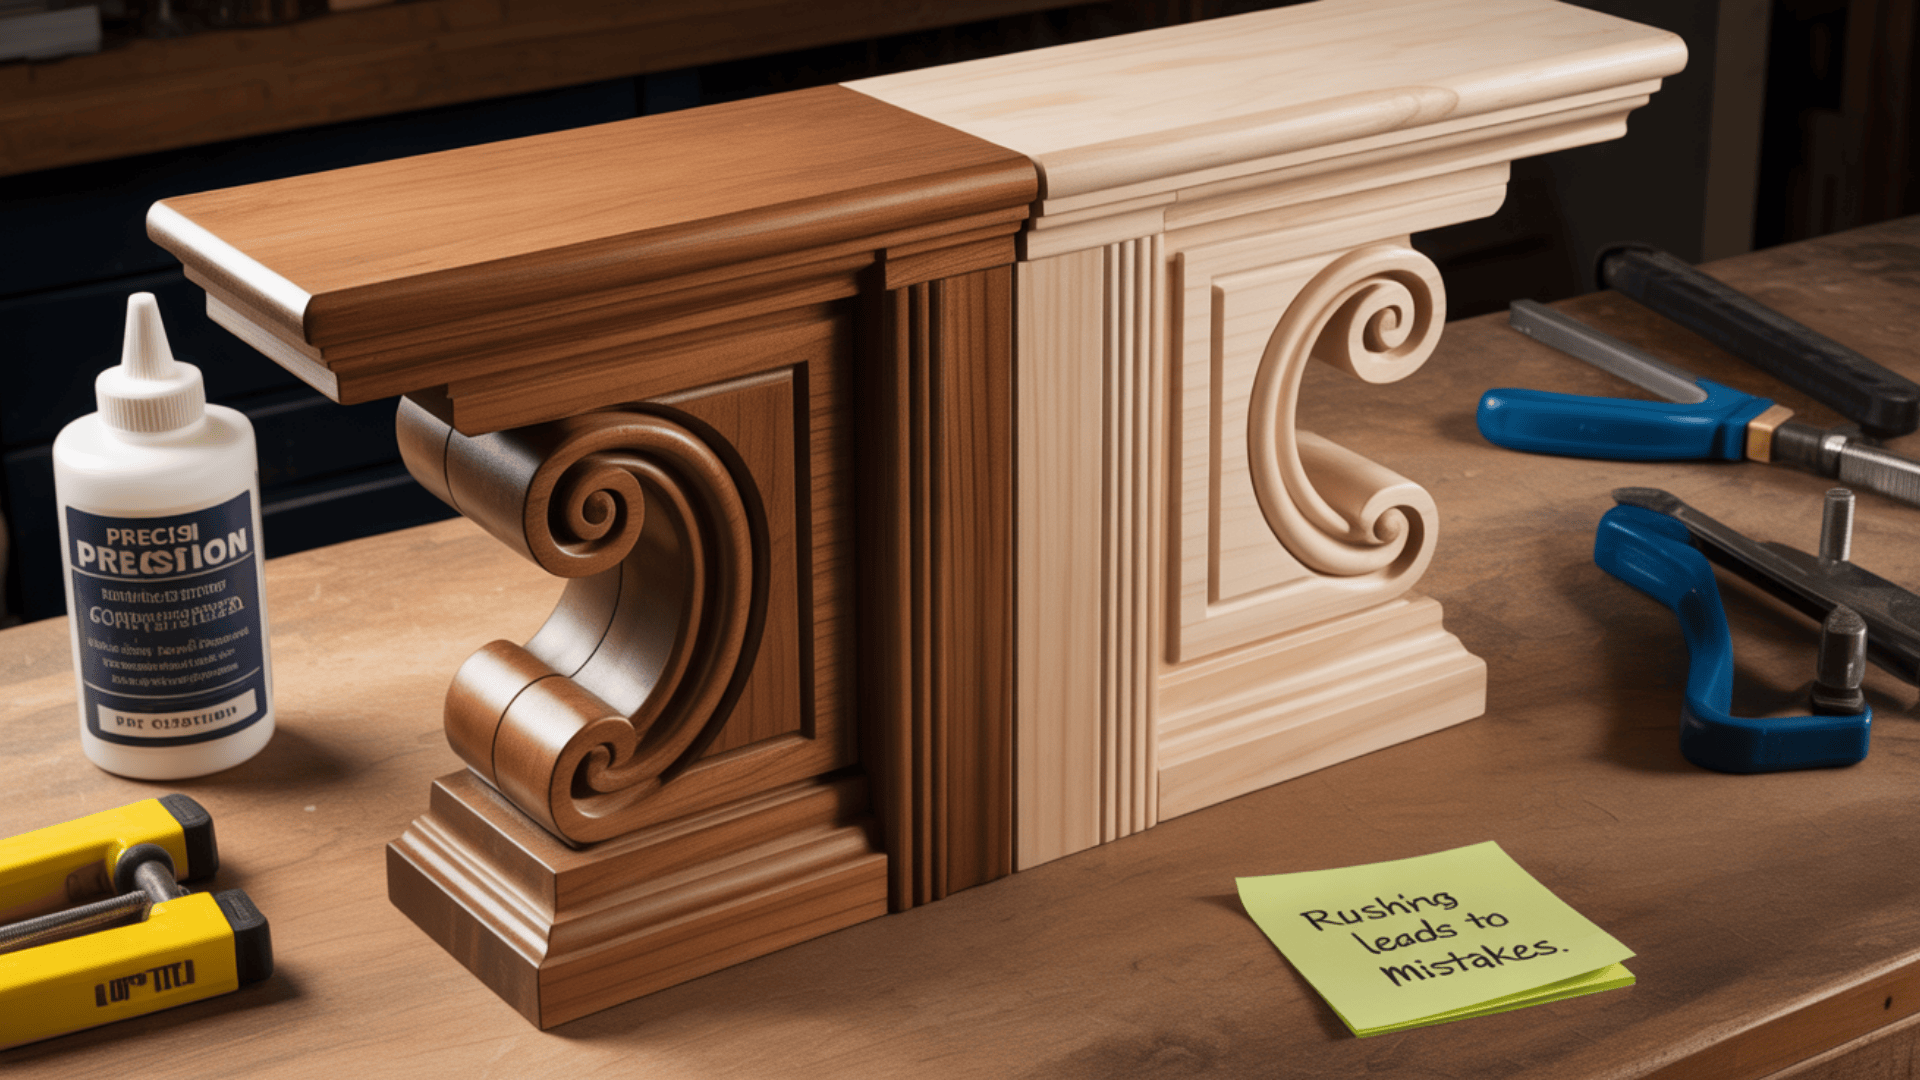
When making your own corbels, knowing what works and what doesn’t can save you time and frustration.
Here are the key points to keep in mind:
- Always apply glue twice to the end grain – once to seal, and then again before joining the pieces.
- Test fit all parts before adding any glue to catch problems early.
- Finish with hand sanding for the smoothest results and best stain uptake.
- Use a pre-stain wood conditioner on pine and other soft woods to prevent blotches.
- Check for square corners throughout the process using a carpenter’s square.
- Let all glue and filler dry completely before proceeding to the next step – rushing can cause problems.
These tips come from learning the hard way, so you don’t have to make the same mistakes.
Take your time with each step, and you’ll end up with corbels that look perfect and last for years.
Maintenance: Keep Them Looking Great
Corbels offer both structural support and aesthetic appeal, making them valuable additions to any home renovation project.
- Cost-effective solution – DIY corbels can reduce expenses by half or more compared to purchasing ready-made alternatives from retailers
- Complete customization freedom – Design corbels to match your exact specifications for size, shape, style, and finish preferences
- Personal satisfaction – Experience the pride and accomplishment that comes from creating functional home features with your own hands
- Versatile applications – Use corbels to support kitchen countertops, create decorative wall accents, or repurpose as unique bookends
- Enhanced home value – Add both structural integrity and visual interest to various spaces throughout your living environment
- Quality control – Ensure superior craftsmanship and materials by overseeing the entire construction process yourself
Creating your corbels changes simple wooden brackets into personalized architectural elements that reflect your unique style and craftsmanship.
Final Thoughts
Now you have all the skills to make beautiful corbels that look store-bought but cost much less.
Your first corbel might take a bit longer, but soon you’ll be making them quickly for every spot in your home.
Remember the key steps: careful cutting, thorough sanding, double-gluing end grain, and taking the time to apply a high-quality finish.
The real joy comes when friends ask where you bought such nice pieces, and you get to say, “I made them myself.”
So grab your safety gear, fire up that saw, and start building!
Your shelves, countertops, and mantels are waiting for these perfect, handmade touches that showcase your woodworking skills.
Drop a comment if you’ve made your own corbels before – what wood type worked best for you?