So you’ve seen those dreamy Pinterest photos of historic cottages with aged brick walls—that soft, white-washed look that brings Old World charm to any home.
But now you’re staring at your own wall, wondering how your German smear project went so terribly wrong.
Don’t worry—you’re not alone.
Many homeowners find themselves facing patchy finishes, crumbling mortar, or strange discolorations after attempting this popular technique.
The good news?
Most German smear disasters can be fixed without demolishing your entire wall.
Let’s uncover why these projects fail and how to rescue your brick from mortar mishaps that have you questioning your DIY skills.
What Does “German Smear Gone Bad” Really Mean?
Picture this: You’ve spent hours watching home improvement shows and scrolling through photos of lovely brick homes with that worn, old-world look.
The German smear technique caught your eye – that perfect mix of white mortar over brick that creates a cozy, cottage-like feel.
But sometimes, things don’t go as planned.
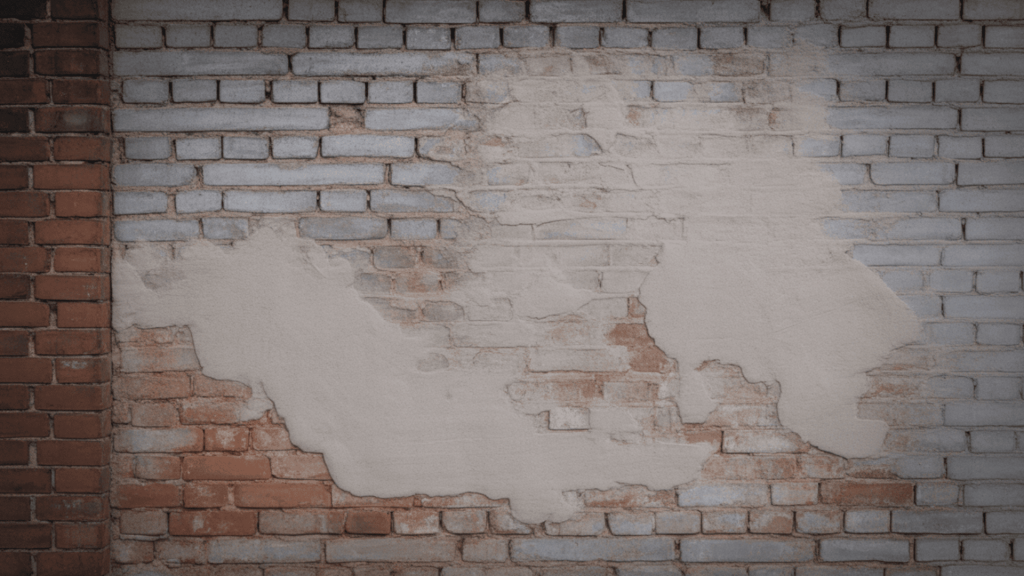
German smear gone bad is more common than most people think.
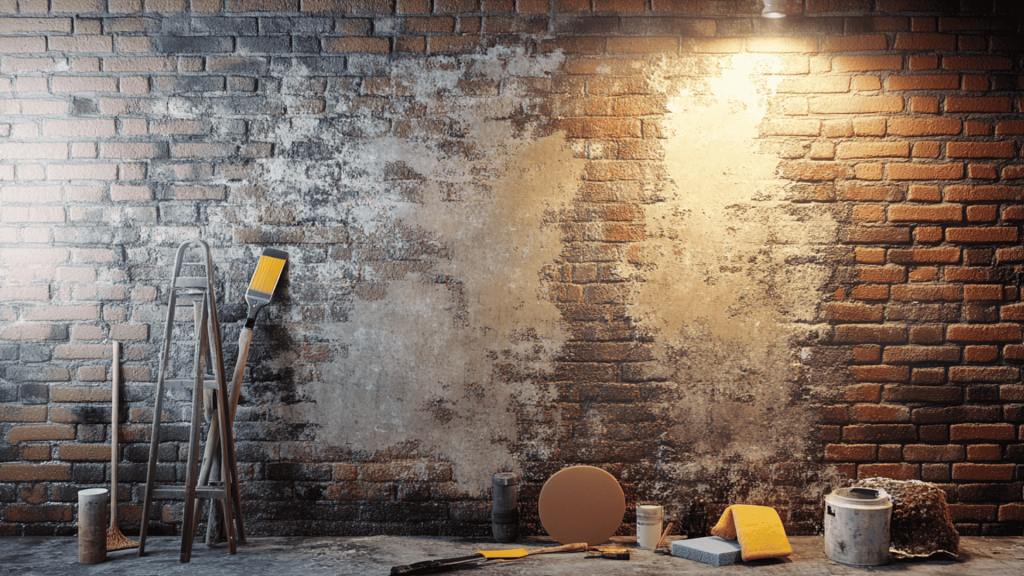
It shows up as odd spotting on your walls, weird colors that weren’t in the plan, chunks of mortar dropping off, or a finish that looks nothing like those perfect photos you saved.
This issue happens to careful do-it-yourselfers and sometimes even when you pay good money to pros.
The problem often starts with wrong mortar choices, poor wall prep, bad weather during application, or just plain rushing the job.
Are you looking to try the German smear look or fix a job gone wrong?
You’ve found the right place for clear, useful help.
Common Causes Behind a German Smear Disaster
Nothing ruins a weekend project faster than watching your dream brick makeover turn into a nightmare.
When German smear goes wrong, specific culprits are usually to blame.
1. The Chemistry Gone Wrong
Most DIYers don’t realize they’re dealing with real chemistry when mixing mortar.
Too much water creates a runny mess that won’t stick properly, and too little makes a stiff mixture that tears at brick surfaces.
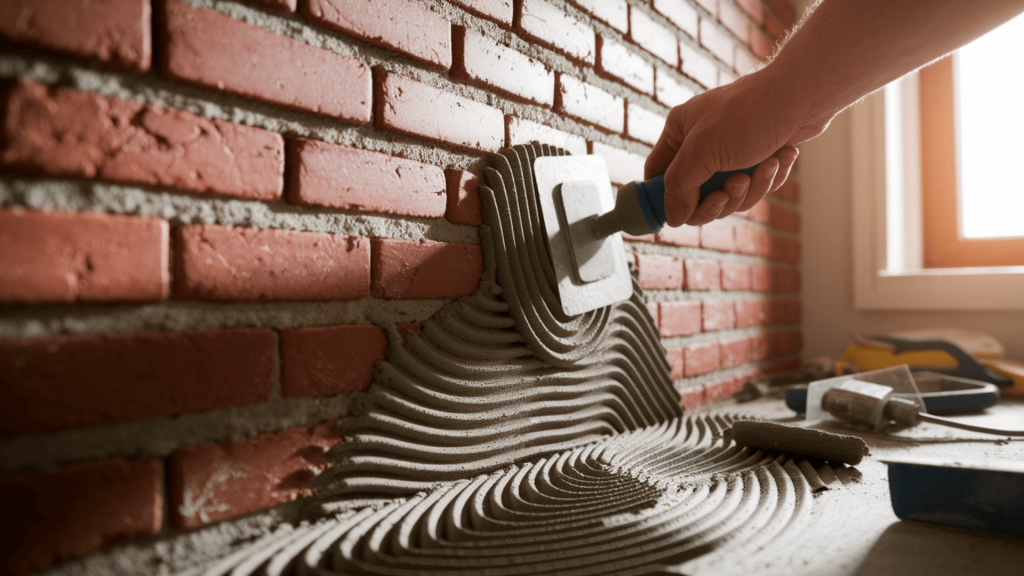
The perfect mix should hold its shape on your trowel but spread smoothly, like frosting a cake.
What often happens:
- Home mixers eyeball measurements instead of using proper ratios
- Quick-setting compounds are used without understanding their time limitations
- Portland cement gets substituted when it shouldn’t be
Brick walls conceal years of secrets; your mortar struggles against invisible oils, decades of pollution creating chemical barriers, and hidden moisture issues.
2. Application Mishaps That Ruin Everything
Ever see someone frost a cake badly? The same principle applies here. The technique matters enormously:
| COMMON MISTAKE | WHY IT HAPPENS | VISIBLE RESULT |
|---|---|---|
| Trowel marks | Rushing the job | Visible lines and ridges |
| Uneven thickness | Poor technique | Spotty, inconsistent finish |
| Over-scraping | Fear of applying too much | Bare spots and patches |
| Tool switching | Mixing application methods | Textural inconsistencies |
Many homeowners switch tools partway through, not realizing this creates noticeable sections with different textures that never quite blend, even after drying.
3. Weather Woes No One Warned You About
Weather plays a bigger role than most people realize.
Hot sun bakes mortar before you can properly work it.
Cold temperatures prevent proper chemical bonding.
Even the humidity in the air changes how quickly surfaces absorb moisture.
What many DIYers don’t know is that the ideal application happens when temperatures stay between 50-80°F with moderate humidity.
Working outside these conditions sets your project up for failure before you even begin.
The problems compound when these factors combine, creating a perfect storm of conditions that even professionals would struggle with.
Warning Signs Your German Smear Is Going Wrong
Catching problems early can save your project.
Pay close attention if you notice any of these warning signals during or shortly after application.
Visible Changes That Signal Trouble
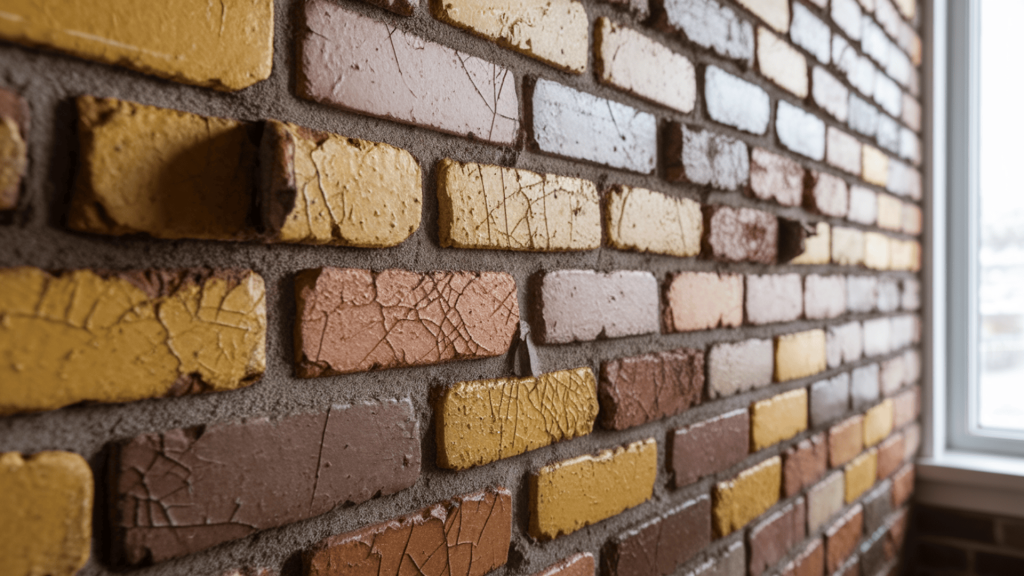
When your fresh white mortar begins showing yellow or brown tones within days, something’s seriously wrong.
This isn’t normal aging—it’s a red flag.
Old stains from the brick may be bleeding through, chemical reactions could be occurring between brick minerals and your mortar, or moisture trapped in the wall might be carrying discoloration to the surface.
Your wall’s texture tells its own troubling story, too. Watch for these physical symptoms:
- Hairline Cracks – The mortar dried too quickly (fix within 1-3 days)
- Spider-Web Patterns – Your mix ratio was off (address within a week)
- Deep Fissures – The bond is failing at a fundamental level (needs immediate help)
- Bulging Sections – Moisture is trapped behind the surface (call a professional now)
The location of these symptoms matters enormously.
Problems near windows often relate to moisture issues, while troubles near heat sources typically indicate rapid drying problems.
The Structural Warning Signs
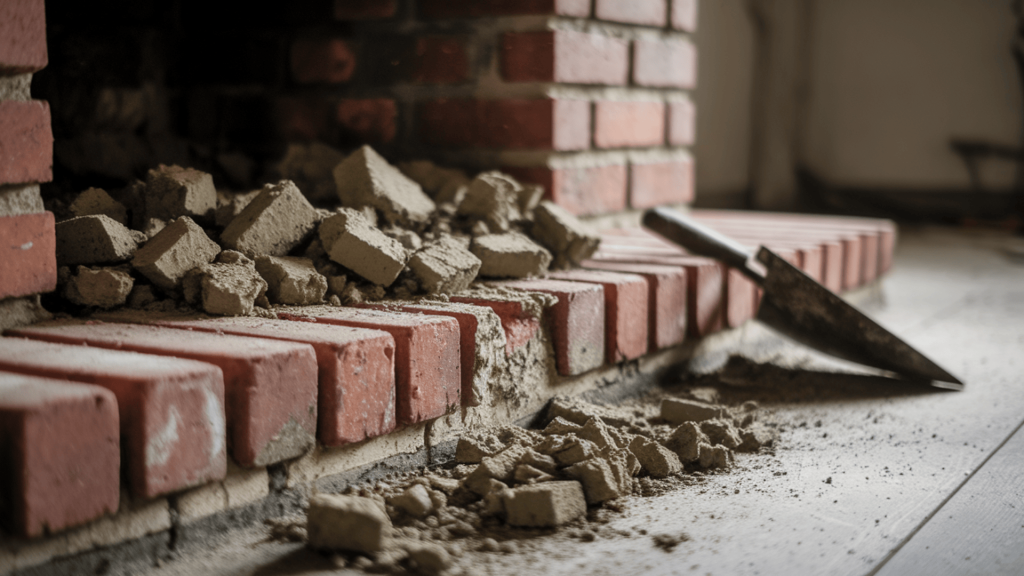
Nothing destroys confidence faster than watching pieces of your carefully applied mortar rain down onto your floor.
This dramatic failure means the bond between mortar and brick never properly formed.
Most often, this happens because the brick surface was too slick, your mortar dried before bonding, or temperature changes caused stress.
Some older homes feature glazed bricks that refuse to accept mortar without specialized preparation.
What makes falling mortar particularly troubling is that it typically accelerates once it begins, with problems rapidly spreading to adjacent areas.
Step-by-Step: How to Fix a German Smear Gone Bad
Don’t panic!
With the right approach, most German smear problems can be fixed.
Your strategy depends on how long the mortar has been in place and the specific issues you’re facing.
Step 1: Assess the Damage Timeline
The golden repair periods vary dramatically in both approach and success rate:
| TIME SINCE APPLICATION | APPROACH DIFFICULTY | SUCCESS RATE |
|---|---|---|
| Under 24 hours | Easy | 90-95% |
| 1-7 days | Moderate | 70-80% |
| Over 1 month | Challenging | 40-60% |
Early intervention dramatically improves your chances of salvaging the project without starting over.
The mortar’s curing process continues for weeks, with the first few days being critical for repairs.
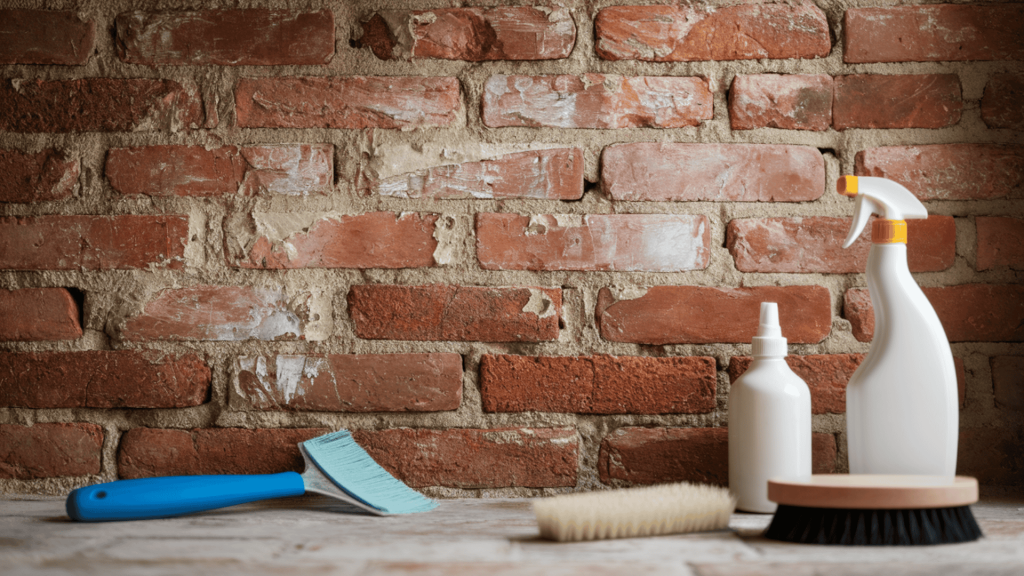
Step 2: Gather Your Repair Arsenal
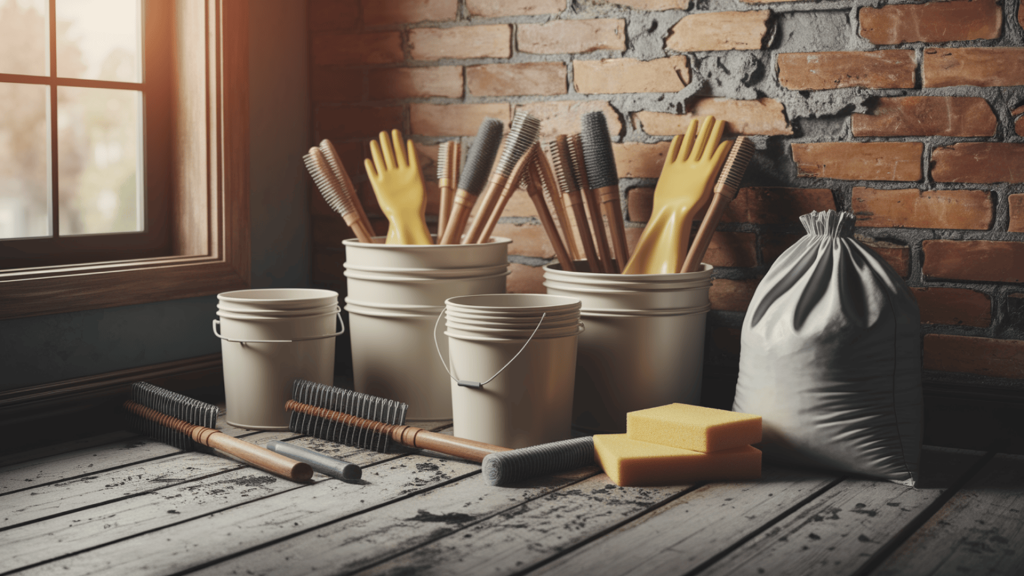
Before attempting any fix, assemble the proper tools and materials.
Heavy-duty rubber gloves and protective eyewear are non-negotiable for this work.
You’ll also need wire brushes in various stiffness levels, putty knives, clean buckets, fresh mortar mix matching your original, and soft sponges.
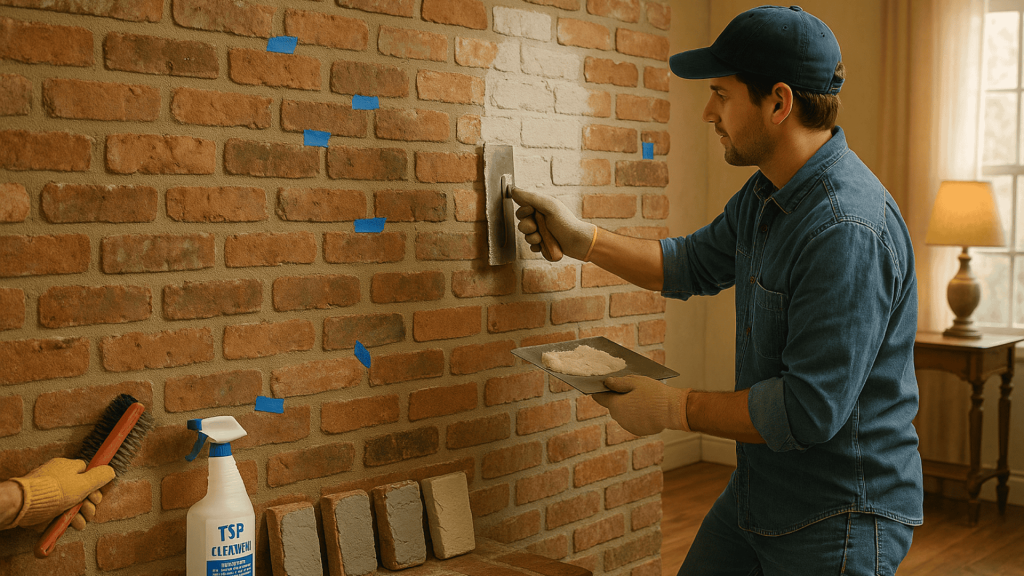
Step 3: Map Your Problem Areas
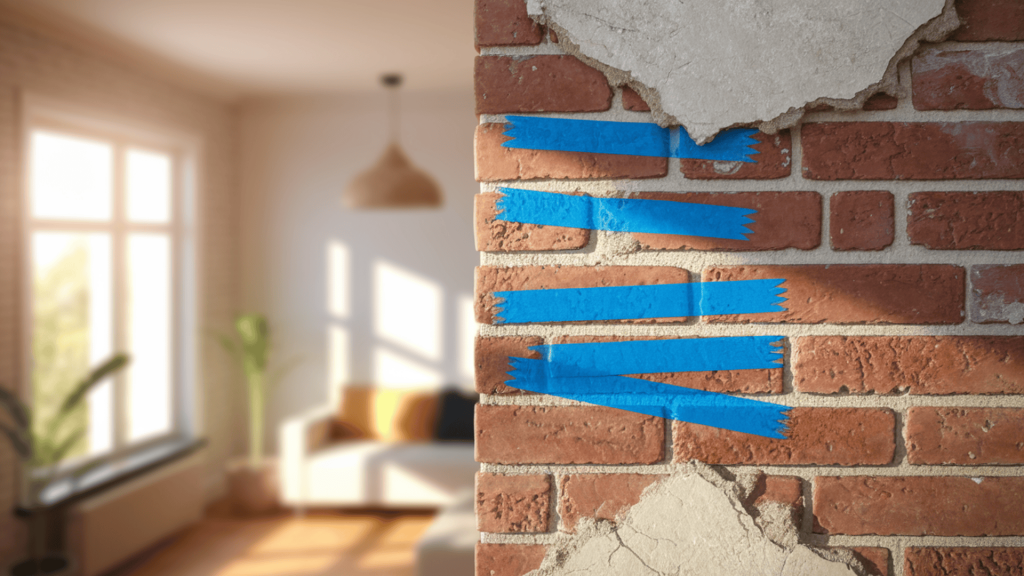
Thorough examination is essential before making any repairs.
Mark problem areas with blue painter’s tape and check the entire surface in different lighting conditions.
Morning, noon, and artificial light all reveal different issues.
The key is determining whether your issues are merely cosmetic or indicate deeper structural problems.
Step 4: Begin the Revival Process
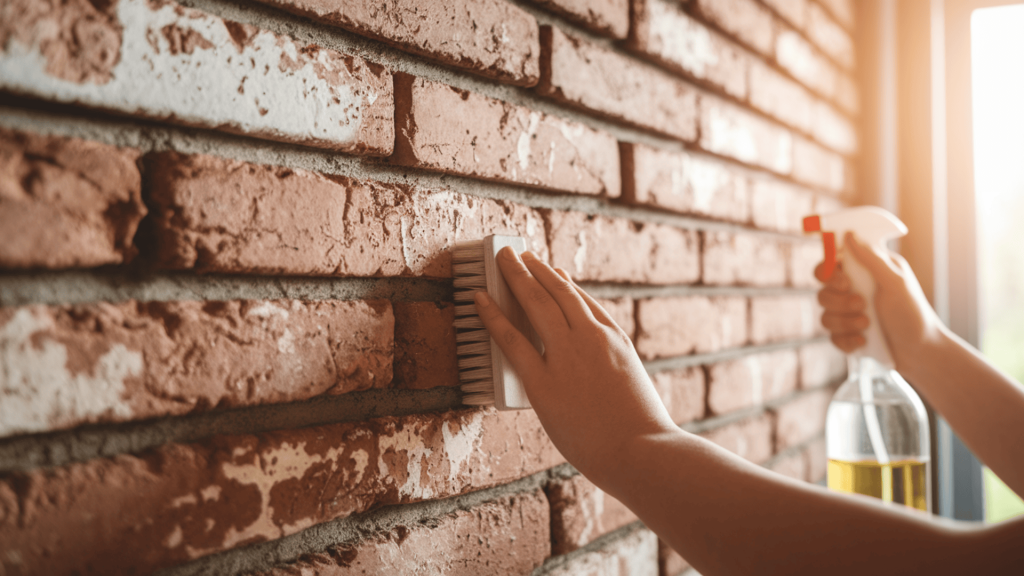
For stained or discolored areas, start with the gentlest solution possible.
Plain water and a soft brush often solve minor discoloration.
For stubborn stains that don’t respond to soap, a 50/50 vinegar-water solution applied with a spray bottle can break down mineral deposits without damaging your work.
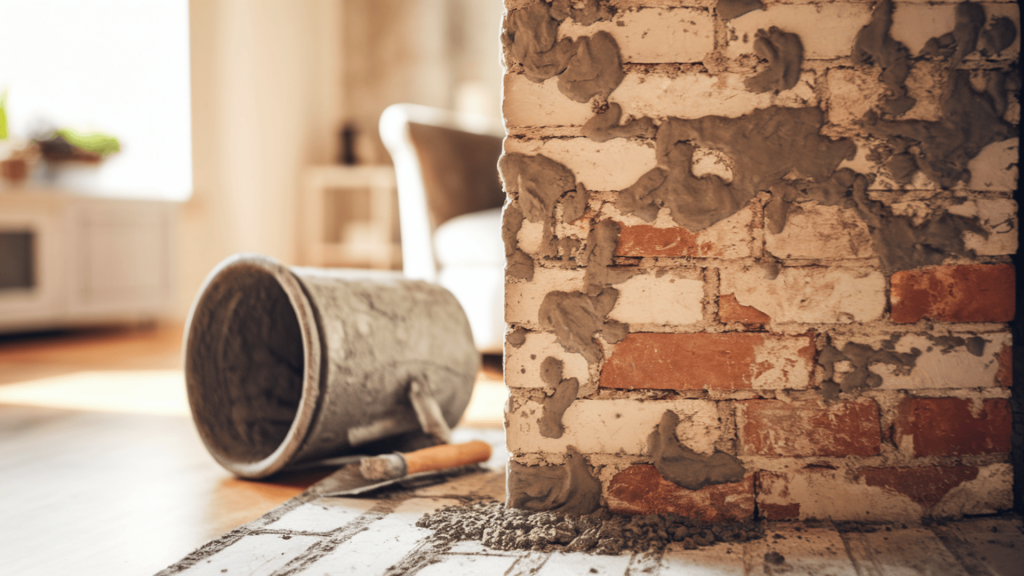
Step 5: Repair Weak or Missing Sections
Areas with poor coverage require methodical rebuilding.
First, thoroughly clean and dampen the wall section you’re repairing.
Mix fresh mortar to match the consistency of your original application—this is where having a sample of your original mix is useful.
Apply to the clean, damp brick using the identical technique as your initial application.
Step 6: Protect Your Renewed Surface
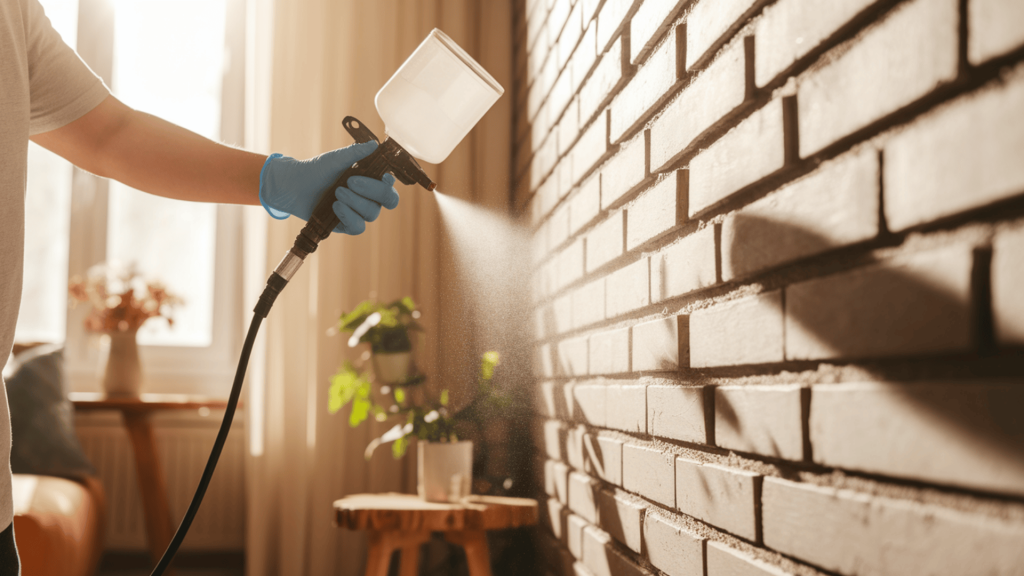
Once repairs are complete and have cured for at least 48 hours, apply a clear, breathable sealer designed specifically for masonry.
This final step prevents future staining and water damage while allowing the brick to “breathe.”
Brick is naturally porous and needs to release moisture rather than trap it behind an impermeable barrier.
Many DIYers skip this crucial protection step, only to find their problems returning months later.
Pro Tips to Prevent German Smear Mistakes in the First Place
Prevention trumps repair every time.
These insider tips come from professionals who’ve mastered this technique through years of experience.
1. The Cleaning Process No One Tells You About
Before your first trowel of mortar touches brick, proper cleaning is essential:
- Start by removing all loose material with a stiff brush, then wash the entire surface with a TSP (trisodium phosphate) solution.
- Treat any visible stains or problem areas individually before rinsing thoroughly, at least twice.
- Allow for complete drying, which takes a minimum of 24 hours in good conditions. During this time, check for dark spots indicating trapped moisture, white residue from previous cleaners, or oily surfaces that repel water droplets.
The most common mistake is rushing this drying phase.
Even a slightly damp brick can ruin your entire project, so patience here makes all the difference.
2. The Perfect Mix Formula
Achieving ideal mortar consistency requires careful attention:
- Start with small test batches before mixing large amounts. The perfect mix should stick to an upside-down trowel without falling off, yet spread easily without tearing the surface.
- Professional masons often add a small amount of white sand to their mix for better workability and a more textured finish. This simple addition can change your application experience and final results.
- Testing on a spare brick or hidden area before full application lets you adjust your formula without risking your entire wall.
Remember that different brands of mortar mix have slightly different properties, so follow package instructions as a starting point, not a rigid rule.
3. The Application Sequence That Changes Everything
The order and timing of your work dramatically affect results:
- Unlike painting, start from the bottom and work upward to prevent drip marks that are nearly impossible to fix later.
- Work in small 3×3-foot sections, at most, allowing each to set slightly before blending the edges with the next area.
- Professional applicators step back frequently to check their work from different angles, catching inconsistencies before they become permanent problems.
With careful technique and patience, your German smear can achieve that timeless, European cottage look that stands up to close inspection and lasts for decades.
Pro Tip: The pressure you apply with your trowel should remain consistent throughout the project. Many DIYers press harder as they tire, creating noticeably different textures between early and late sections of the same wall.
Is It Possible to Remove or Reverse a German Smear?
Sometimes, starting over is the best option.
While labor-intensive and potentially costly, proper restoration techniques can preserve your brick’s original character and integrity.
Here’s what professionals want you to know about removal.
The Removal Reality Check
Complete removal often damages bricks, particularly older, more porous bricks that have absorbed the mortar deeply.
| REMOVAL METHOD | EFFECTIVENESS | RISK TO BRICK | BEST FOR |
|---|---|---|---|
| Manual scraping | Low-Medium | Medium | Recent applications |
| Vinegar solution | Medium | Low | Surface staining |
| Muriatic acid | High | Very High | Last resort only |
Manual scraping works best on recently applied mortar using plastic scrapers rather than metal.
Vinegar solutions can help soften mortar for better results. Apply with a spray bottle, wait 15-20 minutes, and scrub with a nylon brush.
Even with proper techniques, expect some brick damage during removal that may require repairs before applying any new finish.
Creative Alternatives to Consider
Rather than fighting a losing battle with removal, these solutions offer practical workarounds:
- Cover It Up: Installing thin brick veneer or stone gives you a fresh start without complete removal
- Color Modification: Specialized masonry stains can create a unified color that disguises patchy areas
- Strategic Framing: For fireplaces, consider wood trim or a mantel redesign that minimizes problematic sections
Many professional masons recommend working with an imperfect German smear rather than against it.
The rustic, aged look that develops often becomes an intentional design feature rather than a flaw.
With thoughtful styling and complementary decor, what began as a mistake can convert into a unique focal point with authentic character that new applications can’t match.
Wrapping It Up
With the right knowledge and tools, you can change a German smear catastrophe into a stunning feature wall.
Your brick deserves a second chance—and so do your home improvement dreams.
Remember that even professional masons occasionally face challenges with this technique.
The rustic imperfection that defines true European cottages came from centuries of wear, not perfect application!
The character in your “mistake” might just become your favorite design element once you know how to enhance rather than erase it.
Ready to tackle your brick disaster?
Snap a photo of your wall and share it with a local mason for personalized advice.