Is your once-sparkling pool now plagued by stubborn stains, algae spots, and discoloration that regular cleaning can’t fix?
Acid washing might be the solution you need.
This deep-cleaning process strips away stains and restores your pool’s surface to a like-new condition.
It uses diluted muriatic acid to remove a thin layer of plaster.
While it sounds intimidating, acid washing is a maintenance task determined pool owners can tackle with the right knowledge, tools, and safety precautions.
These manageable steps help restore your stained pool to backyard centerpiece status without the high costs of professional services.
These manageable steps help restore your stained pool to backyard centerpiece status without the high costs of professional services.
Revive your pool’s sparkle with a professional-quality acid wash you can master at home—no swimming expertise required!
What is Acid Washing?
Acid washing is a deep-cleaning method for pools. The water is completely drained, and a mixture of muriatic acid and water is applied directly to the pool surface.
This powerful chemical solution dissolves and removes stubborn stains, algae, and mineral deposits that regular cleaning can’t tackle.
Think of it like a reset button for your pool’s appearance. The acid strips away a thin layer of plaster or gunite, revealing the fresh, clean surface underneath.
This isn’t something you’d do regularly – most pools only need acid washing every 5-7 years, or when severe staining becomes a problem.
Revive your pool’s sparkle with a professional-quality acid wash you can master at home—no swimming expertise required!
How Acid Washing Differs From Other Pool Cleaning Methods
Choosing the right pool cleaning method depends on the severity of the issue and the condition of the pool surface.
The table below highlights the differences between regular cleaning, shock treatments, and acid washing based on several key factors.
| ASPECT | REGULAR POOL CLEANING | SHOCK TREATMENTS | ACID WASHING |
|---|---|---|---|
| Purpose | Removes surface debris | Kills algae and bacteria | Strips stain the surface layer to reveal clean material |
| Effect on Pool Surface | Minimal | None | Erodes the thin layer of surface |
| Labor Intensity | Low | Moderate | High |
| Disruption Level | Minimal | Temporary water imbalance | The pool must be fully drained; highly disruptive |
| When to Use | Part of regular maintenance | When algae or bacteria are present | When stains remain after regular cleaning and shock treatments |
Each cleaning method serves a unique purpose and comes with its level of intensity. It’s essential to assess the pool’s condition before choosing the best approach.
For long-term results and surface preservation, acid washing should be reserved as a last resort after milder solutions have proven ineffective.
Tools & Materials You’ll Need
Before starting an acid wash, gather all necessary supplies for safety and efficiency.
The process requires proper protection and specific equipment to handle acids safely.
- Safety gear: Includes acid-resistant gloves, goggles, a respirator mask, long clothing, and rubber boots.
- Muriatic acid (pool-grade hydrochloric acid): As a cleaning solution.
- Soda ash (sodium carbonate): It is used to neutralize the acid after washing.
- Application tools: plastic garden sprayer and acid-resistant brush with a long handle.
- Water management: garden hose, submersible sump pump, and 5-gallon buckets.
- Plastic sheeting: To protect the surrounding areas and landscaping.
Working with acid requires careful preparation and the right equipment.
CAUTION: Never substitute materials or skip safety gear when performing this maintenance task.
Acid Washing a Pool: Step-by-Step Guide
Acid washing a pool requires careful attention to detail and proper safety precautions.
The process involves several distinct stages, from draining and preparing the pool to applying the acid solution and finally refilling the pool.
Follow these steps carefully to ensure effective results while minimizing risks.
Step 1: Drain and Prep the Pool
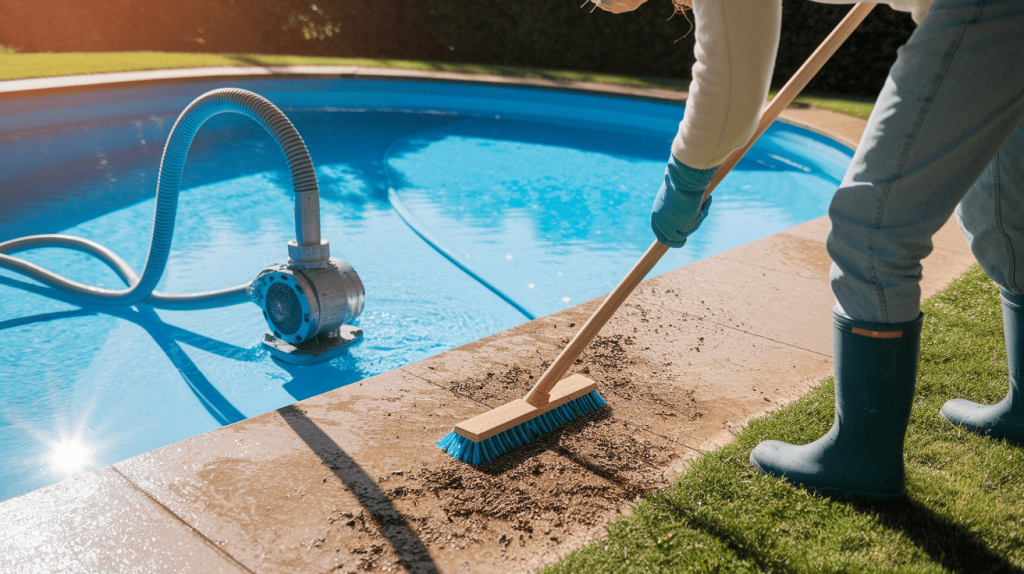
Before beginning the acid wash process, empty your pool using a submersible sump pump.
Position the pump at the deepest part of the pool and direct the discharge water in accordance with local regulations.
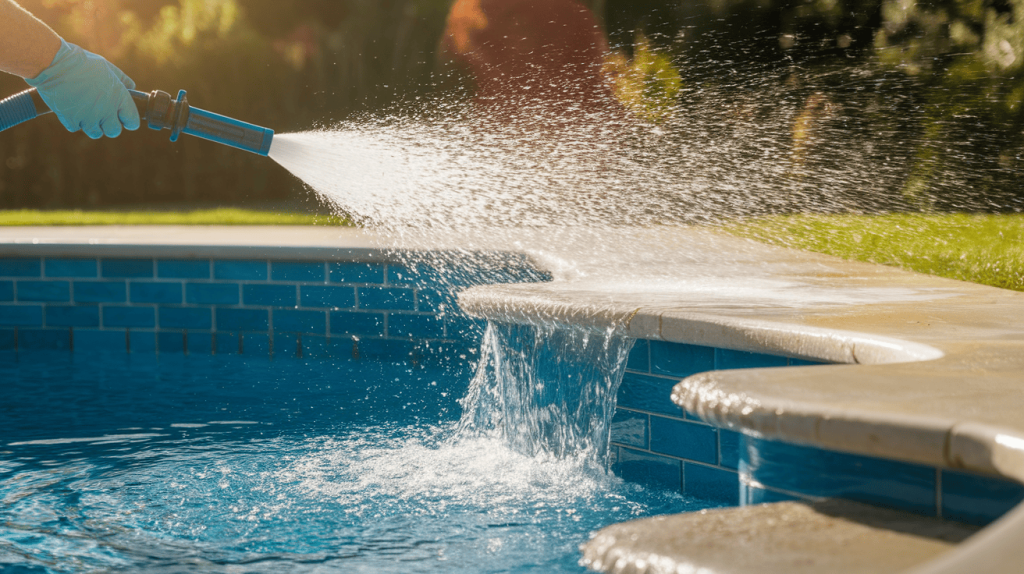
Once drained, thoroughly remove all debris, leaves, and dirt from the pool surface using a brush and hose.
Pay special attention to corners and steps where debris often collects.
A clean surface before acid washing ensures the acid can work directly on stains rather than being blocked by dirt.
Rinse the entire surface with clean water to remove any remaining loose particles.
Step 2: Mix the Acid Solution
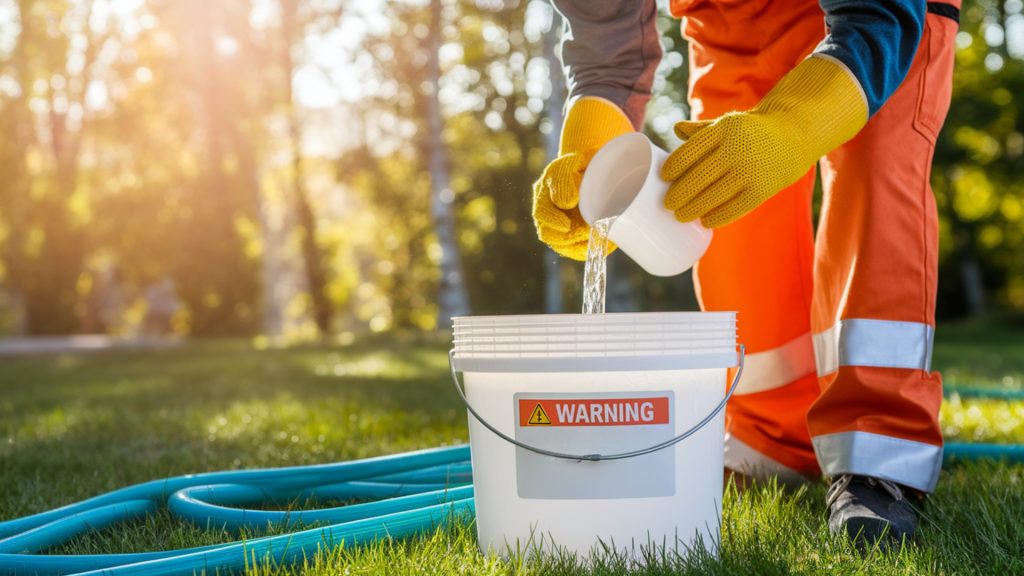
Mixing the acid solution properly is crucial for both safety and effectiveness.
Always add acid to water—never pour water into acid, as this can cause dangerous splashing and chemical reactions.
Use a plastic bucket (never a metal one) and mix one part muriatic acid with one part water to create your cleaning solution.
Work in a well-ventilated area while wearing your full safety gear.
Prepare only enough solution to work on a small section at a time, typically 3-4 gallons per application.
This ensures you can control the acid and prevent it from drying on the surface, which could cause uneven etching and damage to your pool.
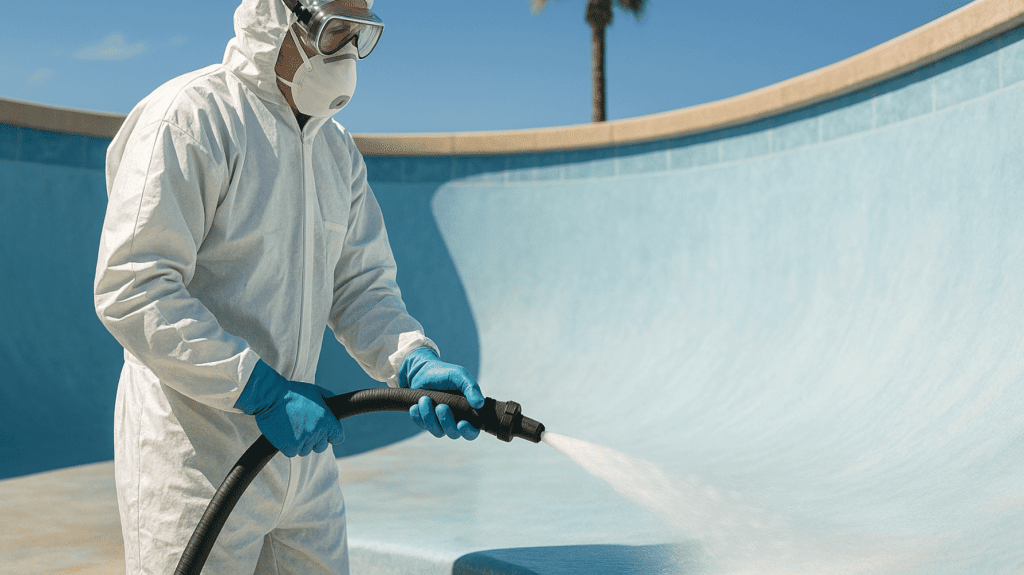
Step 3: Apply and Scrub
Working in small sections of approximately 10 square feet at a time, apply the acid solution using a plastic garden sprayer or carefully pour it onto the pool surface.
Let the solution sit for 30-60 seconds to dissolve stains and mineral deposits.
However, monitor it closely, as the timing varies depending on the severity of the stain and the outdoor temperature.
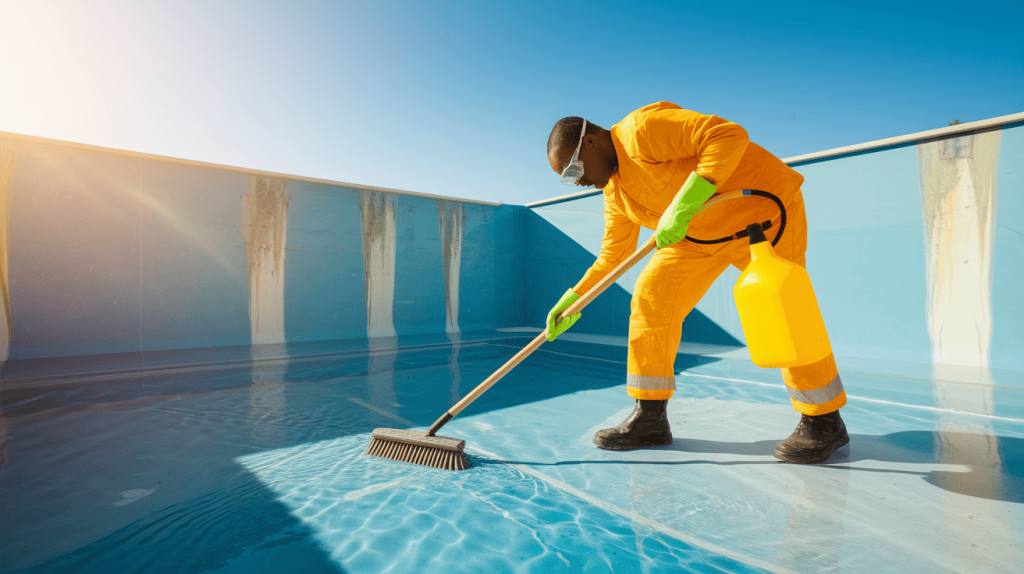
Using your long-handled acid brush, scrub the area with firm, consistent pressure to help the acid penetrate stubborn stains.
Work quickly and methodically around the pool, maintaining a wet edge between sections to prevent visible lines or uneven cleaning.
Never let the acid solution dry on the surface, as this can cause permanent damage.
Step 4: Rinse Immediately
After scrubbing each section, rinse it thoroughly with clean water from your garden hose immediately.
This stops the acid etching process and removes dissolved materials from the surface.
Use a strong spray pattern to ensure all acid solution is completely washed away.
Pay extra attention to corners and steps where acid can pool.
Continue applying, scrubbing, and rinsing each section until you’ve treated the entire pool.
Proper rinsing between sections prevents over-etching in some areas and ensures an even, consistent finish throughout the pool.
Step 5: Neutralize, Clean Up, and Refill
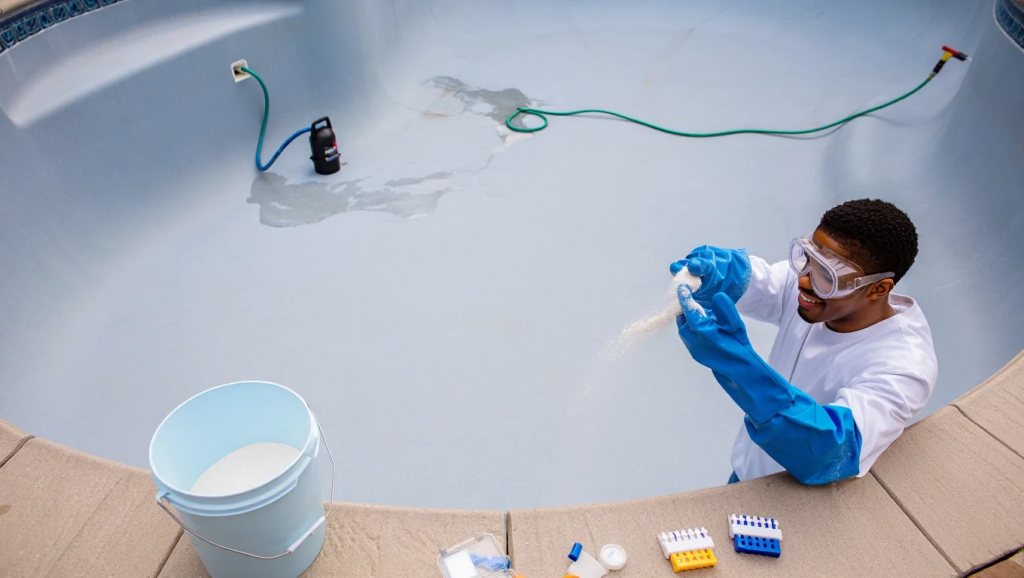
Once you’ve acid-washed the entire pool, you must neutralize any remaining acid to prevent damage.
Sprinkle soda ash over all surfaces and areas where acidic water might have pooled or splashed.
Mix a solution of 2 pounds of soda ash per 5 gallons of water and spray or pour it over the pool surfaces.
Use your sump pump to remove any remaining water and debris from the pool floor.
Thoroughly rinse the entire pool surface one final time with clean water to remove all neutralized acid and loose material.
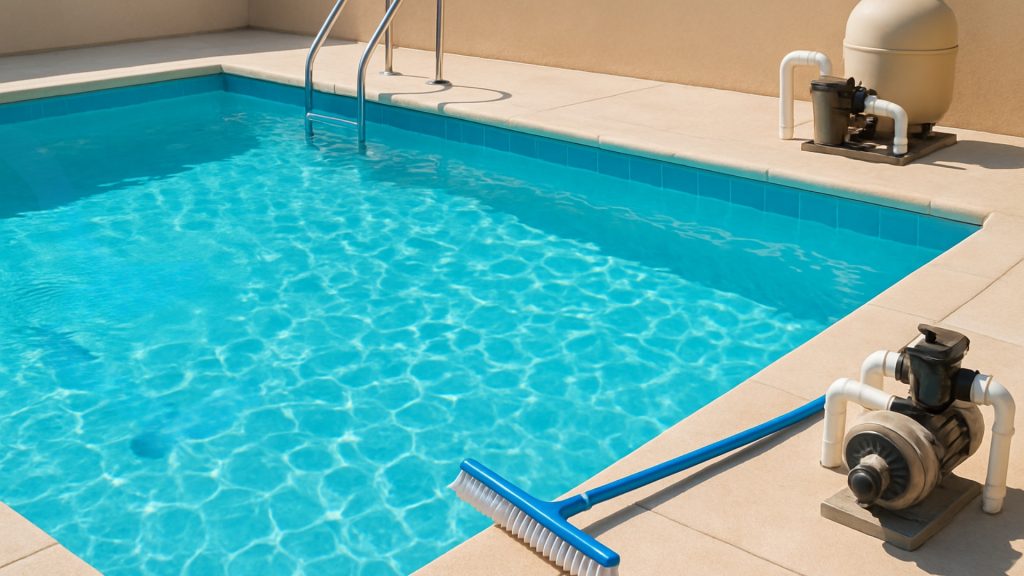
Begin refilling the pool immediately to prevent the fresh plaster from drying out and cracking.
Once filled, test and balance the water chemistry before allowing anyone to swim.
How to Dispose of Acid Wastewater Safely?
Properly disposing of acid wastewater is a crucial final step in the acid washing process, protecting both the environment and your community’s water system.
The acids used can harm ecosystems and damage infrastructure if not handled correctly.
Following proper disposal methods isn’t just good practice—it’s often required by law.
1. Neutralizing the Acid
You must neutralize the acid before disposal to prevent damage to pipes, sewage systems, and local waterways.
The correct approach is to add soda ash gradually while monitoring the pH, aiming for a final pH between 7.0 and 7.4.
The neutralization process converts the harmful acid into salt, water, and carbon dioxide, making it safe for disposal.
You’ll know it’s working when you see fizzing as the soda ash reacts with the acid.
NOTE: Overdosing with soda ash can cause water quality issues and should be avoided.
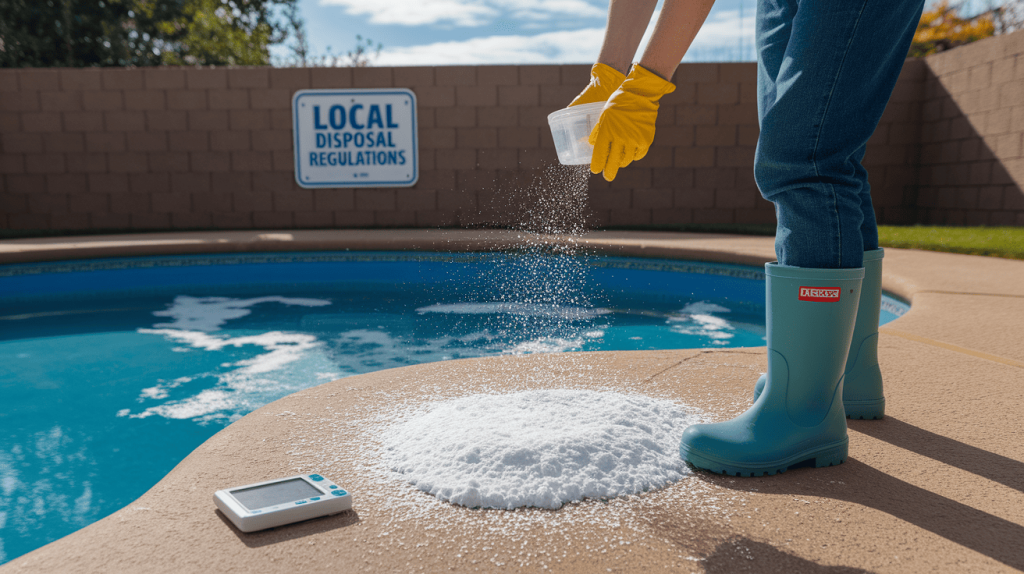
2. Application Method
Sprinkle the soda ash directly onto any remaining acid water in the pool or drainage areas and allow it to fizz, indicating the neutralization reaction is working.
Work methodically around the pool, focusing on low spots where acid water collects.
Use a pool brush to gently mix the soda ash into the water, ensuring complete neutralization.
Test the pH after treatment using test strips to confirm it has reached a safe, neutral level before proceeding with disposal.
3. Local Regulations
Before draining, check your local regulations, as many municipalities have specific requirements for disposing of pool water.
Some allow drainage into sewers but prohibit runoff into storm drains or natural waterways, while others require professional removal services.
Contact your local water authority or environmental department to learn about restrictions in your area.
Many regions have strict fines for improper chemical disposal that can harm water treatment systems or wildlife.
Aftercare and Maintenance Tips
Proper aftercare extends the benefits of your acid wash and prevents future problems.
Regular maintenance is essential for keeping your pool in optimal condition.
- Refill the pool immediately after acid washing to prevent damage to the plaster.
- Balance water chemistry within 24 hours (pH, alkalinity, and calcium hardness).
- Run the filtration system continuously for 24 to 48 hours after refilling.
- Test and adjust chemical levels weekly while brushing walls and floor regularly.
- Address any discoloration or scaling issues promptly, scheduling your next acid wash in 5-7 years.
With consistent care and proper chemical balance, you’ll maximize the time between acid washes and protect your pool’s surface for years to come.
Summing It Up
Acid washing your pool is a powerful way to restore its beauty when regular cleaning falls short.
With proper preparation, equipment, and technique, you’ve learned how to perform this maintenance task that professionals charge hundreds for safely.
Remember that acid washing should be used sparingly—only when necessary—as it removes a thin layer of plaster each time.
By following proper aftercare and maintaining balanced water chemistry year-round, you’ll maximize the time between acid washes and protect your investment.
Your newly refreshed pool isn’t just more inviting; it’s a testament to your dedication to proper pool care. Enjoy your crystal-clear, stain-free oasis!
Ready to dive in?
Share your acid washing experiences in the comments below—let’s hear how you restored your pool’s sparkle!