Are you considering a pool makeover?
Pool resurfacing is like giving your swimming pool a fresh coat of paint—but much more important!
Is your pool showing cracks, stains, or rough spots?
These are signs that it needs resurfacing. But don’t worry—we’ve got you covered!
What exactly is pool resurfacing?
It’s the process of removing the old, worn-out surface and applying a new one to make your pool look brand new and work perfectly again.
Why resurface?
It prevents leaks, makes your pool safer, and can even save you money on future repairs.
Want to know which surface is best for your pool?
Options include plaster, pebble, quartz, and fiberglass, each with distinct benefits and costs.
Ready to dip into pool resurfacing?
Let’s make your pool beautiful again!
Understanding Pool Resurfacing
Ever wondered what happens during pool resurfacing?
Let’s break it down together!
Pool resurfacing is like giving your swimming pool a complete makeover.
It involves replacing the skin of your pool when it becomes old and damaged.
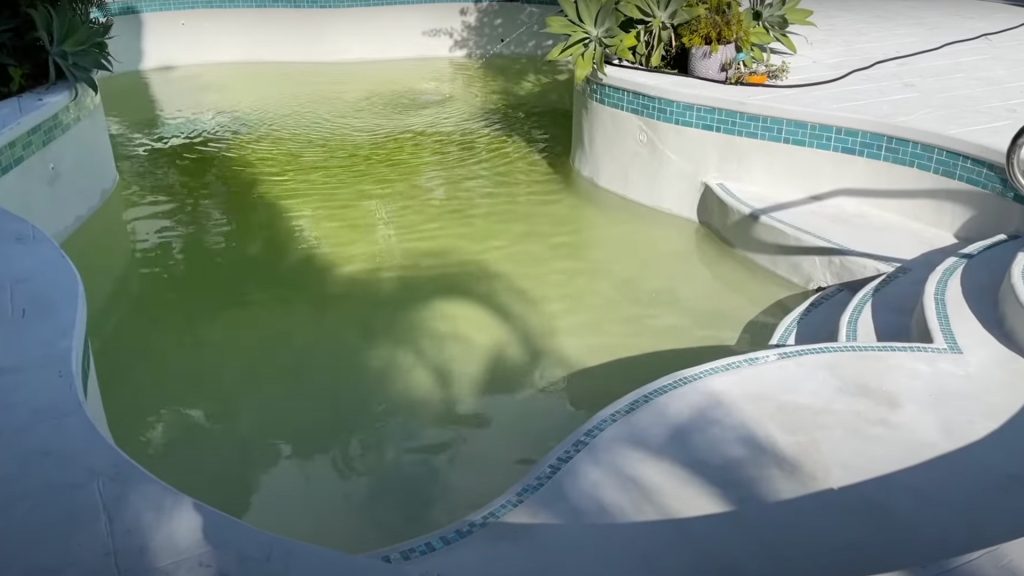
Why might your pool need resurfacing? Look for these warning signs:
- Rough surfaces that scrape your feet
- Cracks where water might leak out
- Stains that won’t go away with cleaning
- Water levels are dropping mysteriously
The resurfacing process involves draining your pool completely, removing the old surface, fixing any damage underneath, and then applying a brand-new finish.
How often should you resurface?
Most pools require it every 10-15 years, but the frequency depends on how well you’ve maintained your water chemistry.
Have you noticed any of these signs in your pool?
It might be time to consider resurfacing!
Needed Materials and Tools for Pool Resurfacing
Gather all necessary tools and materials before starting your pool resurfacing project—thorough preparation ensures a smooth process and professional results.
| CATEGORY | MATERIAL/ TOOLS |
|---|---|
| Heavy Equipment | Jackhammer or handheld Bosch jackhammer |
| Cleaning Equipment | Pressure washer |
| Water Management | Pump and hose |
| Surface Preparation | Bonding agent and buckets, mixer drill with paddle |
| Surface Finish | Diamond Brite (Oyster Quartz finish) – 42–47 bags |
| Troweling Tools | Standard and corner trowels |
| Walking on a Wet Surface | Spiked shoes |
| Surface Cleaning | Muriatic acid |
| Safety Gear | Gloves, goggles, respirator |
| Pool Chemistry | Chlorine (15 gallons), pH balancer |
| Final Fill | Garden hose |
Proper planning and having the right tools on hand will make your resurfacing project faster, safer, and more efficient.
Note: For a typical pool resurfacing project using plaster or aggregate finishes, expect to pay between $6,000 and $15,000 (including labor and materials). High-end finishes, such as tile, can significantly increase the cost, potentially reaching $30,000 or more.
Step-by-Step Guide: How to Resurface a Pool
Resurfacing a pool is a significant project, but breaking it down into manageable stages makes the process more approachable.
Follow this five-stage guide to achieve professional results when giving your pool a fresh new surface.
Step 1: Prepping the Pool Surface
Begin by completely draining your pool using a submersible pump.
Once empty, remove all fittings, returns, and skimmers with a jackhammer to prevent future leaks.
Carefully clean light fixtures and set them aside for reinstallation later.
Thoroughly pressure wash the entire surface to remove algae, stains, and any loose plaster that could compromise your new finish.
This prep work is crucial as it creates a clean foundation for all subsequent steps.
A properly prepared surface ensures better bonding and extends the life of your new pool finish.
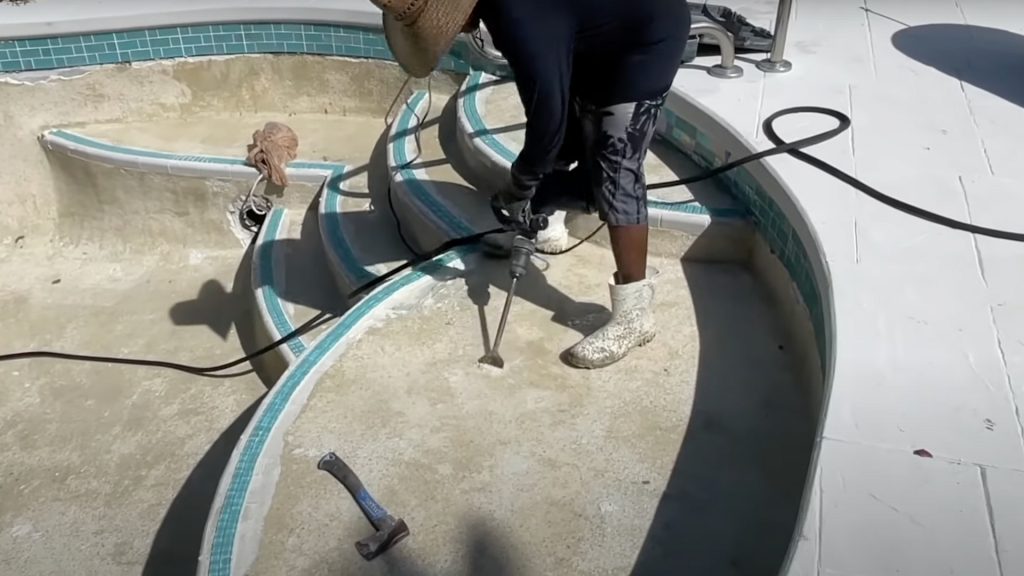
Step 2: Finding and Removing Hollow Spots
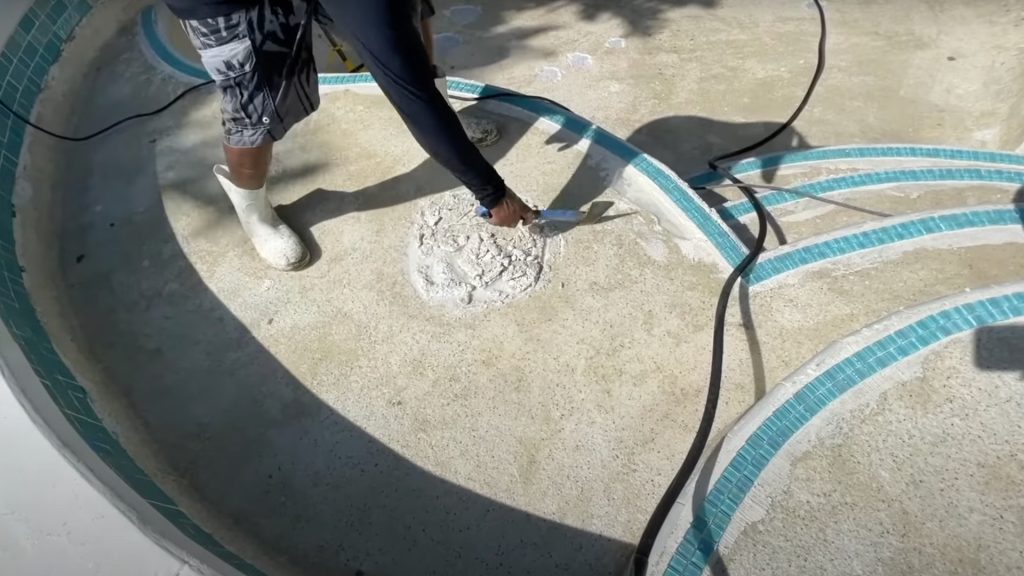
Inspect your pool’s surface by tapping a hammer or hatchet against it while listening carefully for hollow sounds, which indicate areas where the plaster has separated from the shell.
Mark these spots as you go.
Carefully use a jackhammer or chisel to remove all hollow areas and any remaining loose plaster.
Work methodically around the entire pool, paying special attention to corners and transitions.
Once all compromised material is removed, use a shop vac to clear away debris and thoroughly rinse the surface.
Removing hollow spots prevents future problems and ensures a solid foundation.
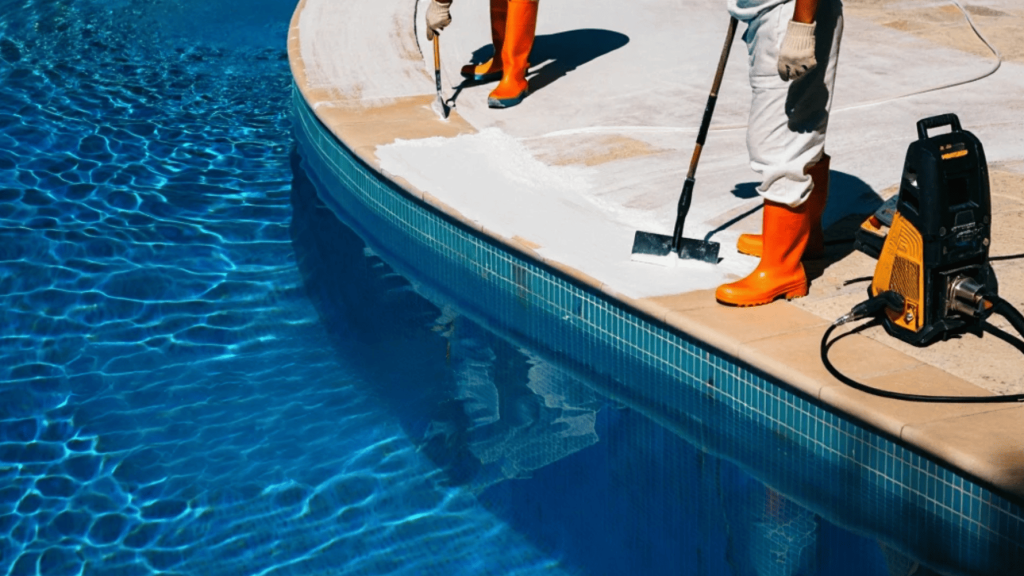
Step 3: Applying the Bonding Agent
Mix your bonding agent (also known as a bond coat) according to the manufacturer’s instructions until it reaches a consistency similar to that of paint.
Using rollers and brushes, apply this mixture evenly across every inch of your prepared pool surface.
The bond coat creates a strong adhesive layer between your old surface and the new finish material.
Be sure to cover the entire surface without leaving any gaps, as these can lead to adhesion problems later.
Allow the bonding agent to cure completely for at least 24 hours before proceeding.
Proper curing time is essential for maximum strength.
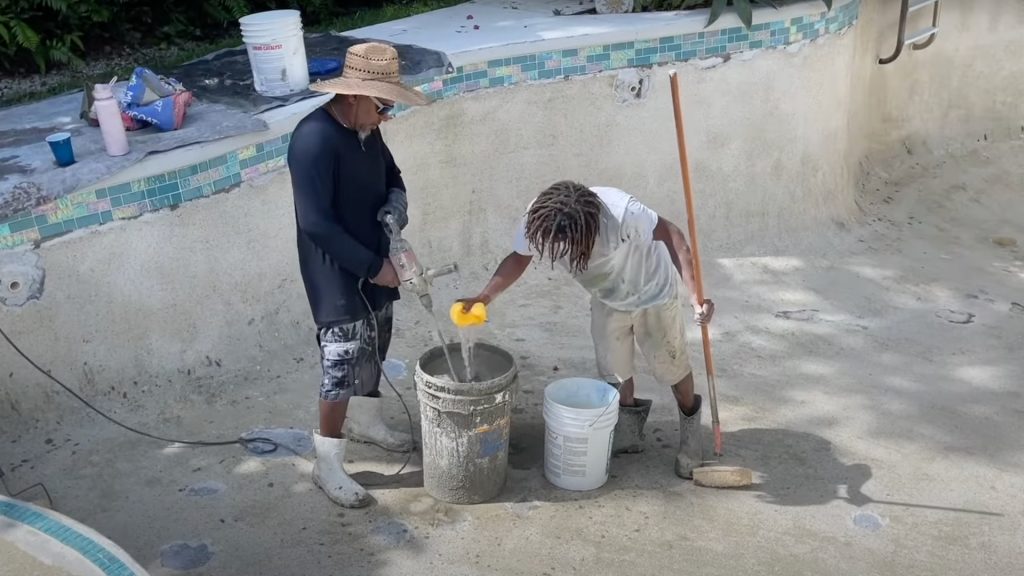
Step 4: Applying the Diamond Brite Finish
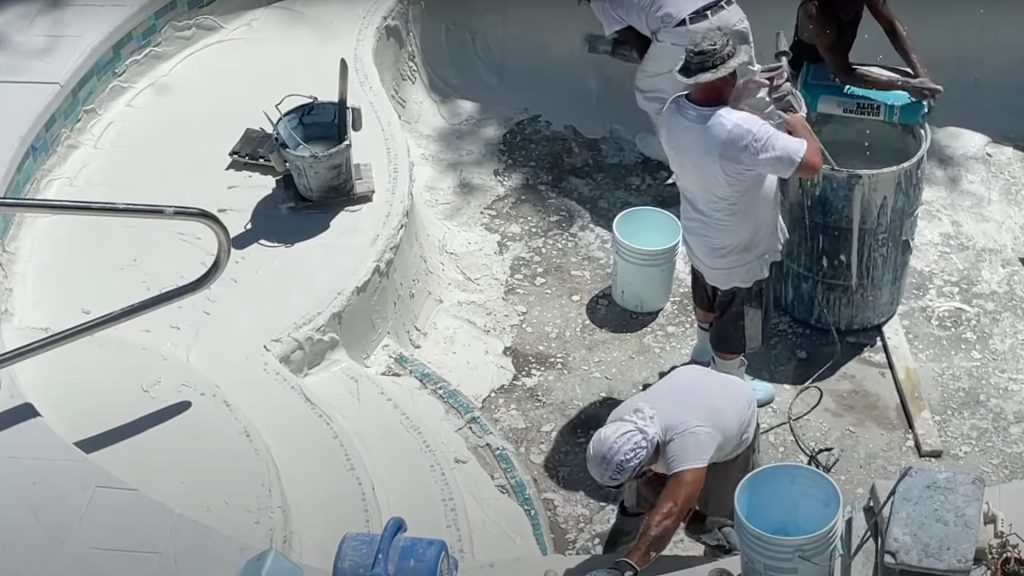
Mix Diamond Brite with water in large buckets using a drill mixer until it reaches the consistency of thick pancake batter.
Before application, wet down the pool walls to prevent the bond coat from absorbing moisture from your finish mix.
Using large trowels, apply the material evenly across the surface, maintaining a thickness of approximately 1 inch.
Wear spiked shoes or use spiked boards to walk on the wet surface without leaving footprints.
Work methodically from the deep end to the shallow end, carefully smoothing curved areas, steps, and corners.
This finish provides a beautiful, durable surface that will enhance your pool’s appearance for years.
Step 5: Final Cleanup and Filling
After your finish has set but before it fully hardens, apply a light muriatic acid wash to clean the surface and remove any residue.
Neutralize the acid with plenty of clean water.
Once dry, reinstall all fixtures, drain covers, and light fittings that were removed during the preparation process.
Begin filling the pool with clean water from a garden hose, being careful not to disturb the new surface.
As the pool fills, add appropriate startup chemicals, including chlorine and pH balancers.
Monitor water chemistry closely during the first few weeks as the surface cures completely.
Video Walkthrough – See How Experts Do It
For more information, check out this video tutorial by Tom Leeman
Maintenance Tips for Your New Surface
Proper maintenance after resurfacing will significantly extend the life of your pool’s new finish.
With regular care, you can maintain the beauty of your freshly resurfaced pool for many years, thereby avoiding costly repairs.
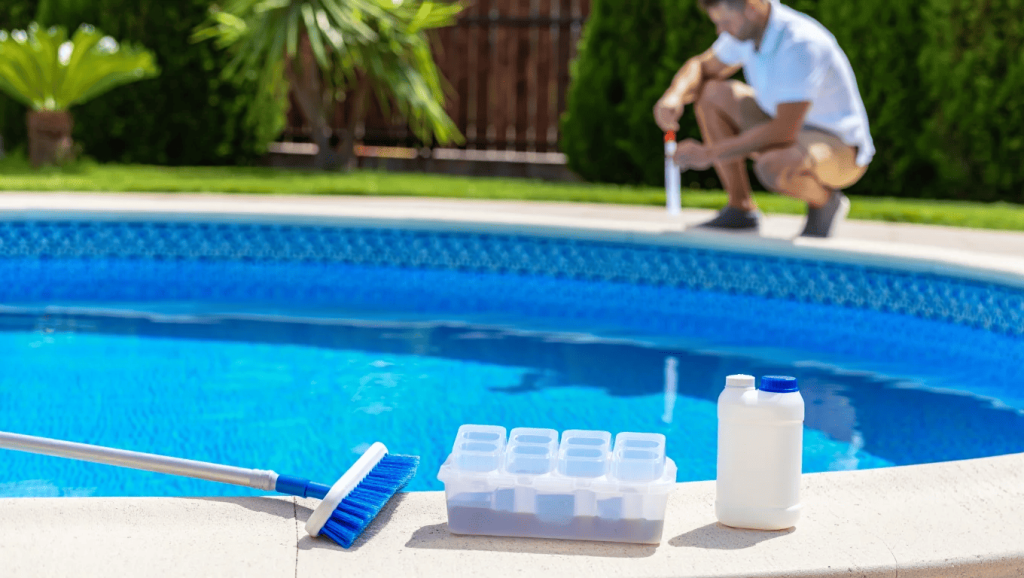
- Brush the pool surface twice a week for the first month, then once a week afterward.
- Test the water chemistry 2-3 times weekly, maintaining a pH range of 7.4-7.6.
- Maintain alkalinity (80-120 ppm) to prevent etching and discoloration.
- Maintain calcium hardness levels between 200 and 400 ppm to protect plaster.
- Shock weekly to prevent stain-causing algae growth.
- Inspect every 3 to 4 months for signs of wear or damage.
- Fix small issues immediately to prevent costly repairs later.
Diligent maintenance during the critical first year is essential as your newly installed surface continues curing and remains particularly susceptible to chemical damage—proper care now will significantly reduce expenses in the future.
CAUTION: If you’re uncertain about managing water chemistry, consider temporarily hiring a professional pool service or installing an automatic chemical dispenser to maintain properly balanced levels.
DIY vs. Professional Service
Choosing between DIY pool resurfacing and hiring professionals can significantly impact your budget, time, and the overall quality of the results.
Review these key differences to help make your decision:
| FACTOR | DIY | PROFESSIONAL SERVICE |
|---|---|---|
| Cost | $1,500 – $3,500 | $5,000 – $12,000 |
| Time | 7-14 days | 3-7 days |
| Labor | Requires 2-4 people | Professional crew |
| Quality | Varies with skill level | Consistent with warranty |
| Risks | Improper bonding, uneven finish, leaks | Minimal with a reputable contractor |
| Warranty | None | Typically 1-5 years |
| Knowledge | Research required | Expert techniques included |
Balance DIY savings against time value and quality concerns; beginners should start small, while those hiring professionals should verify credentials and compare multiple quotes.
Wrapping It Up
Resurfacing your pool isn’t just maintenance—it’s revival.
If you are choosing plaster, pebble, or fiberglass finish, proper preparation and professional application ensure lasting results.
Remember that timing is crucial; plan your project around weather conditions and allow sufficient time for curing.
Is your pool ready for a stunning makeover?
Consider requesting quotes from multiple certified contractors, asking to see their previous resurfacing projects, and scheduling the work during the off-season for minimal disruption.
The investment pays dividends through enhanced aesthetics, improved safety, and extended pool life.
Plus, modern finishes can reduce maintenance needs and chemical consumption.
Why wait for problems to surface?
Take the plunge today and convert your aging pool into the backyard oasis you deserve.
Your refreshed pool awaits—make waves with a shining surface!
Share your pool modification experience in the comments below!
Which finish did you choose, and how has it changed your swimming experience?