Battling high alkalinity in your pool while maintaining stable pH levels can feel like walking a chemical tightrope.
Many pool owners discover the frustrating reality that standard methods to reduce alkalinity also lower pH levels.
This creates new problems to solve. High alkalinity causes cloudy water, scale formation, and reduces the effectiveness of chlorine. However, dropping the pH too low can lead to equipment corrosion and discomfort for swimmers.
The good news? There’s a smarter approach that targets alkalinity without causing your pH to plummet. This specialized technique uses strategic acid application and controlled aeration.
It breaks the typical chemical cycle. Get ready to master the science of pool chemistry with our method. You can lower alkalinity while maintaining the pH balance.
Understanding Alkalinity and pH
Total Alkalinity (TA) refers to a water’s ability to resist changes in pH, acting as a buffer that stabilizes the pool’s chemistry.
It measures the total amount of alkaline substances in your water. pH, on the other hand, indicates the acidity or basicity of your water on a scale of 0 to 14, with a pH of 7 being neutral.
While these are different measurements, they’re closely connected – when you adjust one, you typically affect the other. This happens because the same chemicals that contribute to alkalinity also influence pH levels.
The ideal range for total alkalinity in pools is 80-120 ppm (parts per million), while pH should be maintained between 7.2 and 7.8.
Keeping both within these ranges is crucial for swimmer comfort, equipment longevity, and effective sanitization.
When these levels are balanced properly, your pool water remains clear, your equipment lasts longer, and swimmers avoid skin and eye irritation.
Causes of High Alkalinity
Understanding what causes elevated alkalinity in your pool helps prevent issues before they start. Several common factors can drive your total alkalinity above the ideal range:
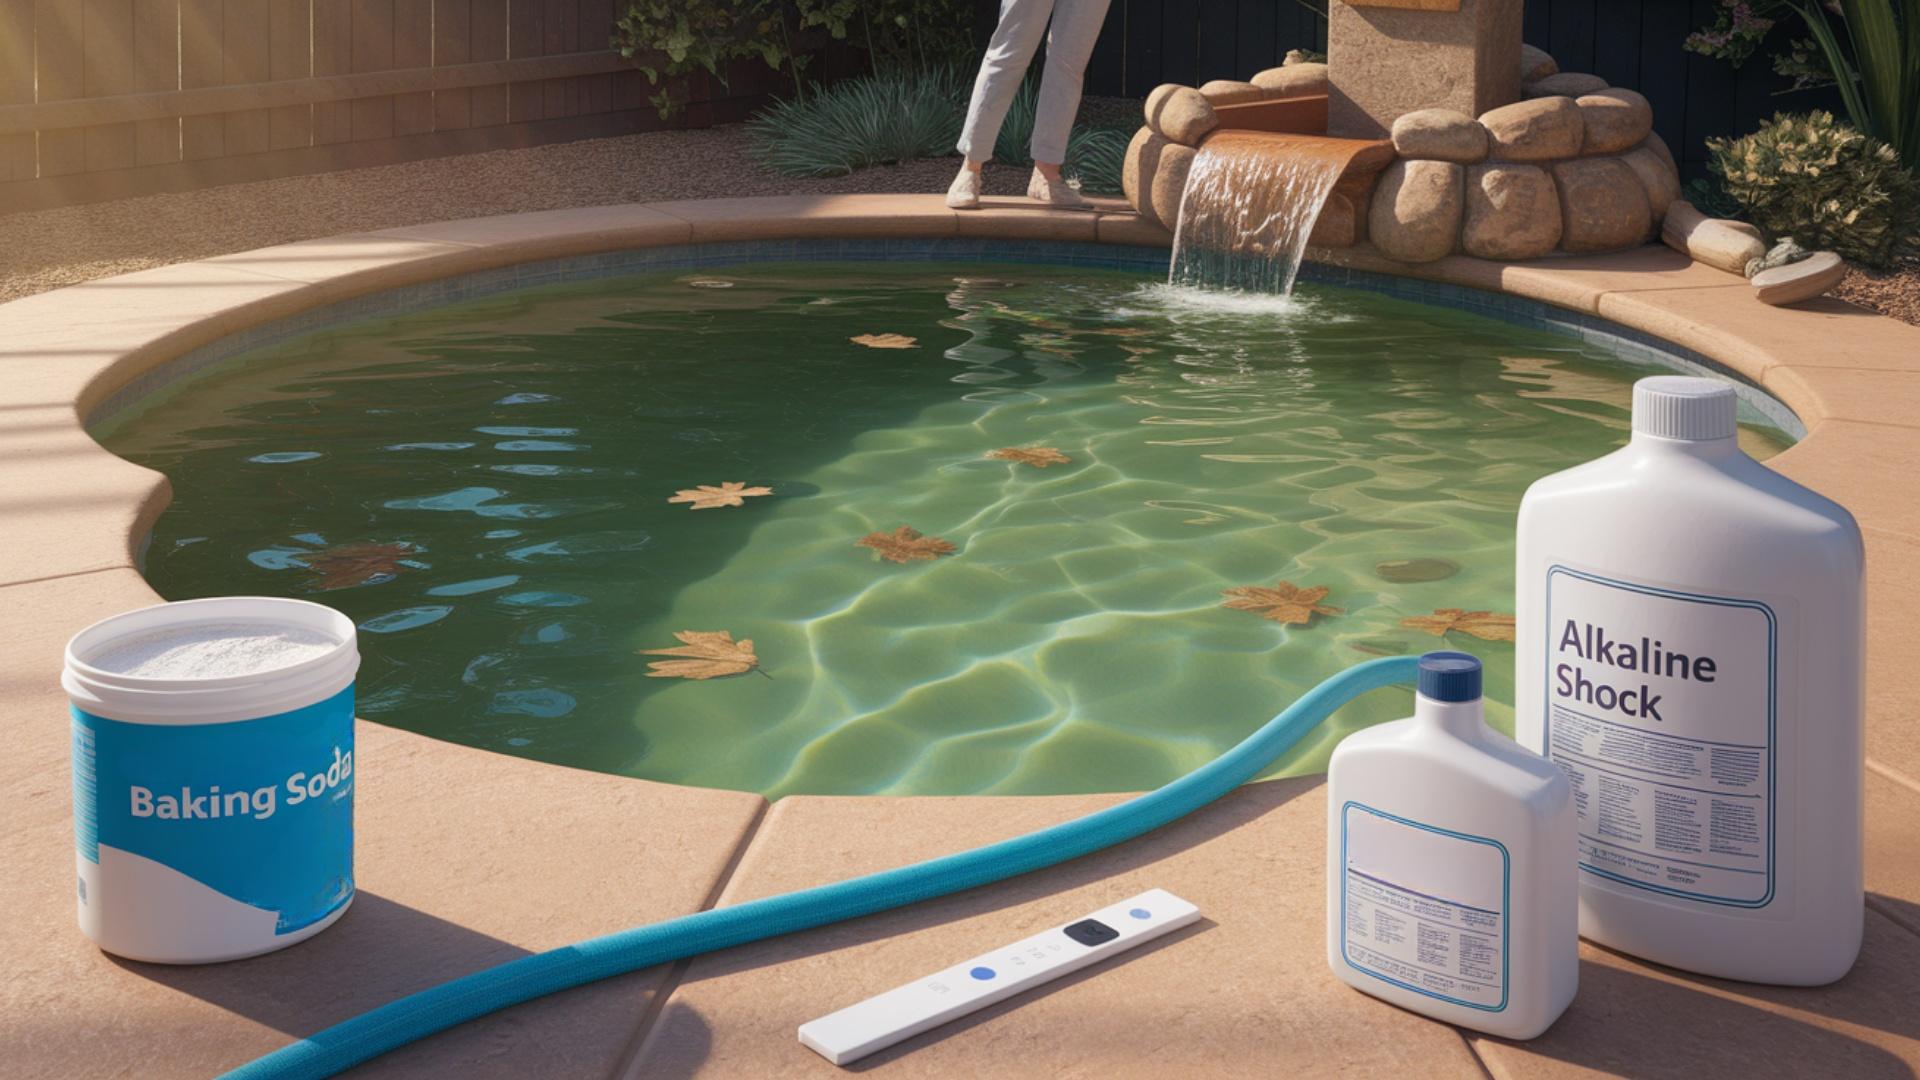
- Adding too much sodium bicarbonate (baking soda) when adjusting pool chemistry.
- Frequent use of alkaline-based shock treatments.
- Living in an area with naturally high alkalinity in your source water.
- Allowing debris, such as leaves and grass clippings, to decompose in your pool.
- Overlooking regular water testing, allowing alkalinity to creep up gradually.
Identifying the specific cause of high alkalinity in your pool is the first step toward effectively correcting it. Once you know what’s driving your alkalinity upward, you can take targeted action to bring it back to the optimal range.
The Problem With Standard Methods
Traditional methods for lowering alkalinity have a significant drawback: both muriatic acid and dry acid reduce total alkalinity while simultaneously lowering pH levels.
This creates a frustrating situation for pool owners who need to lower alkalinity but maintain their pH. When the pH level falls too low (below 7.2), it can cause serious problems, including equipment corrosion, etching of pool surfaces, and skin or eye irritation for swimmers.
Many pool owners attempt quick fixes by adding large amounts of acid all at once, hoping to solve high alkalinity issues rapidly. However, this approach typically backfires, creating unstable water chemistry that fluctuates between extremes.
The pool will often experience a pH rebound effect afterward, where pH rises rapidly following treatment. This cycle of chemical fluctuations stresses pool equipment, wastes chemicals, and makes maintaining a proper water balance increasingly difficult over time.
What You’ll Need to Lower Alkalinity
Lowering the alkalinity in your pool requires careful attention and the right tools. Before starting, gather the materials listed below to ensure a smooth and safe process.
- Liquid Drop Testing Kit or Pool Testing Strips – To accurately measure your current alkalinity and pH levels.
- Digital pH Meter – For more precise pH readings during and after treatment.
- Total Alkalinity Test Kit – Specifically measures the alkalinity level in ppm for better control.
- Appropriate Safety Gear – including gloves and a mask to handle chemicals safely.
- Muriatic Acid or Sodium Bisulfate – The main chemicals used to reduce alkalinity.
With these essentials ready, you can begin the process of balancing your pool water more effectively and confidently.
Step-by-Step Guide: How to Lower Alkalinity without Affecting pH
Step 1: Test and Prepare
Before making any chemical adjustments, you need accurate readings of your current water chemistry. Use a reliable test kit to measure both alkalinity and pH levels.
Digital testers provide the most accurate readings, but high-quality test strips also yield dependable results.
Once you have your baseline numbers, turn off the pool pump completely. This step is crucial because you want the acid to work locally rather than circulating throughout the entire pool immediately. Allow the water to become completely still before proceeding to the next step.
Step 2: Calculate the Right Dosage
Determining the correct amount of acid is critical to avoid overshooting your target. As a general guideline, 25.6 ounces of full-strength muriatic acid will lower alkalinity by approximately 10 ppm in a 10,000-gallon pool. For larger or smaller pools, adjust the proportion accordingly.
It’s better to use slightly less acid than calculated and add more later if needed, rather than adding too much at once.
Remember that muriatic acid is highly corrosive; therefore, always wear protective gloves and eyewear when handling it.
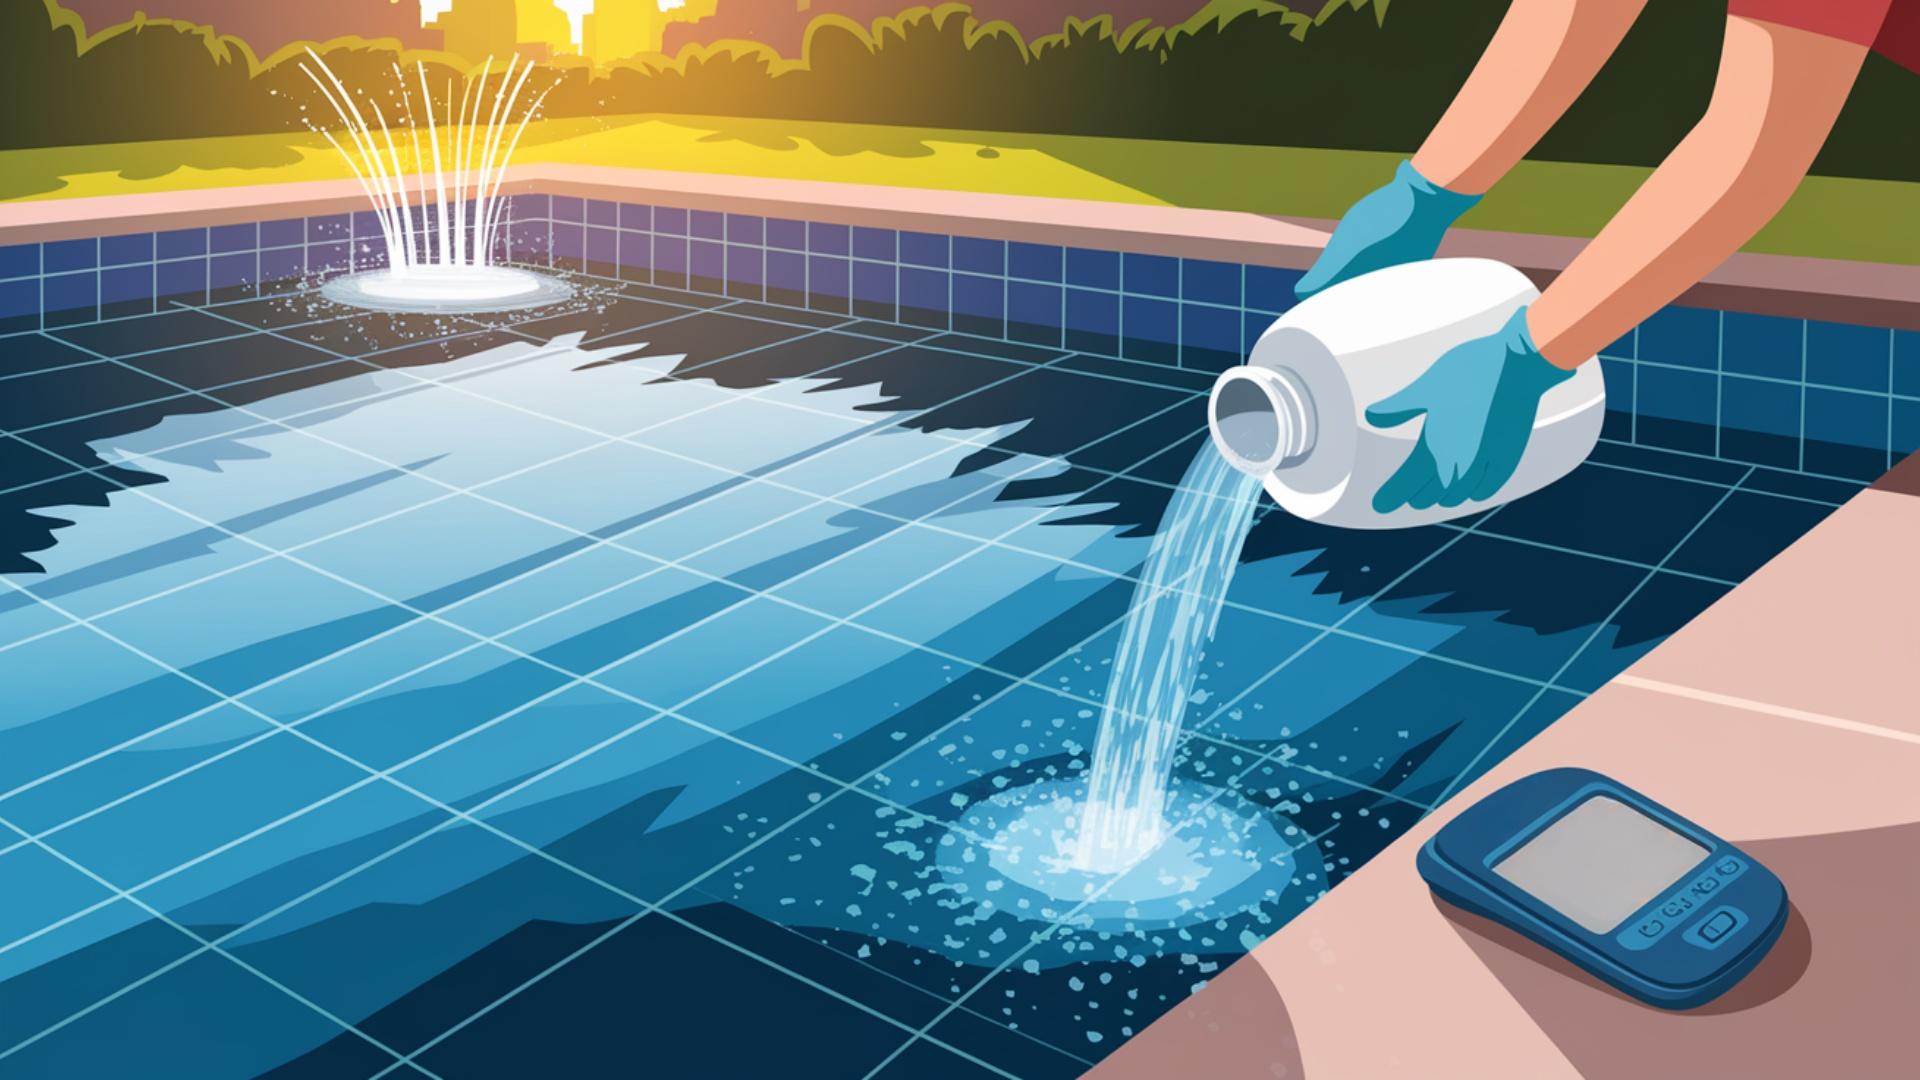
Step 3: Add the Acid
With your pool pump still off, carefully pour the pre-measured acid into the deepest part of your pool. The acid should be added slowly in a concentrated area rather than spread around the pool.
This localized application is key to the process working correctly. After adding the acid, allow it to sit undisturbed for about an hour. During this time, the acid will work to reduce alkalinity in that specific area without affecting the pH of the entire pool.
Step 4: Circulate the Water
After the waiting period, turn your pump back on and run it for approximately 5 hours to distribute the chemicals throughout the pool. This circulation phase helps ensure even distribution of the chemical changes.
During this time, the acid that reduced alkalinity in the deep end will gradually mix with the rest of the pool water.
The localized application, followed by delayed circulation, helps prevent the pH from dropping as much as it would with traditional methods.
Step 5: Retest and Adjust
Once circulation is complete, test your water chemistry again to see the results of your treatment. If alkalinity has reached the desired range but pH is too low, you’ll need to raise the pH without affecting alkalinity.
The best way to achieve this is through aeration, such as running water features, fountains, or directing return jets upward to create splashing.
For faster results, you can add a small amount of soda ash, being careful to use just enough to adjust pH without significantly impacting alkalinity levels.
Video Walkthrough – See How Experts Do It!
Check out this video by FlixWater
Tips for Maintaining Balance

Maintaining a balanced pH level in your pool requires attention to detail and consistent monitoring. Here are some practical tips to help you maintain optimal water chemistry throughout the adjustment process:
- Use a pool calculator app for precise chemical dosages.
- Test water chemistry daily during adjustment periods.
- Run your pump for at least 8 hours daily to ensure proper circulation.
- Keep a log of all chemical additions and test results.
- Make small, incremental adjustments rather than large ones.
- Use a digital water tester for more accurate readings.
- Schedule alkalinity adjustments for evening hours.
Following these tips will help you achieve more stable water chemistry with fewer frustrating rebounds. Remember that patience is key—rushing the process almost always leads to more work in the long run.
The Bottom Line
Tackling high alkalinity without disrupting pH balance doesn’t have to be a chemical nightmare. The key lies in strategic acid application, proper timing, and controlled aeration.
Following this approach helps you maintain proper water chemistry for the long term. Remember that consistency beats intensity when it comes to water maintenance.
Small, thoughtful adjustments lead to stable, crystal-clear water that’s gentle on both swimmers and equipment. Keep your testing kit handy, maintain detailed records, and make incremental changes.
Your reward? A perfectly balanced pool that stays clear, comfortable, and chemical-efficient all season long. With these techniques, you’ll enjoy worry-free swimming in perfectly balanced water throughout the entire season.
If you’re interested in learning more about maintaining a pool, click here for additional information.