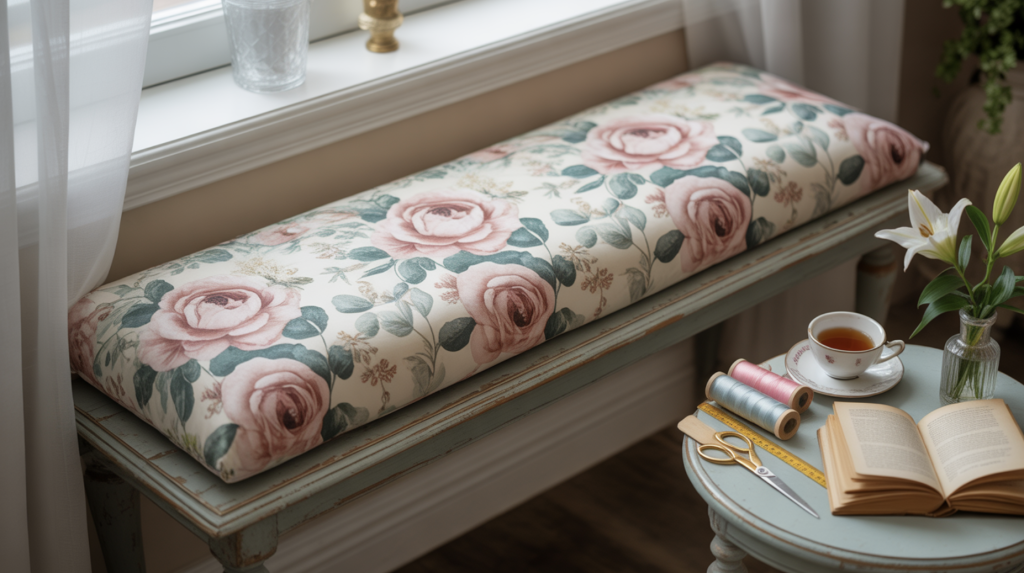
Remember that old wooden bench that looks perfect in your entryway but feels like sitting on bricks?
I ignored mine for months until my backside couldn’t take it anymore!
Making your own bench cushion is surprisingly simple and way cheaper than buying one.
When I couldn’t find anything that fit my oddly-sized window seat, I grabbed some fabric and foam and figured it out myself.
Now I’m sharing my 5-step method that took me from sewing novice to cushion-making pro in just one afternoon.
Ready to turn that uncomfortable bench into your new favorite spot?
Let’s create something that fits perfectly, looks great, and can be tossed in the wash when life gets hectic!
Why Choose a Pleated Lampshade?
Ready to change that hard, uncomfortable bench into your favorite cozy spot?
Whether it’s your kitchen nook, garden bench, or entryway seating, a custom cushion can work absolute magic!
You know that feeling when you find the perfect place to sit and relax?
That’s exactly what you’re about to create.
Making your bench cushion isn’t just about comfort, it’s about adding your style while saving money too.
With just a few materials and some simple steps, you’ll have a professional-looking cushion that fits perfectly.
Are you excited to turn that neglected bench into everyone’s favorite seat?
Create a Custom Bench Cushion in Minutes
Have you ever sat on that hard bench in your entryway and thought, “This needs to be softer”?
I felt the same way about my window seat for months!
A bench cushion is the perfect solution for uncomfortable wooden or metal seats that many of us have in our homes.
I recall searching through stores for weeks, trying to find the perfect size cushion for my reading nook.
Nothing fit!
That’s when I decided to make my own, and trust me, it’s so much better this way.
You get to pick exactly what you want, the right size, your favorite fabric, and how thick and soft you need it.
I’ve broken down this entire process into five easy steps that anyone can follow.
You don’t need to be a sewing expert or own fancy equipment.
Just grab some basic supplies, set aside about an hour, and you’ll have a cushion that looks like it came from a high-end store.
Materials You’ll Need
Before we begin, let’s gather all the necessary materials for this project.
Having all supplies ready makes the process much smoother!
| MATERIAL | NOTES | MY RECOMMENDATION |
|---|---|---|
| Bench foam | Custom-cut to size | Medium-firm density |
| Upholstery fabric | Durable, stain-resistant | Crypton or outdoor fabric |
| Zipper | Same length as foam | YKK plastic zipper |
| Marking tool | Water erasable | Disappearing ink pen |
| Sewing machine | Basic straight stitch | Any with zigzag capability |
| Scissors | Sharp fabric shears | Fabric-specific scissors |
| Pins | For securing the fabric | Glass-head pins |
| Measuring tape | Flexible type | Standard 60-inch tape |
Choose a foam firmness that feels comfortable yet supportive, and select a fabric that matches the intended use of your bench.
My entryway bench needed a darker pattern that could handle daily wear.
Step-by-Step DIY Bench Cushion Cover Guide
This method creates a clean, box-style cushion that looks store-bought but fits your space perfectly.
What makes this approach different is how we handle the corners.
Instead of bulky folds, we’ll create neat, tailored corners that give your cushion a crisp look.
Step 1: Measure and Cut Fabric
The key to a perfect cushion is getting the measurements right from the start.
This was where I made my biggest mistake the first time around—my cover ended up way too loose!
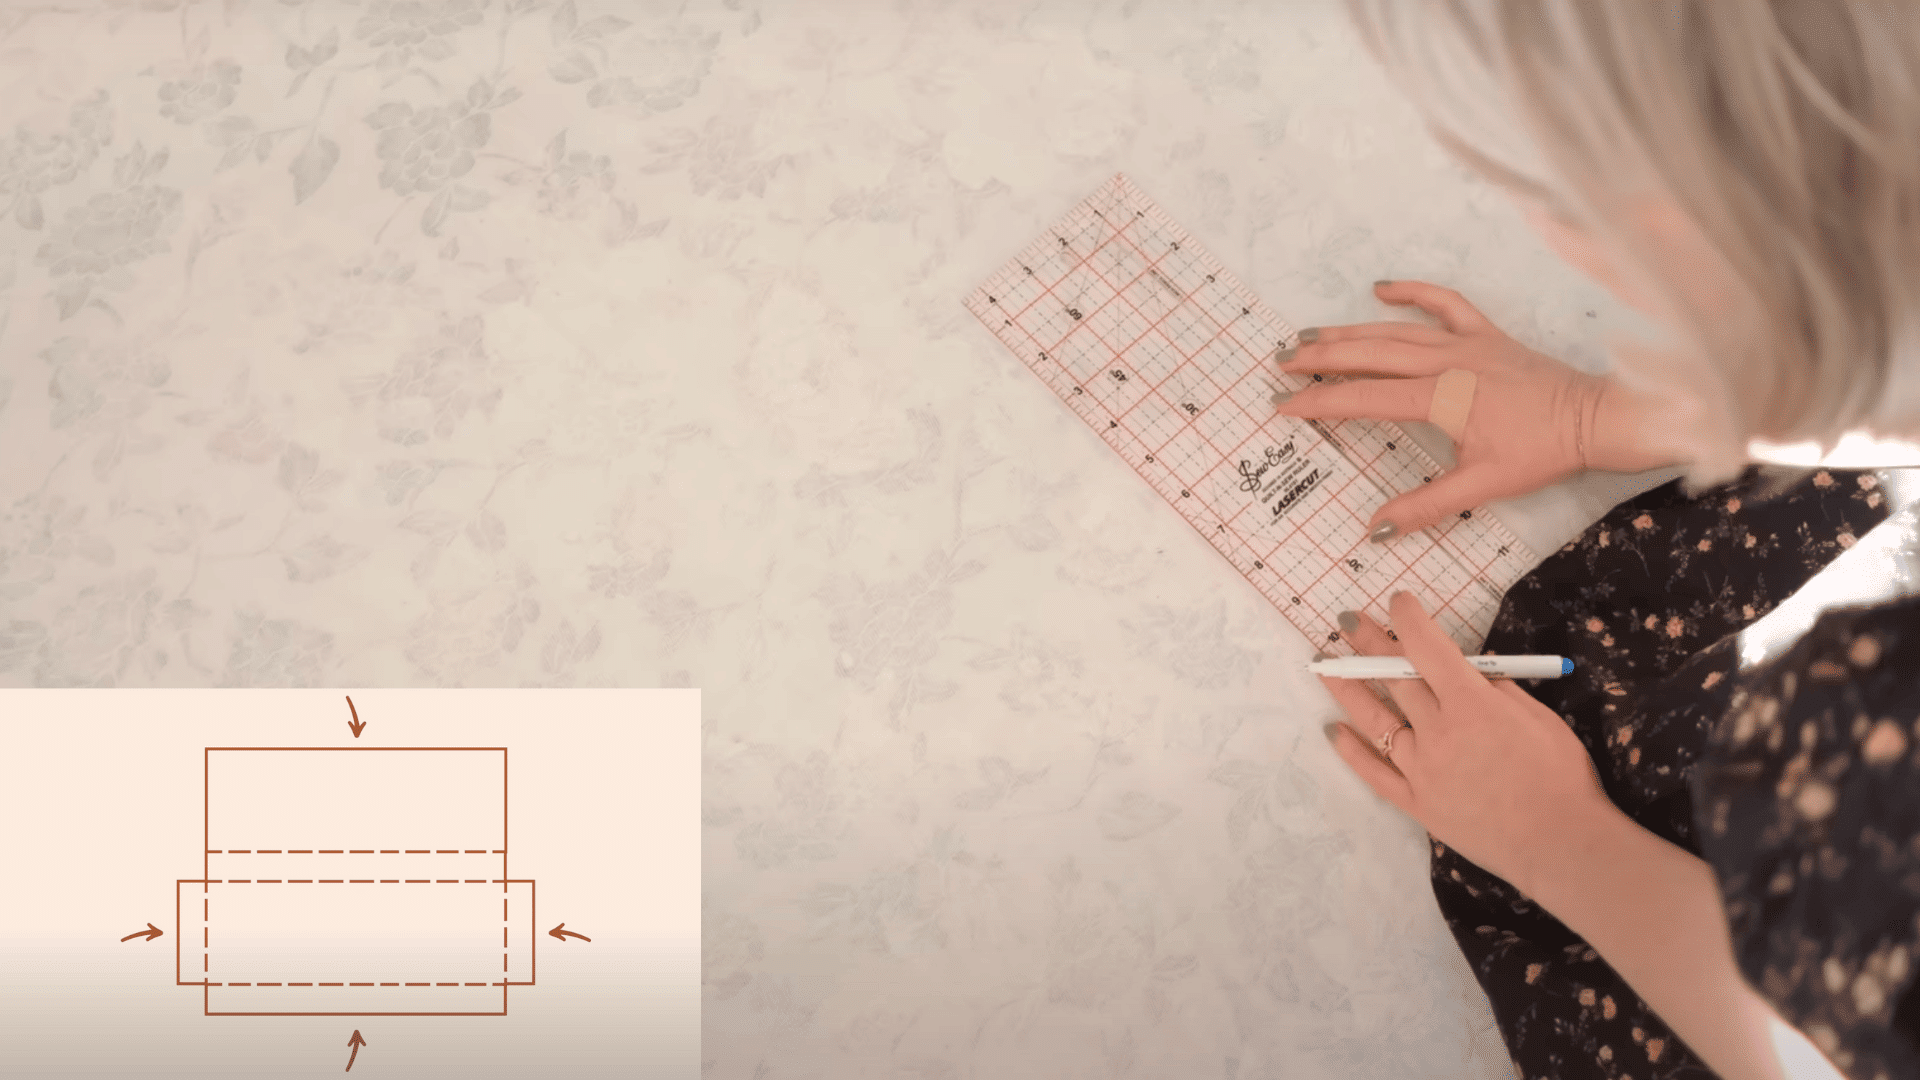
Lay your fabric on a flat surface with the wrong side facing up.
Place your foam piece directly on the fabric and trace around it with your marking tool.
Don’t add any extra space for seam allowance—we actually want the cover to be snug so the foam fills it.
For a professional finish, I prefer to use a clear ruler to ensure my lines are straight.
If your foam has slightly rounded corners, follow those curves when tracing.
Once you’ve traced the top and bottom pieces, you’ll need to cut strips for the sides.
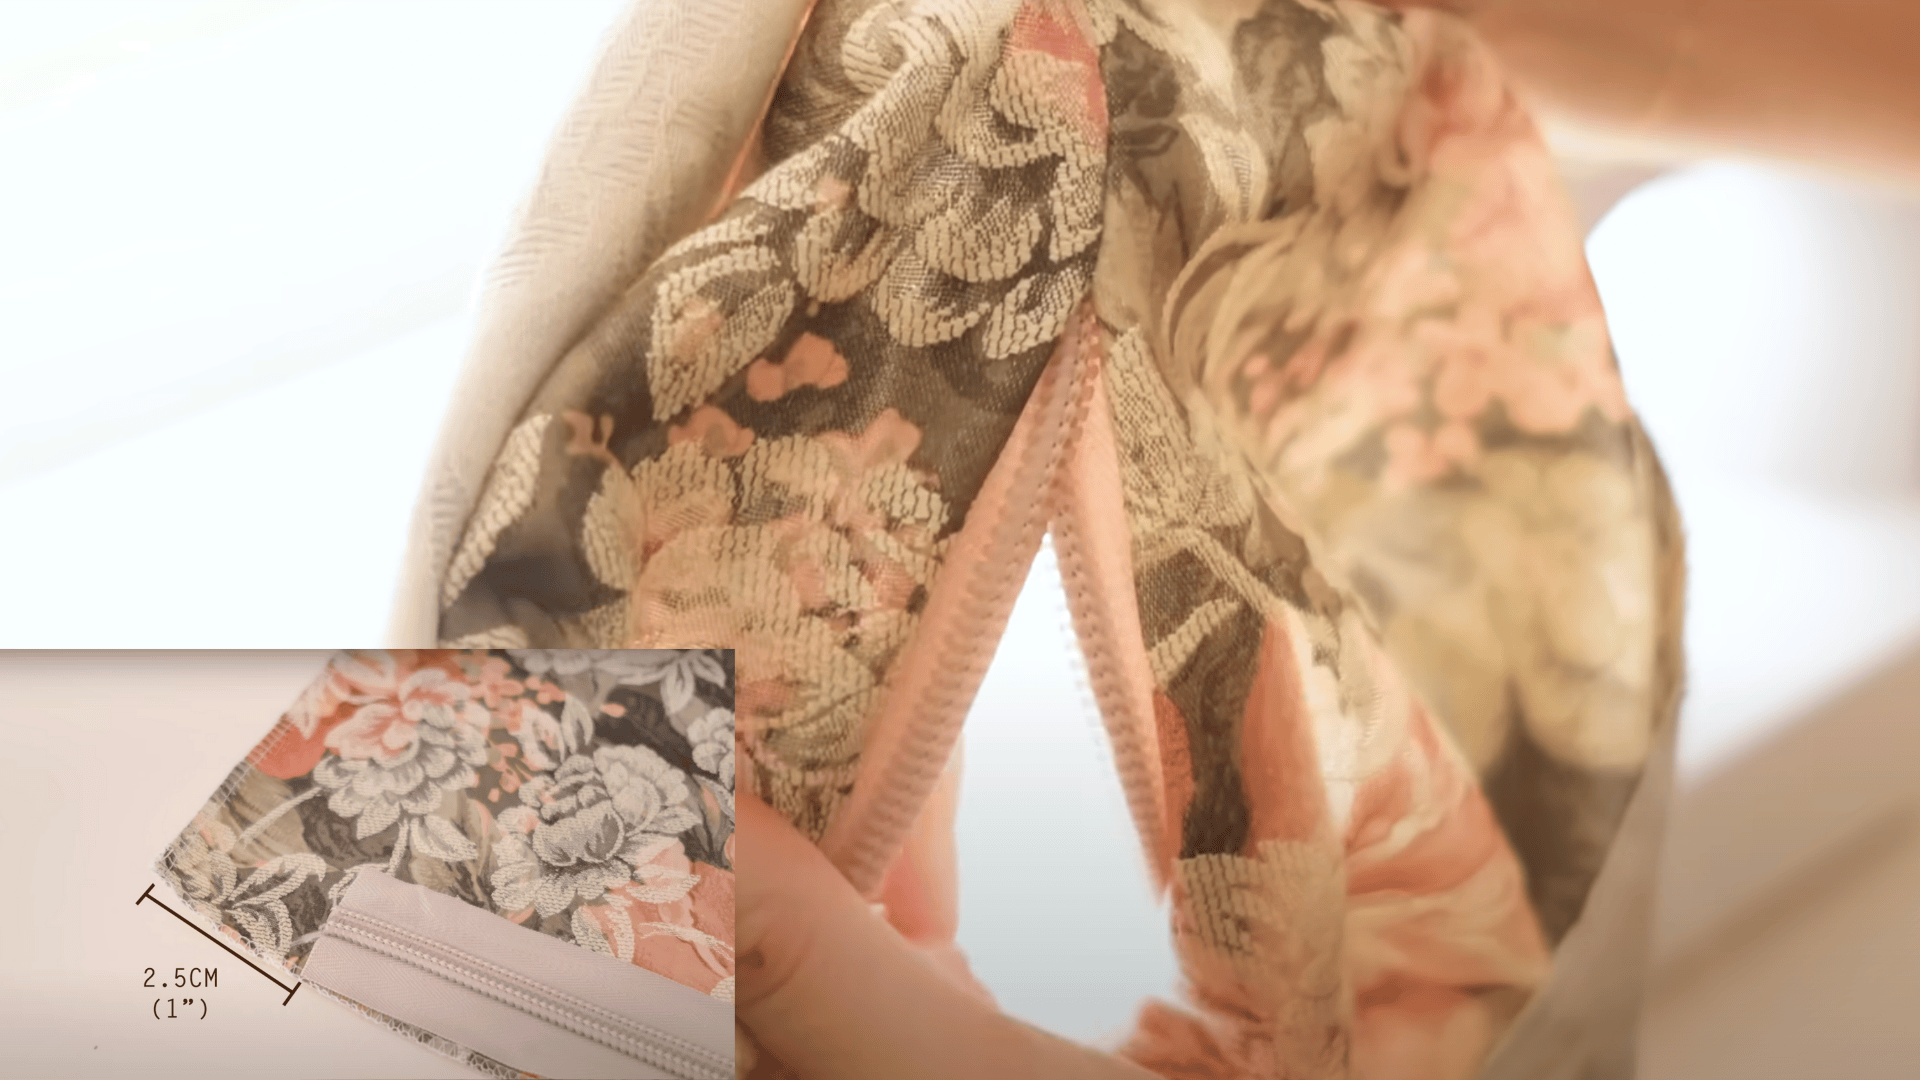
Measure the height of your foam and cut strips that width, plus about half an inch for seam allowance.
Step 2: Pre-Stitch Edges and Corners
This step makes such a difference in how your finished cushion looks!
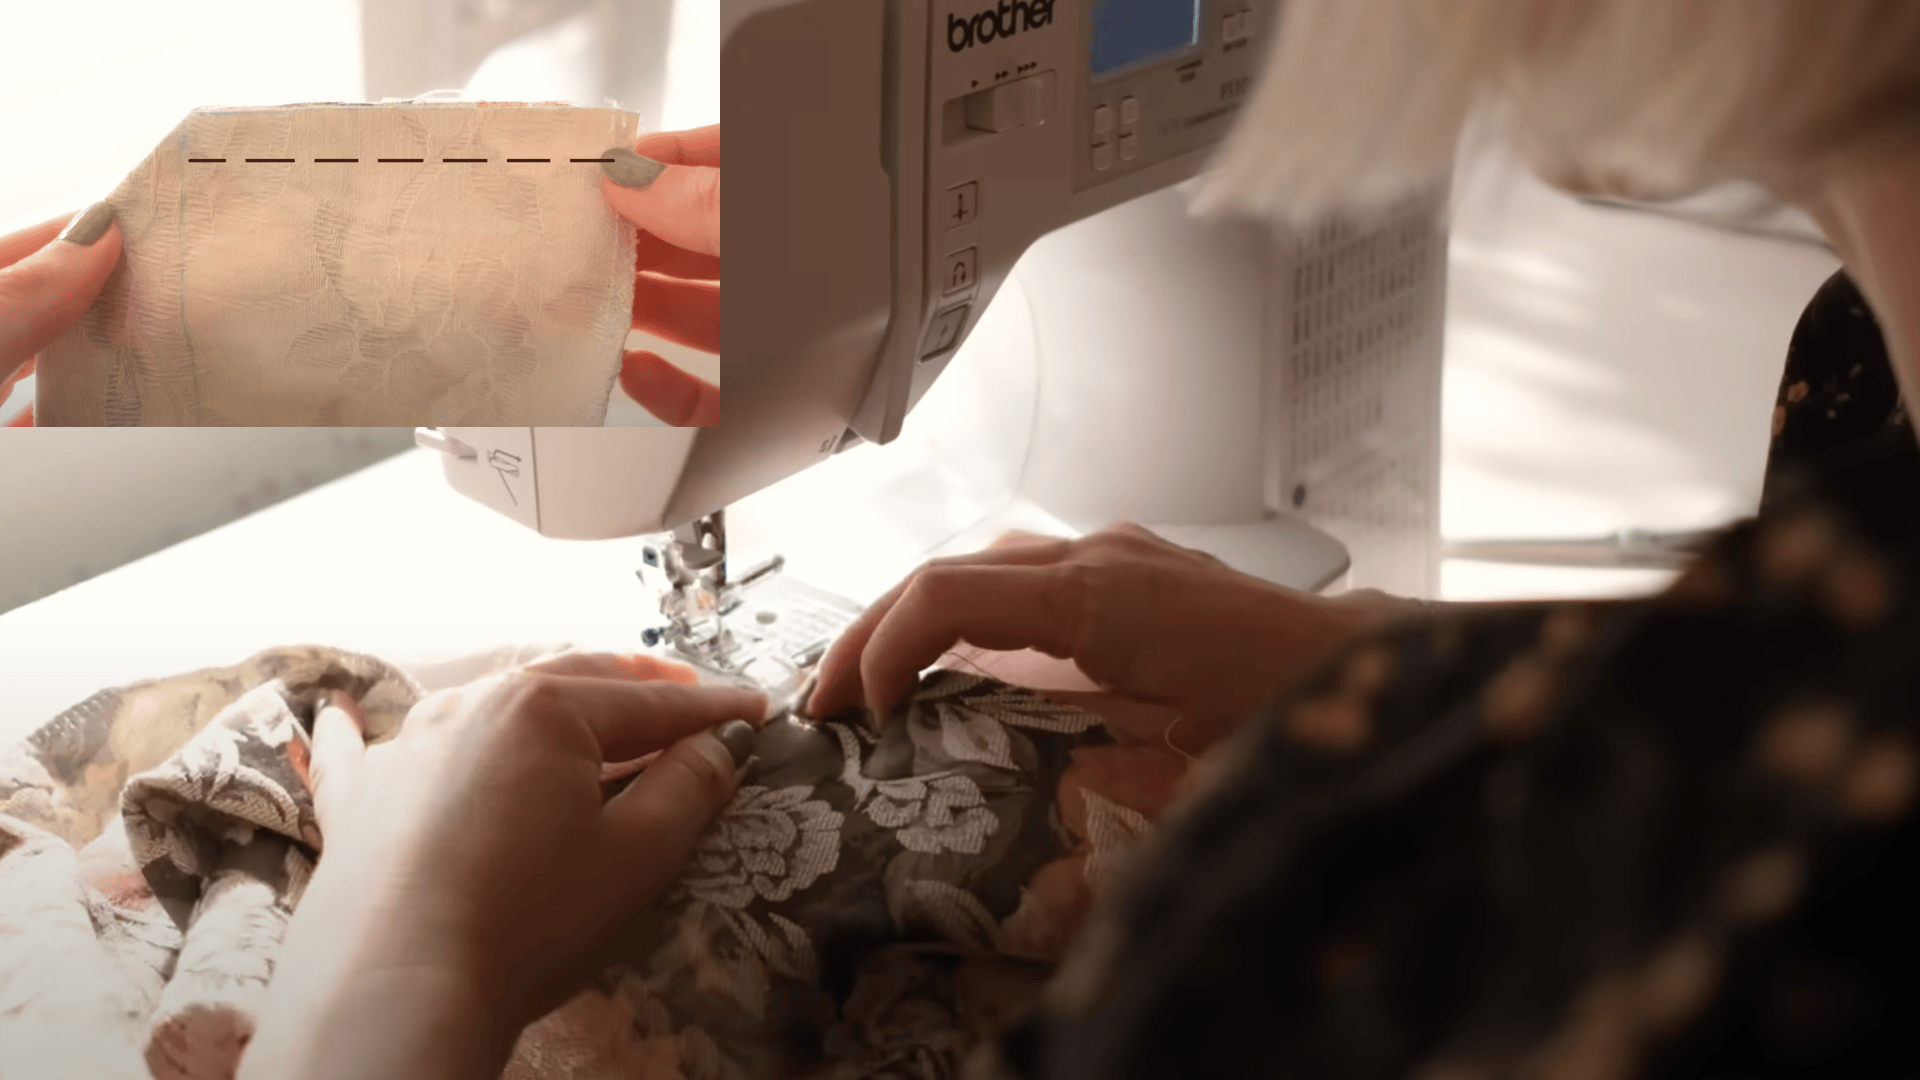
Start by running all cut edges through your sewing machine with either an overlock stitch or a zigzag stitch.
This prevents fraying and gives you a cleaner finish.
Next comes the clever part—creating those box corners.
Fold each corner where your side pieces meet, with right sides together.
Pin carefully, making sure everything lines up properly. I find it helpful to use lots of pins here.
Stitch these corners together, then turn them right-side-out to check the fit.
Place your foam inside temporarily to make sure the corners look sharp and the cover fits well overall.
It’s much easier to fix problems at this stage than later!
Step 3: Secure Corner Seams
Now that you’ve checked the fit, we need to reinforce those corners.
Take the cover off the foam and turn it inside out again.
Run another line of stitching over your corner seams, this time using an overlock stitch if your machine has one.
This reinforces the areas that will get the most stress when people sit on the cushion.
While you’re at it, finish any remaining raw edges that might not have been caught in the first round.
Nothing ruins a cushion faster than fabric that starts to unravel after a few uses!
Put your foam back in to check the fit once more before moving on to the zipper.
The cover should be snug but not so tight that it distorts the shape of the foam.
Step 4: Attach the Zipper
Adding a zipper might seem tricky, but it’s worth doing right.
The zipper allows you to remove the cover for washing, a must-have feature for any bench that gets regular use.
Pin your zipper along one long edge of the fabric, leaving about an inch gap at each end.
The zipper teeth should face inward, toward the right side of the fabric.
I like to use plenty of pins to keep everything aligned.
When sewing, start about an inch from the beginning of the zipper.
Sew toward the toggle, then stop with your needle down. Lift the foot and carefully move the toggle past before continuing.
This prevents that awkward bump that happens when you try to sew over the toggle.
After attaching one side, pin and sew the other side of the fabric to the opposite side of the zipper.
Pro Tip: Take your time here—a rushed zipper job is immediately noticeable on the finished cushion.
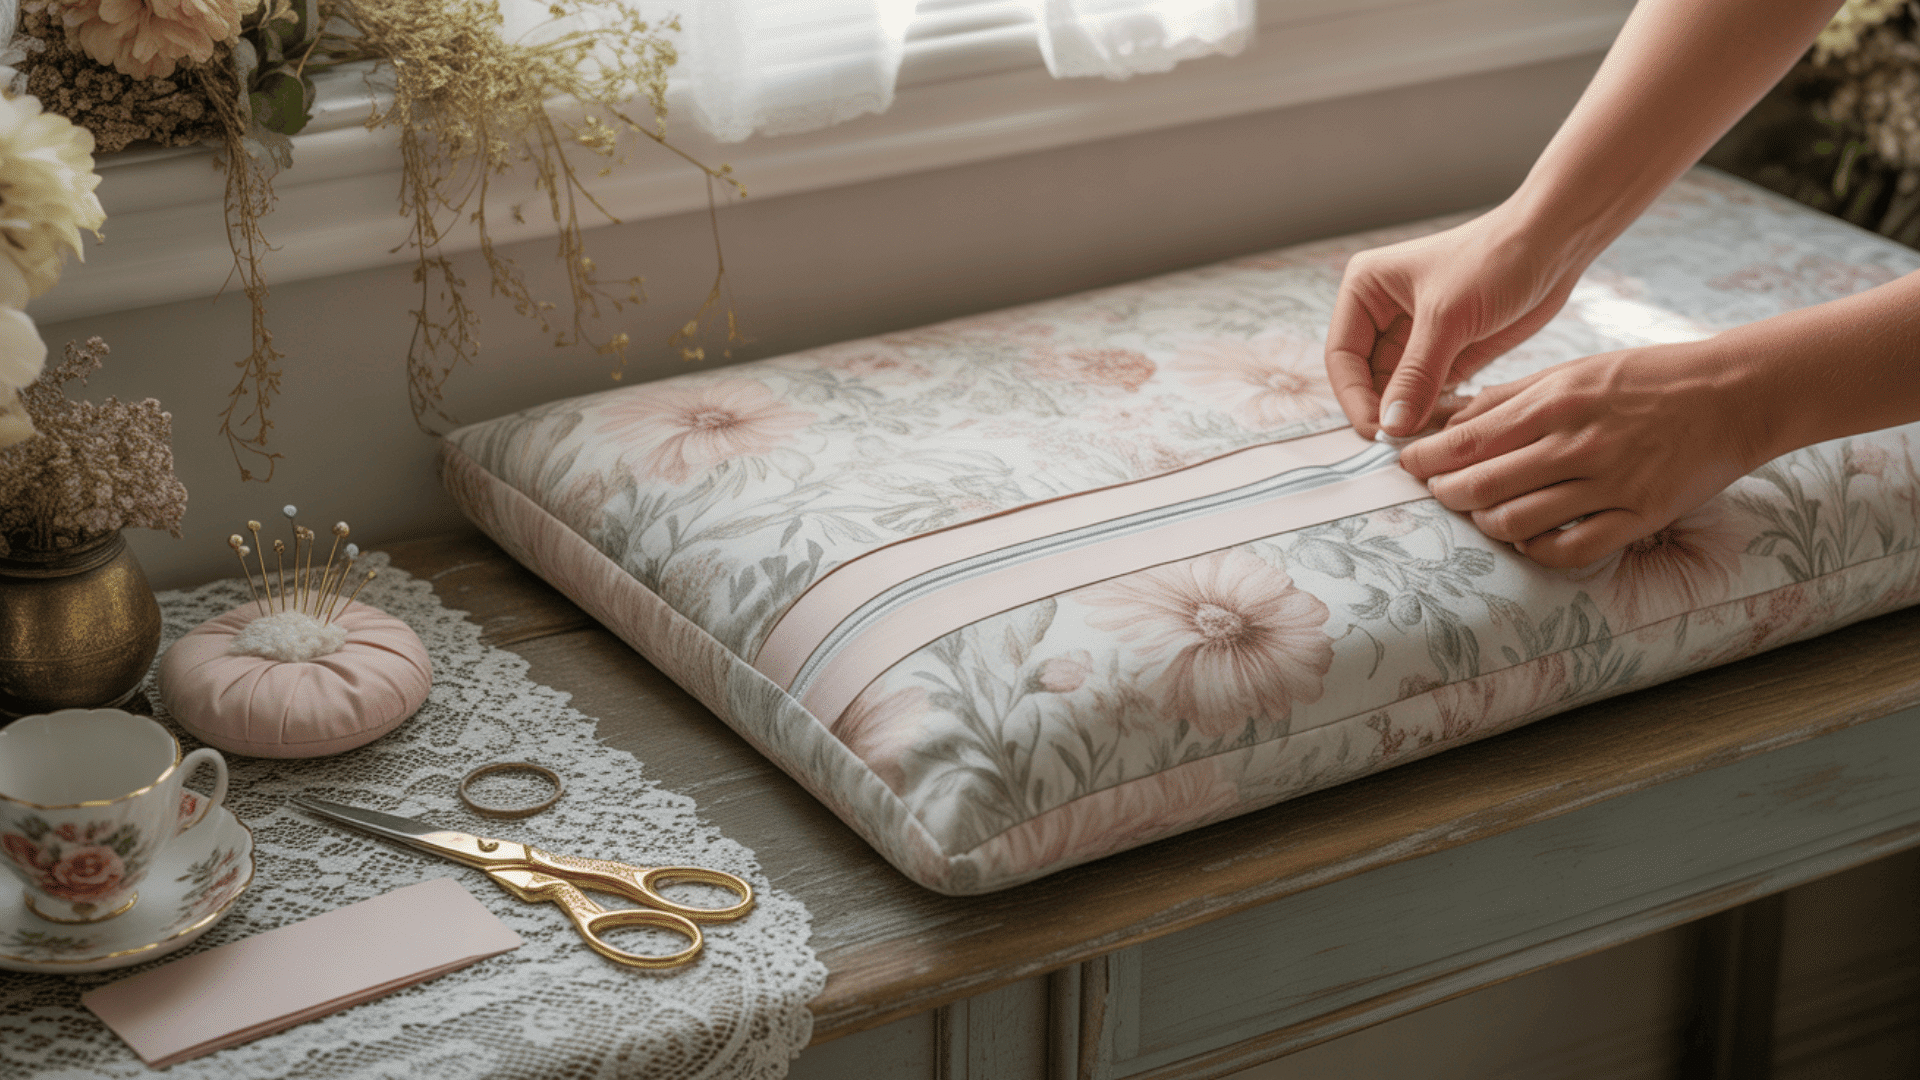
Step 5: Final Assembly and Fitting
We’re in the home stretch!
With the zipper attached and corners secure, it’s time to stitch the remaining sides together.
Ensure your zipper is partially unzipped before proceeding.
Otherwise, you’ll sew the cover closed with no way to turn it right-side-out.
Once all sides are stitched, clip the seam allowance slightly at the corners to minimize bulk and facilitate smoother turning.
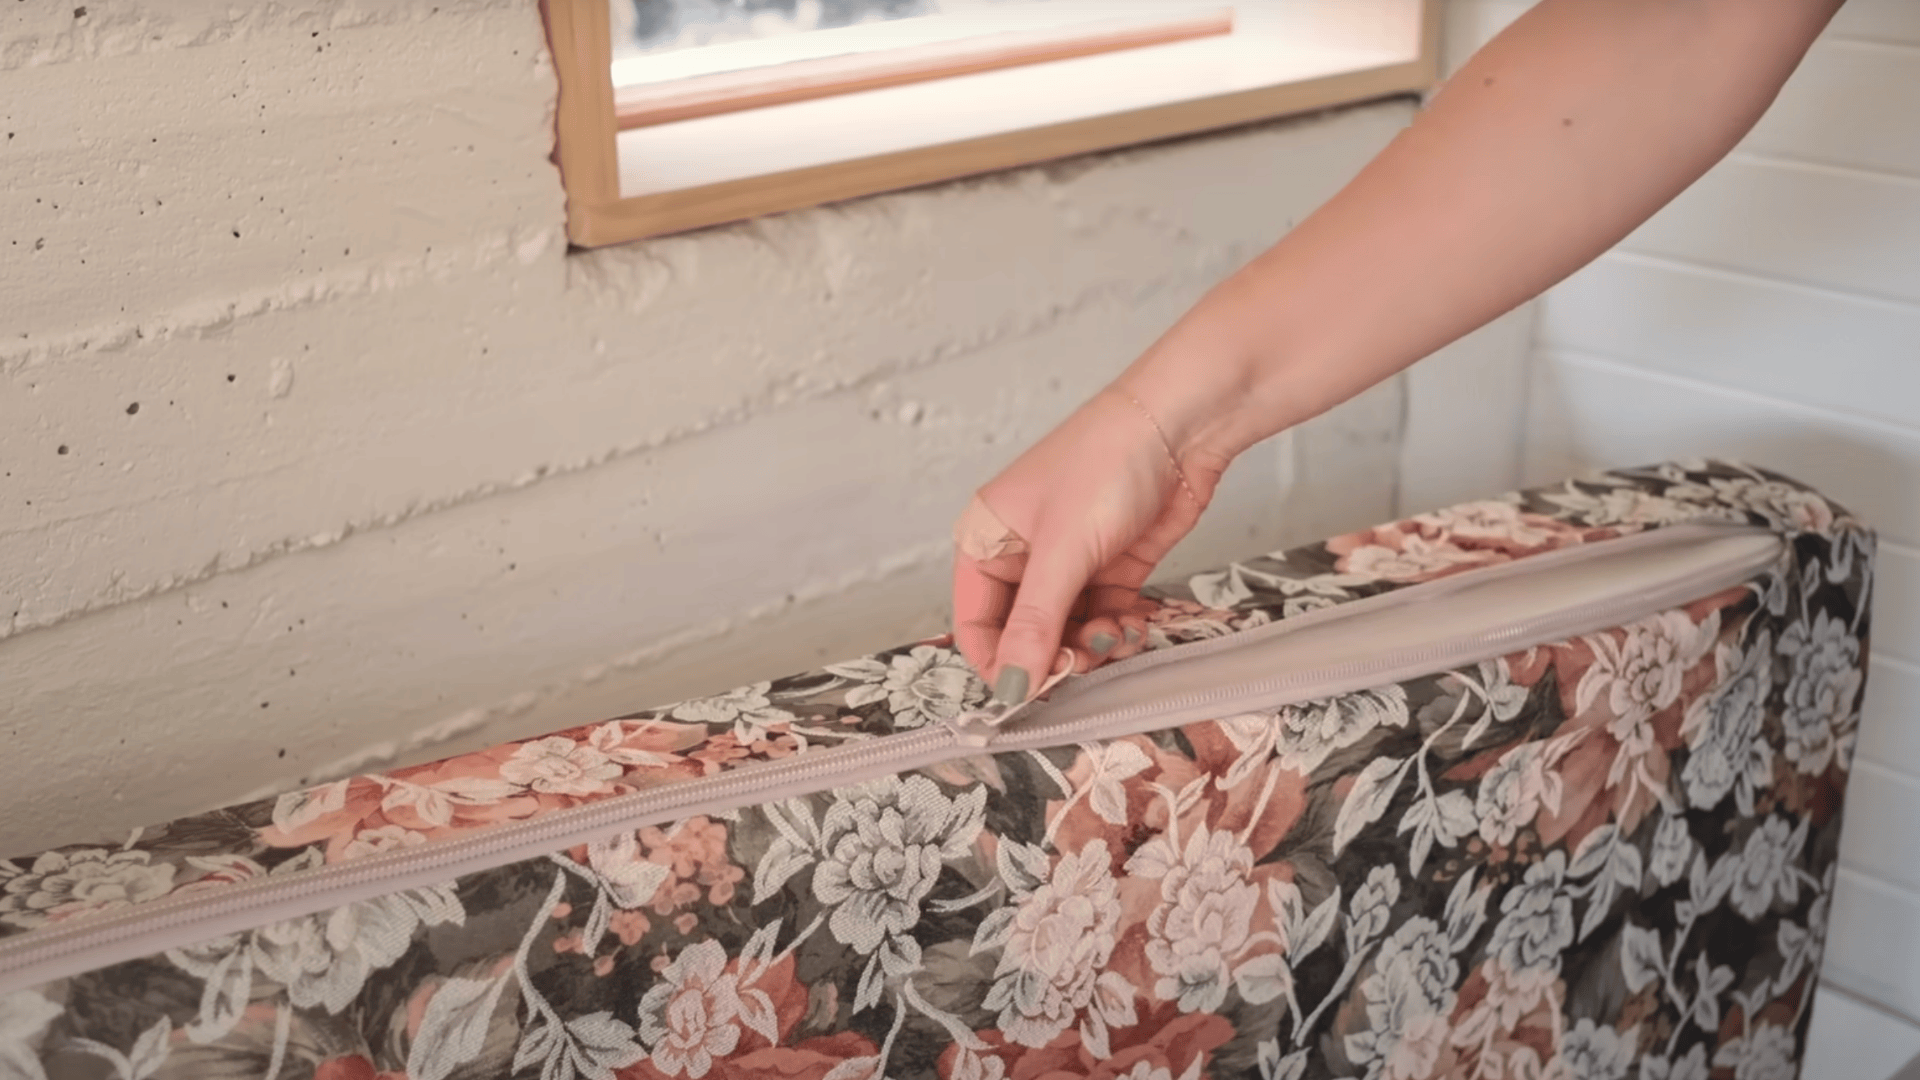
Turn your cover right-side-out through the zipper opening.
Now comes the part that requires patience, fitting the foam into the cover.
Open the zipper fully and start feeding the foam in gradually.
I find it helps to compress the foam slightly as you work it in, especially for thicker pieces.
Once the foam is fully inserted, zip the cover closed and marvel at your handiwork!
Video Walkthrough
For more information, check out this video tutorial by Rosery Apparel
Pro Tips for a Professional-Looking Cushion
After making several cushions (and learning from my mistakes!), I’ve gathered some tricks that take your project from homemade to handcrafted.
These small details make a big difference in the final look and longevity of your bench cushion.
- Always pre-wash your fabric before cutting to prevent later shrinkage.
- Iron your fabric thoroughly before starting to ensure accurate measurements.
- Choose a thread that perfectly matches your fabric for invisible seams.
- Use double-sided tape to align your zipper before pinning.
- Press all seams open as you sew for sharper edges and a cleaner finish.
When friends ask how I made such a professional-looking cushion, these are the secrets I share.
They don’t add much time to the project, but make all the difference in the quality of the finished piece!
Finishing Touches
Time to make your lampshade truly shine!
Want to add some pizzazz?
Try gluing on ribbon trim, decorative tape, or even small beads around the edges.
These little details make a huge difference!
When you’re ready to install, place your shade on the lamp base and plug it in.
How exciting is that first glow?
To keep it looking fresh, dust it gently with a soft cloth every few weeks. Avoid water unless your material is washable.
Ready to show off your amazing creation?
Cost Comparison and Benefits
Want to know the best part about making your lampshade?
You’ll save tons of money!
Store-bought pleated shades can cost $50-$100, but yours might cost only $5-$20.
Pretty amazing, right?
Plus, you get to pick exactly what you want – colors, patterns, and sizes that match your room perfectly.
Can you imagine finding that exact combo in stores?
And here’s something special: every time someone compliments your lampshade, you get to say, “I made it myself!”
That feeling is priceless.
Wrapping It Up
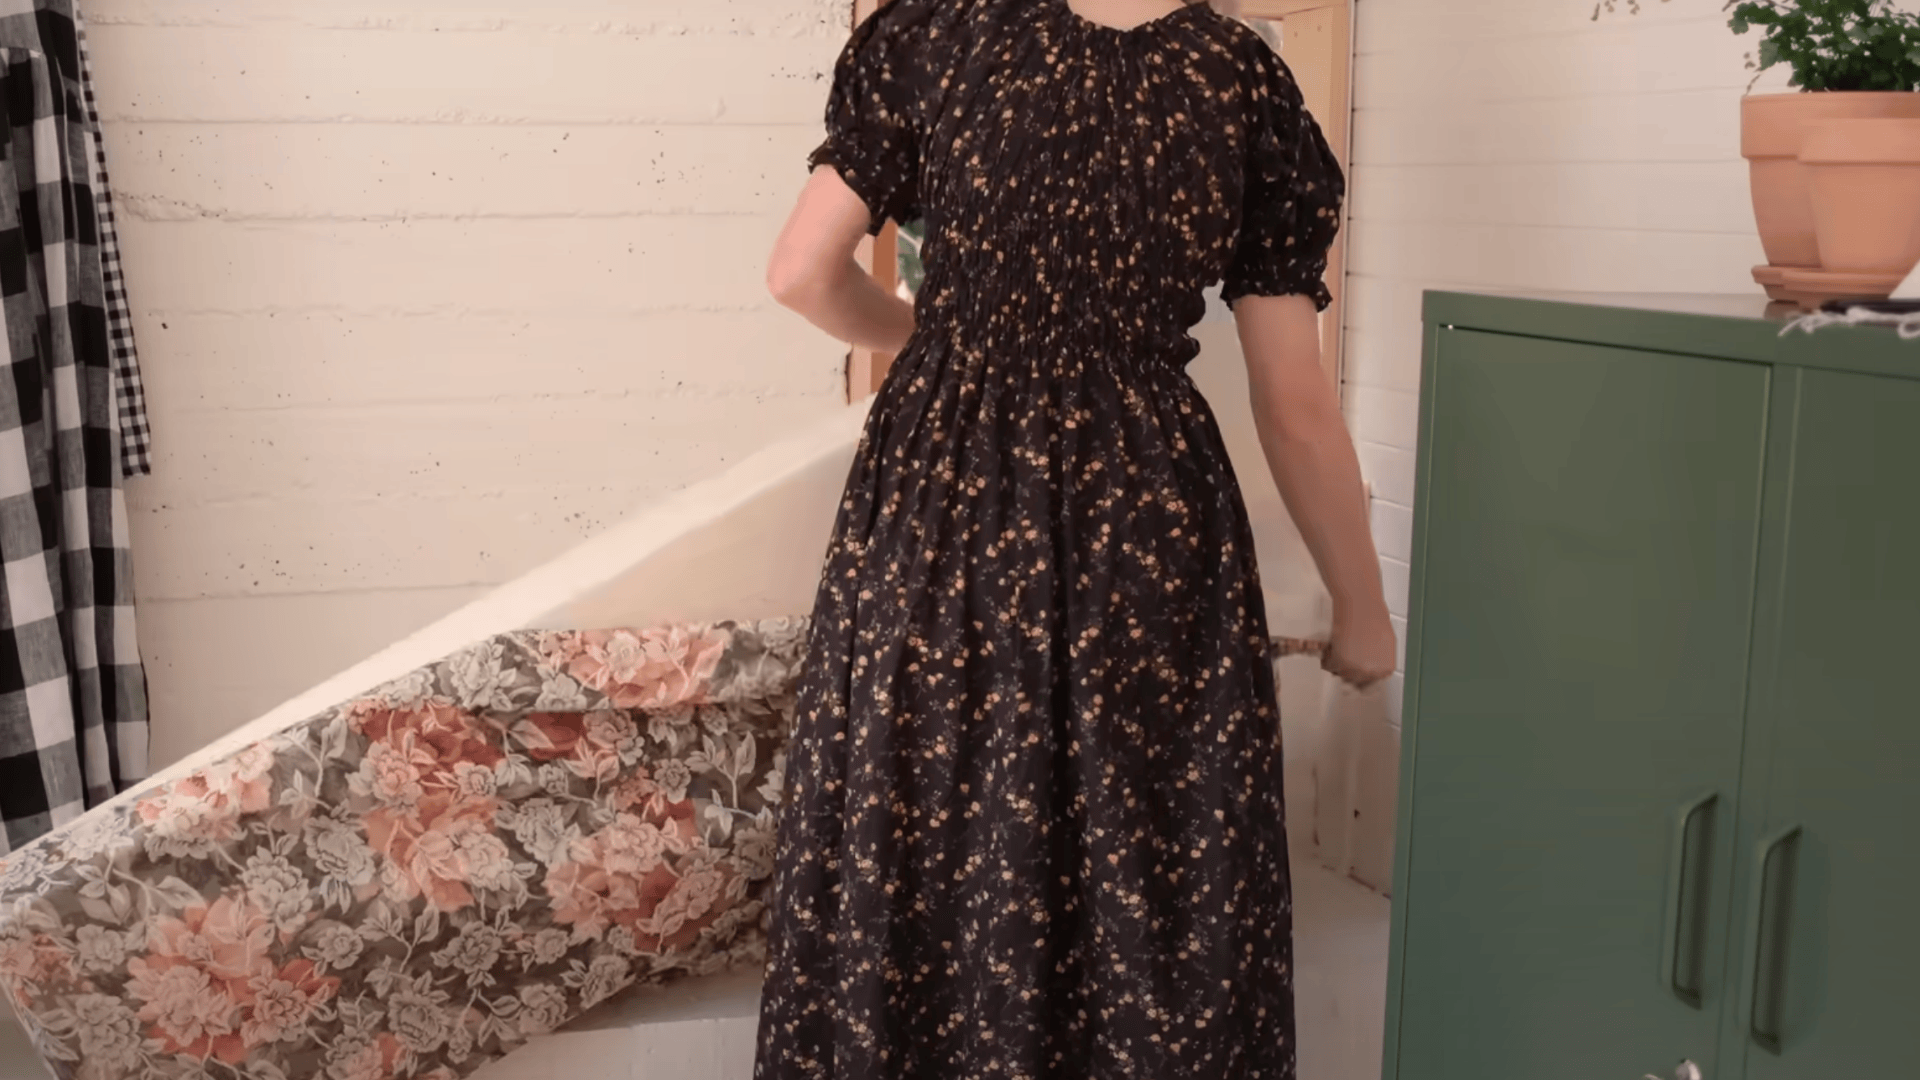
My once-ignored bench is now the first place I sit when I come home, all thanks to a simple cushion I made in one afternoon.
The satisfaction of creating something custom for your space is unmatched by anything store-bought.
I’ve made three more since that first one, each taking less time than the last.
The joy of watching guests gravitate toward a spot that used to sit empty makes the effort worthwhile.
And there’s a practical side too, the removable cover means spills and dirt are no longer a worry.
Looking at your bench now, imagine how a few hours of your time could change it completely.
These five simple steps stand between you and a more comfortable, inviting home.
Once you’re done, you might find yourself, like me, wondering why you didn’t do this years ago.