Sweet Parrish Place

I'm the girl with champagne taste and a tight budget

  • Home
  • About
    • About Nicki
    • Shop My Amazon
    • Contact Us
    • Blog Love
    • Link Parties
    • Advertise | Disclosure | Privacy Policy
  • Home Tour
    • Yellow Prairie House Tour
    • West Virginia Home Tour
    • Seasonal
  • Projects
    • Trashtastic Treasures
    • Holiday
    • Decorating
    • DIY
    • Crafting
    • Paint Projects
    • Cleaning/Organization
  • Style
    • Fall/Winter
    • Spring/Summer
    • Sweet Parrish Place Style
    • Tips/Tricks
    • Shop My Looks
    • Shop My Amazon
  • Travel
  • Lifestyle
    • Family
    • Decor
    • My Favorites
    • I’m Loving It
    • Personal
    • Shop My Amazon
  • Yellow Prairie House Tour

Master Bedroom Update and a Picmonkey Trick

February 28, 2015 By Nicki Leave a Comment

Curtains hung from hooks2
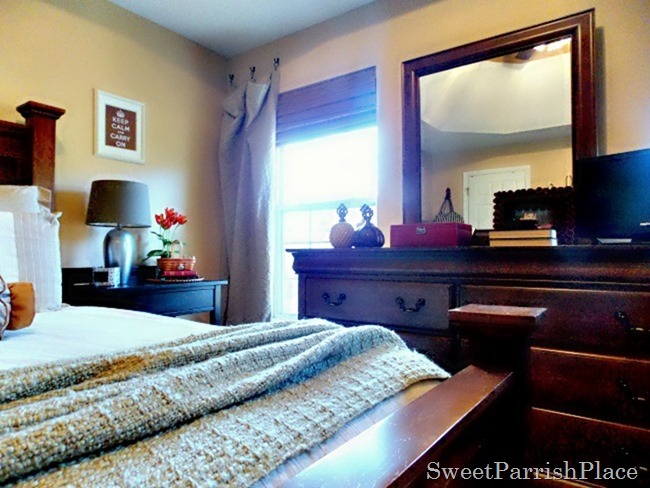
We made a small update to our master bedroom right after Christmas that I have not gotten around to sharing with you yet, so what better time than the present? 

We got new curtains! 
Curtains hung from hooks1
The last time I showed you a master bedroom update was in November when I showed you the Mid Century Modern dresser we inherited from LC’s grandmother.  And last February, we updated our bedding.  If you click through and look at the post I wrote about our new bedding, you can see that our old curtains were red.  We brought those with us from the master bedroom in our old house, and hung them.  But they were probably ten years old or so, and I wanted something in a more neutral color. 
Curtains hung from hooks3
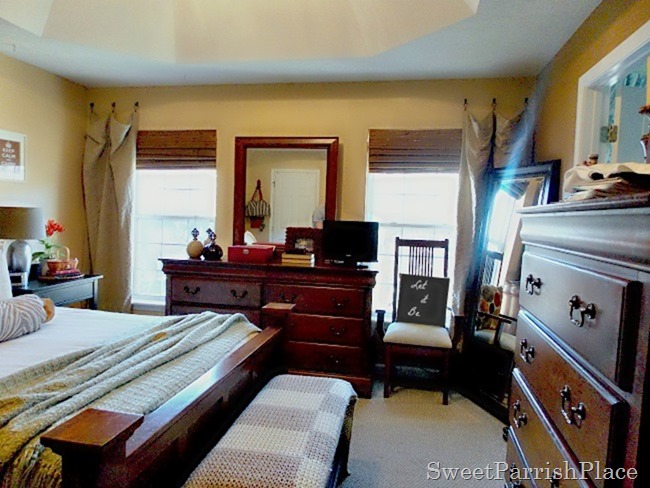
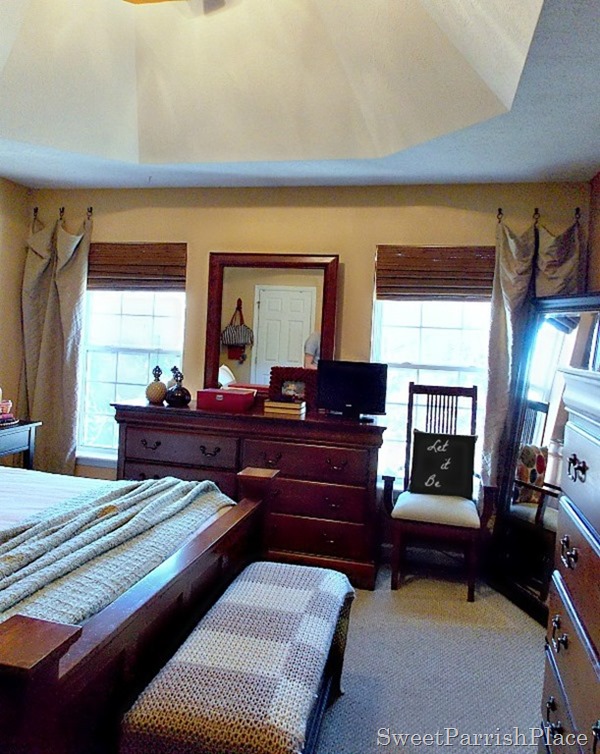
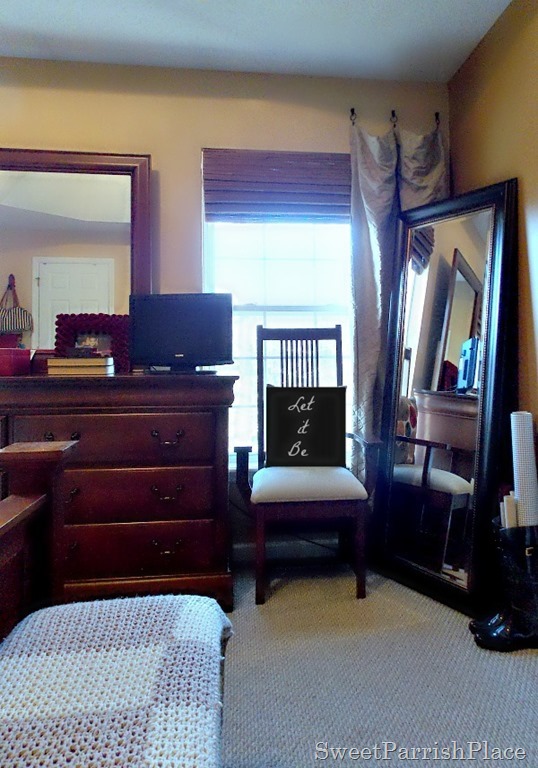
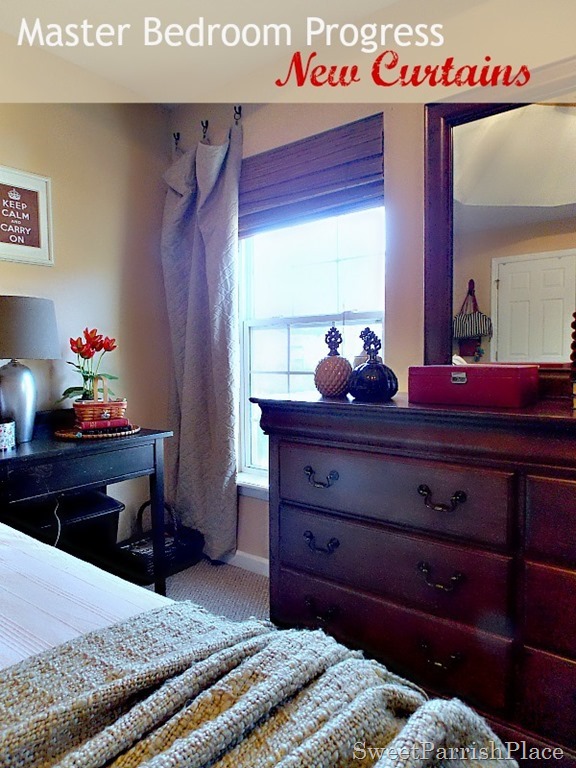
We received a $50 JC Penny gift certificate for Christmas, and we went there to spend it.  We wandered over to the drapery section, and saw that they were having a sale, so we decided to see if they had something that would work for our bedroom.  We only needed two panels, because as you can see we only have one panel on each window.  It just doesn’t make sense to have two panels, because our dresser covers most of the space in between the windows.  Se we hung hooks instead of a curtain rod and hung the curtains that way.  We can’t close the curtains, but that doesn’t bother us, because we shut the blinds every night. 
Curtains hung from hooks4
These curtains were on sale- two panels for right around $50, and we liked the color, and the pattern of the curtains, so we decided to bring them home and try them out. 
DSCN6834
I have difficulties taking pictures of a room when the sun is shining in, but I did the best I could.  We were thrilled with the curtains when we got them hung!  They are a nice heavy drapery that is fully lined.  They actually still have them online and they are on clearance!  They are Martha Stewart Curtains. 
Curtains hung from hooks6
I like the fact that these curtains are neutral.  I also think they coordinate better with our bedding.  I still have a few pops of red in this room, but they are now in the décor, not the bedding or the curtains. 
Curtains hung from hooks7
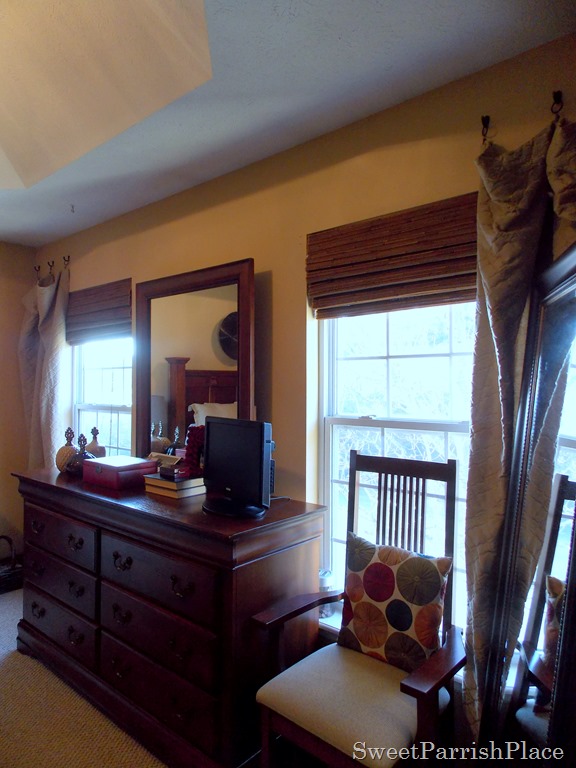
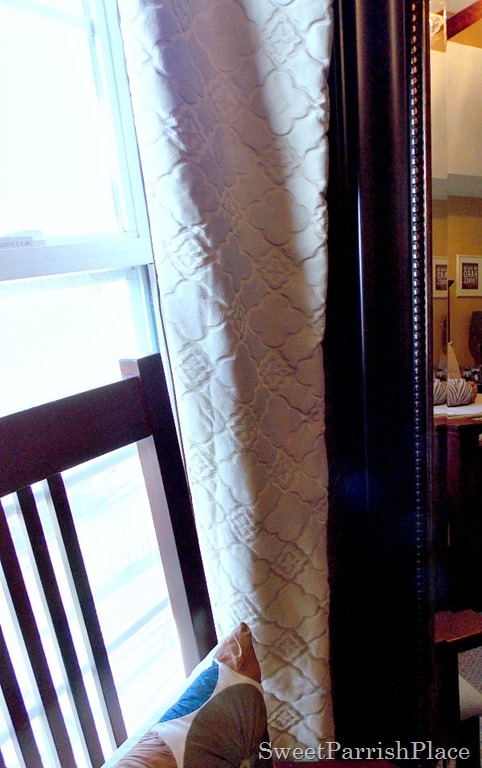
Here is an up close look at the pattern on the curtains. 
Curtains hung from hooks8
What do you think of our new curtains?  Do you think it is a good choice in our master bedroom?  I would love to know what you think!

A PicMonkey Trick I recently discovered:

PicMonkey Photo editing made of win 

Let me tell you a little trick I discovered on PicMonkey, that I actually used in this post!  I want you to take a look back at the pictures, and did you notice anything (besides the curtains) about any of the pictures that caught your eye?  Scroll back up and take a look at the pillow on the chair that says let it be.  I put that pillow in there using the editing tools on PicMonkey, and I am going to tell you how I did it. 

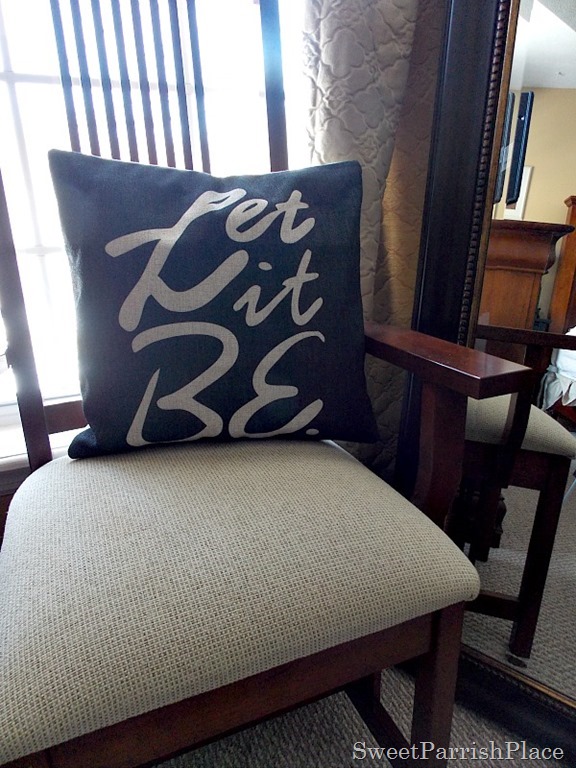
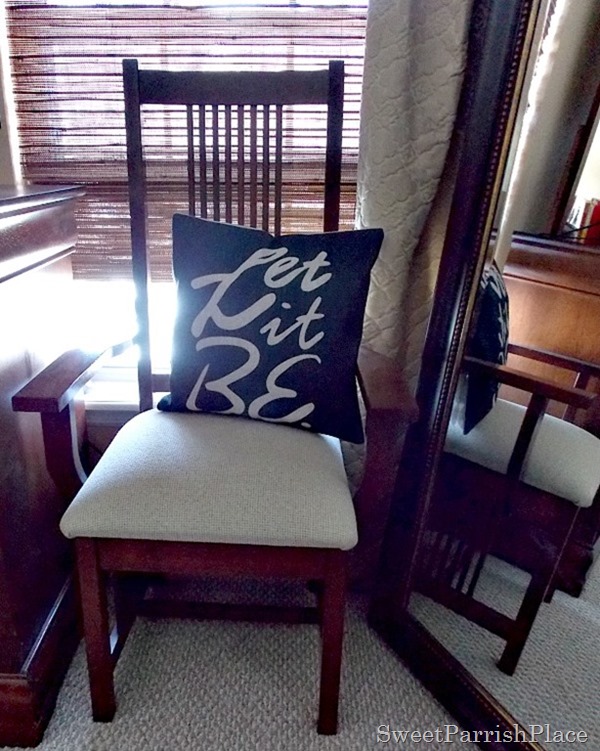
You see, since I took the pictures of the curtains, I also bought a new pillow cover that is not pictured.  If you look at the 5th picture down from the top, that is the actual pillow, which I left in so you could see it.  And if you will  notice, in a couple of pictures where you can see the reflection in the mirror, you can see the original pillow too. Here is a photot I put text on so you can clearly see the edited pillow.
I edit all of my pictures on PicMonkey, and I do pay the extra fee for Picmonkey Royale, which gives you some extra features that the basic PicMonkey does not have.  And here is how I made that pillow look as similar as possible to my actual Let it Be pillow.  If you load a picture into PicMonkey to edit it, on the left hand side of the screen, you will see a menu.  One of the options is a butterfly shape, which is overlays.  Click on it.  Now you are into the overlay menu.  Click on Geometric, and I then selected the square shape.  A square shape will appear on your picture that you are editing.  You can then move it around and make it different sizes.  I just moved it until it was right over the pillow I wanted to change, and then I made it the exact same size as the pillow.  When you have the square on your picture there is also a small window that pops up titled overlay.  If you click on Color 2, you can make the square any color you want.  The square on your picture can be tilted too, by clicking on the tiny circle in the top center.  I tilted mine to match the way the pillow was sitting on the chair. 
After I had the square positioned right over the original pillow, and it was tilted the right way, and it was the correct size, I added the Let it Be text to the square.  Just by clicking the Tt in the left menu. You can choose whatever font you want.  And you can also make it whatever size you want using the text window that pops up on the screen.  You can also change the color of the text.  If you have any questions about how I did this, then feel free to ask in the comments and I will answer you!
I thought this was a neat little trick, and definitely worth sharing today!  Have you ever used PicMonkey to do similar things?  I discovered this when I was writing this post, and I didn’t like the fact that the old pillow was in these pictures, so I decided to use PicMonkey to do something about it.  And then all of a sudden this post morphed into a master bedroom update, and a PicMonkey Trick! 
I did go into the bedroom and take a couple of pictures of the new pillow so you could see what it actually looks like.  Here it is. 
Let it Be Pillow1
I purchased this pillow cover on Amazon, and the just put it on the old pillow.  I just love this little update!  there is a link to this pillow on Amazon below this picture if you are interested in purchasing it.  
Let it Be Pillow2

I also purchased some other really cute pillow covers for our living room.  I am updating all of our throw pillows in there.  Here are the other pillow covers I purchased.  If you have never shopped for pillow covers on Amazon, they have some great options and great prices!


This post does contain affiliate links.  If you click on them and purchase an item, I will receive a small percentage of commission. By clicking the link, you are NOT paying any more than you ordinarily would for any item.

This is where I party:

Saturday:
Found and Foraged// DIY Sunday Showcase
Sunday:
That DIY Party
Monday:
Amaze Me Monday// Bloggers Brags// Motivational Monday// Motivation Monday
Metamorphosis Monday// Something to Talk About
Tuesday:
Show and Share// Inspire me Tuesday// The Scoop// Project Inspired// Lou Lou Girls Fabulous Party
Wednesday:
Wow us Wednesdays// Work it Wednesday
Thursday:
Think and Make Thursday// 2 Favorite Things
Friday:
Frugal Friday// Weekend Retreat// Craft Frenzy Friday// Freedom Fridays// Home Matters
Creativity Unleashed
Saturday:
Show me Saturday
Filed Under: JCPenney window treatments, Martha Stewart Curtains, Master Bedroom, My Home, Picmonkey, Uncategorized

Leave a Reply Cancel reply

Your email address will not be published. Required fields are marked *

CommentLuv badgeShow more posts

This site uses Akismet to reduce spam. Learn how your comment data is processed.

Hi, I'm Nicki I'M THE GIRL WITH CHAMPAGNE TASTE AND A TIGHT BUDGET. I'M SO GLAD YOU'RE HERE!
  • Bloglovin
  • Facebook
  • Google+
  • Instagram
  • Pinterest
  • Twitter

VIP Real Estate

NO PLACE LIKE HOME

No Place Like Home

ORC Bathroom Makeover

Kids/Guest Bathroom Makeover

One Room Challenge Week 6 Kids-Guest Bathroom Reveal

It's week 6 of the One Room Challenge and this is … [Read More...]

ARCHIVE

ORC

Shop My Faves!

Spring Trends
PicMonkey Photo editing made of win
Get Sponsored by Big Brands

SheKnows

Linquia Influencer

FYI

Find Your Influence

INSTAGRAM

Recent Posts

  • Cozy and Casual Christmas Tour | Part 2
  • Casual and Cozy Christmas Tour | Part I
  • Farmhouse Bathroom Makeover Progress | $100 Room Challenge

Archives

Find It Here

Copyright © 2021 · Sweet Parrish Place