It’s week 2 of the one room challenge, and I am here to share with you about my experience painting a laminate cabinet with chalk paint.
Hey friends! It is officially week 2 of the One Room Challenge, and I announced last week that I would be making over my 9 year old son’s bedroom. Last week I shared that we had already painted the room, and my vision board for the room. You may want to go back and read my week 1 post before you read this one. Today, I want to share my experience painting a laminate cabinet with chalk paint.

If you have not heard of the One Room Challenge (also called ORC), currently in its twelfth season, is a widely anticipated biannual event every April and October. Each round, twenty design bloggers take the challenge and transform a space. It is hosted by Calling It Home and House Beautiful. Wednesdays is the day for the design bloggers to go live with their progress, and Thursdays is the day for all the guest participants to go live. You guys will be amazed at these reveals, they are just beyond words good!
If you found me through the ORC Link up, welcome! I am so happy you are here! My name is Nicki and I am the blogger behind Sweet Parrish Place. I love to share our DIY and home decor shenanigans, along with some organization, fashion, travel and other lifestyle types of topics. Thanks for reading!
So now, back to the project I wanted to share today. My neighbor was giving this cabinet away and offered it to us. Well if you know me, you know I don’t turn down free furniture. I promptly had my husband move this cabinet into our garage. And there it sat for probably a year, until I started scheming and dreaming about this bedroom makeover, and I realized this would make a perfect cabinet to hold many of the small collectible toys that my son loves to gather. I decided I would give this cabinet a little makeover and use it in his bedroom makeover. Here is what it looked like before. I had already removed the existing hardware before I remembered to take a before photo of this cabinet.

Please note: Some of the links in this post are affiliate links, which allows me to make a small commission from your purchase, but your purchase price stays the same. Thank you for helping support my blog! I greatly appreciate it!
Painting A Laminate Cabinet With Chalk Paint
When I was trying to decide exactly how I would go about painting this cabinet, I had a wild hair, and I decided to use this cabinet as an experiment to try using the Chalked spray paint that I had been seeing on the market. The color I bought was called aged gray. I had not tried using it before, so I figured now was as good a time as any. And I figured if it didn’t work out, I could always paint over it with something else, and besides, the cabinet was free in the first place, so what did I have to lose? Well, I found out the answer to that question- it was MY SANITY! That’s how I picked my Halloween costume, which I announced during my fall home tour.

I digress! You guys, it didn’t go well. And, no one is paying me to say this either, Ha! Needless to say, I was not happy with my results using this product. And trust me when I say this- I am a very experienced spray painter. I have used all types and brands. But I could not get this stuff to not look streaky. I even went back to the store and purchased more because I really wanted to give this the old college try. I’m not even sure how many coats I had on this cabinet in this picture below. But suffice to say it was at least three. And you can see that the sides were looking pretty darn good. But the front was the problem I was having. I had used up all of the spray paint I had purchased, which was way more than I felt I should have had to use. And I finally decided that I had failed in the chalked spray paint arena.
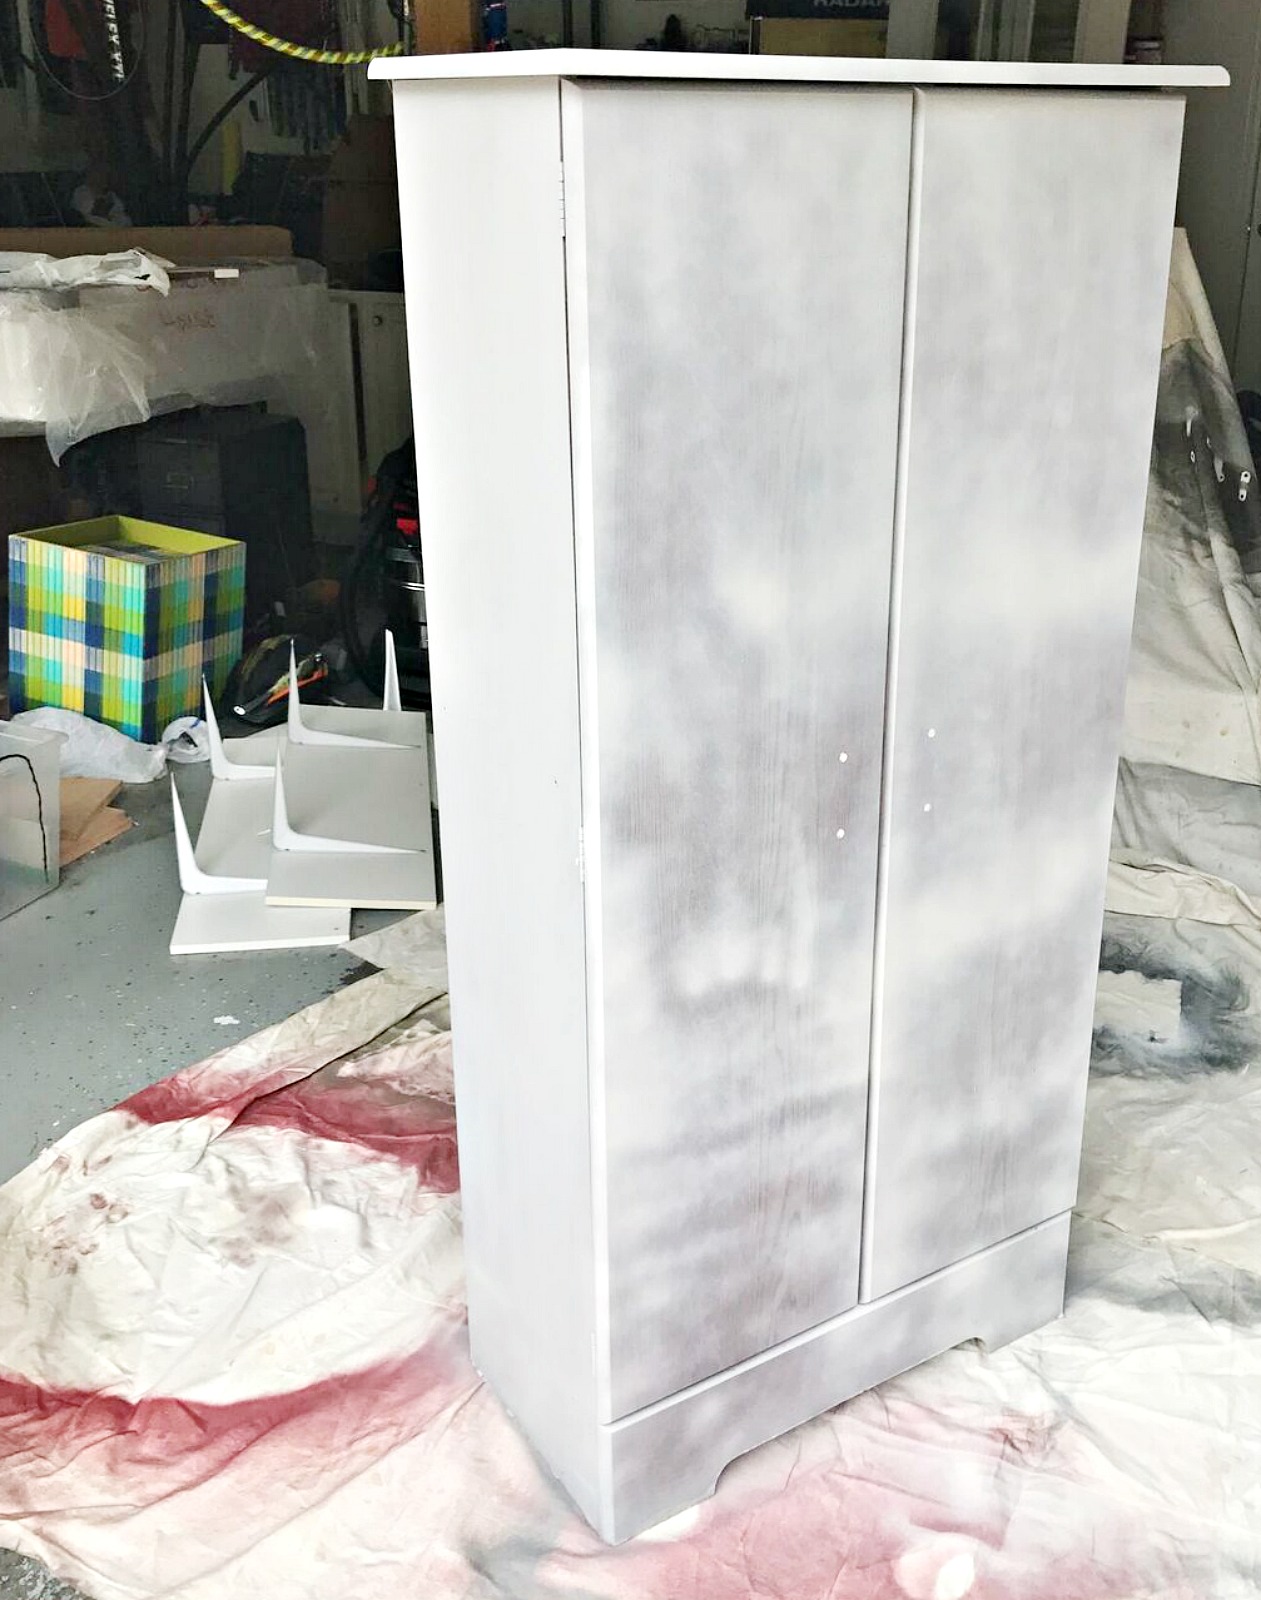
So what did I do? I pulled out some other grey chalk paint that I had on hand, and I proceeded to use a tiny foam roller to paint this entire cabinet, inside and out. Because I was not going back to Home Depot and spend more money on more spray paint. I just wasn’t going to do it.
I have to admit, at this point, that I did not prime this cabinet beforehand. I did, however clean it and rub it down with a deglosser before I began. I did not sand it either, because I was using chalk paint, and you are not supposed to have to sand things when you use chalk paint, am I right? So I guess it might be fair to say that the chalked spray paint serves as a primer, and I am sure some people would disagree with that. But it’s my cabinet, so I am proclaiming the spray paint to be the primer in this situation. Although, looking back now, I do wonder if I may not have had this problem if I had used a primer before starting in with the spray paint. That’s probably 100% correct. I guess I will never really know, will I? Probably not, because I will probably never buy this product again, I’m just saying. And it’s nothing against Rust-Oleum, because I usually LOVE their products. I really do! But in this case, with this particular product, and my laziness in trying to complete it, it just wasn’t the right product for this cabinet .

In the end though, I am happy with the way my cabinet turned out. I ended up using some left over chalk paint that I actually purchased on Amazon. It is FolkArt chalk paint in the color parisian grey. I ended up rolling on two coats of this. And then I waxed it with the same brand of clear wax.

After I waxed it I used a clean cloth to buff it out, and I am thinking of adding another coat of wax. I may do that. I do love the hardware that looks like gold and white feathers. I love the contrast of them with the grey, and they are a good size and heftiness for this cabinet.

Feather knob with brass accent

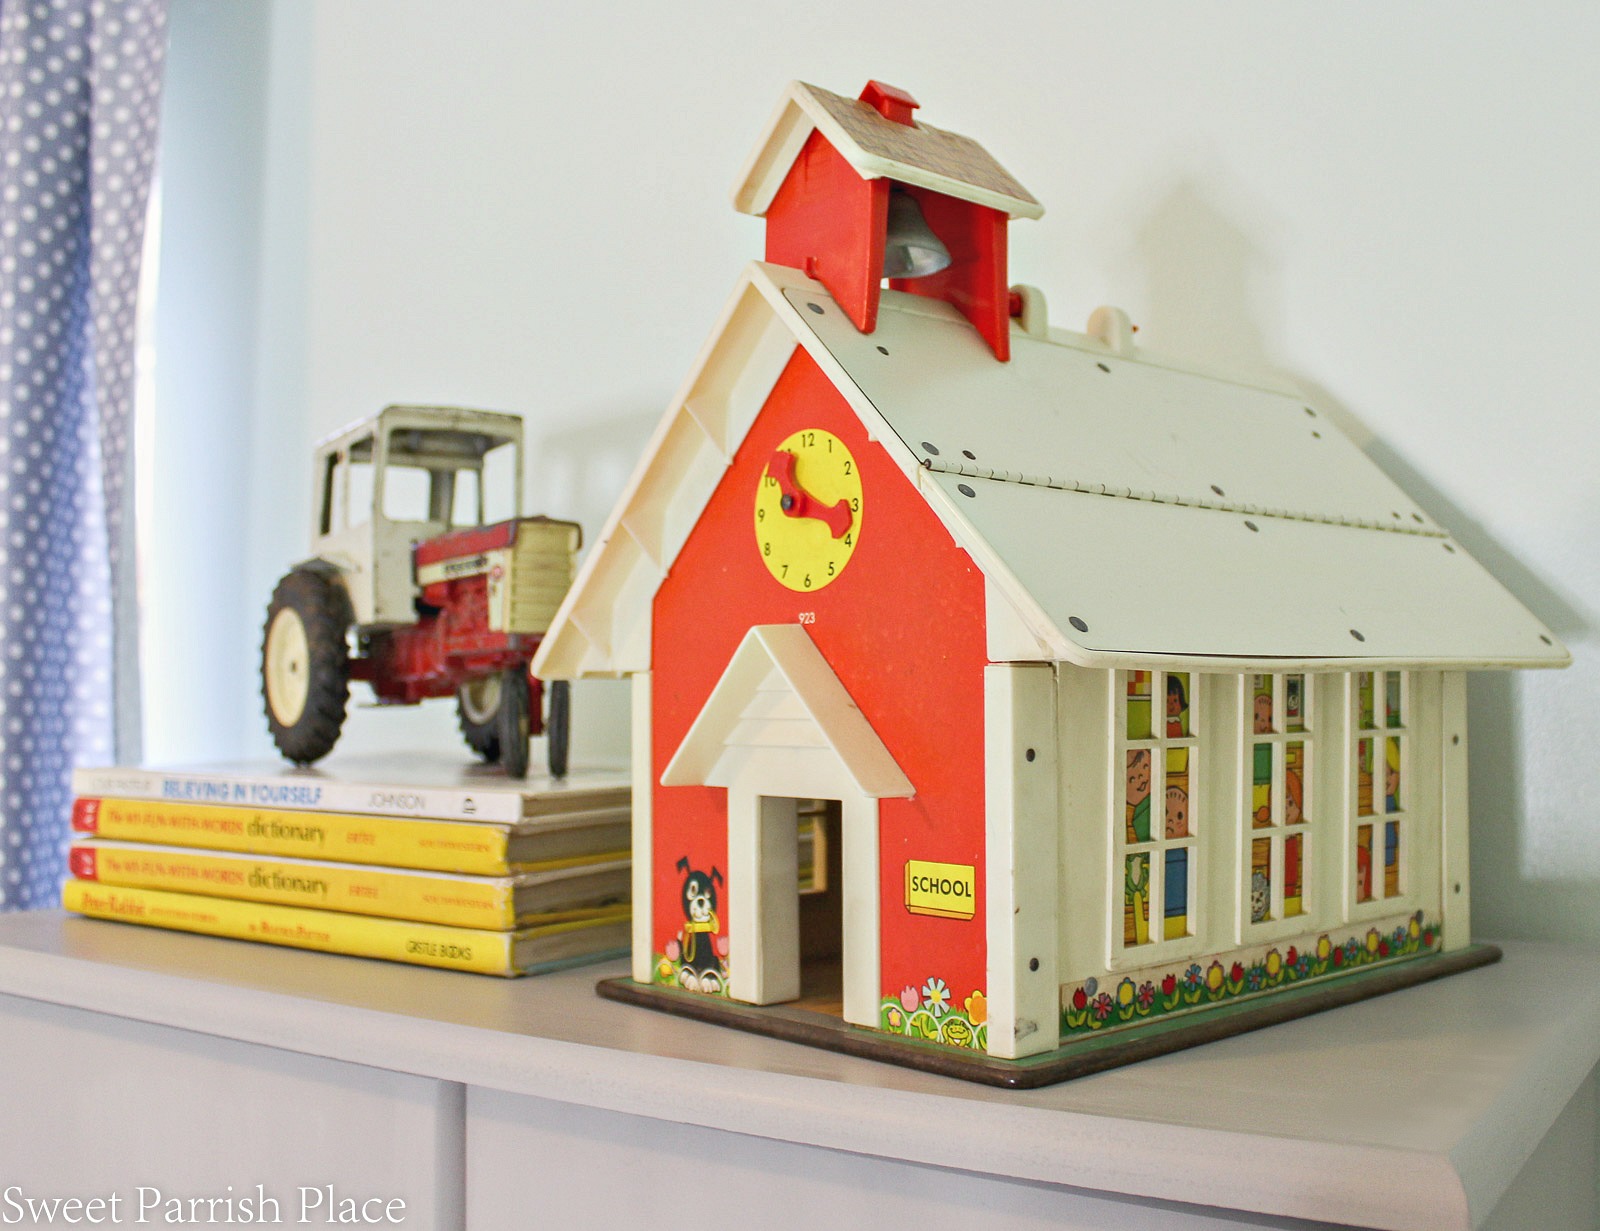
I styled the top of the bookshelf with vintage toys and books. The tractor belonged to my husband when he was a little boy, the books were mine, and the schoolhouse is just like one that I played with as a little girl. This whole spot has a story to tell, and it makes me smile!
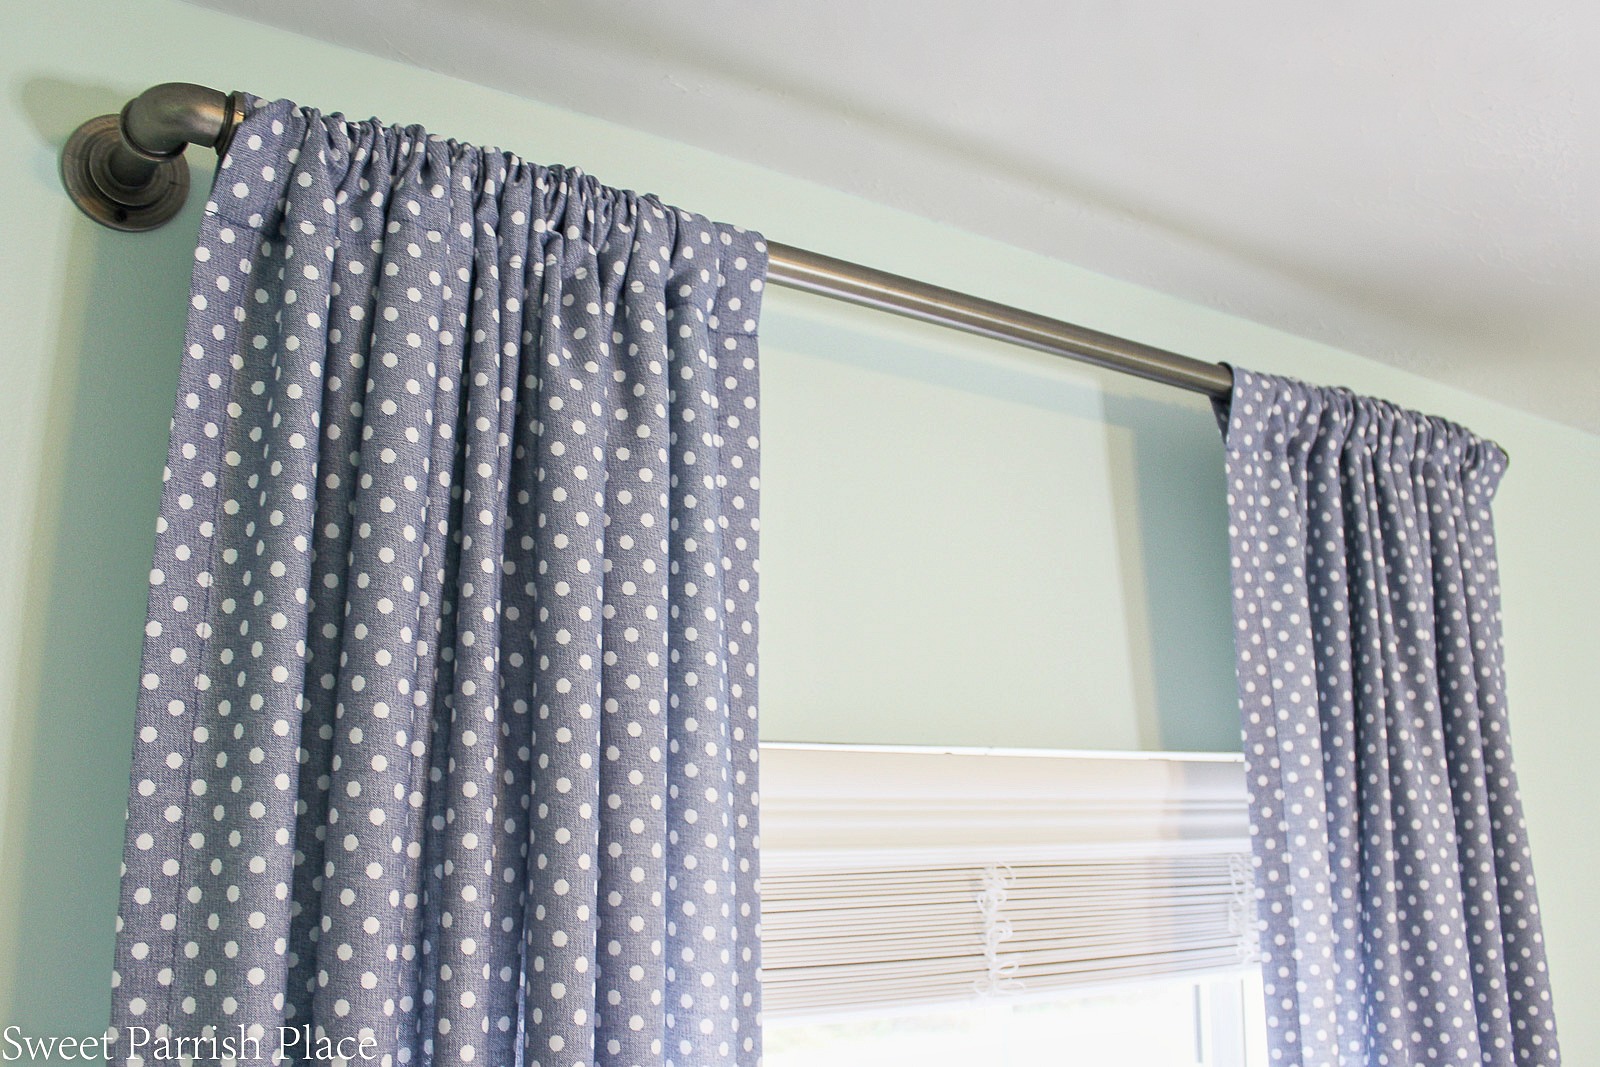
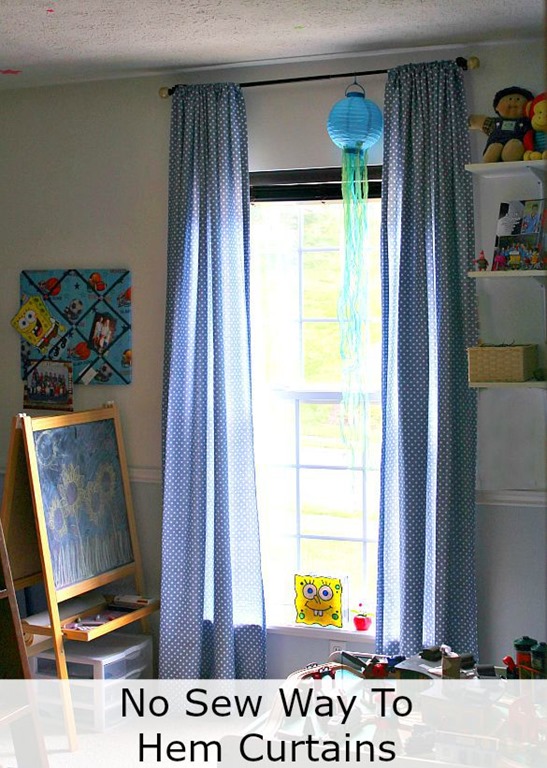
We opted to keep the curtains that were already in the room. I have written a post about how to hem these the no sew way in the past. My son really likes them and requested to keep them. I bought these curtains a couple of years ago at a Home Goods, and they are a really nice quality curtain. I did change out the blinds and the curtain rods. I bought a set of 2.5″ faux wood blinds that are like the blinds in my daughter’s bedroom, and now all of the blinds on the front of the house match, which improves the curb appeal, so bonus! The curtain rods I totally dig. They are called french pipe curtain rods from Target.
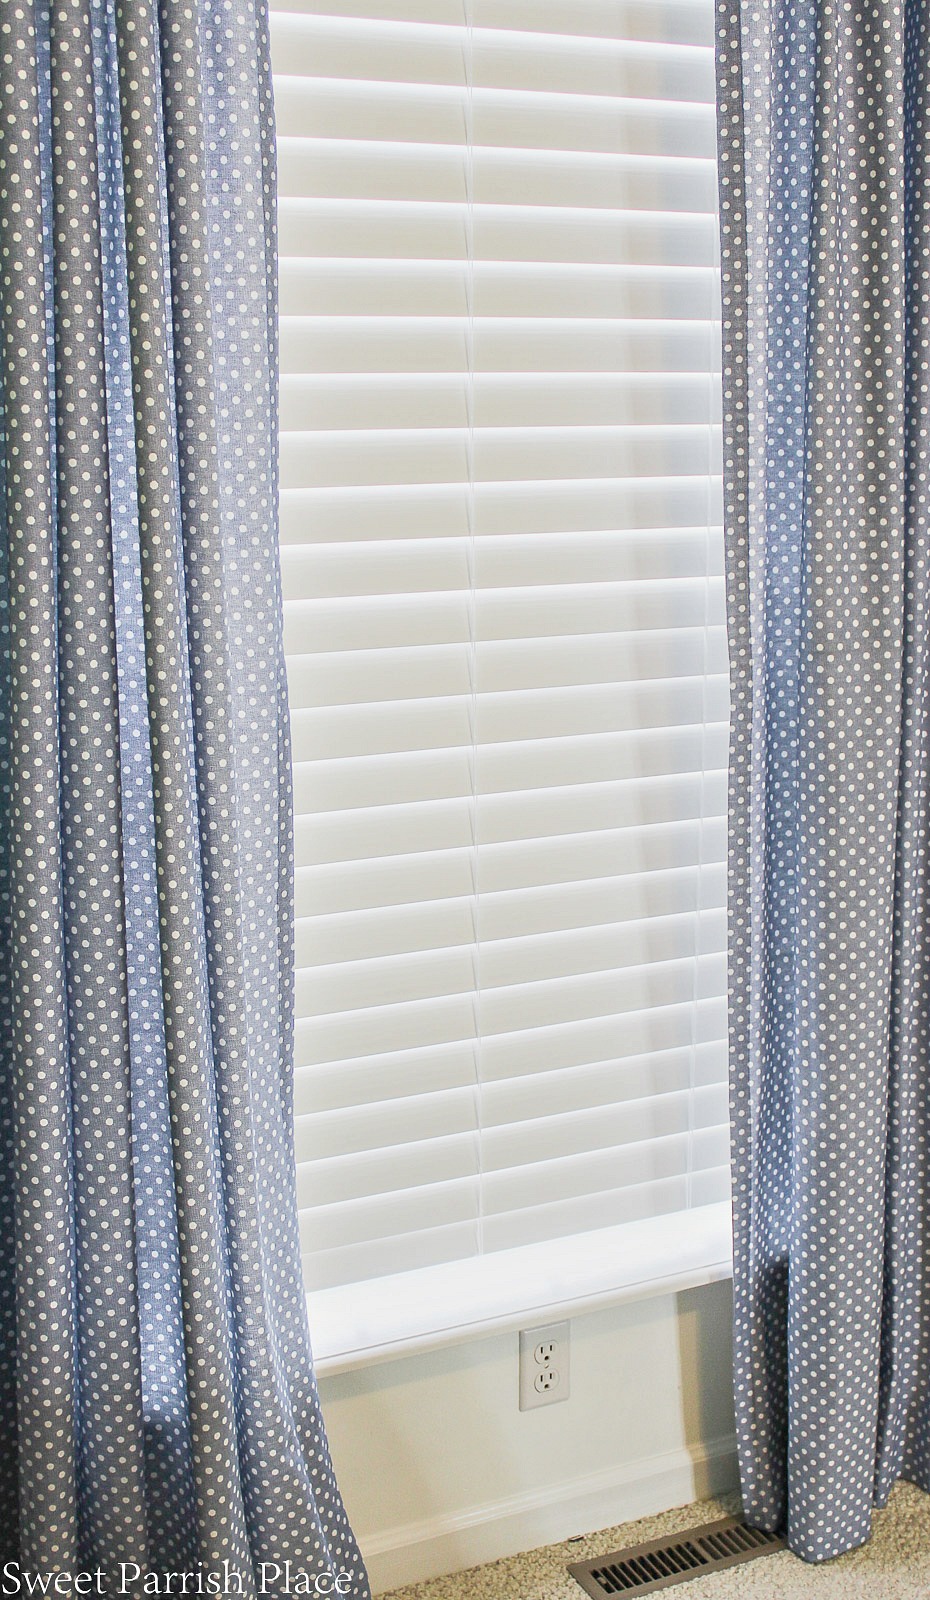
This is what the blinds look like when they are down. Which they usually are. I open them during the day and close them at night, but I never pull them up because his room faces the street.
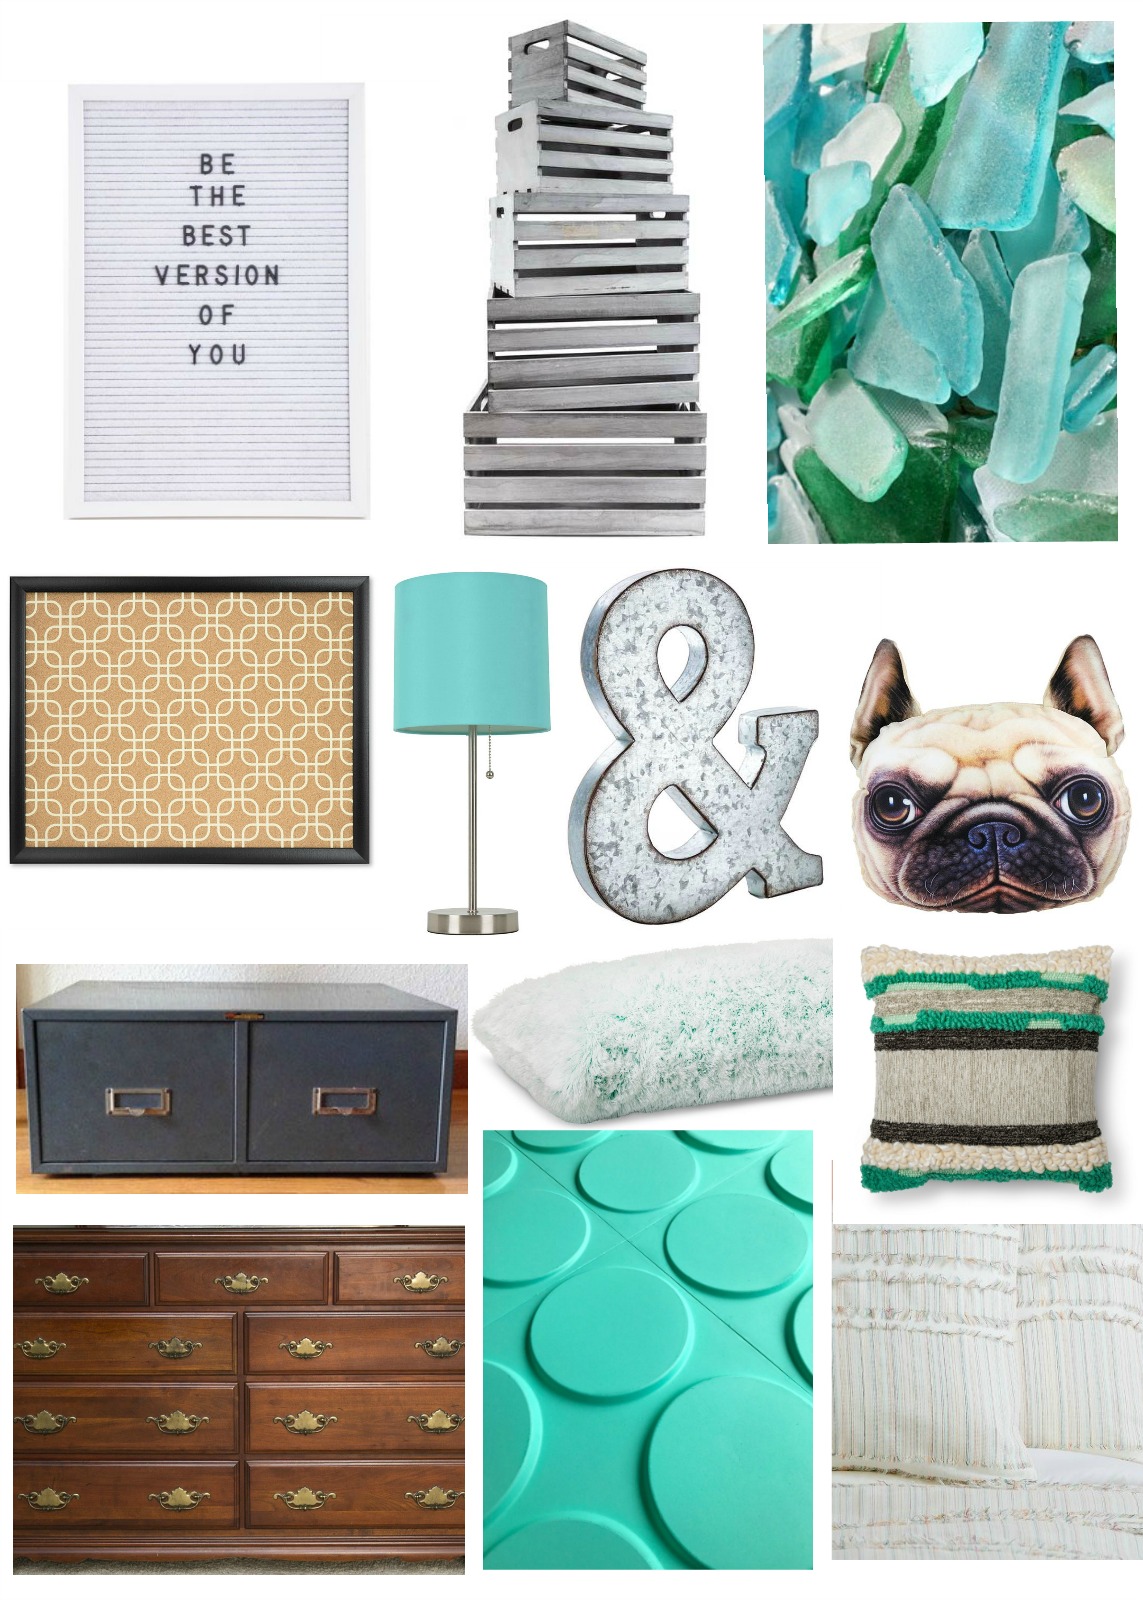
All in all, I am happy with the progress so far in his bedroom. I also painted a mirror that was in his previous room and it looks completely different. It went from red to white and I will share it and more next week! I found some great crates to use as shelving that I think you will like. My little boy put this cabinet to good use immediately and has all of his collections displayed in this cabinet. I will share a photo of it on the inside maybe soon!

I do hope you will join me back here next Thursday, same time, same place! I can’t wait to catch you up with how this bedroom is progressing each week. Let me know your thoughts or questions in the comments below. I love to hear from you guys!
Do you have champagne taste and a tiny budget too?
Love fashion, DIY, crafting, all things vintage and thrifty?Stick with me, I’ve got you covered!
Sign up to get my posts delivered to your inbox here
Follow me here:
Facebook / Twitter / Instagram / Pinterest / Bloglovin / Google + Stumbleupon
![]()
You May also like:
ORC Week One | Boys Bedroom Makeover Before and Plans
The No Sew Way to Hang Curtain Panels
Wow, I didn’t even know chalky paint existed in a spray! I did get the Rustoleum chalky paint to brush on some shelves for the ORC and we’ll see how that goes. Your cabinet looks great — a great save there!
I love using regular chalk paint, but the spray was not my friend! Thanks so much!
This room is coming along so nicely! Good job on the cabinet makeover. I have never tried spray chalk paint and now I definitely won’t. I adore the vintage toys and books on top.
Thank you so much Jeanie! Yeah it was a big fail, but thankfully it was salvageable. I love the vintage toys too, it is so cool having things in his room that used to be ours!
We’ve all had those painting mishaps and often times not quite sure what the problem/solution actually are! But in any event, your cabinet looks great in the room and looking forward to seeing the final project.
Have a great weekend my friend.
Hugs, Lynn
So sorry about the spray chalk paint, but great save! It’s a great color and beautifully styled! Love the hardware, too! Looking forward to seeing more from you! Susie from The Chelsea Project
Susie recently posted…How to Design Picture Frame Moulding for Walls
Thanks so much Susie!
It ended up looking great! You should be proud of how it turned out!
Thanks so much Lindi!
Why do these little projects end up taking so long? Well you got there in the end, and it looks great!
Thanks so much Dannyelle!
Cute, I love the second color more anyways! Always feels good to use up old supplies after what is seemingly a “fail” and have it turn out!
I absolutely agree! Thanks so much!
I did not even know about chalked spray paint, but I will stick with the kind in a can. I really love those feather pulls! They are so unique!
mary recently posted…DIY Basement Mudroom (One Room Challenge) – Week 1
Thanks so much Mary! Yes, I will stick to that from now on too!
Turned out great, it doesn’t even look laminate. Just learned that chalk paint comes in spray! Cool. Thanks for sharing this with us at Merry Monday. I learned several things, now I’m planning a paint makeover of my own.
Shirley Wood recently posted…Fall Front Porch Decor
Thanks so much Shirley!
I’ve painted a number of laminated furniture and always prime first with an OIL-based primer. Have then used chalk paint on some, regular latex paint on others.
Thanks for sharing! I was being lazy and knew I should have primed first! But I thought I would risk it since it was chalk paint. Lesson learned!