It’s week 5 of the One Room Challenge, and I’m sharing my updated ceiling light for less than $15.
Hey friends! I hope you are having a good week so far! Before we get started with today’s post, you may want to go back and start at the beginning with week 1, week 2, week 3 , and week 4 of my boy’s bedroom makeover. Over the weekend I updated the ceiling light in my boys bedroom makeover for less than $15. And it was quick and simple!

If you have not heard of the One Room Challenge (also called ORC), currently in its twelfth season, is a widely anticipated biannual event every April and October. Each round, twenty design bloggers take the challenge and transform a space. It is hosted by Calling It Home and House Beautiful. Wednesdays is the day for the design bloggers to go live with their progress, and Thursdays is the day for all the guest participants to go live. You guys will be amazed at these reveals, they are just beyond words good!
If you found me through the ORC Link up, welcome! I am so happy you are here! My name is Nicki and I am the blogger behind Sweet Parrish Place. I love to share our DIY and home decor shenanigans, along with some organization, fashion, travel and other lifestyle types of topics. Thanks for reading!

String Lights | 3D wall Panels used to make headboard
Please note: Some of the links in this post are affiliate links, which allows me to make a small commission from your purchase, but your purchase price stays the same. Thank you for helping support my blog! I greatly appreciate it!
This is my favorite way to update a ceiling light on a budget, and I have also done this in both of my hallways in our home (you can see one in this post). The ceiling light in this bedroom was a boob light. We have all had them in our homes at one time or another, and tons of people have them in their homes as I write this post. They aren’t the most disgusting thing I have ever seen, but they are just so bland and common place. I never showed a full shot of the bedroom on the blog, I always would edit the photo so that you couldn’t see the ceiling light because I wasn’t thrilled with it. So I wanted to spice things up a bit without busting my budget. And I think I did just that!
Updated Ceiling Light

I found this large drum shade on Saturday at HomeGoods. I knew it was very similar in color to the wall color I chose, and I thought it could work to transform my ceiling light, plus it was only $12.99! The light I had been thinking about ordering was around $75, and I thought if I could make this drum shade work it would make a cool vibe in the room. So I brought it home with me. It’s probably around 12 inches in diameter and 14 or so inches tall.

We’ve all seen a boob light, but here is what my boob light looked like. And the only thing I did here was to remove the glass part of the light fixture by unscrewing the white knob in the middle of the light.

The way my drum shade is wired on the inside worked perfectly for this little project. It had three metal arms with a metal hole in the center. And once I removed the glass fixture on this boob light, there is a metal rod that hangs down from the center. All I did was use the existing rod and slid the center hole of the drum shade over the metal rod, and then I used the existing washer, nut, and knob that held the glass fixture in place, and screwed it all the way up so as to hold the drum shade in place.

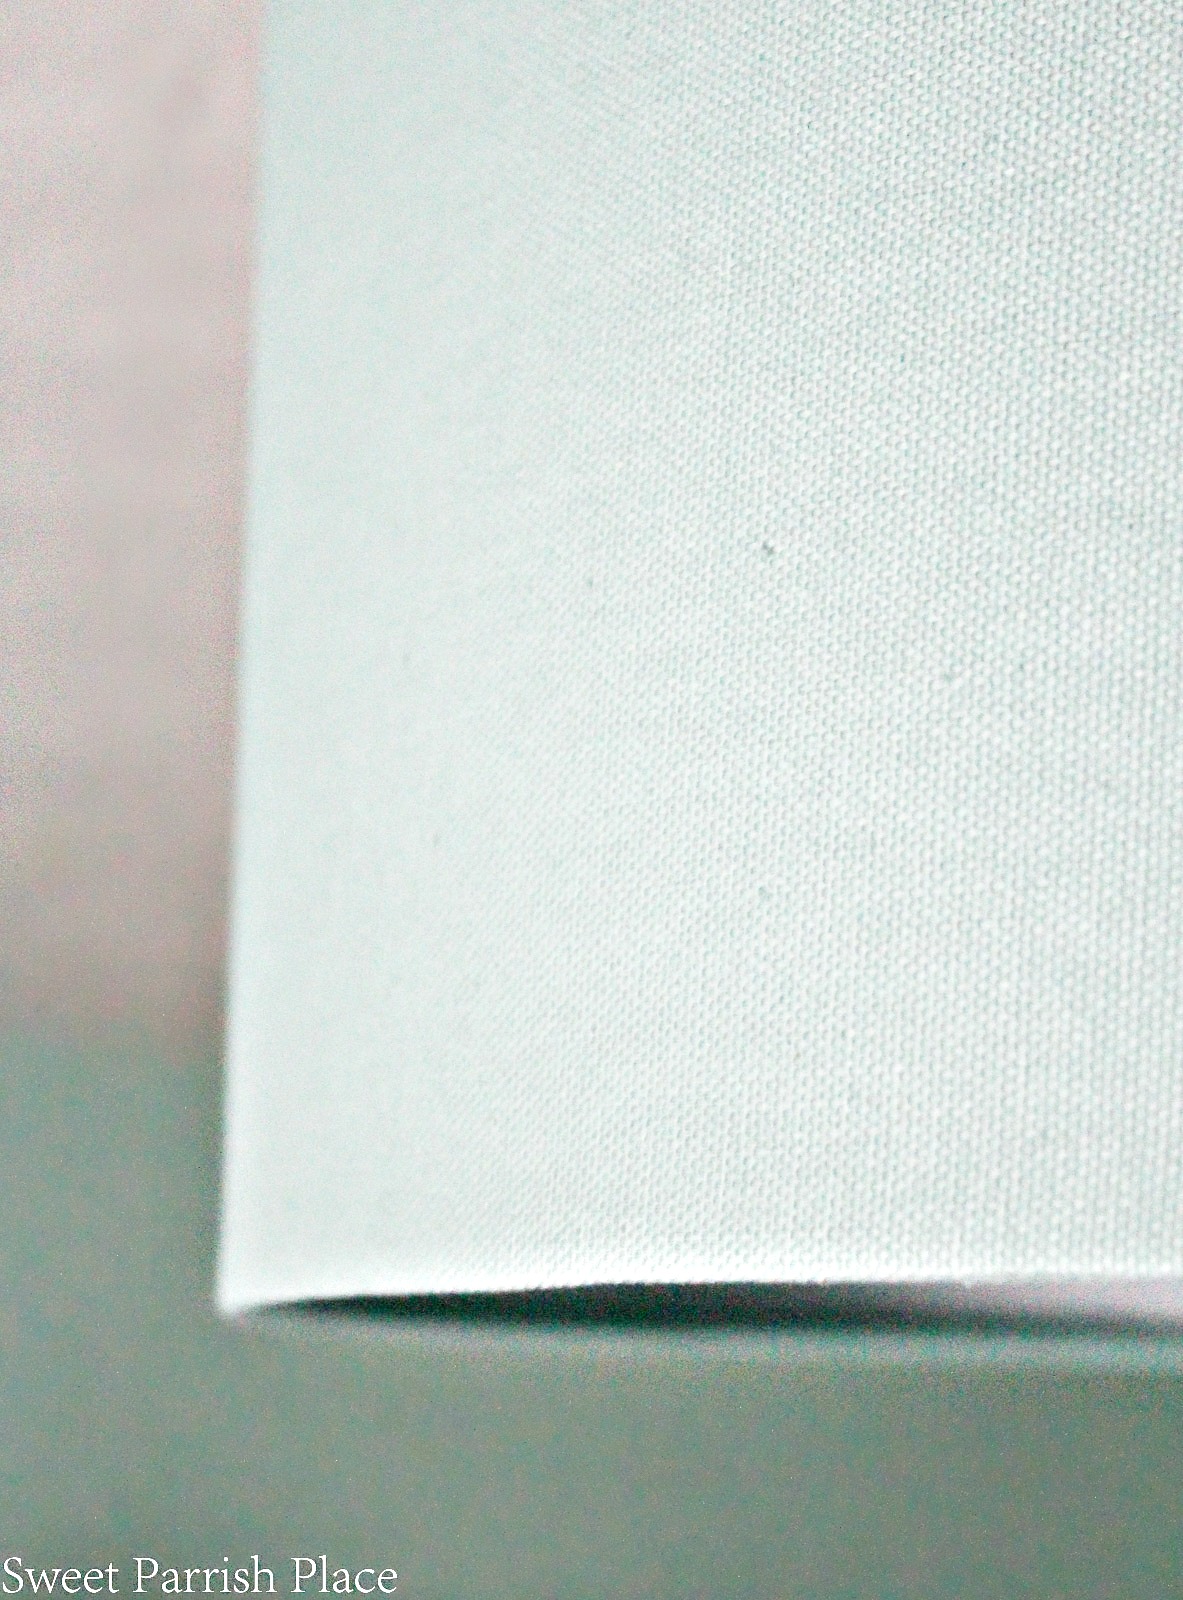
And this is the result! There is just one itty bitty problem. The drum shade is not hanging quite level, so I need to fix it, but I didn’t have time to finish it up over the weekend, so I left it slightly off kilter and photographed it anyway. I tried to edit the photos so that it isn’t obvious, but from some angles of the room, it is definitely obvious. I am considering doing this. I haven’t settled on exactly what I will do, but suffice to say that somehow, some way, I have to get this drum shade level before the big reveal on this room, which is happening in two weeks.

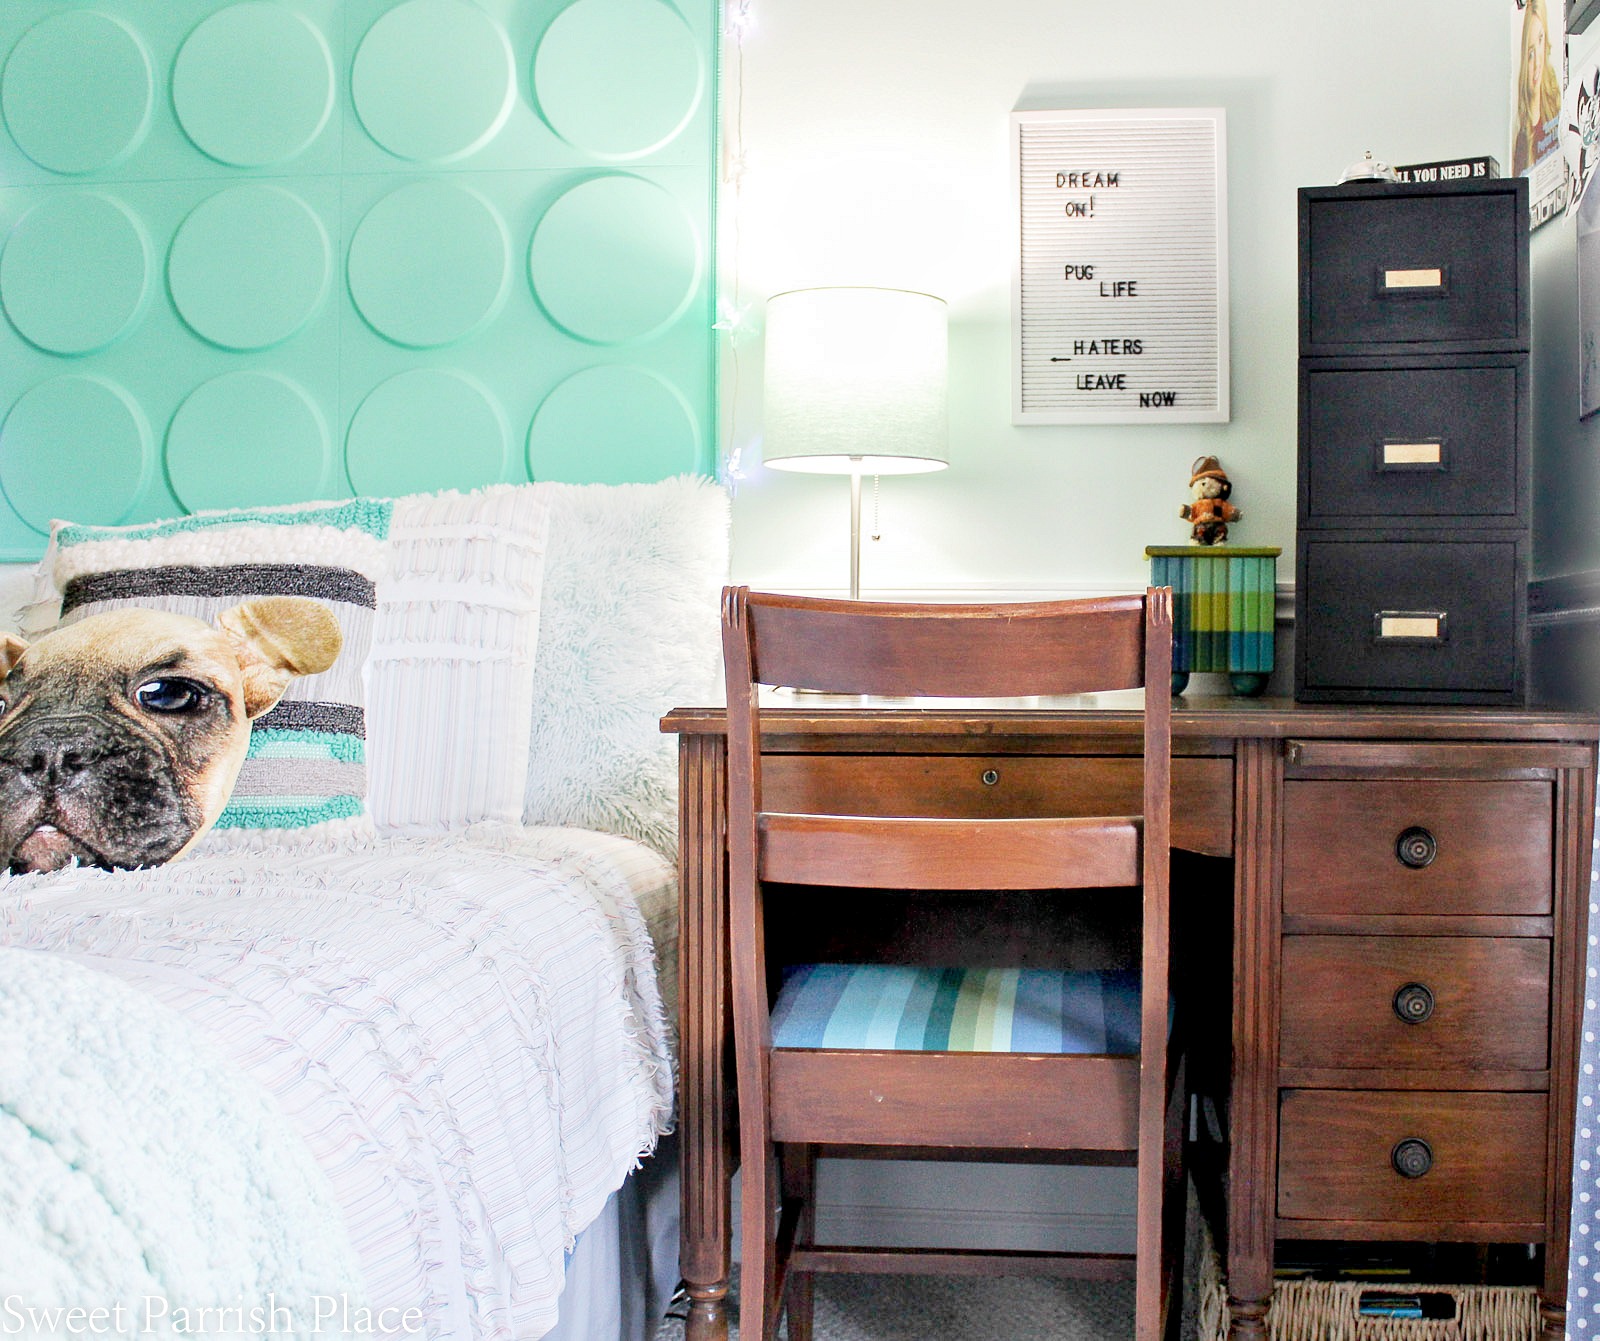
I realize I have a lot of the same shades in this room, but it totally makes my little guy happy, and I plan to shake things up a bit by painting his nightstand a navy blue, adding in this rug between his bed and the dresser, and adding some other colorful things to the walls.
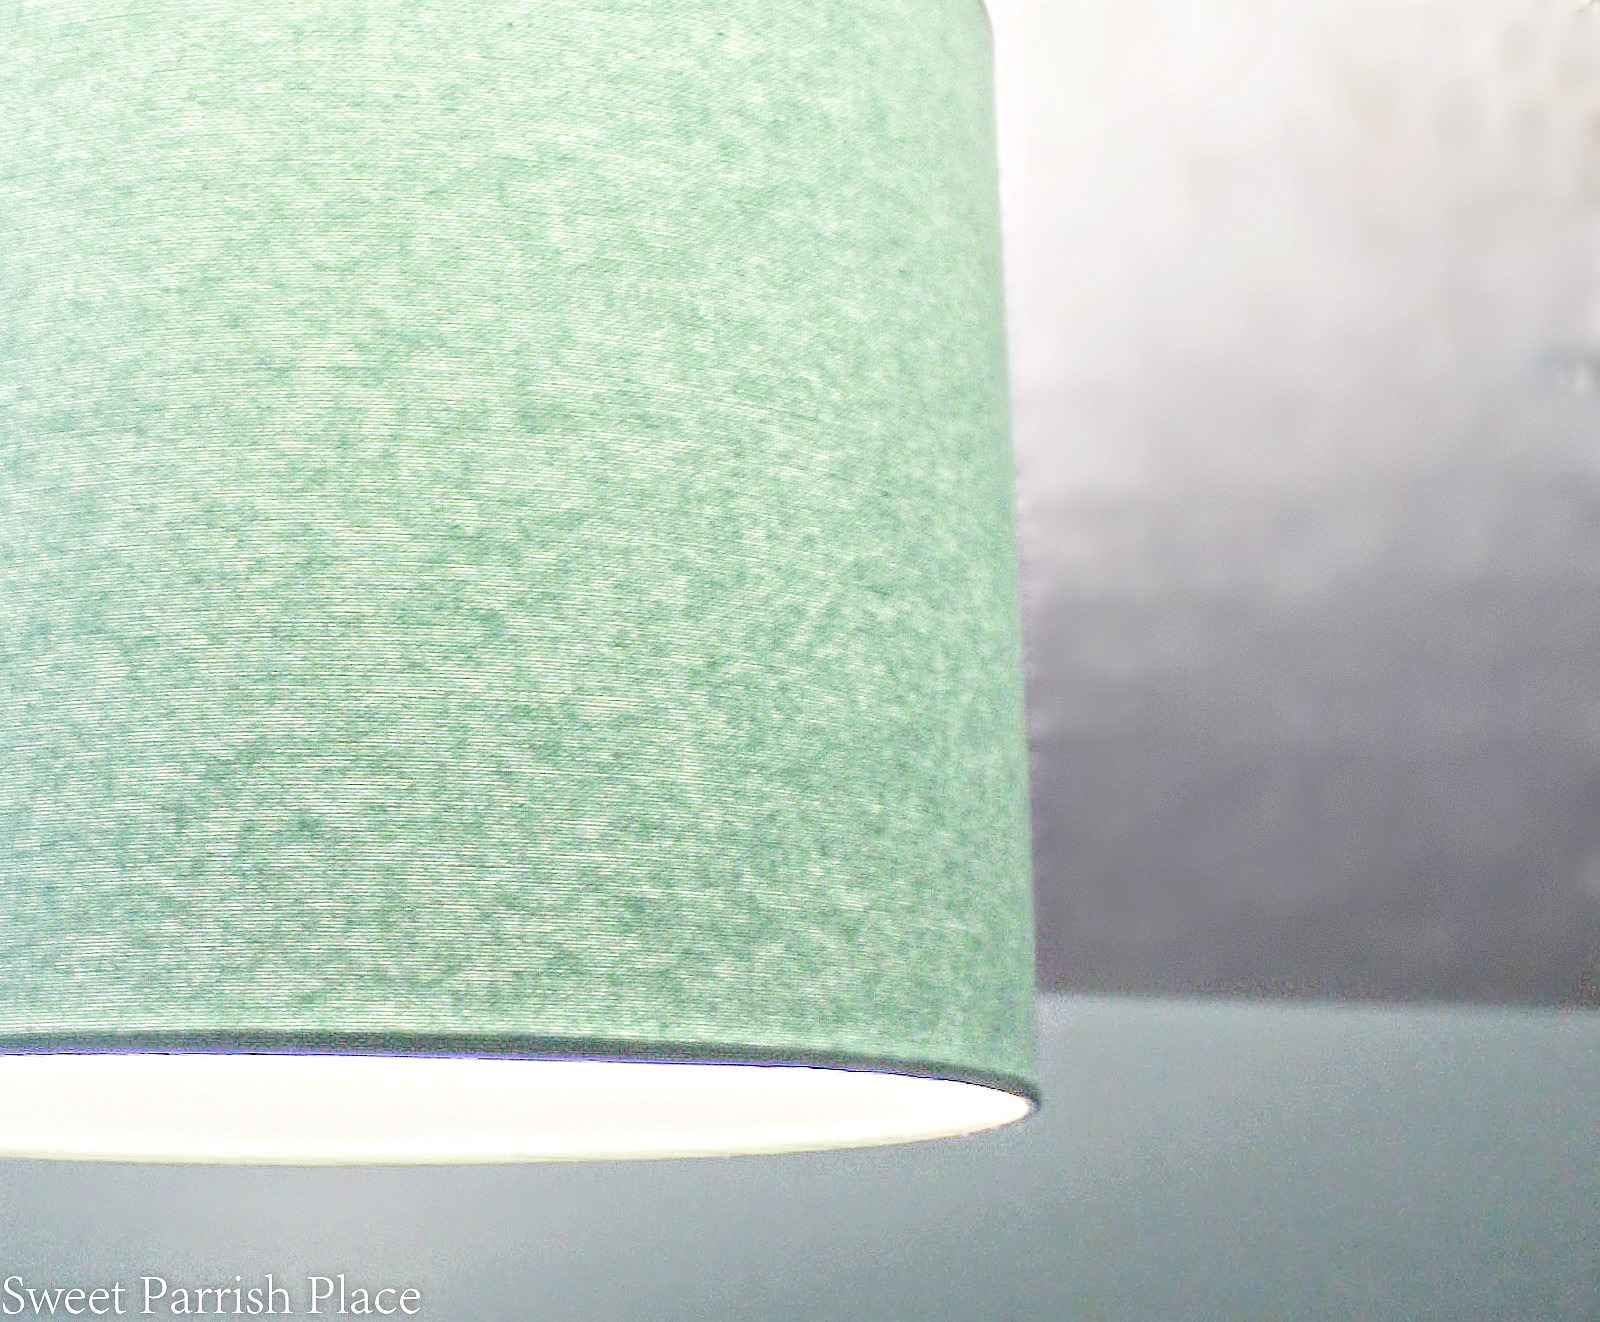
Meanwhile, I am enjoying the change this drum shade brings to the space. What do you think of my updated ceiling light for $15? I am loving the bold statement of the large drum shade, yet the subdued color of the light. And can I just add that this darn light was unbelievably difficult to photograph. I even ended up doing a second photo shoot at the last minute because I had a little more sunshine coming through the window the second time.
Here is a sneak peek at two of the pieces of art I have planned for the walls. I picked up the fox and the bear prints from Hobby Lobby. And you can see a more close up view of his bedding in this photo. It has a creamy background with colorful threading that has these little fringes all over. I love the texture the bedding has, but it doesn’t photograph as well as it looks in person. I’m going to work on that for the big reveal as well.

Fox Scout wood wall decor |Bear Scout wood wall decor | Popcorn knit throw | Comforter set
This weekend, I plan to paint the nightstand and hang some of the decor. I am also going to shop around for new drawer pulls for his dresser, I want to see what it looks like with something a bit more modern. Don’t forget to check back here at this same time next week to see what progress I make over the next week! See you there!
Do you have champagne taste and a tiny budget too?
Love fashion, DIY, crafting, all things vintage and thrifty? Stick with me, I’ve got you covered!
Sign up to get my posts delivered to your inbox here
Follow me here:
Facebook / Twitter / Instagram / Pinterest / Bloglovin / Google + Stumbleupon
![]()
You May Also Like:
ORC Week 2 | Painting a Laminate Cabinet With Chalk Paint

Modern Rustic File Cabinet Makeover and Vintage Desk
ORC Week 4 | Boys Bedroom Makeover Progress

What a great way to update a “boob” light! The color is perfect too!
mary recently posted…DIY Basement Mudroom (One Room Challenge) – Week 5
Thanks so much Mary! I was so surprised that I found a lampshade that wa so clse of a match for color!
Nicki recently posted…ORC Week 5 | Updated Ceiling Light for less than $15
Hi Nicki,
What a great idea! You were able to resolve your light issue at a fraction of the cost. I love the way it looks in the room!
Tammy recently posted…Picture Frames with Diamond Tread Aluminum Sheets
Thanks so much Tammy! I was so psyched when I happened upon this drum shade!
Oh my goodness, this is fantastic! I’ve been trying to figure out what to do with my boob light in my bedroom!
Thanks so much! I hope you find a shade you can use in your room!
Nikki, I really am loving this room and adding the drum shade to the boob light is so smart. I have two of these lights in my home and I am going to add drum shades to them now. Thanks for the idea! I love that you are letting Gavin pick out the things for his room. Great mom!
Aw thanks Sherry! It is a budget friendly yet cool say to change out a light fixture! Gavin is having so much fun being part of his bedroom transformation!
What a great find at HomeGoods! Can’t beat the price and it looks so great with the bedding you previewed 🙂
Best,
Kelly
Thank you Kelly! I always happen upon something I love when I go there. We don’t have one locally so my visits are too few.
What a great upgrade! The room is coming along nicely
Jessica recently posted…Master Bedroom Linens and Pillows: One Room Challenge Week 5
Thank you Jessica!
SO smart to just add a drum over an existing light! I honestly would not have thought of that! Looks great!
Thank you Lindi! It’s not quite as amazing as YOUR FIREPLACE though! Have a good day!
I love that shade color! Nice job updating the lighting!
Jillian recently posted…Furniture–Using What You Got! (One Room Challenge Week 5)
Thanks so much Jillian!
What cute idea! I love it! I have a house full of boob lights! I need shades! Sharing on FB. Thank you for sharing on Merry Monday! Hope to see ya next week!
Kim
Thanks so much for sharing Kim! Have a great week!
Under $15 go girl!!! Huge update to those boob lights
Haha thank you! I like it!
I love a budget makeover and this is a great one. The sneak peek of the art and bedding is so cute too. Can’t wait to see the reveal!
Dannyelle @ Life is a Party recently posted…Affordable DIY Large Floating Shelves for the Kitchen -One Room Challenge Week 6
Thank you Dannyelle! It has been a fun makeover for my son!
Cute cute cute! Great way to update the lighting and not bust your budget!
Thanks so much Jessica! I was so happy when I happened upon this drum shade!
Thanks for share this. It is very valuable for me.