For week 4 of the $100 Room Challenge, I’m sharing my furniture painting progress, which consisted of painting the base of my table, and the beginning of an Ikea desk hack.
Hey friends! We have furniture painting progress and a pretty new desk top. And I’m super happy with the progress we have made. The dining table is stained, but not sealed. The base shelves of the desk are painted but not sealed. The desk top is finished, and I love it. But at this point, I am really unsure as to whether I am going to finish phase two of my dining room/office refresh in time for the big reveal next week. I’m going to be sweating it out on this one, friends. And I blame that husband and child of mine for actually expecting me to spend family time, and like, leave the house in the middle of January. I mean, who does that?
This is my third January signing up for this challenge, so you would think the Mr. would get a clue that I want to spend January hibernating, but nope! I haven’t had a solid weekend all month to work on this room, and I do work a full time job, so at about now I am praying for a couple of snow days so that I can have a little extra time to finish up. And I am partially joking, I do love spending quality time with my family, I’m just not partial to winter activities that seem to get pushed down my throat each winter. And the older I get, the less I like snow and cold. When are we moving south already? That’s the question!
First, you should totally check out week 1 , week 2 and week 3 of this challenge! That way you will be up to speed! I have also been sharing a lot about this room refresh in real time on my Instagram stories. You can find this dining table makeover in my Instagram story highlights under dining table. You can also see all of the details of my Ikea desk hack in my story highlights under Ikea desk hack.
![]()
If you are new to the $100 Room Challenge you can read more about it here. But the basic premise for the challenge is this: you get one month, and $100, to completely makeover one space in your home. I know what you may be thinking… $100 is not a lot of money. Just wait. What you can do with $100 (and a little creativity) will absolutely blow your mind. And if you don’t believe me, just follow along, and click through and see what the other participants are doing for this challenge, and you will see so many great things happening with just a $100 budget. You can see the mudroom I made over for my first time participating in the $100 Room Challenge here.
Please note: Some of the links in this post are affiliate links, which allow me to make a small commission from your purchase, but your purchase price stays the same.
I did get a three day weekend for Martin Luther King Jr. day this week, and I’m thankful for that. It gave me the time to get the bottom shelves of this desk painted on Monday. So, let me catch you up to speed on my Ikea desk hack that I am working on, and then further down in this post, I’ll share my dining table progress. Let’s start with the before photo of my Ikea desk. It’s basically a table top with two book shelves that the table top sits on. And it had seen better days. Unfortunately, I have been unable to find these particular shelves on the Ikea website, so I’m not sure if they still sell them or not. But they do sell a selection of things similar to this that you can use as a desk base. I was really, really tired of all of the black, and there were matching black shelves hanging above. It was time for a change.

Ikea Desk Hack
My Ikea desk hack is still in progress, but let me share with you what I have done so far. I’m super psyched with how it’s turning out! Obviously, it’s now white instead of black, and that is such a breath of fresh air for me.
Supplies I used for this Ikea desk hack:
Rustoleum Chalked Paint in linen white
Minwax Policrylic in matte finish
Primer- Sherwin Williams All Surface Enamel Oil Base

With my husband’s help, I applied some self adhesive marble contact paper to the desk top. You can see my entire process in my Instagram story highlights under Ikea Desk hack. I even show video of how to wrap the desk corners. I’m actually planning to come back and do a separate post all about this Ikea desk hack for the blog, after the big reveal on this room. So I’m not going to go into a lot of details today about the desk makeover. I want to wait until I have some styled photos of the whole finished desk area.

If you found me through the $100 Room Challenge Link up, welcome! I am so happy you are here! My name is Nicki and I am the blogger behind Sweet Parrish Place. I love to share our DIY and home decor shenanigans, along with some organization, fashion, travel and other lifestyle types of topics. Thanks for reading!
Both my husband and myself absolutely love how the desk looks with the marble contact paper on top! I’m sharing several photos here so you can see up close. This photo below is a close up of the way I wrapped the corners. I will explain this in detail in a future post. But it is wrapped very neatly and it wasn’t difficult to do.
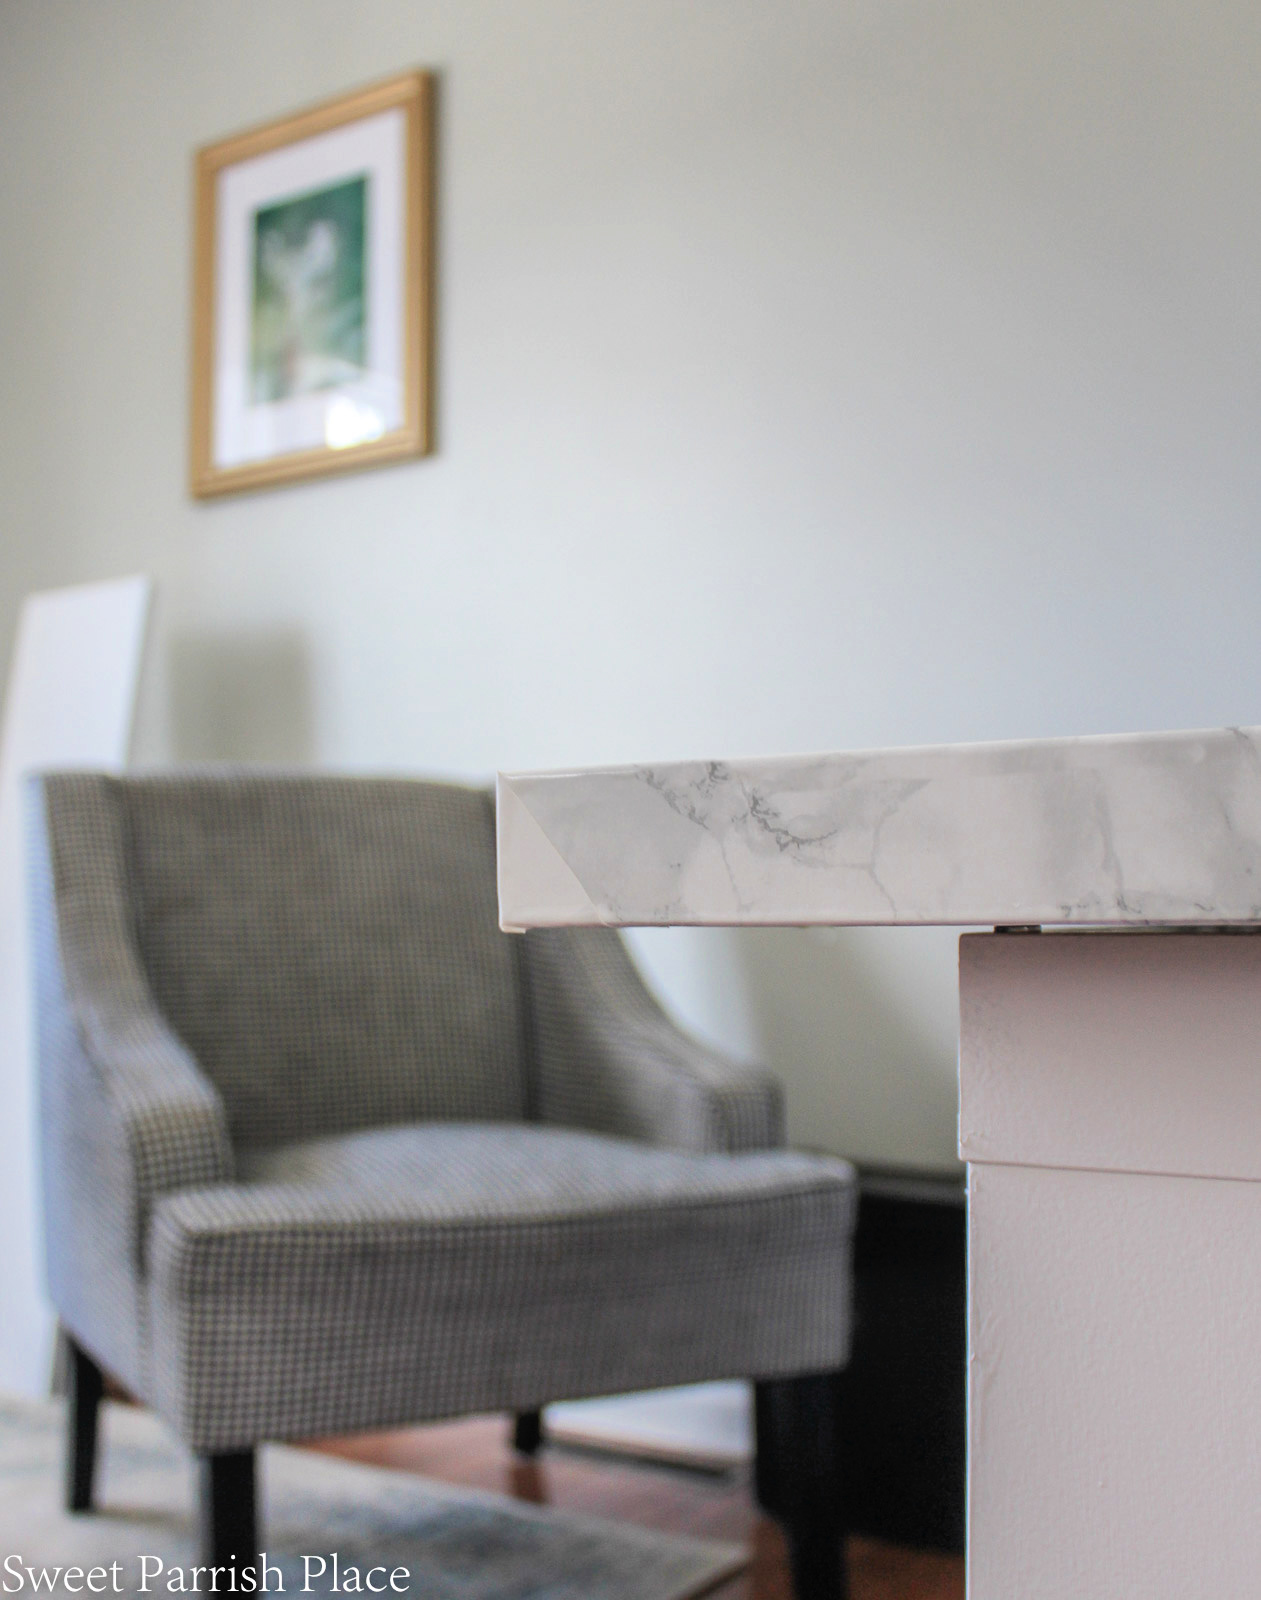
The contact paper wasn’t wide enough to cover the desk without having a seam. So there is a seam about 3/4 of the way towards the back side of the desk. You can see the seam in the photo below. It really is barely noticeable if you are specifically looking for it. But if things like this bother you, you might not want to try a project with this type of contact paper. Once our computer and printer and other accessories are placed back onto this desk, you won’t even see this seam hardly at all.

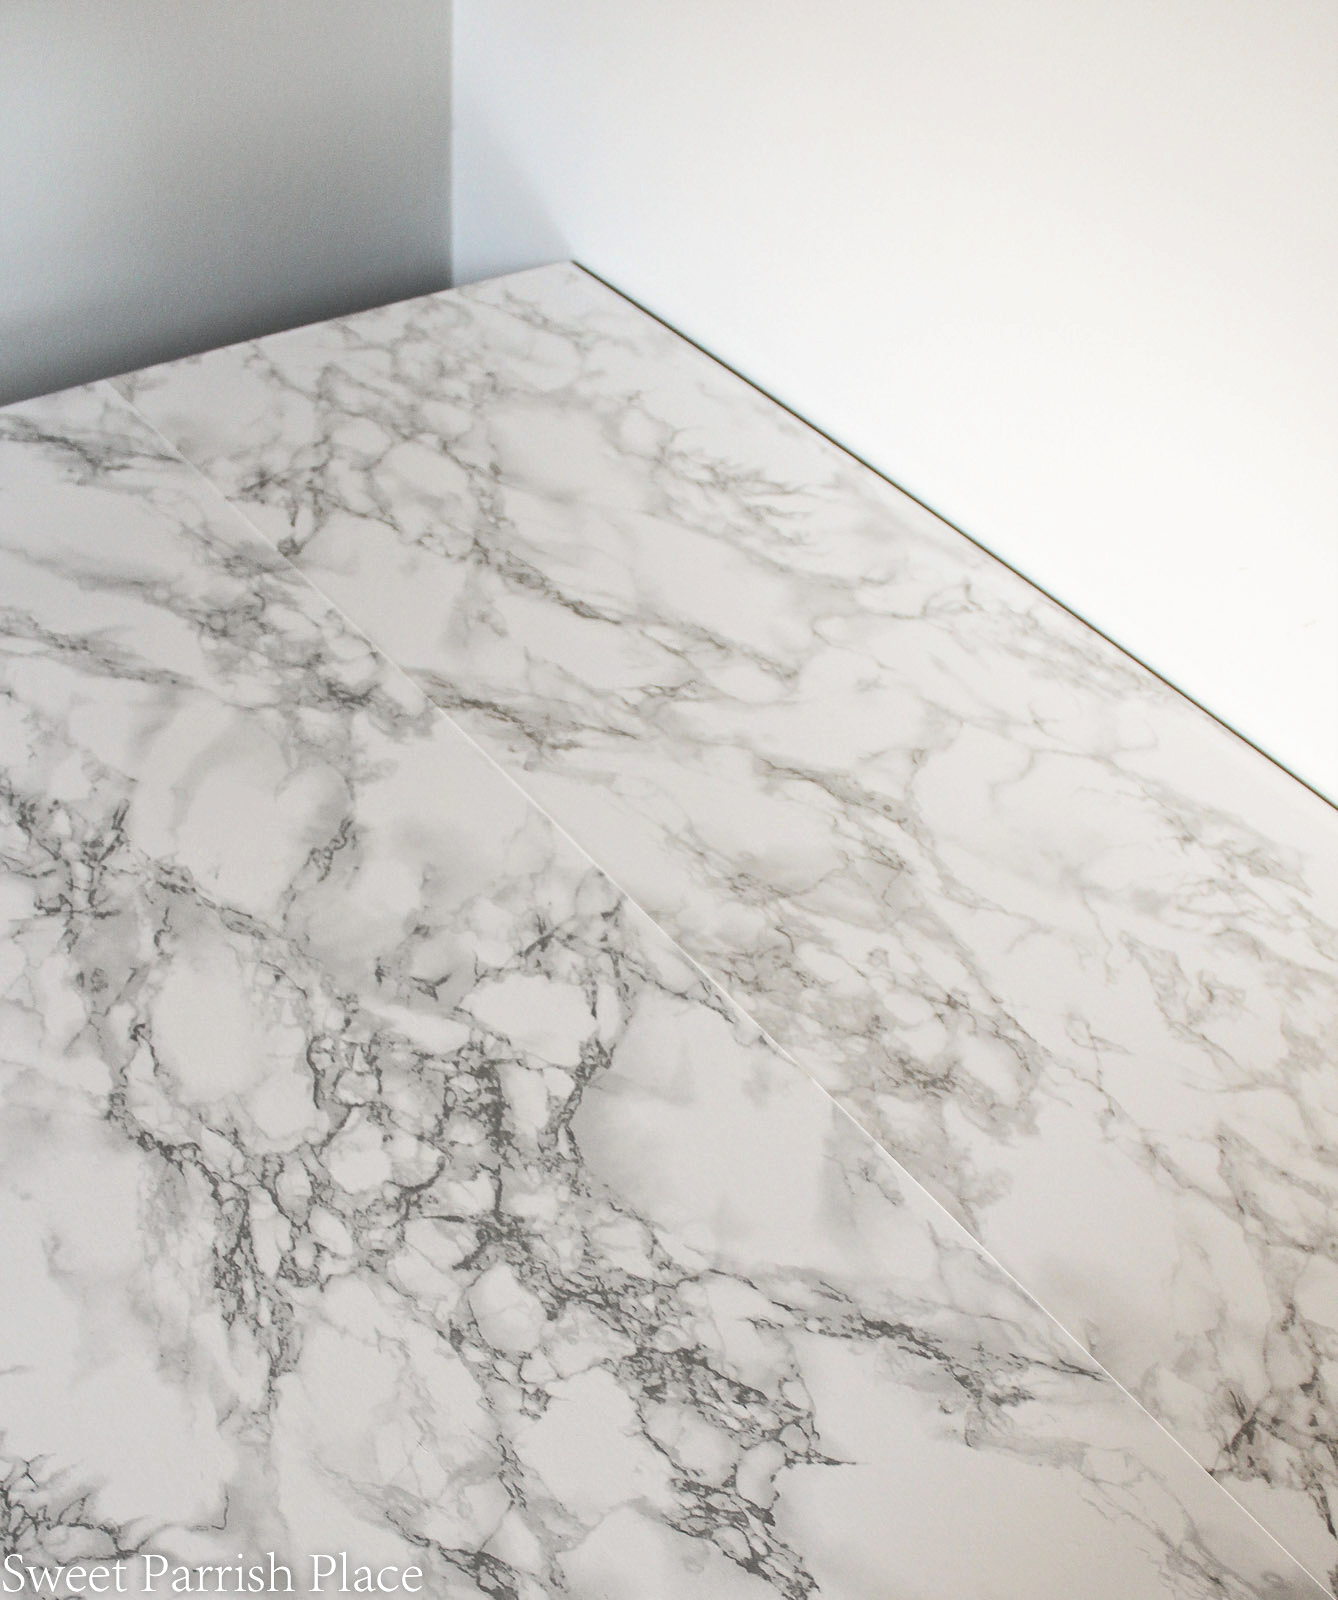
In this next photo, it is much more difficult to notice the seam. It really does depend on how closely you look and how the light is hitting it as to whether you can notice it or not.
I also painted the bottom shelves white using Rustoleum Chalky paint in linen white. Because these shelves were originally black, I primed all of the desk and shelves with a foam roller before I started painting them with the chalk paint. You do not necessarily have to prime if you are using chalk paint, but chalk paint is expensive, so I didn’t want to take chances on wasting it. I had one can on hand, and I need it to stretch enough to paint all the things. Or else, I am going to have to buy another can, and I would rather spend the last bit of my budget on something else.
These base shelves and the wall shelves were all primed with one coat of primer, and then I painted two coats of the chalky paint. I then went back and touched up a few sparse areas, but didn’t have to give them an entire third coat. I still need to lightly sand all of the shelves, and then seal them. I have decided to seal them with Minwax Policrylic in matte finish, because this desk is heavily used, and I want the paint job to last as long as possible, so I am opting not to wax it. I also think it may be easier to wipe down this way. MY 11 year old works on a lot of art projects at this desk, and I know it will need frequent wiping.

Here is a closer look at that seam. Notice how much more you can see it the closer my camera gets. In the photo above where the camera is further away it is barely noticeable. And keep in mind that all of the things will eventually be placed back onto this desk and the the seam will be underneath some of those things. As a matter of fact, my husband hooked the computer back up just last night.
I am so excited to share my dining table makeover progress this week! The base of the table is white, and I could not be more happy about it. Here is a quick before photo to refresh your memory.

Obviously, this is not a styled shot. The top of the table has been stained but not sealed yet. And it is currently holding some supplies and things that were on the wall shelves above the desk. If you read my week 3 post last week, all about me stripping and restaining the table top, you might know I was a bit unsure about the weathered gray stain I used on the top. Now that the table base is white, I am much more happy with the gray stain. But I still haven’t made a final decision. I want to have the chairs all finished before I decide.


I also primed the table base before I painted it with two coats of chalky paint. I used the exact same primer and paint on both the table and the desk, primer- Sherwin Williams All Surface Enamel Oil Base, and Rustoleum Chalked Paint in linen white . I have already sanded down the table base after the paint dried, and I will be using a clear cream wax to seal it. I will be using Minwax Policrylic in matte finish to seal the table top.

The base of the table is a classic shape, and the white looks sooooo good on it! I feel like we bought a brand new table! So I am very happy with the way this piece is progressing. The table is not currently centered on the rug. I am aware of this. We are getting a new rug, hopefully, you can read more below about our new rug. This particular rug got stained by an ink pen that our dog got into and busted, so I am planning to try to move it into a room where I can hide the stain, which is just to the right of the photo above. It is virtually impossible to hide the stain in the dining room, but I may be able to hide it in a different space in our home. I really do still like this rug.

Here you can see a glimpse of the weathered gray stain next to the fresh white apron of the table. I’m really liking the combo!

Here’s a sneaky peek at the rug I ordered for the space. I had a minor little snafu that ended up saving me $17 with this rug. When I went to the JCPenney store to pick up my order, I discovered that they sent me the wrong rug. So they had to re order it for me. They will instead be delivering the rug to my home, and it should arrive on the 24th. But unfortunately because of this, If the rug doesn’t work in the space, I won’t have time to replace it. So I’m on pins and needles as to whether it will work. I really hope I like it, because it was the deal of the century for me. It is originally $247. It was on major sale, and then I used a $50 gift card. After the mistake they made in shipping me the wrong rug, I ended up paying just $24.75 for it! Remember though, I had a gift card that brought my cost down to that price. But the rug is still on major sale, and you can get it right now for only $147.

So we are in the final stretch now for the $100 challenge! Next week is the big reveal on this room, and you get to find out whether I officially get it finished or not! Making over furniture is a multiple step process, and takes longer than one may think. I still have to paint the chairs, and everything needs to be sealed and protected, and then I still need to put everything back into the room and style it. My main priority is to get the chairs painted. If I end up running out of time and cannot seal all of the pieces of furniture, I will give myself grace on that. And I will go ahead and style the room for the reveal. Then I will go back afterwards and wax and seal everything. So I think I will have the reveal no matter what, there just may need to be some finishing work to do afterwards. I’m ok with that, because I am giving myself grace in the new year. I hope you will come back next week to see this space all put back together, cheers!
My To Do List For Phase 2 of Dining Room/Office Refresh
Strip and sand table top
stain table top
paint table base
Seal and protect the finish on all furniture pieces
paint chairs
apply marble adhesive film to desk top
paint desk base and wall shelves (may do marble film on wall shelves too)
replace area rug (if budget allows)
purge office area and reorganize
Use what I have to add decor in a fresh way
My Budget For The Dining Room/Office Refresh
Marble self adhesive film– $17.48
Varathane Weathered Oak Wood Stain– $12.58
Citristrip– $0 ( I already had this product on hand)
Area Rug– I paid $41.75 ( I had a gift card worth $50) minus $17 for a mix up with my order, so I ended up spending $24.75
Minwax Policrylic- $17.99
Rustoleum Chalked Paint in linen white- $0 ( I already had this product on hand)
Grand total so far- $72.80
Check out week 4 for all the other bloggers who are participating in the $100 Room Challenge here:
Click the Link below
Do you have champagne taste and a tiny budget too?
Love fashion, DIY, crafting, all things vintage and thrifty? Stick with me, I’ve got you covered!
Sign up to get my posts delivered to your inbox here
Follow me here:
Facebook / Twitter / Instagram / Pinterest / Bloglovin / Google + Stumbleupon
![]()
You may also like these posts:
Nikki your makeover is coming along so nicely. So much lighter and brighter and I’m a huge fan of the marble contact paper. It looks so great.
Patti recently posted…Wood Shelves You Can Easily Make on a Budget
Thanks Patti! I want to put marble contact paper on all the things now!
Wow! This doesn’t even look like the same desk. That marble paper is fabulous! Your room is going to be so bright and I think the rug will be amazing. I can’t wait to see it.
Sherry recently posted…Faux Marble Subway Backsplash
Thanks Sherry! I am loving it too! I’m a little iffy on the rug,we are going to put it in the room tonight and see!
This looks amazing!! I love that marble top idea!!!
Rebecca | R&R at home recently posted…$100 Room Challenge Week 4: DIY Drop Cloth Tufted Headboard
Thanks so much!
They make some amazing patterns on contact paper these days. This looks great and very cost effective too.
I know, it’s such a good way to update something if you are on a tight budget!
I LOVE the transformation on the desk! Contact paper is magic!! Looks beautiful.
Thank you Maria! I want to use it one everything now!
Nikki, I love the “new” dining table. Always wanted to try a colored stain but have been too much of a chicken. Going to have to check out that post dedicated to the desk because I had zero luck trying to place that marble contact paper on our small bathroom vanity.
Kelli recently posted…Beautiful vintage drop leaf table makeover
Thanks so much Kelli! I’m sure adding contact paper to a bathroom vanity is much more complicated than the desk I put it on. But I have seen other people do it on a bathroom vanity.
I’m so impressed with what you’ve done thus far! I love these types of challenges.
Thank you so much! I love them too!
Amazing room renovation. Would love to renovate mine too and gotta try your tips. Thanks for sharing this.
Thanks, I appreciate that so much!