I wasn’t sure I’d be able to pull off Sharpie shiplap on textured walls, but I was able to get clean lines, and I’m sharing the details here!

Hey friends! I feel like I made some great progress in my bathroom makeover this week, which marks week 4 of the $100 Room Challenge. I really wanted to attempt to do a Sharpie shiplap on textured walls, but I was really worried that it wasn’t possible. I searched Pinterest, to no avail; other than the fact that I read in several other tutorials not to try it on textured walls, hehe!
Well the spoiler alert is right up above, because obviously I was able to do my sharpie shiplap on textured walls, and I am so thrilled with how this little project turned out! I mean, check out the before of this same view below?! Big difference, right?
Wanna Catch up with my progress on this challenge? Start from the beginning!
Of course, I want to thank the lovely Erin over at Lemons, Lavender, and Laundry for being our lovely host. If you are new to the $100 Room Challenge you can read more about it here. But the basic premise for the challenge is this: you get one month, and $100, to completely makeover one space in your home. I know what you may be thinking… $100 is not a lot of money. Just wait. What you can do with $100 (and a little creativity) will absolutely blow your mind. And if you don’t believe me, just follow along, and click through and see what the other participants are doing for this challenge, and you will see so many great things happening with just a $100 budget.

Details About Sharpie Shiplap on Textured Walls
My walls are kind of like the exaggerated texture of an eggshell, if you can picture that. We moved to Texas a little over a year ago, and every single house we looked at, and that I have been in at all, have this same texture on the walls. So it’s definitely a thing here. And I have to say, as a person who lived with non textured walls for my entire life up until this point, I’m not a fan of the textured wall. I even went so far as to say to my husband if I had the money, I would hire someone to come in and smooth every last wall back out.
I was worried sharpie shiplap would be a failure on my textured walls, but I decided to try doing a short line in a hidden spot in my closet to test it out, and it worked! So I decided to take the plunge.
I think the most important tips to remember for getting nice clean lines are to use a brand new Sharpie Paint pen (not a used one), a nice straight edge to guide you, and always use a level. Also, I recommend a Sharpie paint marker, not a regular Sharpie marker. It is much easier to cover any small mistakes by painting right over them with the paint marker, as opposed to the regular Sharpie. Let me share with you how I was able to get clean lines on my textured walls.

Supplies You Will Need
- Sharpie Paint Marker (I used one with a fine tip)
- Measuring tape
- Level
- Pencil
- Yardstick
- Smaller straight edge for tight spaces
- Painters Tape
My Process
- Paint your wall in the color you would want your boards to be if you were painting real shiplap walls. I chose Bistro White by Behr, in an eggshell finish. I already had this paint on hand from painting our sunroom, so free!
- Decide how wide you want your “boards” to be. I decided to make my boards 6 inches wide. That means that I will be drawing my line every 6 inches on the wall.
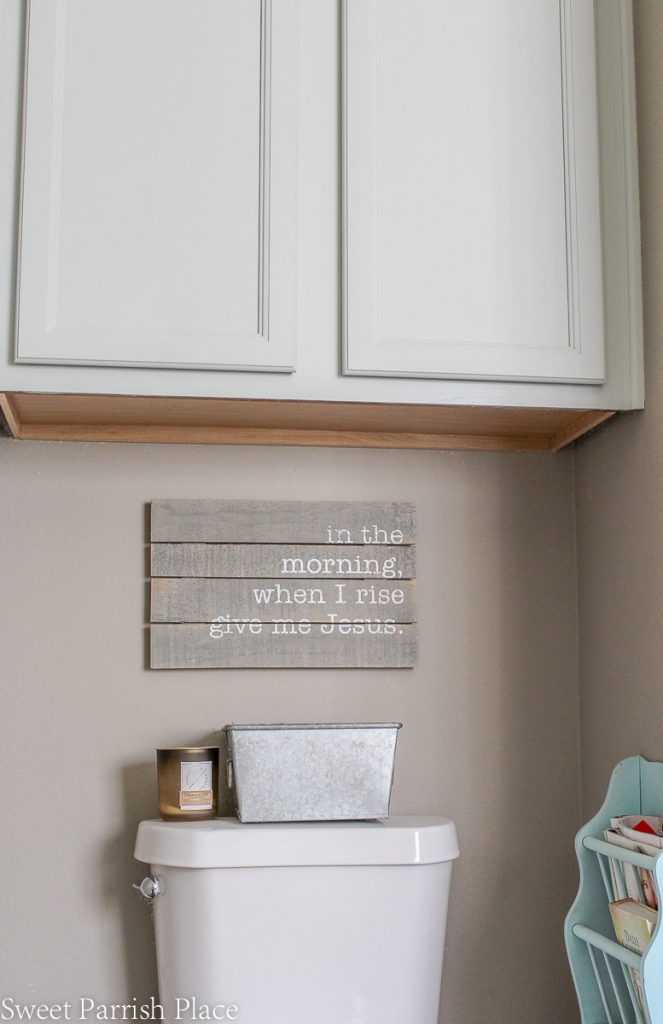
- Decide where you want your starting point to be. Should it be at the bottom, or top? I decided to start at the bottom right above my sink cabinet because I knew I wanted a full 6 inch wide board across the bottom, but I didn’t really care if there was a full board near the ceiling.
- Starting at either the left or right side of the wall, I took my yardstick and made a small pencil mark at each 6 inch point going all the way from 6 inches above the sink to the ceiling.
- I used my yardstick as a straight edge to draw my lines. I started by finding my pencil mark and lining up my yardstick right beneath it, then used my level to make sure my line was straight across. I then taped my yardstick to the wall using painter’s tape.
- I found that it took me more than one pass with my paint marker to get the dark, sharp lines I was looking for. I am sure this has something to do with the texture on the walls. Because I notice I had similar issues when using a paint brush or roller on my textured walls as well.
- I found that by going back and forth on each line in several times in opposite directions with the paint marker helped to get into all of the dips and crevices in the textured walls. I had no problem doing this because I had the yardstick taped securely to the wall.
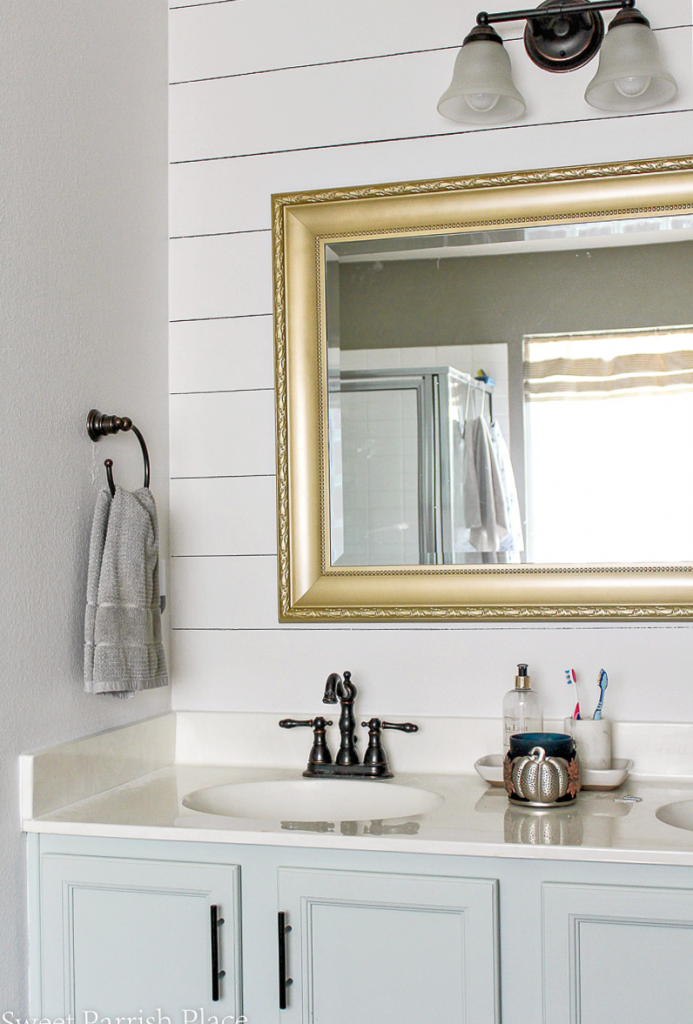
Just look at the clean, sharp lines I was able to accomplish on my textured walls! And look at that little before/after action above and below, yay! Did you notice I repainted the mirror and made it a more true gold color? I like it so much better now!

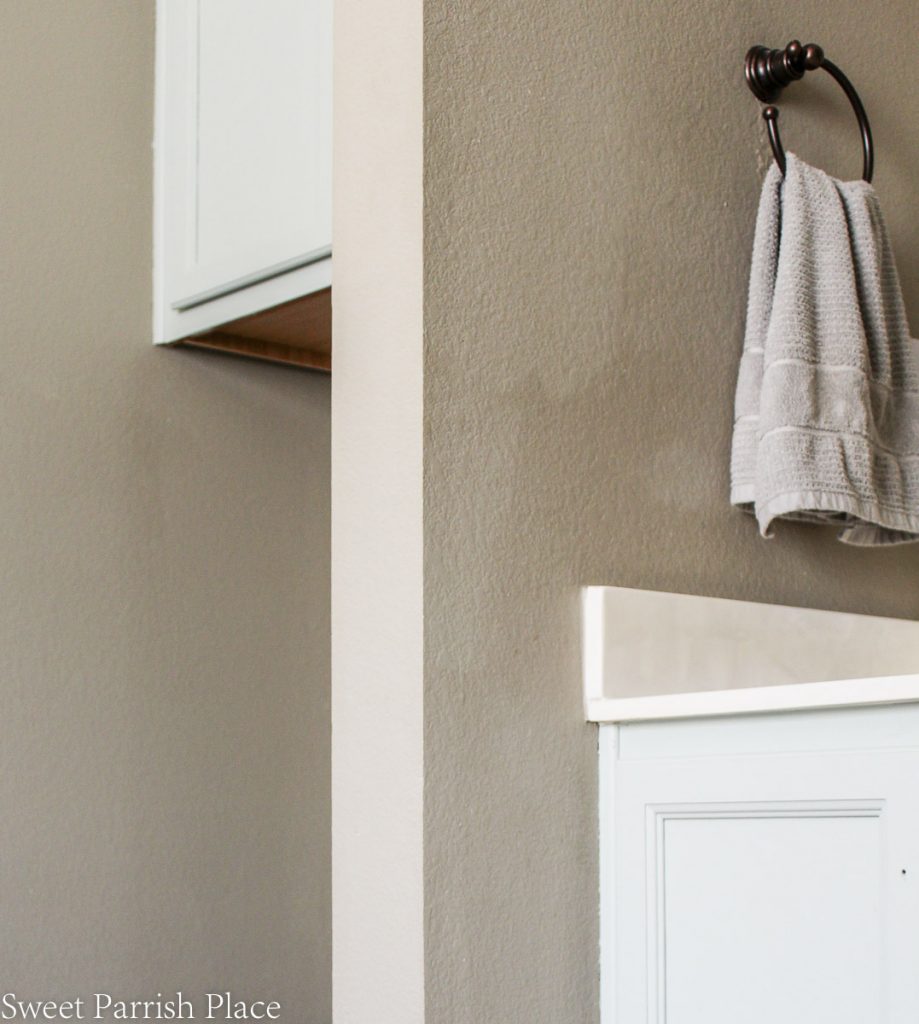
I never love painting around a toilet, but the only alternative is to remove the toilet, and that as not about to happen. So work around it was. I had to contort my body into some strange angle to get the sharpie shiplap in these tight spaces around the toilet, but I am very happy with the results!
I did make a couple of mistakes that I was able to touch up easily with a paint brush and some more of my wall color. I also painted the wall between the sink and the toilet bistro white. The goal is for all 4 walls to be this color – I am just not sure if that is going to happen in time for the big reveal (see my week 3 post to find out why). But seeing this side of the room all white is giving me all the feels, and I plan to have this room completely painted before Halloween.

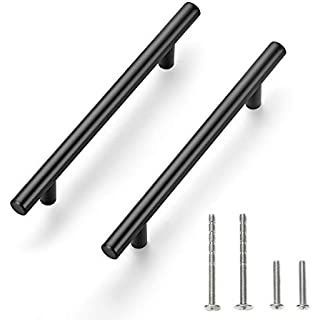
Pssst, what do you think of my lovely new cabinet pulls? Love them! And I got them for a great price on Amazon for twice as many as I actually needed. So I will add them to my stash for a future project.
We have not great lighting in this bathroom, with the light over our sink being the only light in the room. One day we plan to hire an electrician to remedy this, but that is not for this challenge. I have to say, though, that having these lighter colors in the walls and the cabinets already goes a long way to making this room feel more light and airy.

If you caught my week 3 post, you might know that I admitted I may not complete this room because by the time of the big reveals next week, I will have lost two weekends of opportunities to work on this room. One weekend was my 50th birthday, and we celebrated by having a little kid free stay-cation in downtown Austin. And this coming weekend, my son is visiting from WV.
I didn’t really think this out before jumping into this challenge, but although the room won’t be 100% finished, I will have enough of the space finished to show where I am going with the whole thing, and 1/2 of the room will look great. It will just take me a weekend or two more to get the rest of the painting done.

The Budget…So Far
Rustoleum Spray paint in Pure Gold – $6.98
Cabinet Pulls – $9.84 (these pulls came in a pack of 10, and I will only use 1/2 for this project, so saving the rest for a future project)
Paint for vanity– $20.98
Sharpie Paint Marker– $2.98
Total So Far – $40.78
For even more bathroom inspiration, check out my Bathroom Pinterest Board here.
Check out my previous $100 Room Challenge Reveals
Guest Bedroom Reveal | Modern Farmhouse Dining Room Reveal | Mudroom Makeover Reveal
Modern Farmhouse Dining Room/Office Reveal
Make sure you check out what the other participants are doing using the link up below.
Do you have champagne taste and a tiny budget too? Love fashion, DIY, crafting, all things vintage and thrifty? Stick with me, I’ve got you covered!
Sign up to get my posts delivered to your inbox here
Follow me here:
Facebook / Twitter / Instagram / Pinterest / Bloglovin / Google +
Shop My Amazon Storefront Here

You’ve made a big difference with just $40!! I love the sharpee lines. I am amazed at how straight they are, even by the toilet! That’s no easy feat!
I am amazed they turned out as well with the textured walls. I was worried they wouldn’t, thank you!
Great job! This bathroom is really coming togther- I really like to faux shiplap and the new cabinet pulls.
Jackie @jackiecantblog recently posted…Fall Decorating using Wood and Glass
Thank you so much! I’m happy with them!
I love the sharpie shiplap and the pulls, both are great additions to the space.
Thank you, I am so hapy that my sharpie shiplap turned out the way I hoped it would!
Wow, I am so impressed by the shiplap on the textured walls! It looks wonderful. And visually, it even seems to remove the texture. The mirror does look even better as a more true gold, I love it!
Joy recently posted…$100 Laundry Room Makeover DIY, Vintage Chic Laundry Room on A Budget