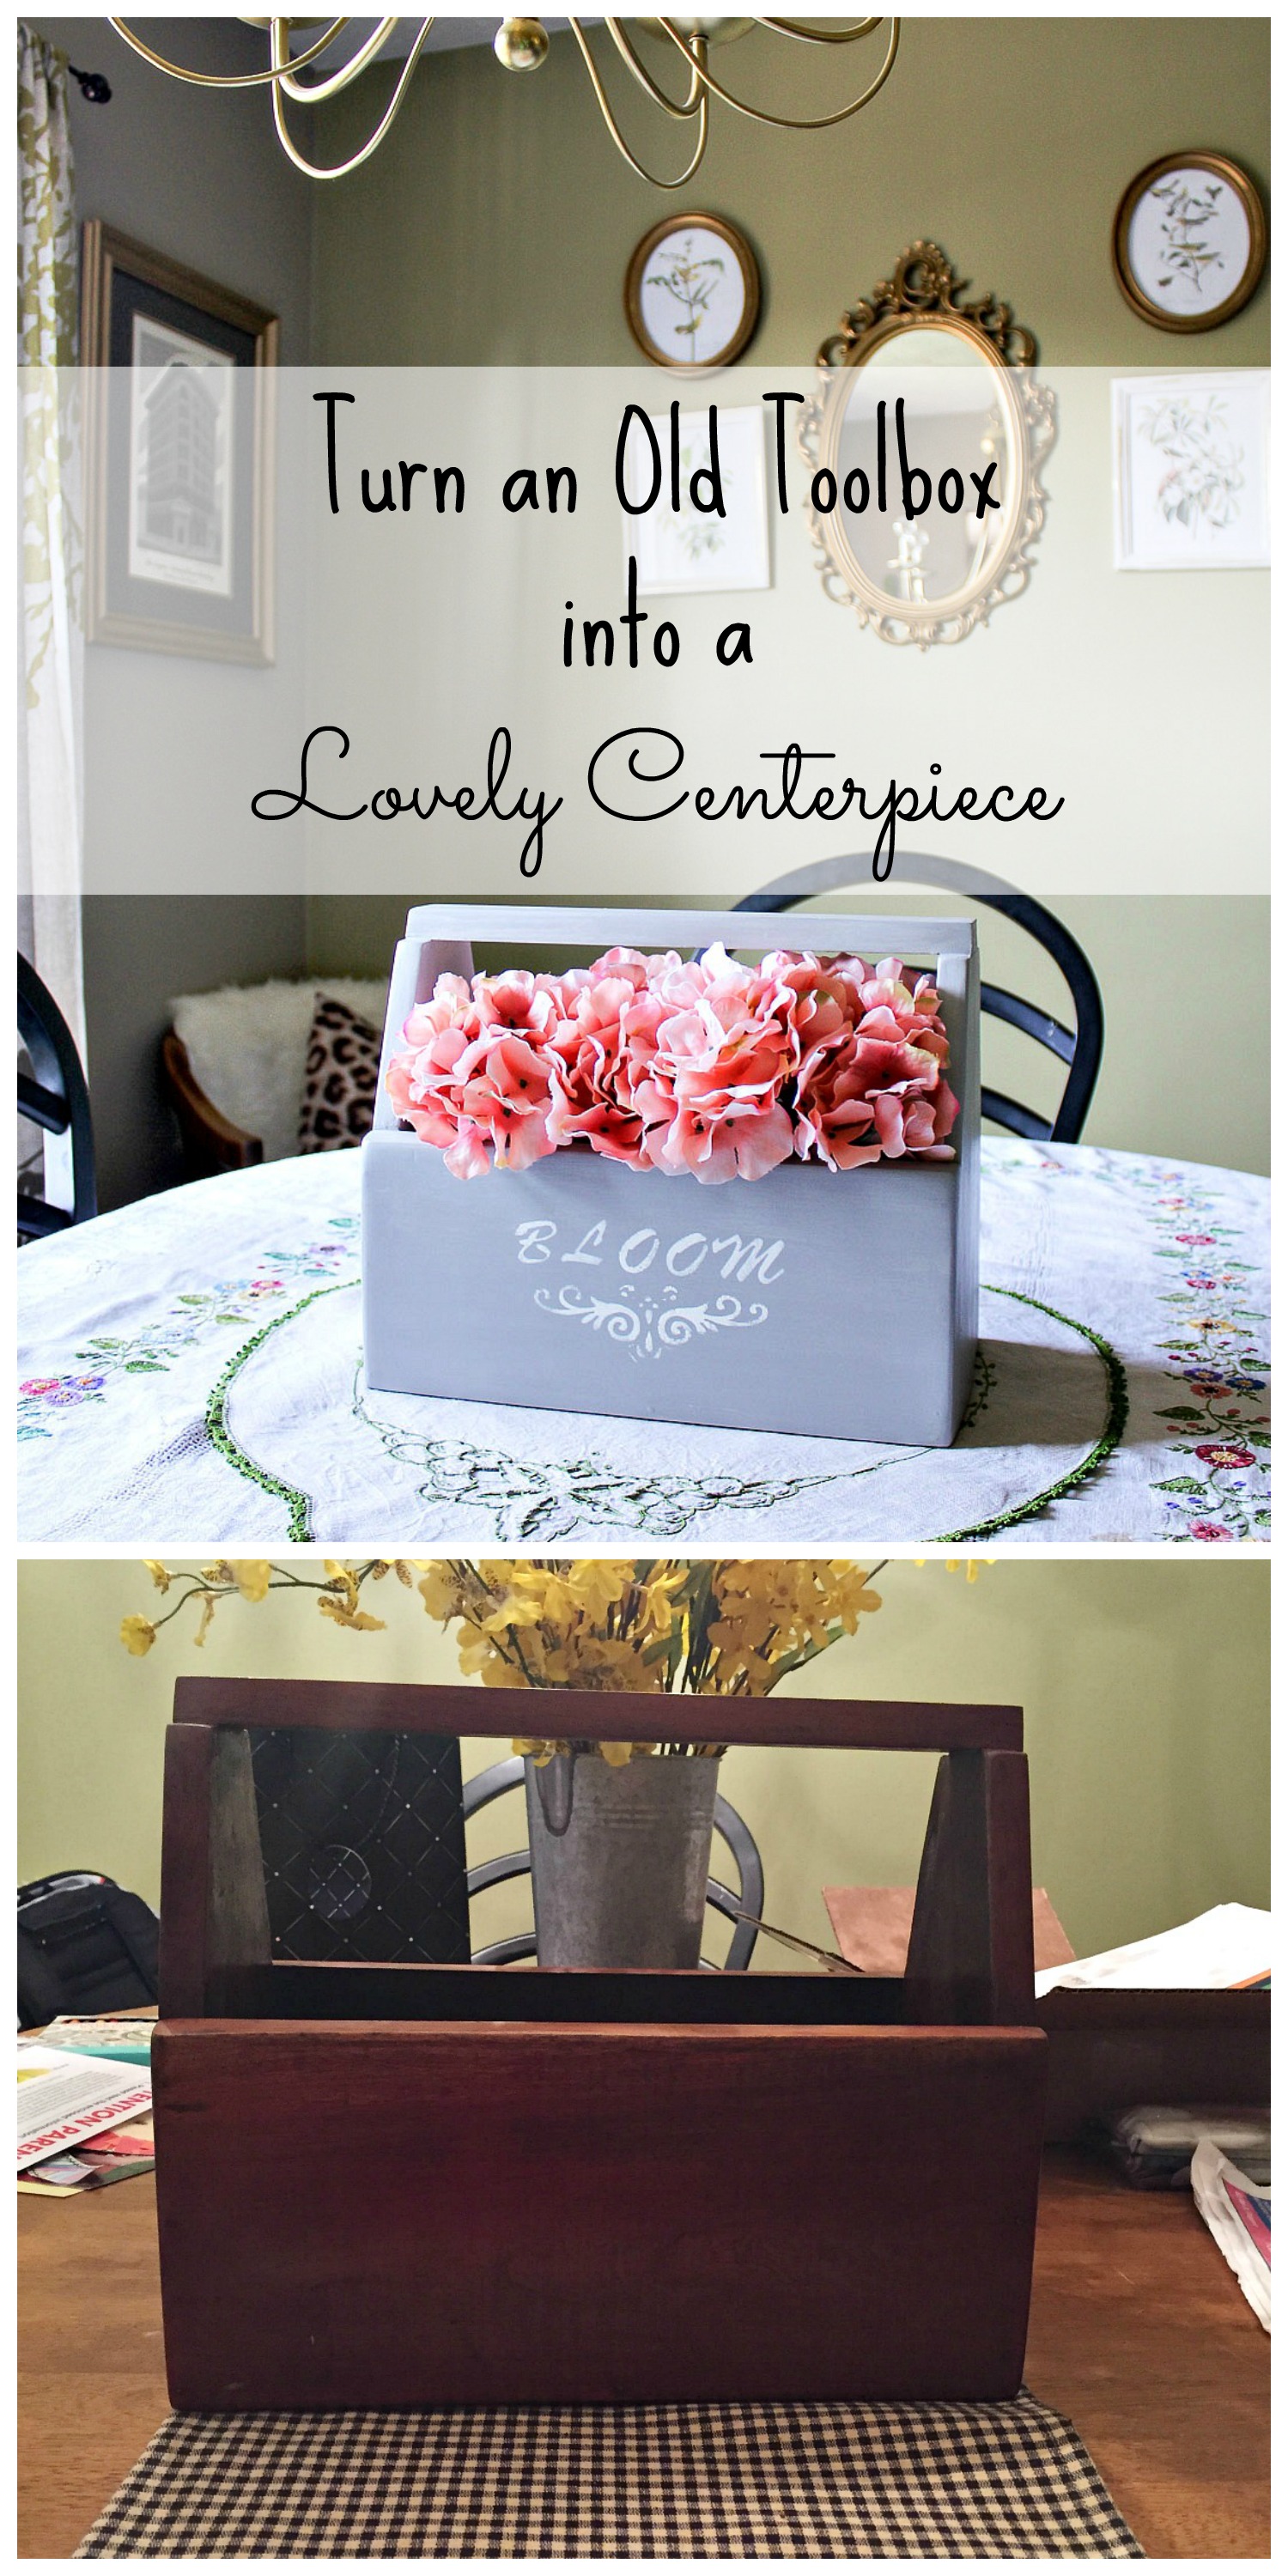
Hey friends! I have a super cute little project to share with you today that I actually worked on during a Facebook Live I did on Hometalk’s Facebook page last week. If you are new here, welcome! I have a little series on my blog called Trashtastic Treasures, and this project fits the bill. I am going to show you how to turn an old toolbox into a centerpiece
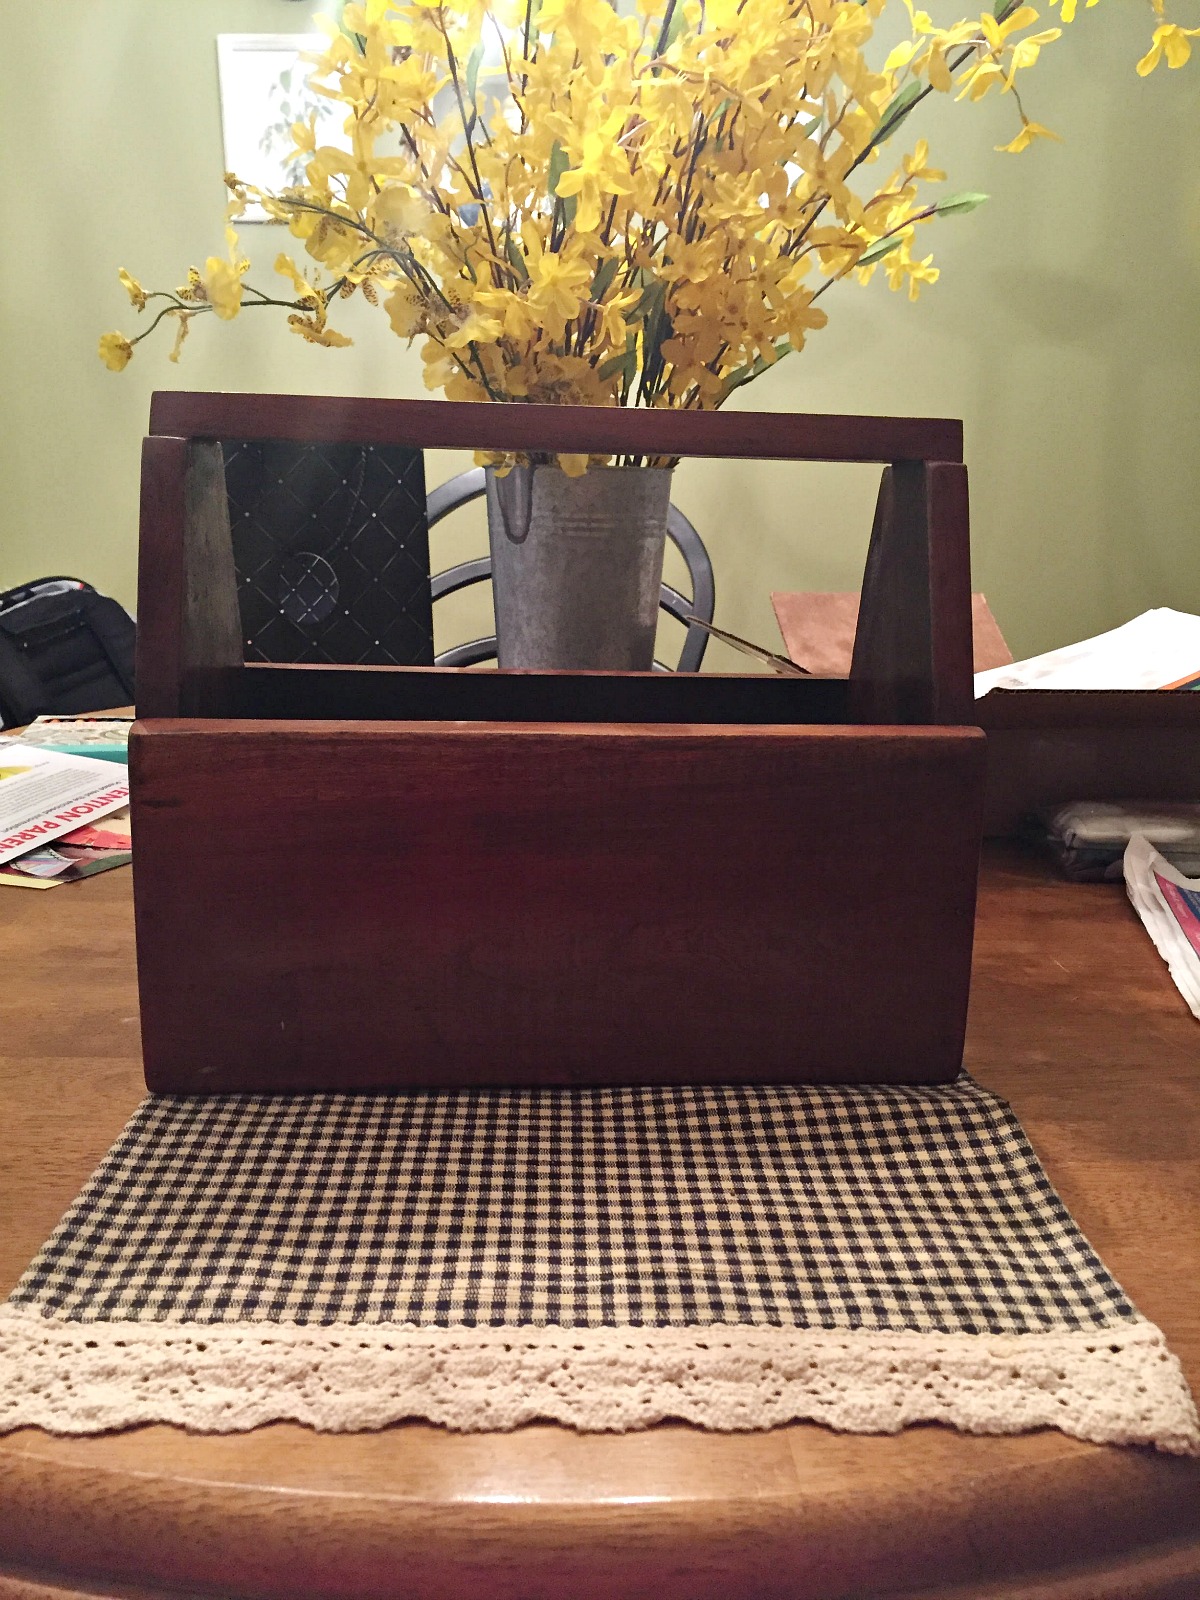
I actually picked this old toolbox out of a pile of junk in a garage that I picked through at the end of winter. I liked the clean lines, and it was nice solid wood, so I knew I could do something with it. I think boxes like this are fairly common, and easy to find.
I decided to paint mine and use it as a spring centerpiece on our dining table. But this type of box is very versatile and you can use it in many different ways. Think utensils, mason jars, hanging it sideways on a wall and using it as a shelf with a towel rack. I could go on…but this picture below is what the box looked like before.
For your convenience, this post has affiliate links. If you click on them and buy an item, I will receive a small percentage of commission. By clicking the link, you are NOT paying any more than you ordinarily would, and you are helping support me in keeping this blog up and running, so thank you for that!
Supplies You Will Need to Turn an old toolbox into a centerpiece
- clear wax
- chalk paint
- sanding block
- paint brush
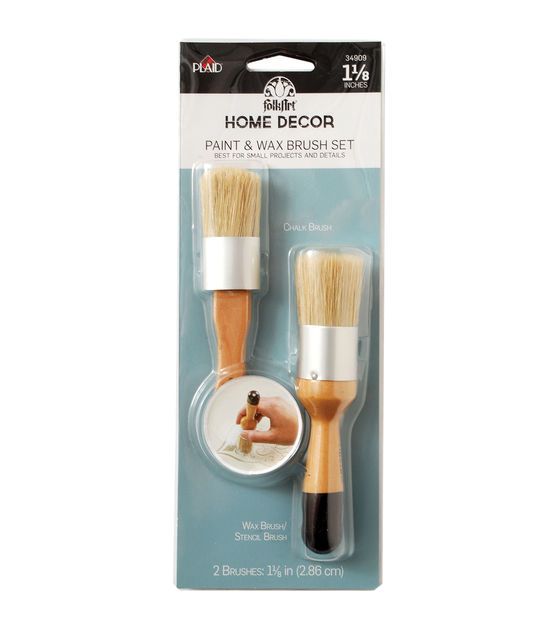
- waxing brush
- stencil brush
- paper towels
- clean dry rag
- stencils
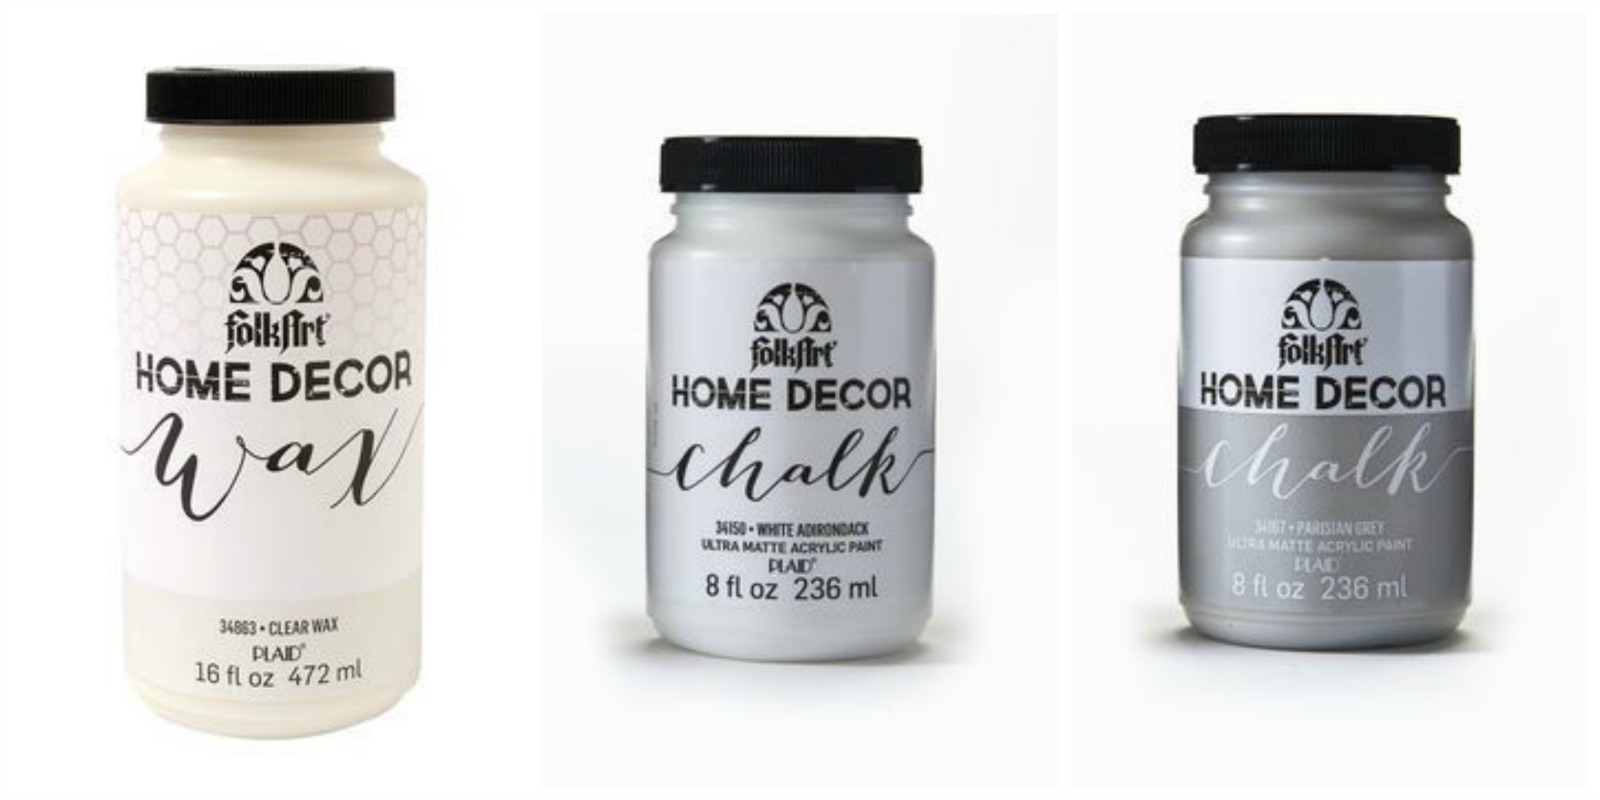
White adirondack | Parisian grey | clear wax
How To Turn an old toolbox into a centerpiece
Start by cleaning the box and letting it dry completely. I first took a hot wet rag and wiped by box down inside and out. Afterwards, it seemed like there was some sort of residue on parts of the box so I decided to use some rubbing alcohol to get it off. I simply took a paper towel and got it damp with rubbing alcohol and wiped down the box inside and out. And it did the trick! And it didn’t damage the wood at all.

After the box was clean and dry, it was ready for paint. I used chalk paint on my piece. You can see in the photos above exactly what chalk paint I used, and the color is Parisian Grey. I painted the box inside and out with two coats of paint.
I debated after the first coat whether to do a second coat or not. I could have stopped with the first coat, but you could still slightly see the wood beneath. And if that is the look you are going for, feel free to do one coat. I was going for more coverage, so I did two.

After the paint is dry, take a sanding block and gently sand it, not to remove any of the paint, but just to give it a smooth feel when you touch it. I love the way this makes chalk paint feel. It is important to note, if you want to distress your piece, don’t do so now, wait until after you have waxed it, which is the next step.
After you have sanded it, wipe it down with a slightly damp rag to get rid of the dust.

I chose to stencil my box, but that is up to you if you want yours to be stenciled or not. I chose the word bloom, and then I chose a swirly decorative stencil to go under that. To apply my stencil, I used a round stencil brush called a spouncer, and it is a round sponge on a stick, essentially.
You will want to tape your stencils onto the box using painter’s tape.This will keep your stencil in place so that there is no bleeding.
I took some of my white chalk paint and poured it onto a paper plate. I laid out a clean paper towel as a blotter. I then dipped my stencil sponge into the paint, and blotted it off generously with a paper towel so that very little paint was left on the sponge.
Once you have the sponge blotted well, you will take it and just pounce repeatedly in the areas where you have the stencil taped down. Keep repeating that process until the stencil is all filled in. You can then remove the painters tape and the stencil.

After the sanding and/or the stenciling is finished, it is time to wax it. I used clear wax, and you can also see the kind I used in a photo above. The wax gives the finish an ever so slight sheen, and it also protects it. To apply the wax, brush it on lightly. Wait for the wax to dry, and then buff it with a cotton rag. Your piece should feel as smooth as butter after this step.
After you wax it, now is a good time to distress it some more with sand paper if you want it to have a distressed look. You would just sand it in spots where it looks like it might have some natural wear and tear. I chose not to do this, but I have done it on other pieces.
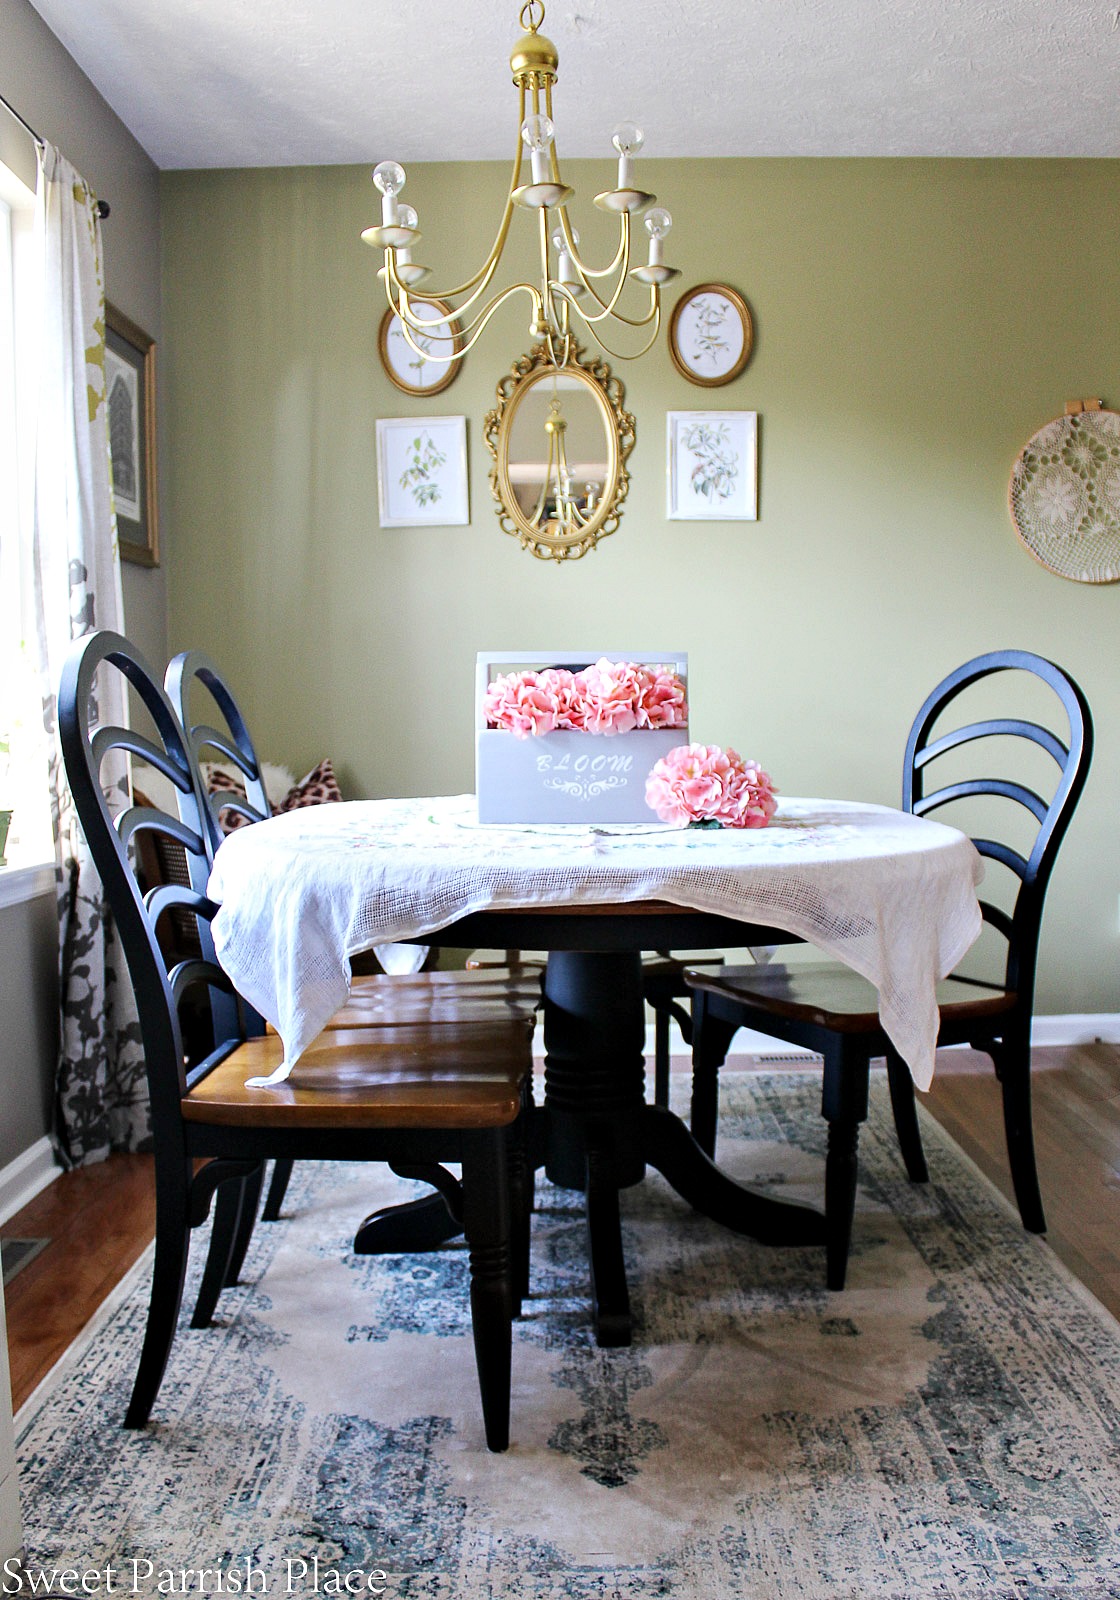
I really like the way my box turned out, and this is a piece that I can use virtually anywhere to hold lots of different things. Right now it is being used as a centerpiece that I filled with faux pink Hydrangea. But you may spot it in my home some other time being used differently. The chances are very likely!

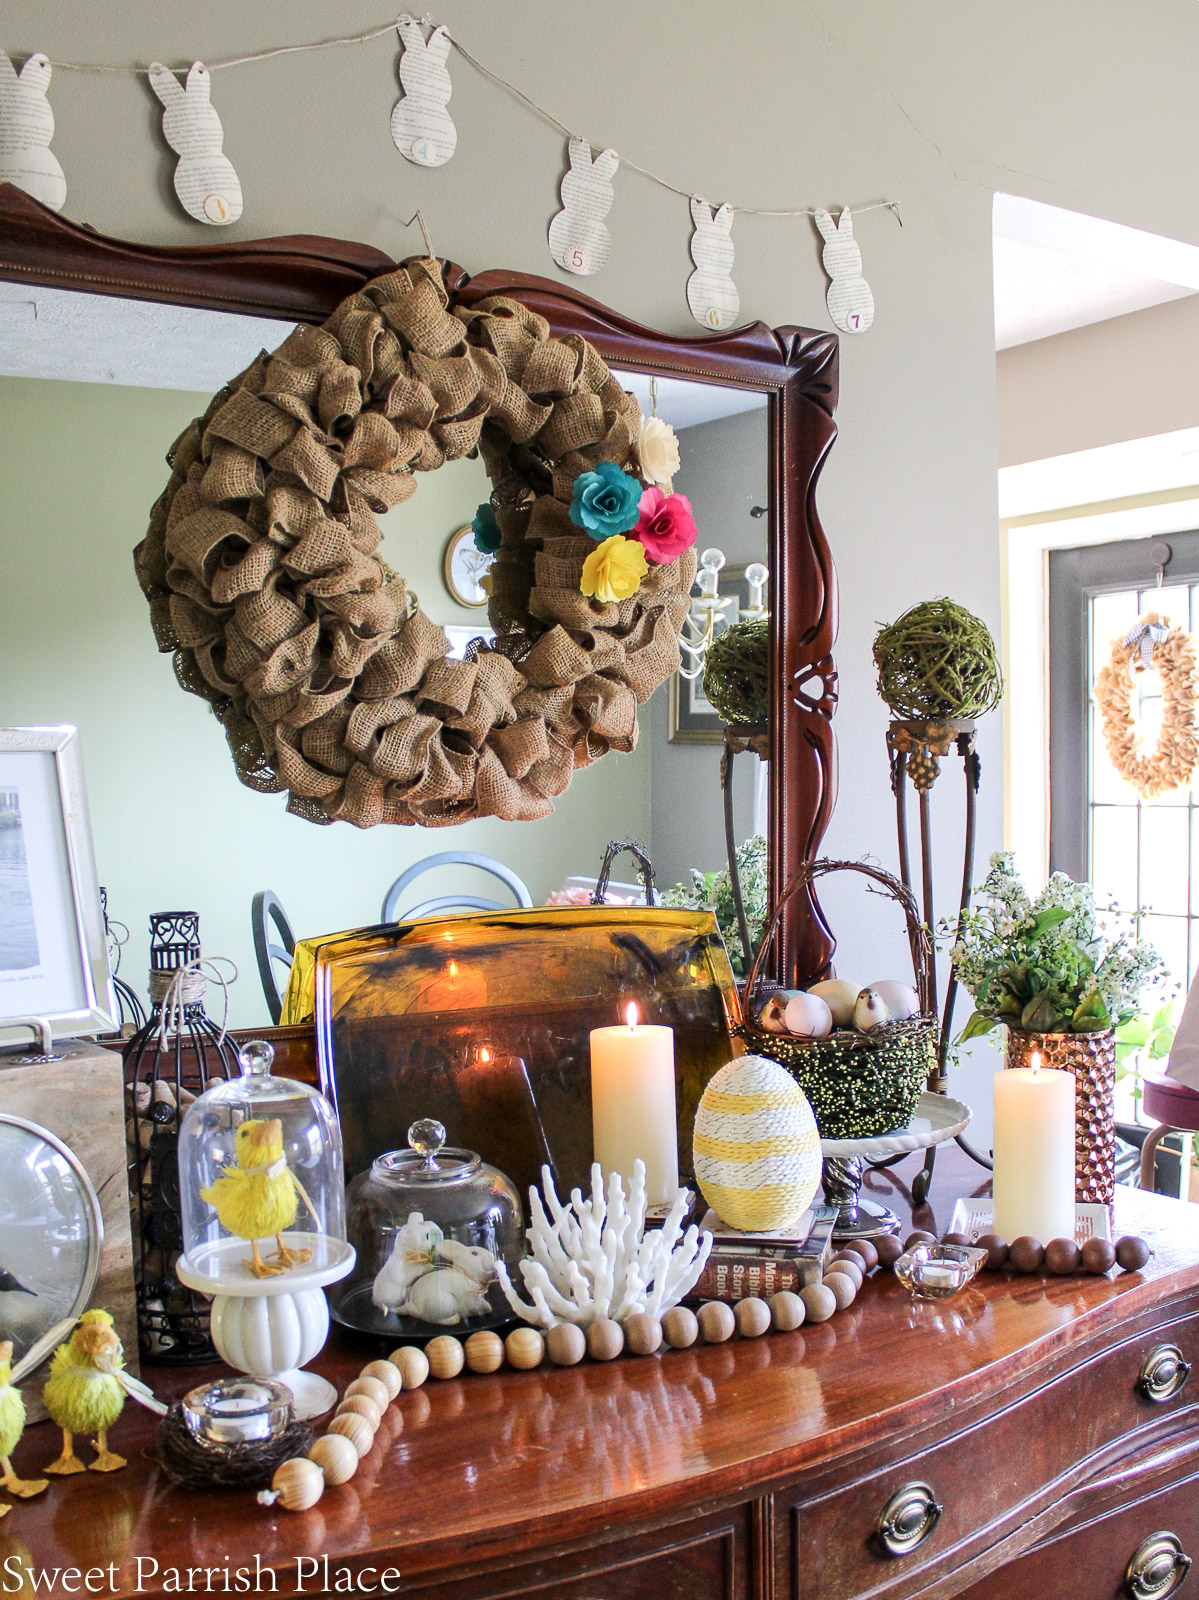
After my box was finished, it needed to take some pretty pictures of it, and I haven’t shared my Spring dining room yet, so I thought I would also share my spring buffet, since we are in the dining room for these photos.
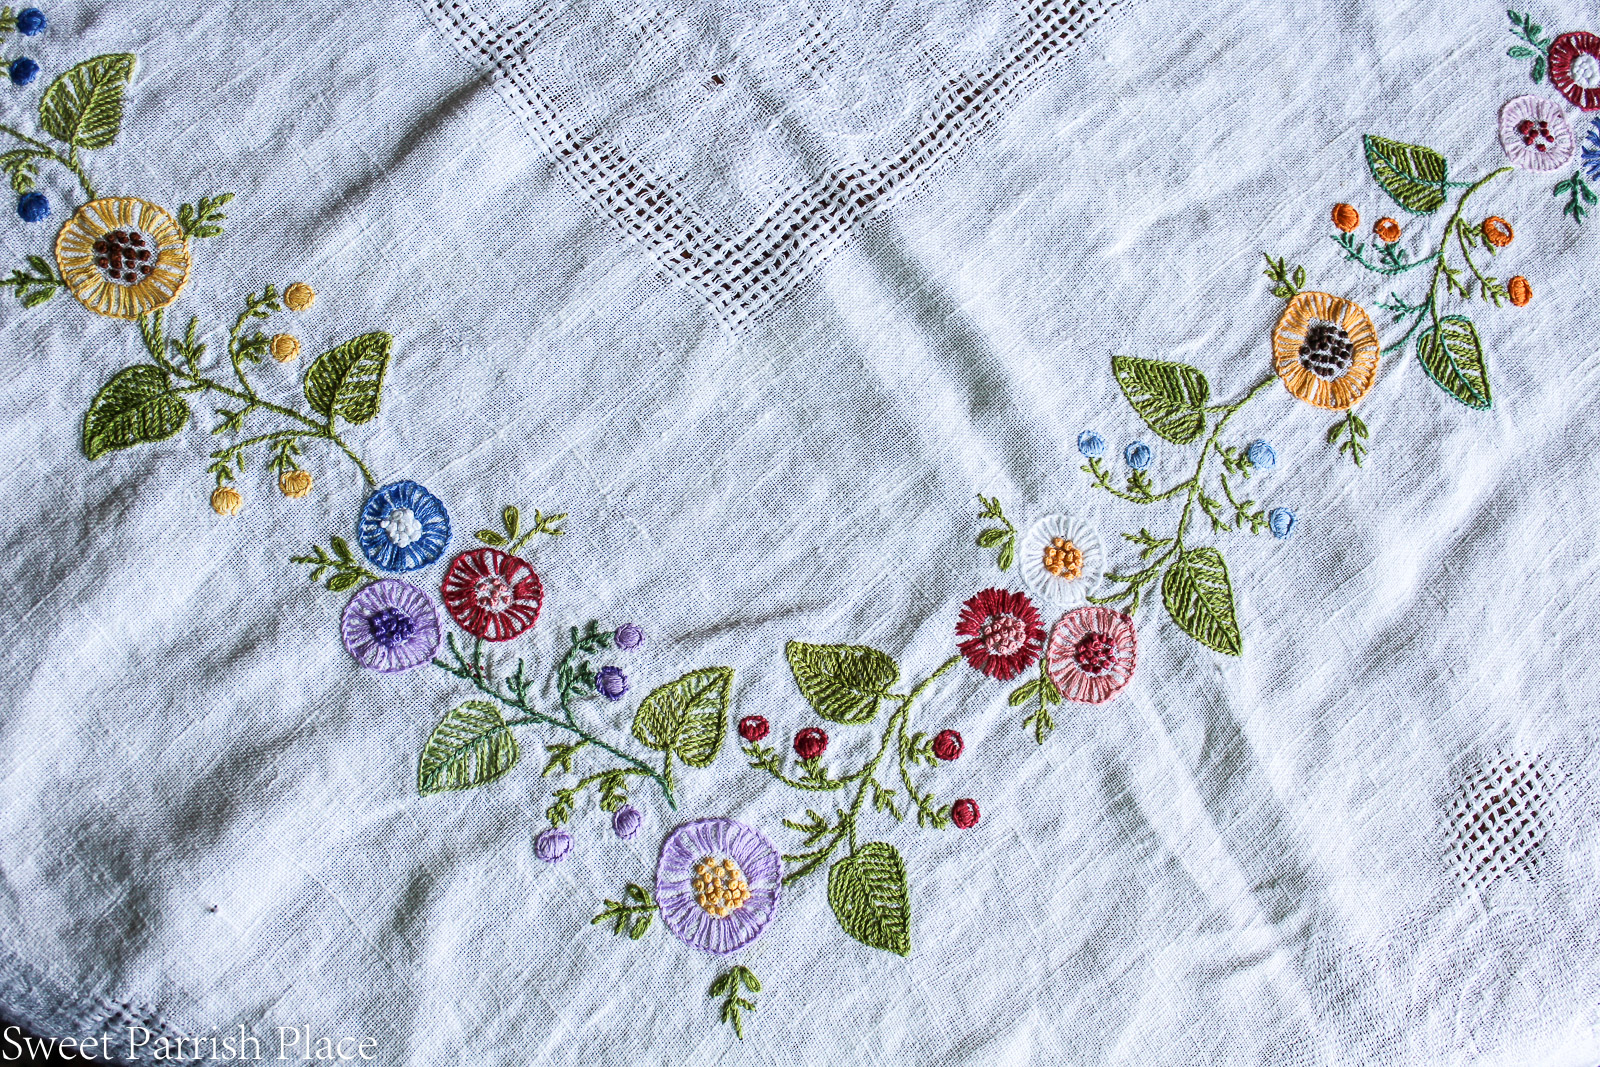
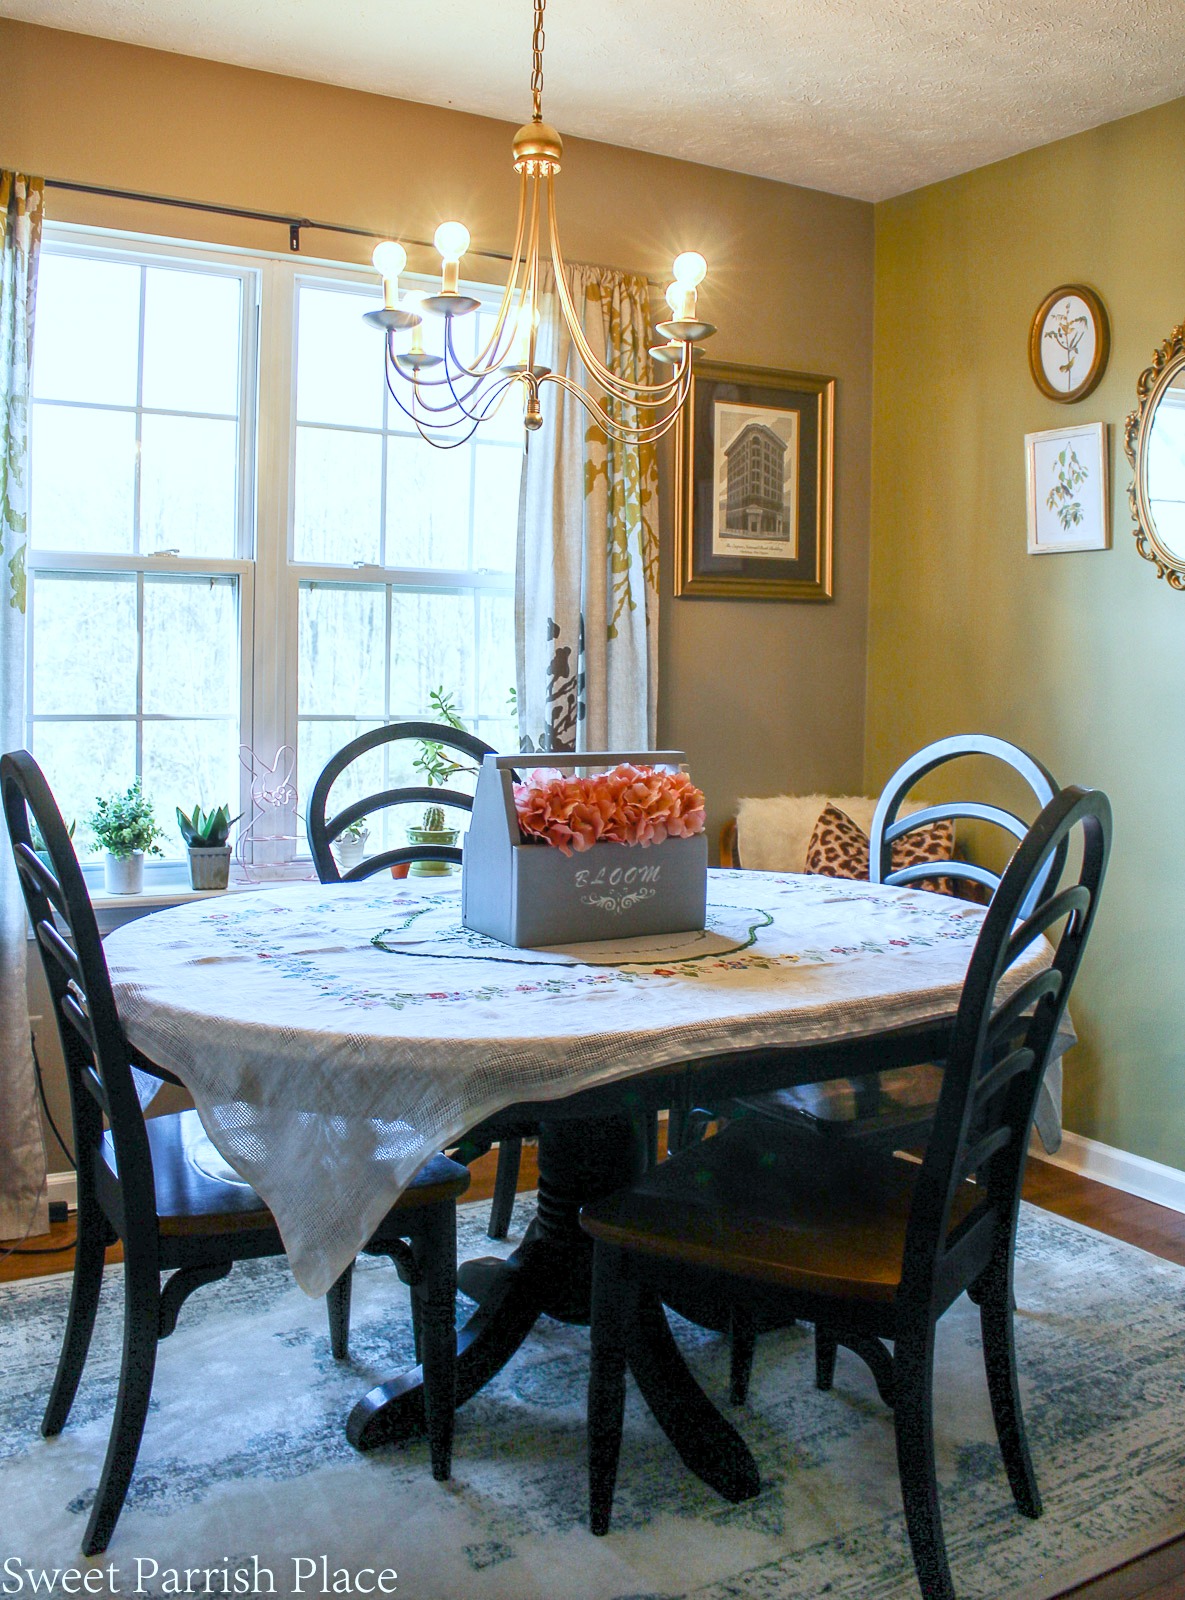
You may have noticed my table cloth in the above photos, so I thought I would give you a little close up. this is a vintage table cloth that I picked up at an antique store many years ago, I think I was in my twenties at the time. This is a very delicate table cloth, and NOT something I would keep on y dining table for every day use. But I just think the embroidery on it is so pretty for spring!
This buffet has been waiting for a proper paint job for years, I have been saying that, and yet it is still in its natural state. But it is a favorite piece of mine and provides much needed storage, and I love to decorate it for all of the different seasons. The bunny garland is a DIY project I did last Spring.
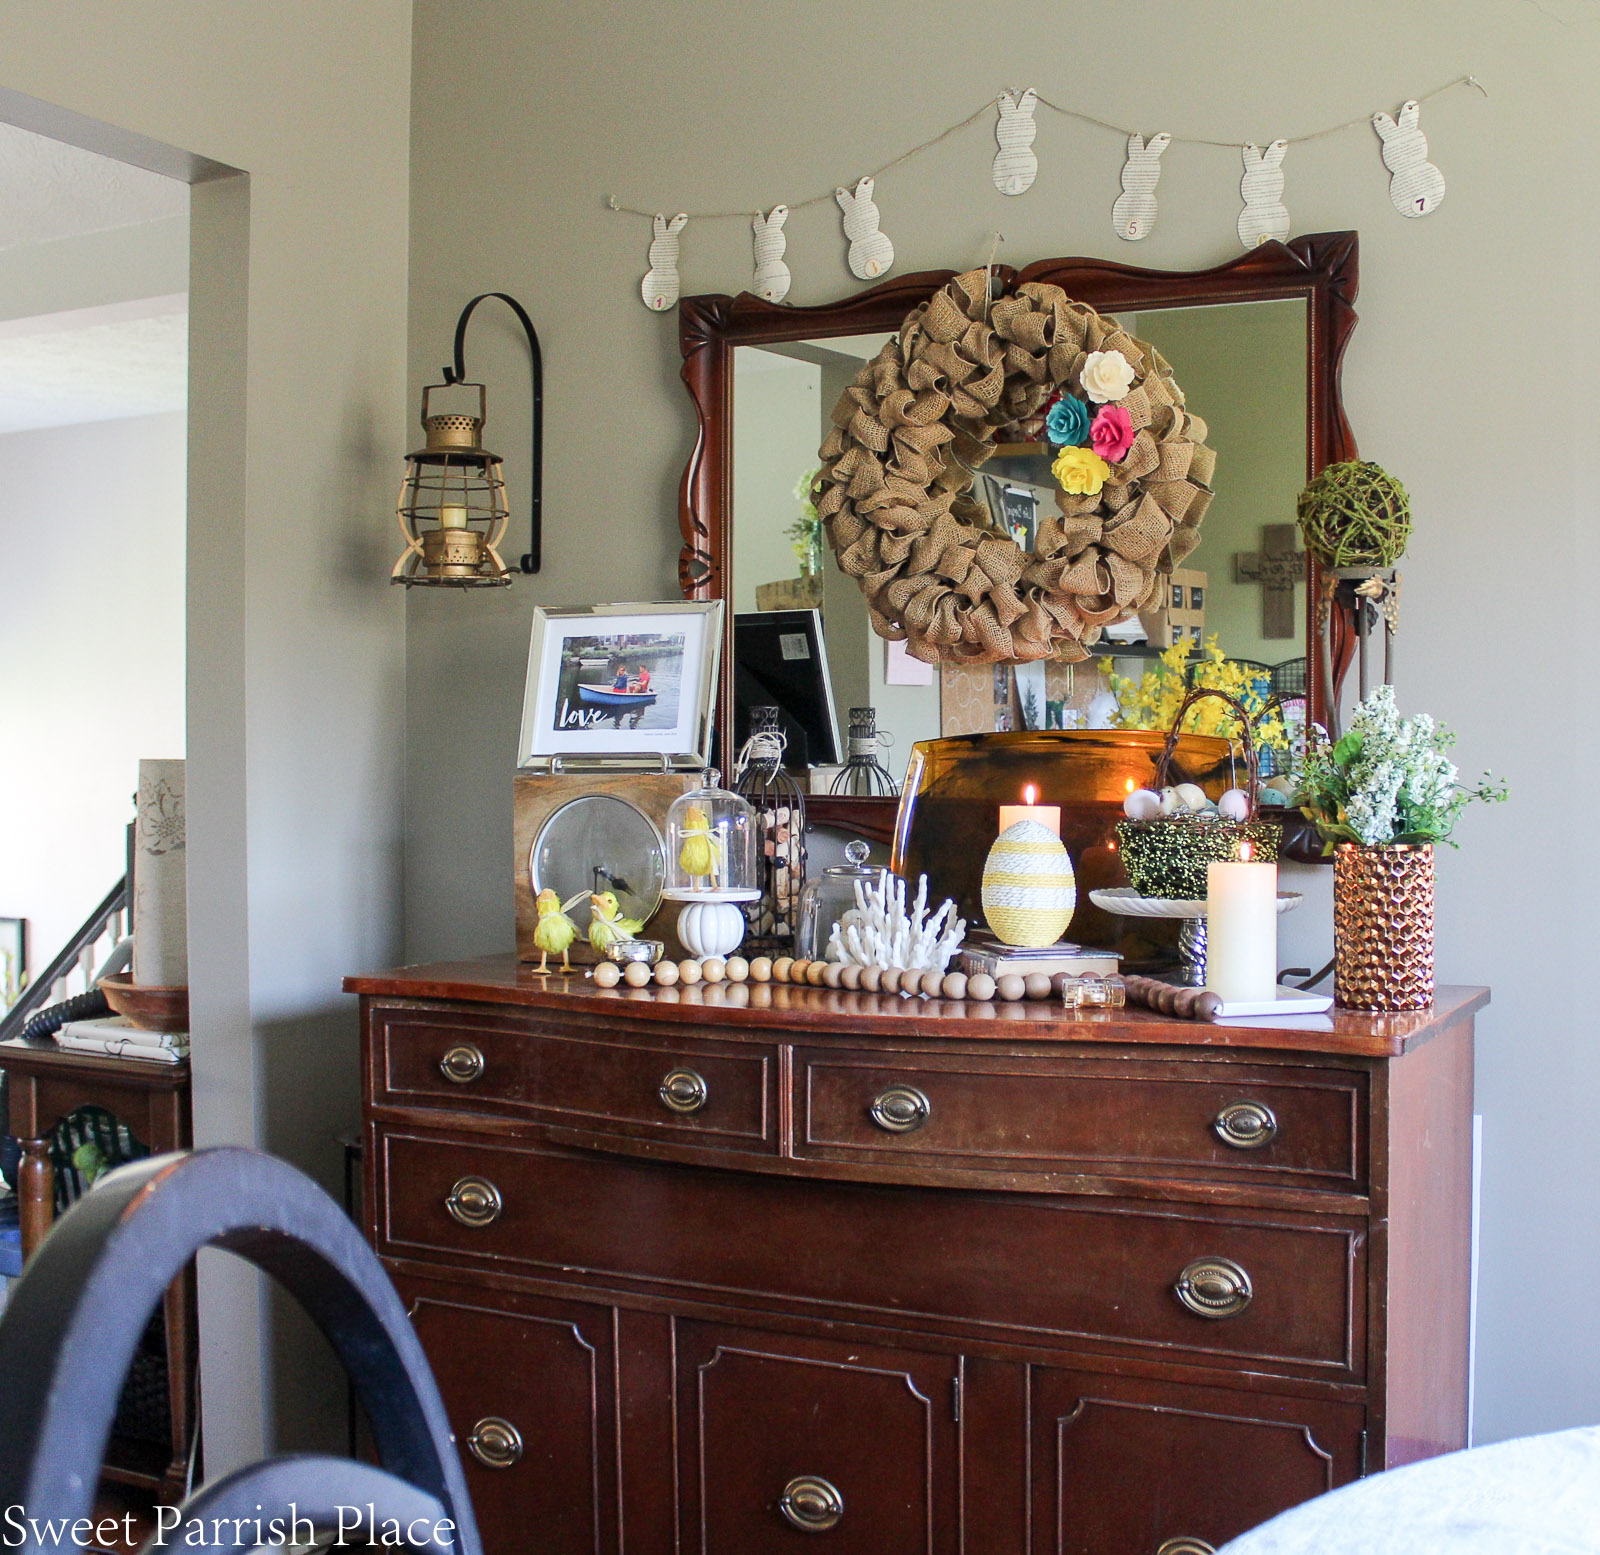
I kept my burlap wreath very simple this year and just clipped on some flowers that I picked up at the Target dollar spot last spring. One of my favorite pieces on the buffet is the tray that you see leaning up against the mirror. It’s like a tiger eye almost, and I found it in an antique store last summer.

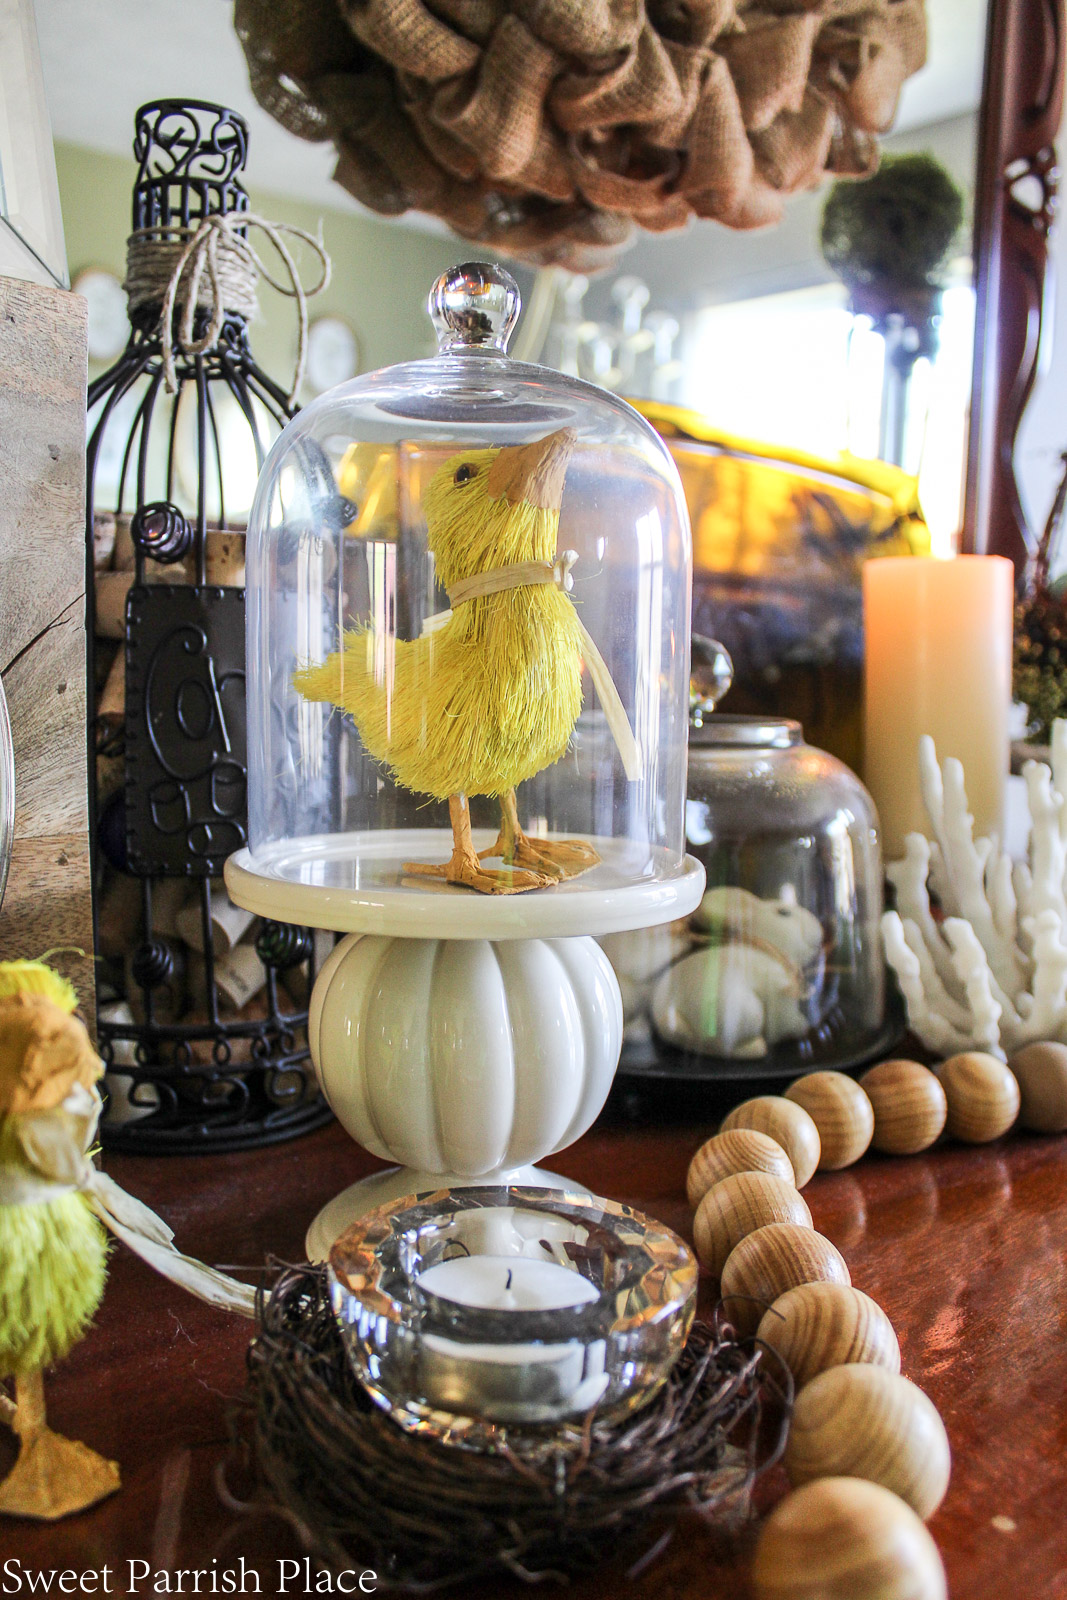
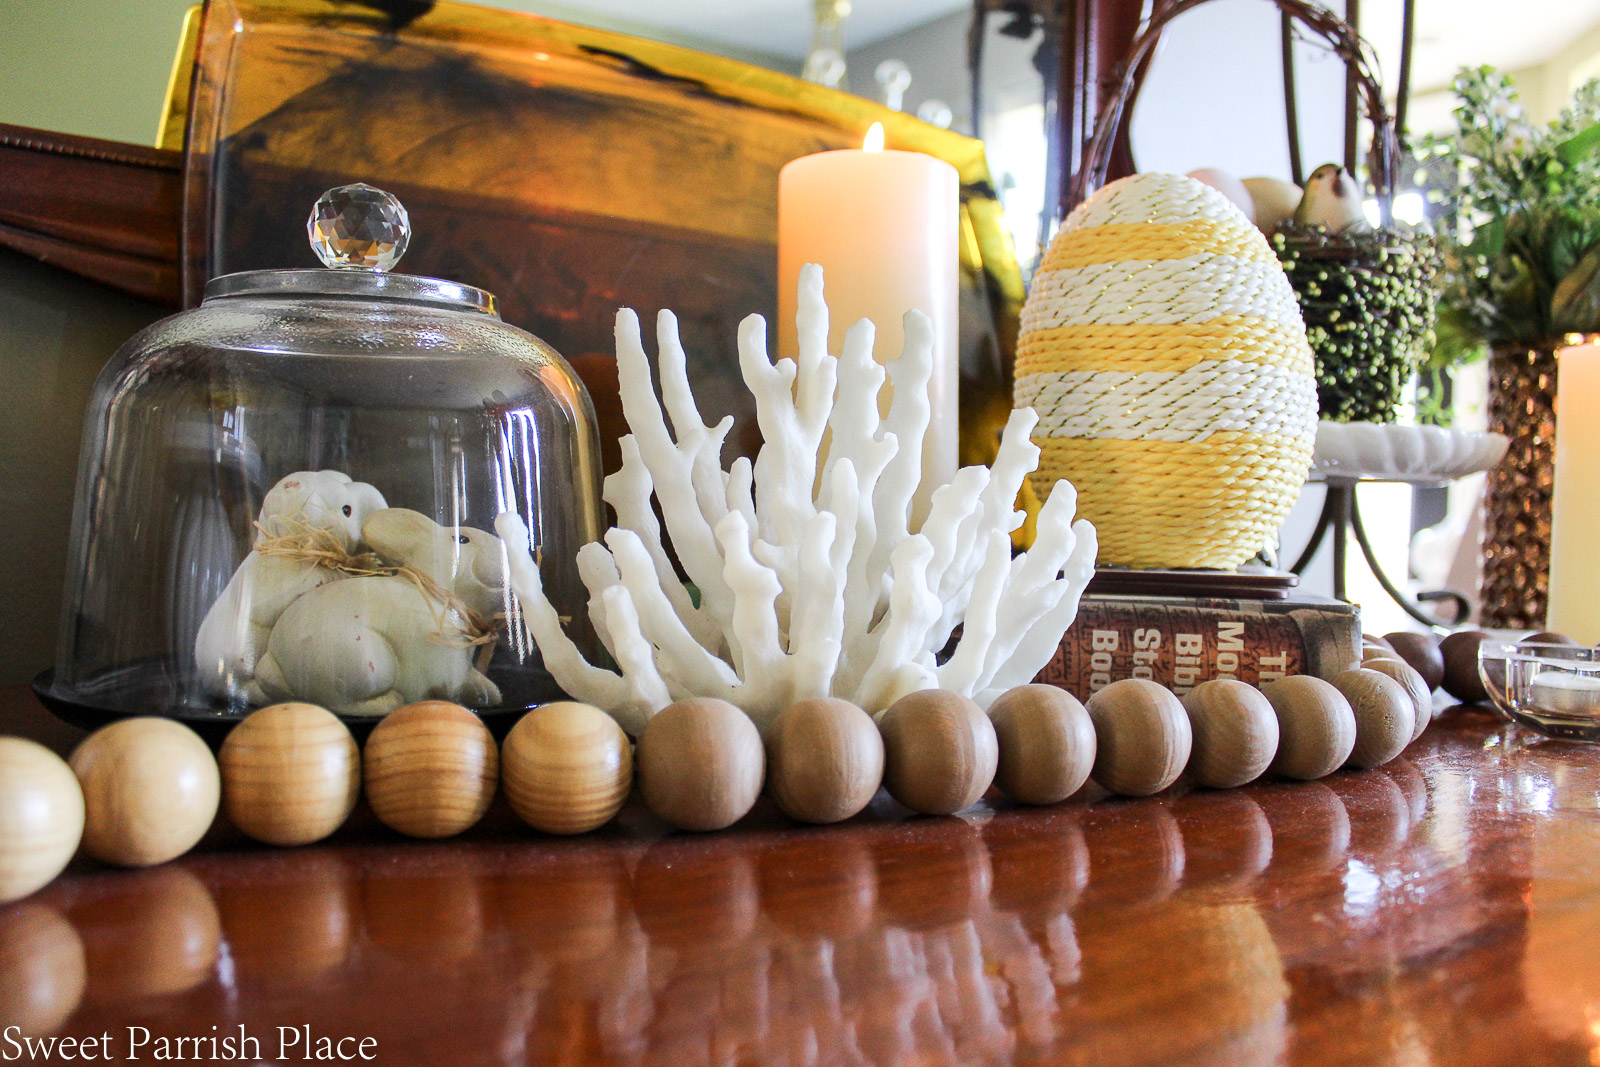
I found the cute little chicks at Marshall’s this season, and one of them is hanging out under this cloche, while the other two have been left to fend for themselves. Poor little chicks! I found the string of wooden beads for a steal, on clearance at Target over the winter, and they are a fun new item that I will be using in lots of my decor.
As a Christmas gift to my husband, I had this photo that was taken of us boating around the Venice canals and had it printed with the word love on it. this was our 10th anniversary trip, so it is nice to have a little reminder of our trip to LA last summer. We had the time of our lives!
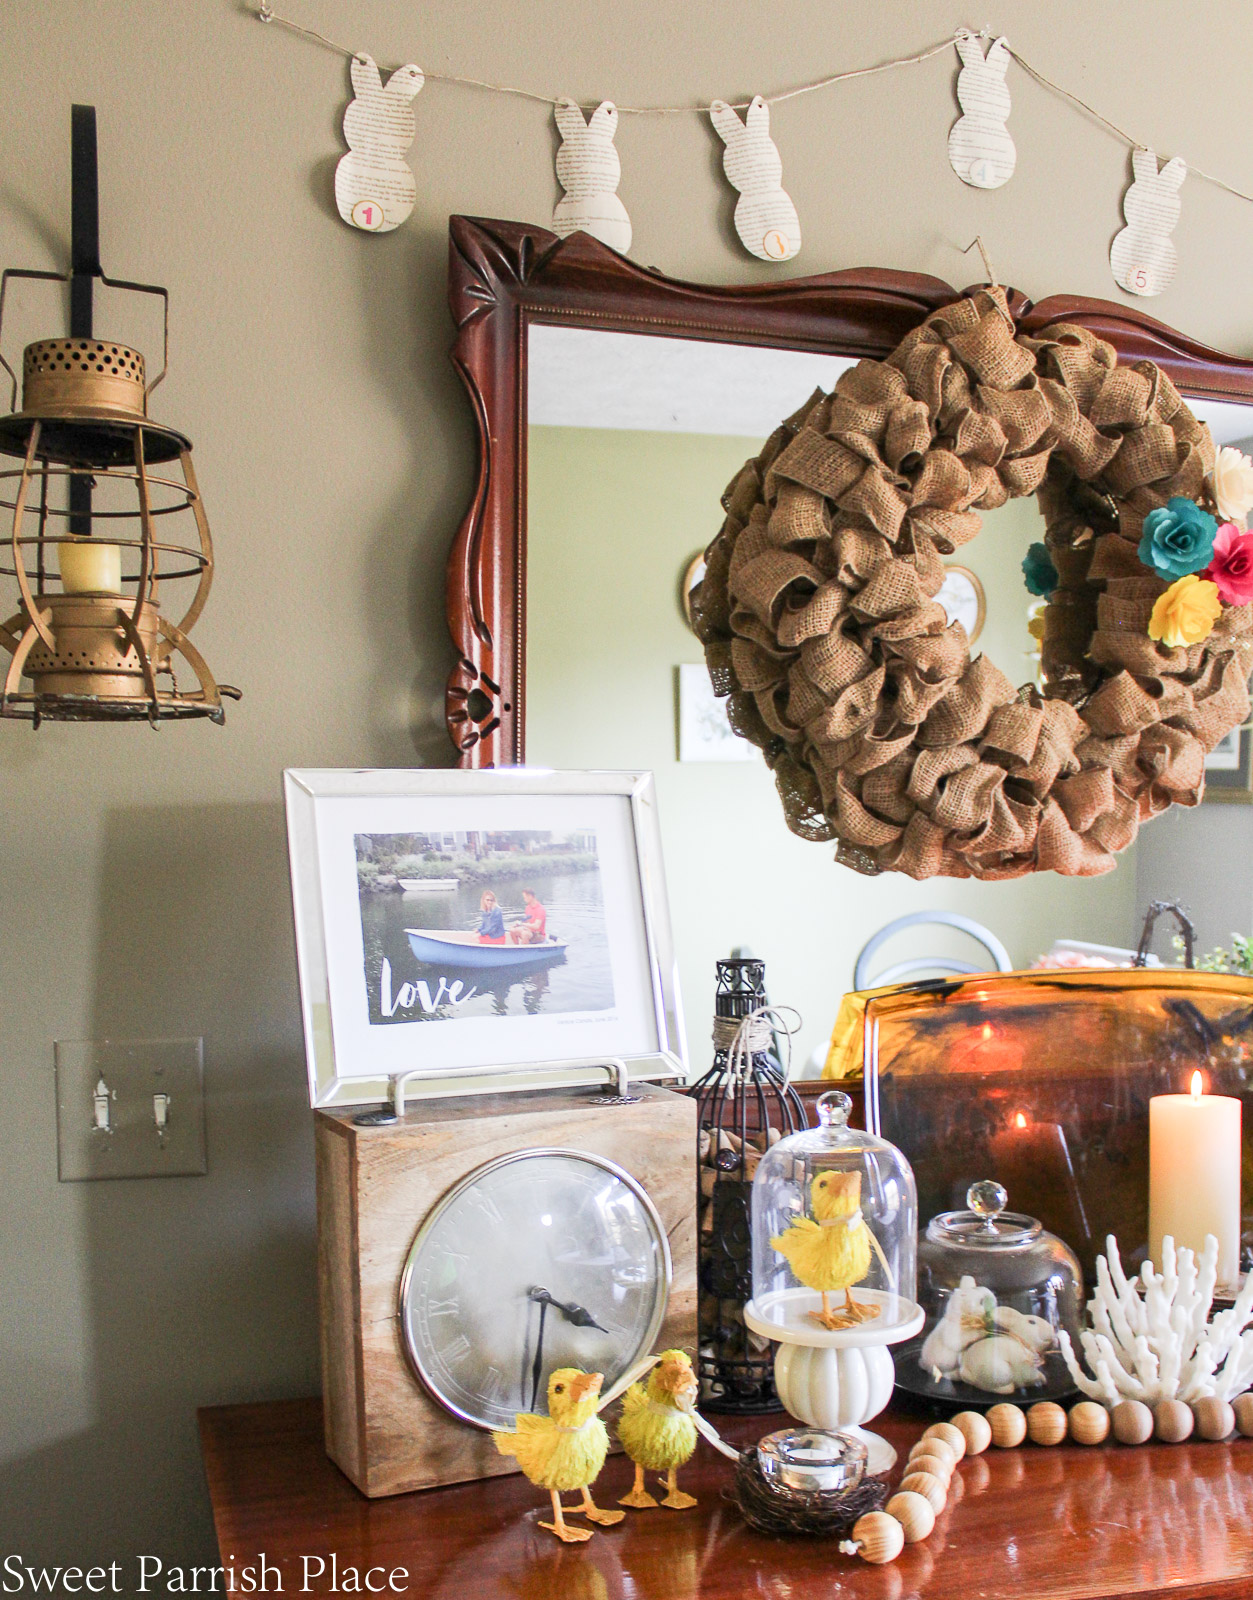
I recently found the white and silver little cake stand at Homegoods, and have been having fun with it. I love using things like this to add depth, height, and dimension to my decor. A cake stand does not have to be used as only a cake stand. Try using things of varying heights in your decor! Mine is holding an adorable little basket that I found at Marshalls and filled with Easter eggs and some ceramic birds.
This is another view of the dining table looking in from the living room. I turned the chandelier on for this photo. I just love my $5 yard sale chandelier that was also a very budget friendly makeover-read all about that here. My dining table is one piece of furniture in my home that I wish were gone people! I am dying for a farmhouse table! Maybe one day it will happen.
If you like it, then you wanna put a pin on it!
Thanks for joining me today! Do you have any type of box that is similar to this one? If so, what do you use it for? I would love for you to share your idea or uses for a box like this in the comments! Stay tuned later tonight for Totally Terrific Tuesday! It goes live every Monday evening at 10 pm.
Do you have champagne taste and a tiny budget too?
Love fashion, DIY, crafting, all things vintage and thrifty?Stick with me, I’ve got you covered!
Sign up to get my posts delivered to your inbox here
Follow me here:
Facebook / Twitter / Instagram / Pinterest / Bloglovin / Google + Stumbleupon
![]()
You may also like
Turn a Restaurant Menu Board into a Letterboard For Your Home


Lovely table and home décor
Thanks so much! I appreciate it!