Sweet Parrish Place

I'm the girl with champagne taste and a tight budget

  • Home
  • About
    • About Nicki
    • Shop My Amazon
    • Contact Us
    • Blog Love
    • Link Parties
    • Advertise | Disclosure | Privacy Policy
  • Home Tour
    • Yellow Prairie House Tour
    • West Virginia Home Tour
    • Seasonal
  • Projects
    • Trashtastic Treasures
    • Holiday
    • Decorating
    • DIY
    • Crafting
    • Paint Projects
    • Cleaning/Organization
  • Style
    • Fall/Winter
    • Spring/Summer
    • Sweet Parrish Place Style
    • Tips/Tricks
    • Shop My Looks
    • Shop My Amazon
  • Travel
  • Lifestyle
    • Family
    • Decor
    • My Favorites
    • I’m Loving It
    • Personal
    • Shop My Amazon
  • Yellow Prairie House Tour

Trashtastic Tuesday- DIY Chicken Wire Jewelry Frame

August 26, 2014 By Nicki 2 Comments

Today for trashtastic Treasures, I am showing how to make a DIY Chicken wire jewelry frame.Today for trashtastic Treasures, I am showing how to make a DIY Chicken wire jewelry frame.
Hey all!  Welcome to Trashtastic Tuesday! This is a little series around here where I show you something that I thrifted, sometimes I make it over, sometimes I don’t.  Or it may be something that I have owned and I am tired of, or no longer like, so I make it over.  But nevertheless, it is usually something that I paid very little money for.  I am super excited to share my DIY Chicken wire jewelry frame with you all today!
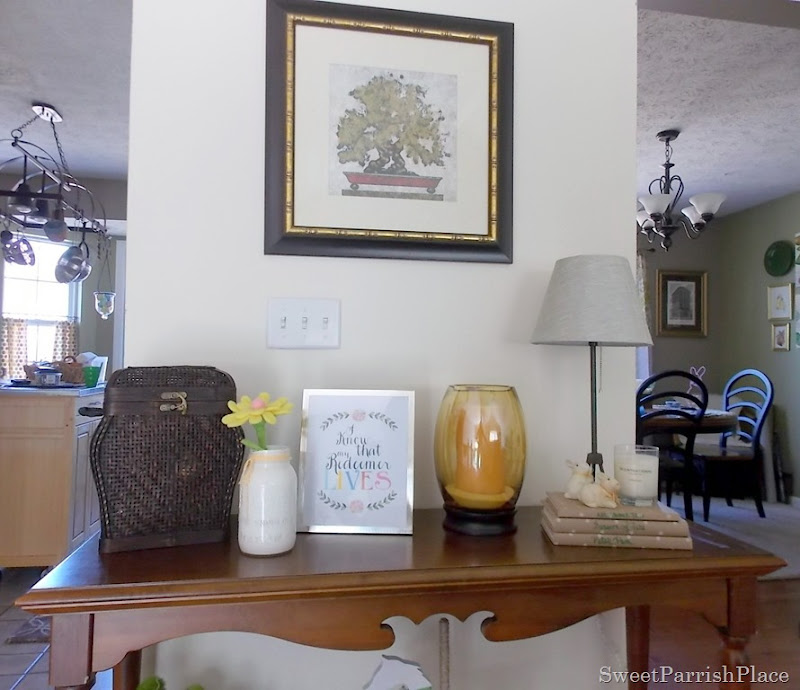
Before I get started, let me show you the before picture.  This was originally a picture hanging over the sofa table in my living room.
springdecor16
I bought it at Kirkland’s probably 8-9 years ago.  There was nothing wrong with it, I was just tired of it, and am going another direction in my living room.  But I really like the heavy frame, so I decided to change it into something completely different, using the frame.  A chicken wire jewelry frame, that is!
chicken wire frame 3
I started out by painting the dark brown frame white.  I used the same white paint that I use on all the trim in my house, crisp linen white by Behr.  It took four coats.  I decided to leave the gold bamboo like trim alone, I liked the contrast.
jewelry organization
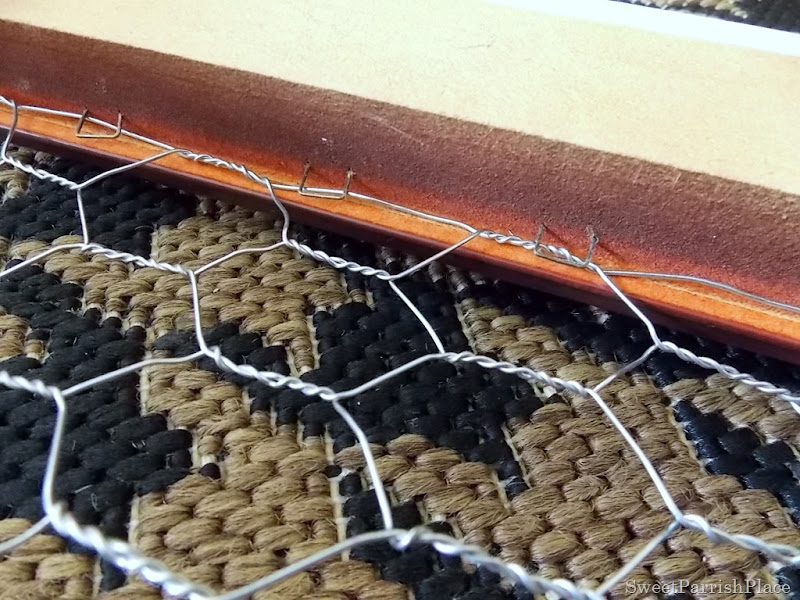
After it was painted, I let it sit there for three weeks.  Ha!  Not gonna lie!  I got busy with other stuff.  But for real,the next step was to take the picture and the glass out of the frame.  All the tutorials I read for how to attach chicken wire to a frame called for a staple gun, which I do not own.  Sad, I know, I need to get on that.  I decided to use thumbtacks to attach it.  This is what it looked like in back.  Those staples were what was holding the glass and artwork in, so I also used these and bent them down over the chicken wire along with the thumb tacks.
DSCN5688
I purchased my chicken wire at Home Depot.  And I have tons left over to do several other projects one day.  It really wasn’t that difficult to make this.  You just roll out the chicken wire, and cut it to fit into the frame.  I cut the very edge of the roll off as well, because it was wonky looking.  After cutting that off, I started on one end, and then I cut the chicken wire to fit lengthwise first (so three of the sides fit).  At this point I had not cut the chicken wire off of the roll.  I didn’t do that until I needed to attach that very last side.    I used a hammer to nail each thumbtack in, and I used several thumbtacks, probably every half inch or so.  I found that hammering them in made the fit much more tight and stable.
how to make a chicken wire jewelry frame
When I got to the very last side, that is when I cut the chicken wire from the roll.  I tightened it up as much as I could, and tacked the last side down, and voila!  It was done!  Then it was on to the fun part, hanging it and loading it up with necklaces.
DIY jewelry organization

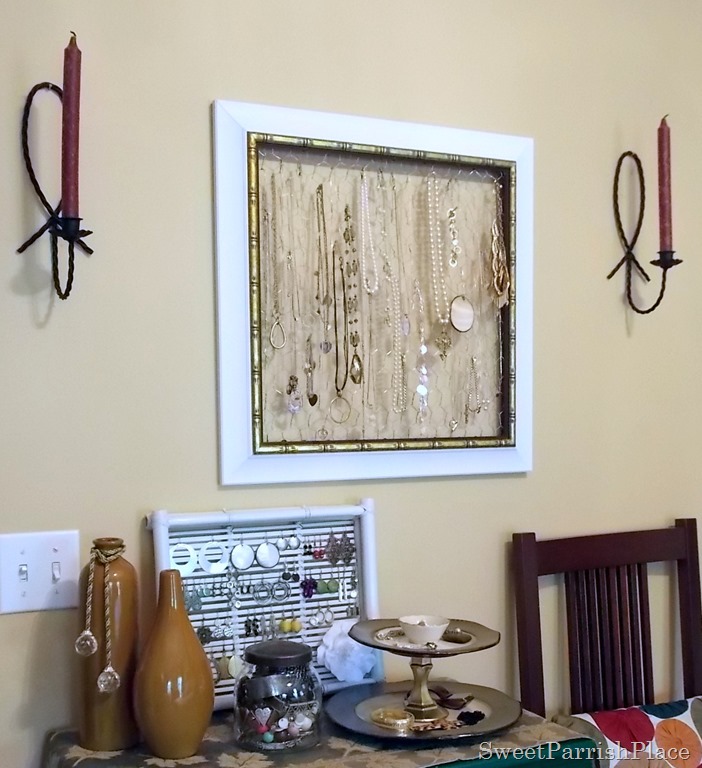
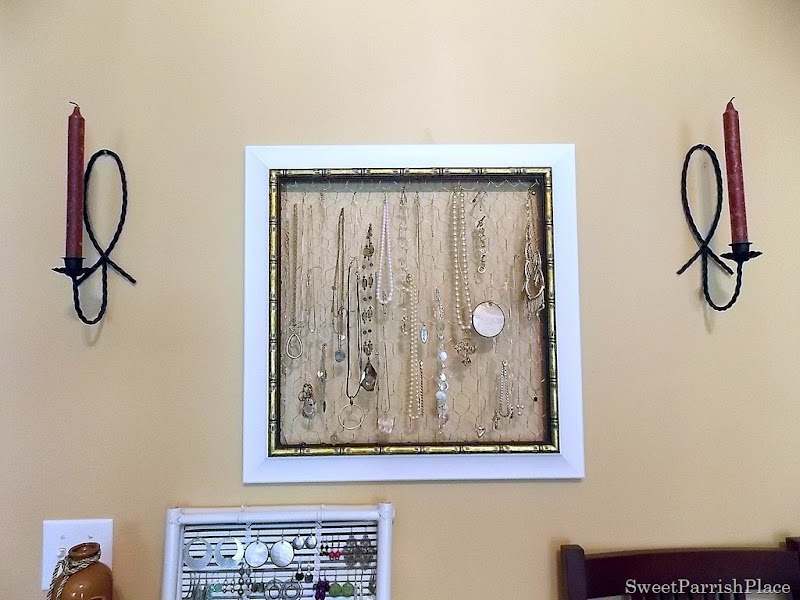
I decided to hang it over one of the dressers in my bedroom.  There was another piece of artwork there, which I was also tired of.  And this DIY chicken wire frame looks so much better than the artwork did!  You can read more about the bamboo tray that I repurposed into an earring display here.

necklace storage
After I got my frame hung and loaded with necklaces, I decided to make the whole top of this dresser for jewelry.  I had this large jar that I had kept when the candle that was in it was all burned up.  I put my bangle bracelets in it.
bracelet storage
I wrapped a curtain tie back around one of my vases to give it a little bling.
chickenwireframe10
You can see how I made this DIY tiered jewelry tray here.  I use it daily when I am taking my jewelry off.  It is a nice place to lay it until I have the time to actually put it all away.
chickenwireframe13
This does not hold all of my necklaces.  I decided to put all of my more neutral necklaces on it because I liked the way it looked better that way.  It was just a personal preference.
necklace organization
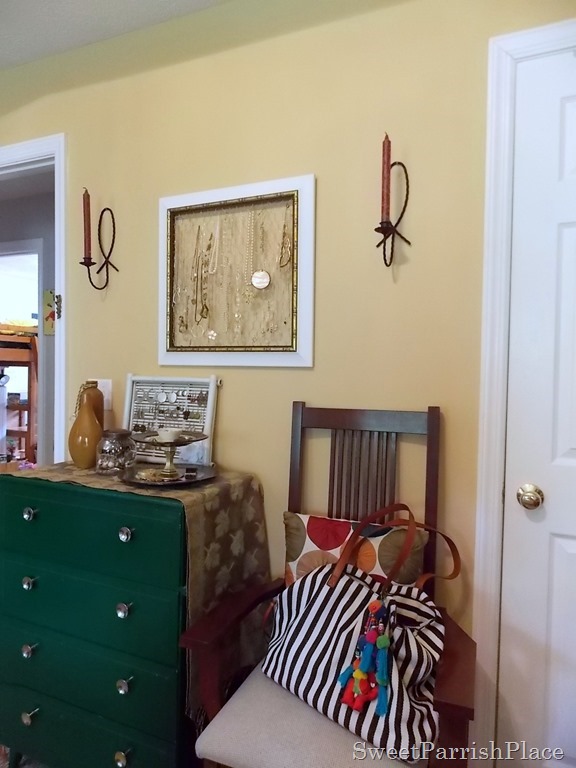
And in case you are wondering, here is one last shot pulled back so you can see the dresser it is above.  This dresser is on my list for a makeover, and is only in my bedroom because I desperately needed the storage.  It is actually a solid wood dresser, it just needs several coats of paint stripped off, and after that, I am not sure whether I will leave it or paint it again.  I guess I will decide once I see the bare wood.
chickenwireframe2
I think my new necklace organizer is totally trashtastic!  I used mine to hold necklaces, but you could also use this with little mini clothes pins to display artwork or pictures.  Thanks for stopping by and checking out my spray painted magnetic letters today!  If you would like to check out my Trashtastic Tuesday Project Gallery, click here.

Have you ever made something using chicken wire?  I would love to read bout it below in the comments!Link Parties:

Monday:
Inspire Me Monday
Metamorphosis Monday
Amaze Me Monday
Clever Chicks
Make it Pretty Monday
Project Inspired
Before and After Party
Get Your DIY On

Tuesday:
Inspire Me Tuesday
Show and Share
Project Inspired
Project Pin it
Show me What ya Got

Wednesday:
Wow us Wednesdays
Work it Wednesday
I Heart Organizing
Thursday:
Project Pin It
Friday:
The Shabby Nest
Craft Frenzy Friday
Inspire Me Please
Remodelaholic
Creativity Unleashed
Domestic Superhero
Funky Junk
Sunday:
DIY Showoff
DIY Sunday Showcase

Filed Under: Cleaning/Organization, Projects, Uncategorized Tagged With: DIY chicken wire jewelry frame, jewelry organization, Necklace organization, necklace storage

Comments

  1. Bracelets & Bangles says

    November 14, 2017 at 7:01 am

    Thanks for the tips Kate & Zane! I know I could do this with a bigger needle with a bigger eye! Appreciate it!

    Reply

Leave a Reply Cancel reply

Your email address will not be published. Required fields are marked *

CommentLuv badgeShow more posts

This site uses Akismet to reduce spam. Learn how your comment data is processed.

Hi, I'm Nicki I'M THE GIRL WITH CHAMPAGNE TASTE AND A TIGHT BUDGET. I'M SO GLAD YOU'RE HERE!
  • Bloglovin
  • Facebook
  • Instagram
  • Pinterest
  • Twitter

VIP Real Estate

NO PLACE LIKE HOME

No Place Like Home

ORC Bathroom Makeover

Kids/Guest Bathroom Makeover

One Room Challenge Week 6 Kids-Guest Bathroom Reveal

It's week 6 of the One Room Challenge and this is … [Read More...]

ARCHIVE

ORC

Shop My Faves!

Spring Trends
PicMonkey Photo editing made of win
Get Sponsored by Big Brands

SheKnows

Linquia Influencer

FYI

Find Your Influence

INSTAGRAM

Recent Posts

  • Cozy and Casual Christmas Tour | Part 2
  • Casual and Cozy Christmas Tour | Part I
  • Farmhouse Bathroom Makeover Progress | $100 Room Challenge

Archives

Find It Here

Copyright © 2022 · Sweet Parrish Place