It’s week three of the $100 Room Challenge and I am sharing my self adhesive wallpaper saga and other progress in the dining room/office.

Hey friends! It’s week 3 of the $100 Room Challenge, and I thanks to a long weekend and a snow day or two, I am ahead of schedule in my dining room/office refresh. I’m going to share all of the progress today, starting with my self adhesive wallpaper saga. This past weekend we began hanging this wallpaper, and we ran into some problems. This self adhesive wallpaper has caused me so much stress you all!
You might want to start by reading week 1 and week 2 of this challenge. In the first two weeks you will see all of the before photos of this room and my plans for the space.
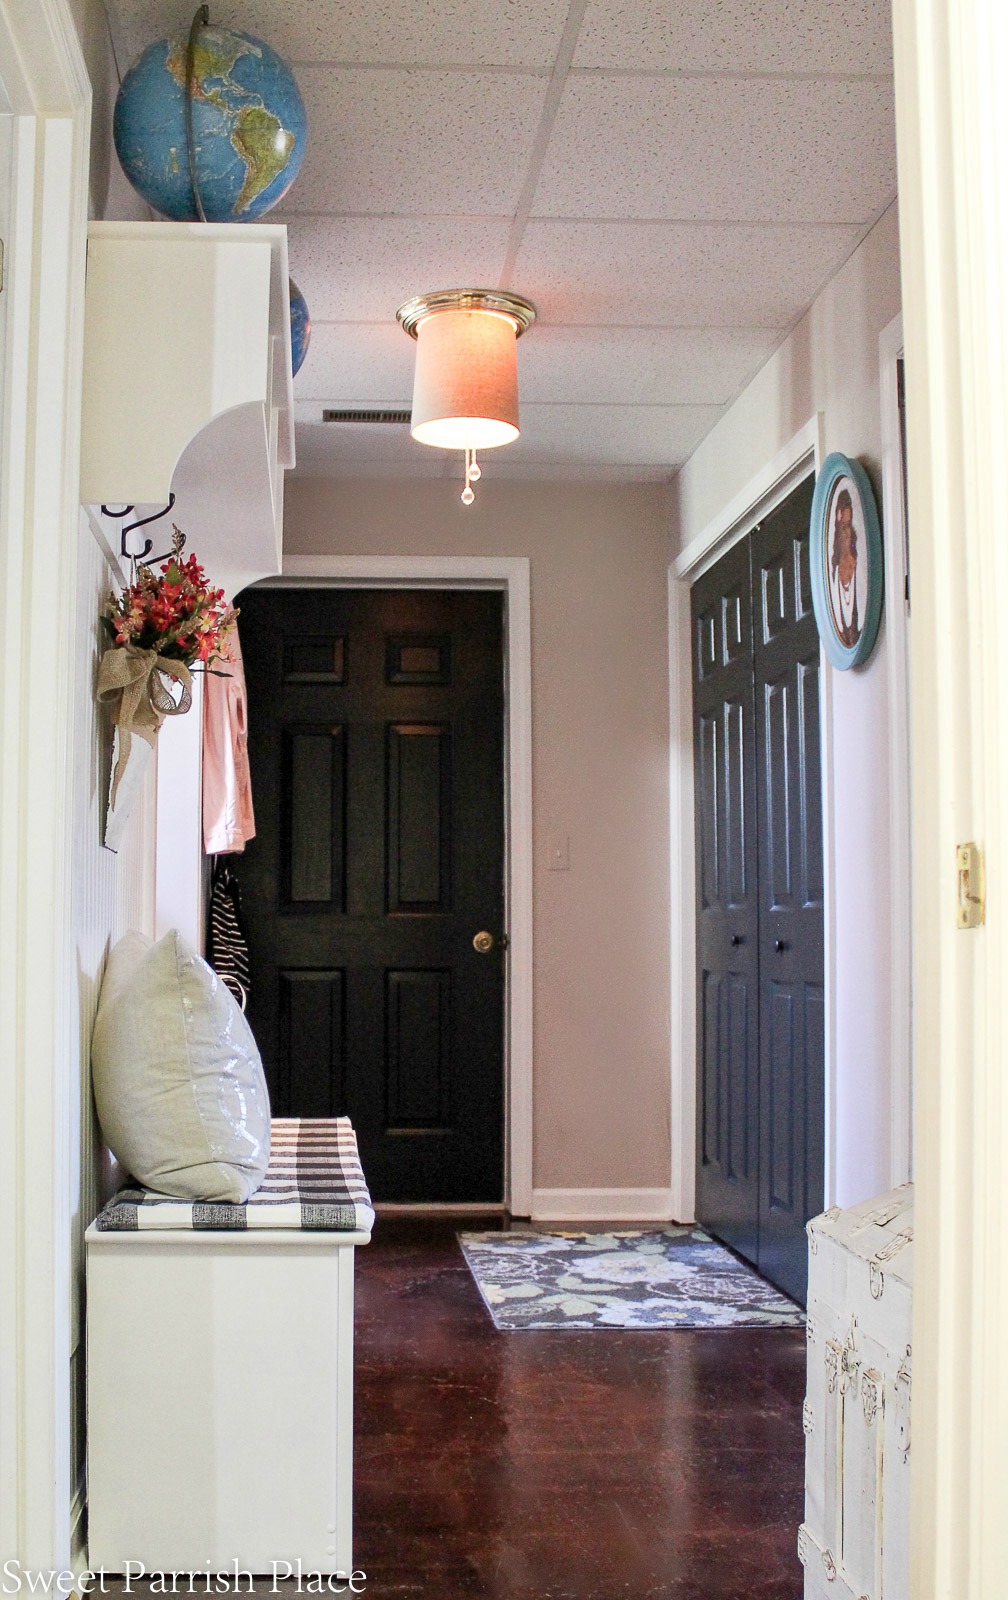
If you are new to the $100 Room Challenge you can read more about it here. But the basic premise for the challenge is this: you get one month, and $100, to completely makeover one space in your home. I know what you may be thinking… $100 is not a lot of money. Just wait. What you can do with $100 (and a little creativity) will absolutely blow your mind. And if you don’t believe me, just follow along, and click through and see what the other participants are doing for this challenge, and you will see so many great things happening with just a $100 budget. You can see the mudroom I made over for my first time participating in the $100 Room Challenge here.

So let’s get back to this self adhesive wallpaper. I ordered this particular wallpaper at Amazon, and you can read all about how I ended up getting it for free in my week 2 post. I carefully calculated the square feet of this wall that I planned to wallpaper, and I needed four rolls, which is what I ordered. When I received the wallpaper the weekend before, I opened the box and found three rolls of the wallpaper I ordered, and one roll that was a completely different pattern. Odd, right? If you follow me on Instagram, I shared a lot of this story on my stories.
Update: 01/11/19 I ended up having to remove this wallpaper a few months later because It would not stick to the wall properly. the seems kept rising and air bubbles kept forming, and I was just done with it.
Please note: Some of the links in this post are affiliate links, which allows me to make a small commission from your purchase, but your purchase price stays the same.
I remember saying to my husband that you know an individual person had packaged that box, and wouldn’t it have raised a red flag that you are packaging 4 rolls of wallpaper and one of the rolls does not match the other three in any way? Wouldn’t that cause the person packing that box to do a quick double check? At that point I did not have enough to finish this job, and I actually called Amazon on the phone and they ordered me a new roll, and then UPS came and picked up the other incorrect roll. I received the new shipment one day last week, and I made the mistake of not opening the package, and just assuming it was the correct order. On Saturday is the day we opened the package to find that they had once again sent me the incorrect wallpaper! We were irate!
We once again called Amazon, and I was told that the seller had packaged this up. It was not packaged by Amazon employees. So once again, they sent me a new package, and this time they told me to keep the incorrect wallpaper for my inconvenience. Very nice of them, but what am I going to do with one roll of wallpaper? Whatever! We decided to go ahead with hanging the wallpaper and to get as much hung as possible while waiting for the new shipment to arrive, and praying that this time it would be correct. You can see in this photo below how much we got done before running out.

Hanging this self adhesive wallpaper was not without complications. It did go up fairly easy. I had never hung wallpaper before, and it really was as simple as peeling the backing off and sticking it up on the wall. I did cut out around the top of the wall, with the paint color I used on the other wall, and I am so glad that I did because it was needed. I do wish I had cut out around the baseboard too, because there were a few places that the green was showing through and I had to do some touch ups.
This photo above is after we removed the shelves and painted the wall. We rehung them, and I played around a bit with styling them while including as much storage and organization as possible using things I already had here at home. So this is what I came up with. I didn’t want to spend any money out of my budget to buy things for these shelves.

I did make one huge mistake when we initially hung this self adhesive wallpaper on Saturday. We overlapped each strip a bit. And once we had it all finished (what we could finish anyway), I was not happy. I felt the seams were much more obvious than they should be. I slept on it, and when I woke up on Sunday I knew we had to remove most of it and start over. I thought my husband was going to have a conniption when I told him, but he was actually on board with it. So we painstakingly peeled the wallpaper back off of the wall and repositioned each strip so it wasn’t overlapping. And I am so glad we did, because although it took up quite a bit of time, I am now very happy with the way it looks, and you can barely notice the seams at all!

I spent a few days being very nervous that I was going to be unable to complete this project because I wouldn’t be able to receive the correct wallpaper, but I am happy to report that yesterday I received it and it was correct! Hallelujah! I really love the way this wallpaper looks in the space. It lightens the room up and provides a great texture!

I was also able to get the third wall (the wall you see above) painted, and I had been putting it off because we had to remove these shelves and move the desk and it was going to cause a big mess, but we got it painted and the shelves rehung. Another thing we did was to remove the air return vent above the shelves. We cleaned out the inside, and I ended up painting inside of there the same color as the walls, which made a huge improvement. Before, you could see the raw wood inside there, and we are so glad we decided to do this.
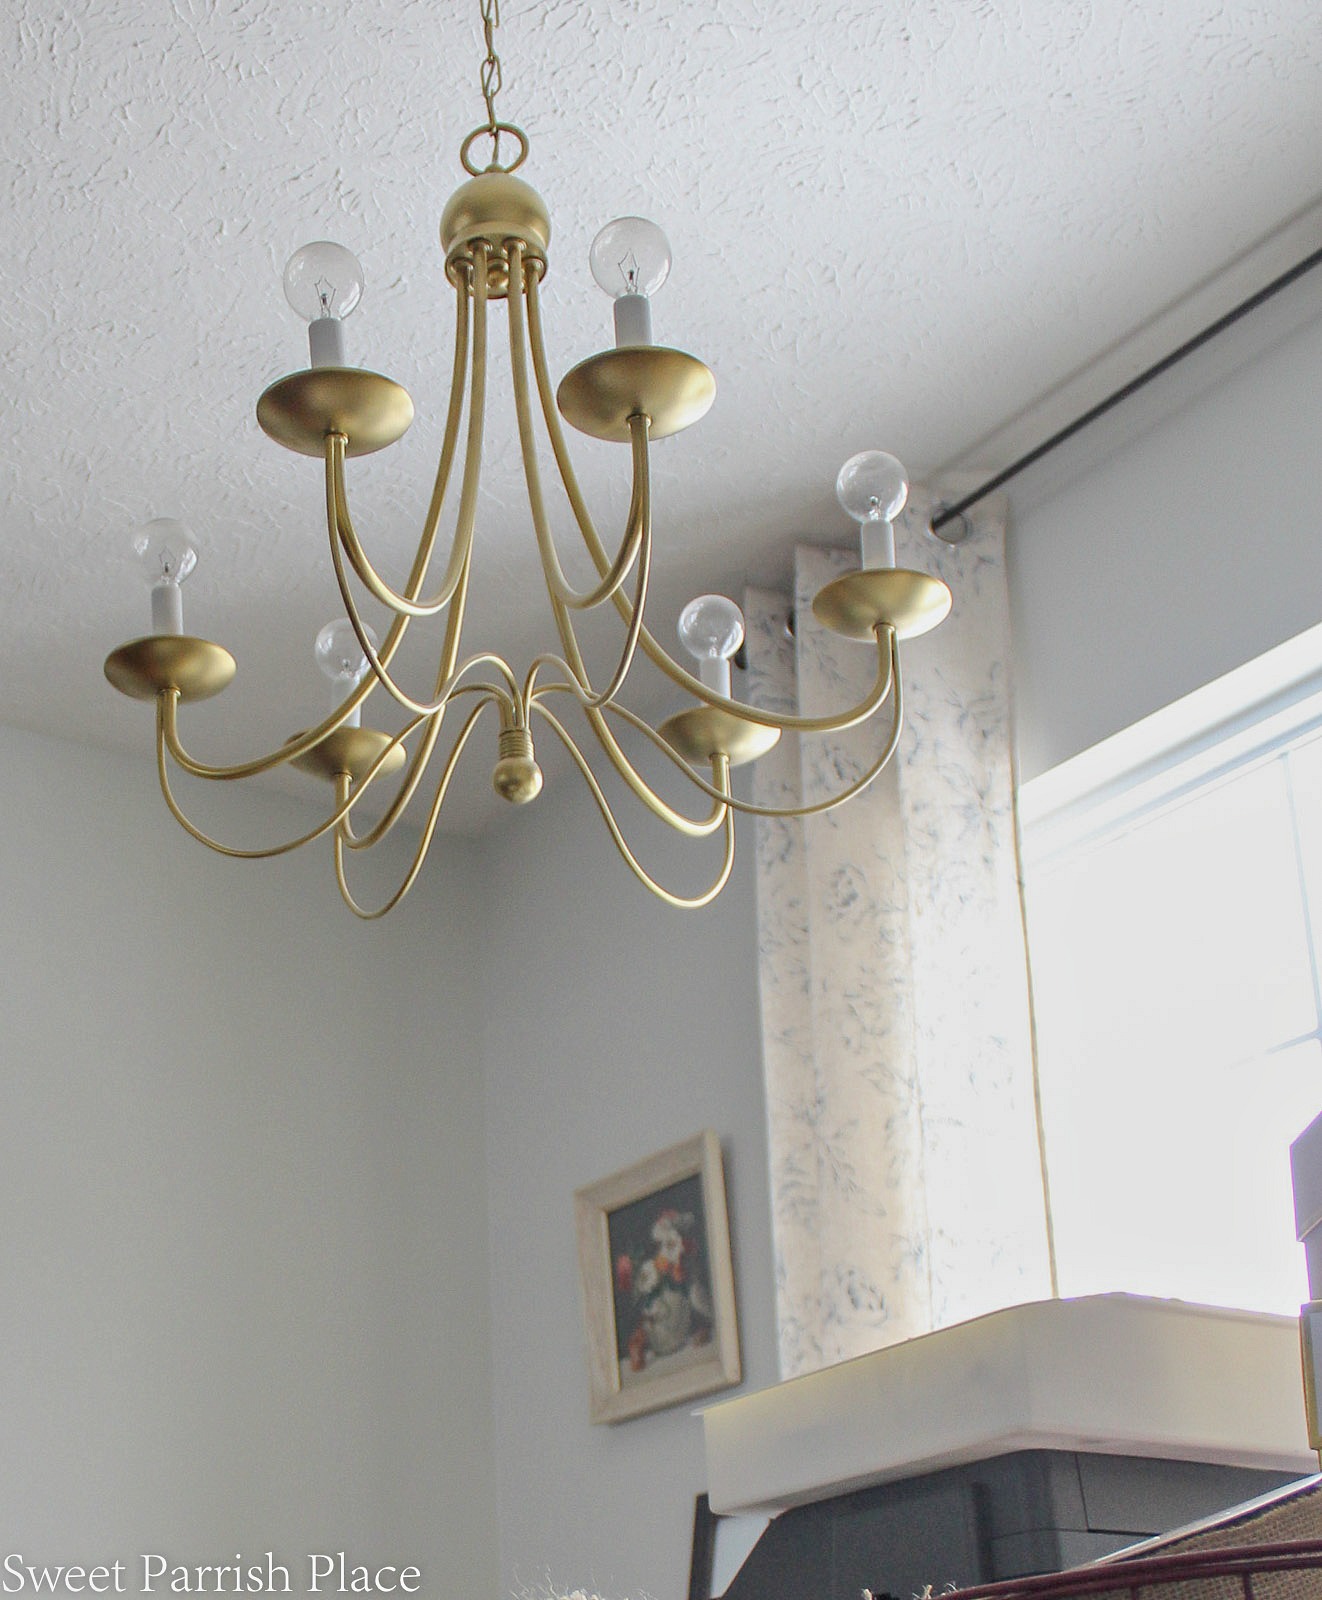
We also got the new curtains I ordered from Wayfair hung, and I am happy with them. I hung longer curtains than the ones that were previously hanging in here and I am happy with that. I wanted a multi colored floral for this room but couldn’t find anything I liked in my budget, so I settled on these and they are really pretty and have a linen look to them. One of my goals for this space is to make it lighter and these curtains allow the light to filter through, which is what I wanted.


You can see a couple of art pieces in the photo below that will be going into this space. The floral art is something I bought at a thrift store and had been hanging in our hallway. The other blue art below that is a piece I had ordered from Minted a few years ago, and it had been hanging in our family room downstairs. So both of these will be used in this room.

I also ordered an art print on Etsy. I am going to mat and frame this myself. I ordered this as a download, and am having it printed in the size I want at Staples. So with the price to download it on Etsy, and the price to print it, I will have $12.50 in this art. I already have a frame, and will need to purchase a mat.

Next up was to start working on refinishing this buffet. I have owned this buffet since 1992, and I have been wanting to paint it for several years. But I kept putting it off. So it was time to give this piece a new life. My plan was to strip the varnish off of the top because it was really scratched up. I wasn’t sure what I was going to do on the top, but I knew I needed to get that varnish off. I do want to leave the top wood if possible, but I wanted to paint the rest of the buffet. But I didn’t want to spend any money on this particular project. So I wanted to give this a new look using what I have on hand. I removed the handles, and plan to paint them and reattach them.

This is what the top looked like after I removed the varnish. I used a product that I already had on hand called Strypeeze. I had to paint it on and leave it sit for 15 minutes, and then scrape what I could off. It took me three times doing this to get all of the finish removed. I then scrubbed it down with steel wool, and then sanded it with two different grits of sandpaper. Below is what I was left with. I had a few different things to choose from to finish off the top, and my first choice was to rub it down with something called tung oil. But when I went to use it, it was all dried up-boo! So I decided to rub it down with with a product called Restor-A-Finish in Walnut. You will see the results of this in a couple of photos down.

The first thing I had to do was clean out the drawers so I could remove them. While doing that, I saw this tag on the inside that says Brickwede. I found out Brickwede furniture was manufactured in Ohio between 1917-1959. That’s is about all that I know about it. I do have a friend from high school who is an antiques dealer in Columbus who told me it was OK to refinish this piece.

And below are a coupe of photos of where I am at with this piece. I painted the base, and I am totally in love with the color. And I am proud to say I mixed my own paint to come up with this color using paint I have on hand. And, as a blogger who does a lot of painting, I had a lot of paint to choose from. If you are in love with this color and want to know how I mixed it, make a comment below and I will give you the recipe. I plan to use some gold Rub n Buff on all of the handles.

So below, you can see the current state of the top of my buffet. And I’m not happy with it. I need help! I have considered making a wash with some white paint and water, and lightening the top while still allowing the wood grain to show through. I have considered painting the top to match the base. Another option is to use a darker stain. I have a friend who has offered to give me some leftover mahogany stain that she has, so it would still be free to me.
I would love love love your opinion! Right now, I am going to leave it as is until I have figured out what I want to do. Please comment below and let me know what you think I should do with the top.

And that is where I’m at week three with this challenge. Overall, I am extremely happy with the change that is taking place in this room! I am so excited because I’m on the final stretch and the fun part of decorating and styling the space is on the horizon. I am working with a local person to build me a bench for one side of the dining table, and it will cost me $40-50, which is nearly half of my budget, and the reason why I am trying to do as much for free as possible, because I really want to add a bench to this space. It will increase the seating at the table, plus it is something I will be able to use in other spots if and when we ever get the farmhouse table of my dreams.
What do you think of the progress I have made so far? I would love to know what you think in the comments below! I’ve been tracking my progress each week with a to do list and a breakdown of the budget, so here is where I am with this room refresh after week 3.
My To Do List For The Dining Room/Office Refresh
Paint 3 walls
Hang faux white brick wallpaper on green wall
Paint buffet
Add bench to one side of dining table
Add rustic wood to top of filing cabinets
Hang new curtains
Restyle and reorganize shelves using items I already own.
Paint metal lantern hanger gold
Add art to walls for free
Add bulletin board to wall above desk
My Budget So Far For The Dining Room/Office Refresh
Faux Brick Wallpaper- $000
Paint- (I used paint I already had so zero)
Curtain panels- $28.99
Wall Art- $12.49
Right now, I have spent $41.48 of my $100 budget. So, basically the only thing I have left to spend money on is the bench that is being made. I could have made this simple bench myself, but since I found someone willing to do it for a good price, I decided my time could be better spent elsewhere. Hopefully this person comes through for me. I met her on Facebook’s market place, and she knows my deadline and I sent her some inspiration pictures. She assured me she could get it done. It’s a very simple bench.
Now, don’t forget to check out the week three progress of all of the other $100 room Challenge participants!
Do you have champagne taste and a tiny budget too?
Love fashion, DIY, crafting, all things vintage and thrifty? Stick with me, I’ve got you covered!
Sign up to get my posts delivered to your inbox here
Follow me here:
Facebook / Twitter / Instagram / Pinterest / Bloglovin / Google + Stumbleupon
![]()
You May Also Like:
Dining Room/Office Refresh | $100 Room Challenge

Painting Progress In The Dining Room/Office | $100 Room Challenge

Mudroom Makeover Reveal | $100 Room Challenge
You’ve been busy. Love that wallpaper and the curtains. The buffet is going to look fabulous I can already tell but an excited to see it all together.
Yes, I have, thanks to several snow days! Thanks so much!
Check out Southern Curated. She does a lot of pieces and uses wax on the tops of furniture she does. Your project is looking great!
I definitely will. Thanks for the recommendation!
Wow! You got so much done. I love the buffet and appreciate the tips on the wallpaper!
Thanks to some snow days I was able to work ahead! Thanks so much!
Your buffet is mahogany, so it has red undertones. Anything transparent is going to show those red undertones. I would use a gel stain because it acts like paint and sits above the wood. It’s a bit more opaque, but it should give you the finish you want. You still wipe it off, just like stain, but the finish will be rich and lovely.
Your wallpaper looks lovely! Thank goodness for Amazon customer service!
Thanks so much Emy! I actually ended up whitewashing it and am very happy with the result. I will be sharing it next week!
Wow, what a project the wallpaper turned into! It looks so great though, and you’ll be happy you reapplied it to get the seams just how you want them! The buffet color looks great, too!
I know, right? I’m glad I made the extra effort for sure. Thanks so much!
I love the wallpaper and those curtains are SO beautiful!
Thanks so much!
What a disaster! It looks so good! I also love the painted buffet. You got some much done this week!
Snow days work wonders on my productivity! Thanks so much!
Wow! You got so much accomplished and without spending too much of your budget! I love those new curtains – definitely checking those out as I want some new ones for my dining room. The buffet looks amazing! I’ve never hung wallpaper before either but you’re inspiring me to try it!
Ahh thanks Melissa! I’m having fun with it!
Holy Cow! I know you are thrilled with the progress you have made…and you should be! And I went back and read how you got your wallpaper for free…clearly meant to be! Your room is so much brighter and is really taking shape! Well done…I know you are busy this weekend.
Have fun!
hugs, Lynn
Ahhh thanks Lynn! I wasn’t even planning to redo this room two months ago. But I truly despised this room before, and I am so happy that I decided to take it on because it feels so much more like home now!
You have been so busy, I feel like a slacker! I love the wallpaper – it’s always an adventure hanging wallpaper, but it’s crazy how quickly you catch on (Ps. you did it correctly, removing it to match up the seams – total pain I bet!) but it looks fantastic! The curtains are really pretty and airy. The whole room is coming together – I can’t wait to see it finished!
Wonderful job and very creative. Love the buffet and the real wood grain of the top. I would take your friend up on the offer of the stain, i think it will make the piece pop!
Oooh I think you should go with the mahogany stain! It’s very pretty and would look great darker. And if you still don’t like it, it is still easy to go over it with paint. Just remember – your sealant will really make the wood grain the color luxurious.
Thanks for the great opinion and tips! I ended up going with the white wash because I just knew my goals for the space were lighter and brighter and I really love the way it turned out.
The wallpaper look SO good! Sorry for all the hassle you had to go through to get that 4th roll though… my goodness! So glad to hear you now have the right one in hand 🙂 The buffet is simply gorgeous, and I will totally take the “recipe” for the mixed paint color. It’s beautiful!
Wow, you’ve been busy! That wallpaper adventure would have made me crazy, but I’m so glad you persevered because it looks amazing! And I LOVE your curtains. They look great with the botanical art. This whole room is going to be fabulous!
Thanks so much Meredith! I am really exciting about this room refresh. It’s not quite done but we are already really enjoying this space so much more.
Love the wallpaper! You are making great progress! Excited to see what you decide with the dresser! Looking forward to seeing your progress next week!
I love your style. Can I have the recipe for the dining room cabinets and paint color of the walls.
Thanks so much Cecilia! I appreciate you so much! I am attaching a link to the post I wrote about my painted buffet. The recipe is right there in that post. The wall color is called Gray Owl, and it is a Benjamin Moore paint color, but I had it mixed with Glidden paint at Home Depot.