That sinking feeling when your pool sits stagnant on a scorching summer day—your pump has power but refuses to run. You’re left with murky water, growing algae, and rising frustration. Sound familiar? You’re not alone.
This silent-but-powered pump problem ranks among the most common pool equipment issues homeowners face. The good news? Many solutions are simple fixes that you can handle yourself in minutes, potentially saving hundreds of dollars in service calls.
From failed capacitors to jammed impellers, understanding what’s happening inside your system puts you back in control. Ready to get that water flowing again?
Let’s troubleshoot together and get your backyard oasis back in shape without needing expensive help.
Why Your Pool Pump Has Power But Won’t Turn On?
Imagine this: it’s a hot summer day, and you’re ready for a swim, but the water in your pool is still and murky. You check your pump, see the power light on, yet nothing happens when you flip the switch.
Pool pumps often show signs of power without actually running due to several hidden issues. Like a car that has gas but won’t start, your pump might have electricity flowing to it without being able to use that power.
This can occur suddenly or develop gradually over time as components wear out due to regular use.
Many of these problems have simple fixes you can handle yourself. Understanding what’s happening inside your pump system is the first step to getting your pool water moving again.
In the sections that follow, we’ll walk you through the most common reasons why your pump has power but remains silent, how to check each possible cause, and provide clear steps to resolve these issues.
Before we delve into specific solutions, remember that safety must come first. Always turn off the power at the breaker before opening any part of your pump system.
Water and electricity can be dangerous partners, so exercise proper care when working on your pool equipment.
Understanding Your Pool Pump’s Electrical System
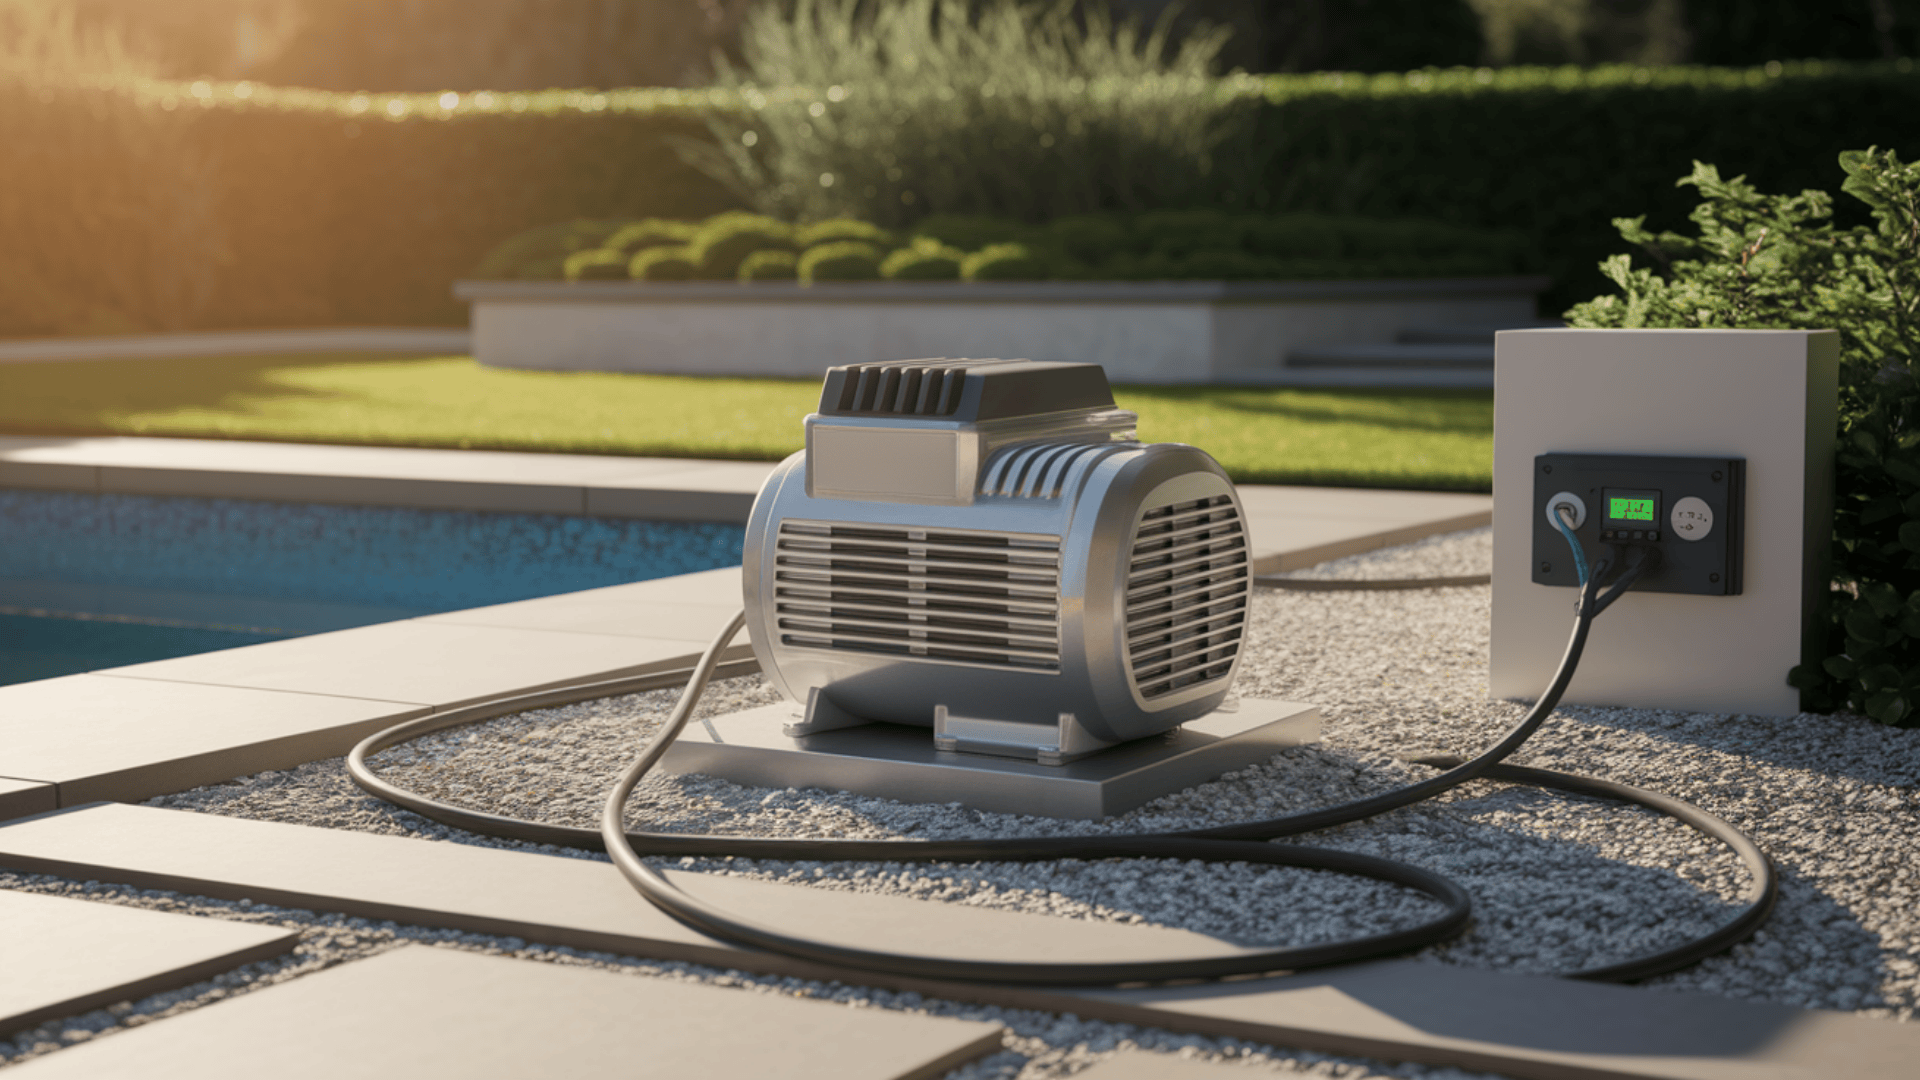
Your pool pump may look simple from the outside, but inside it’s a complex system working together to move water. When the pump gets power but won’t start, the issue often lies in how that electricity flows through the system.
The path electricity takes to power your pump includes the circuit breaker panel, timer or control box, junction box, and finally, the motor wiring.
Problems can occur at any of these points, preventing your pump from starting even when it has power.
What to Look For?
Most startup failures happen when electricity can’t properly reach the motor. Watch for burnt marks on wiring, loose connections, or signs of water damage in electrical boxes. These visual clues often point directly to your problem area.
For a quick check, examine the power cord and plug for damage, ensure the timer is set correctly, and verify that all circuit breakers are in the proper position.
Sometimes the solution is as simple as resetting a tripped breaker that appears to be on but isn’t fully engaged.
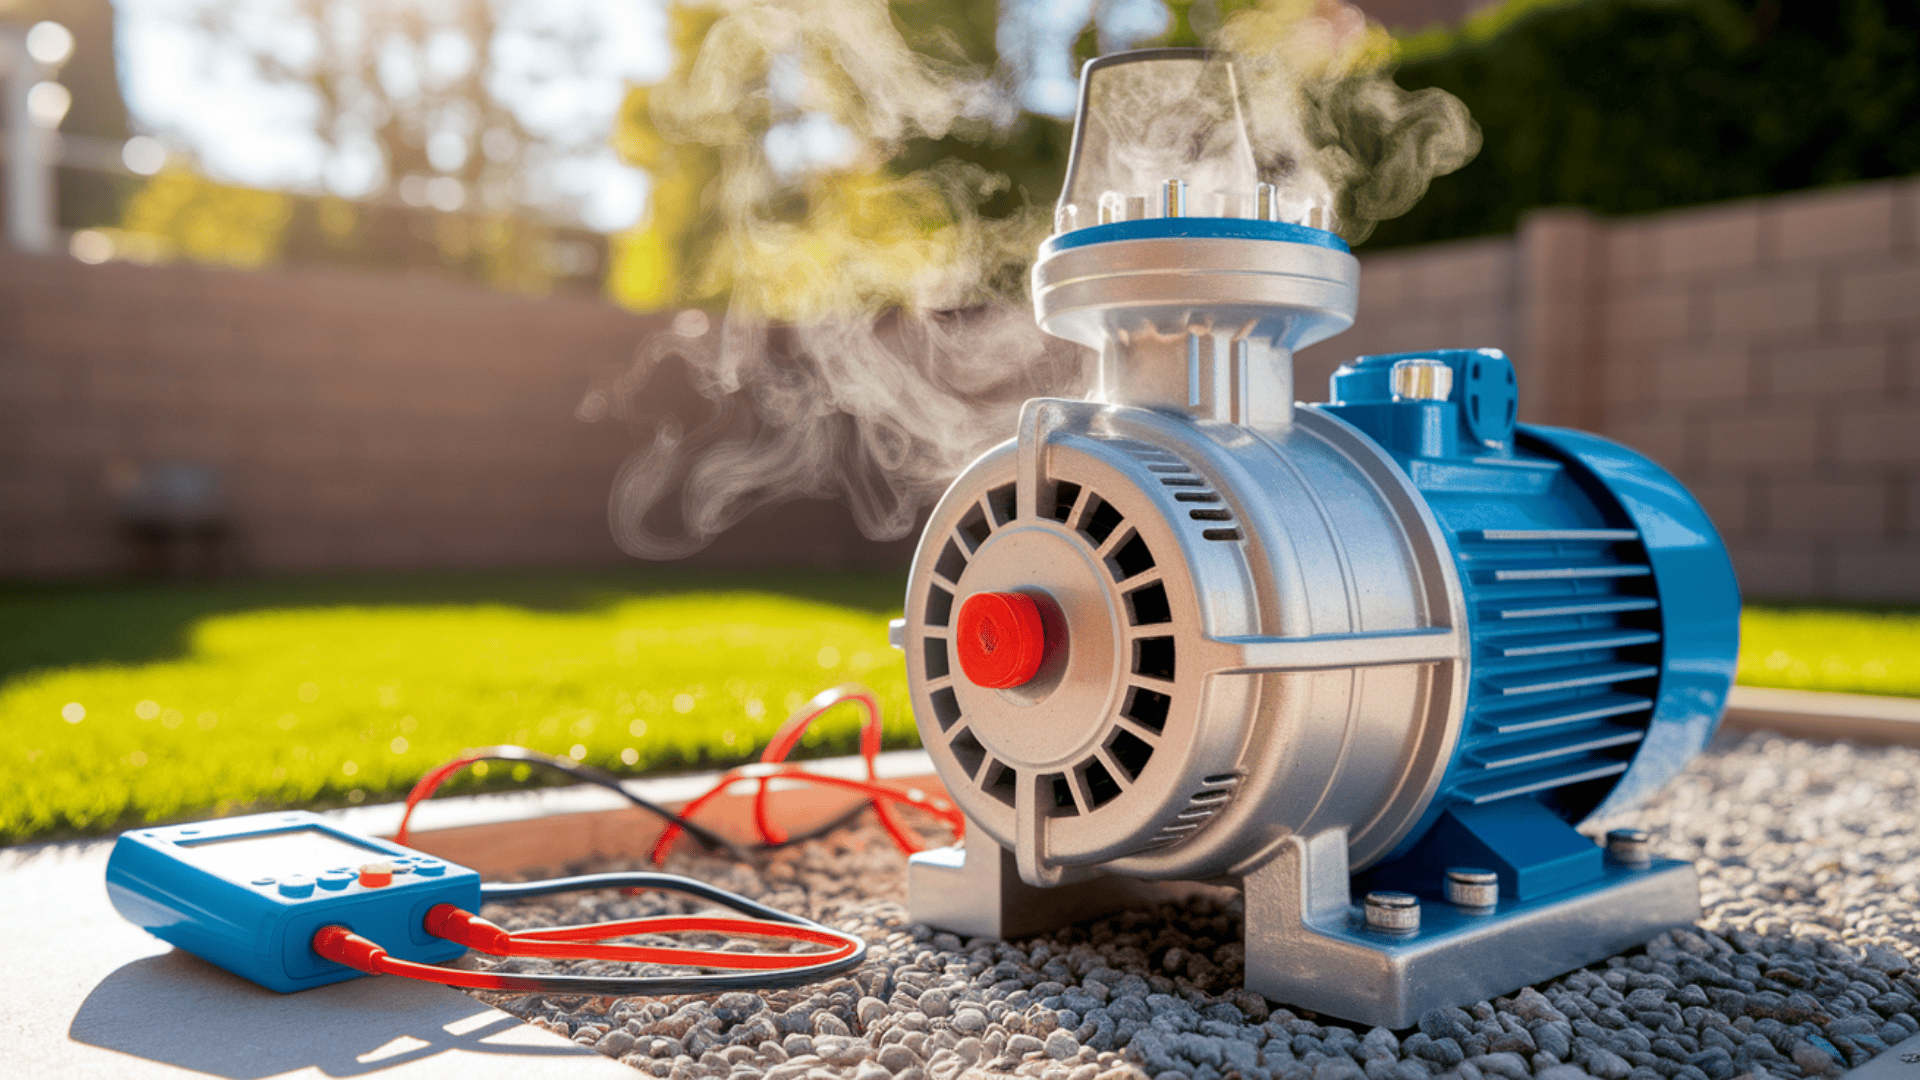
Capacitor Problems: The #1 Cause of Pump Startup Failure
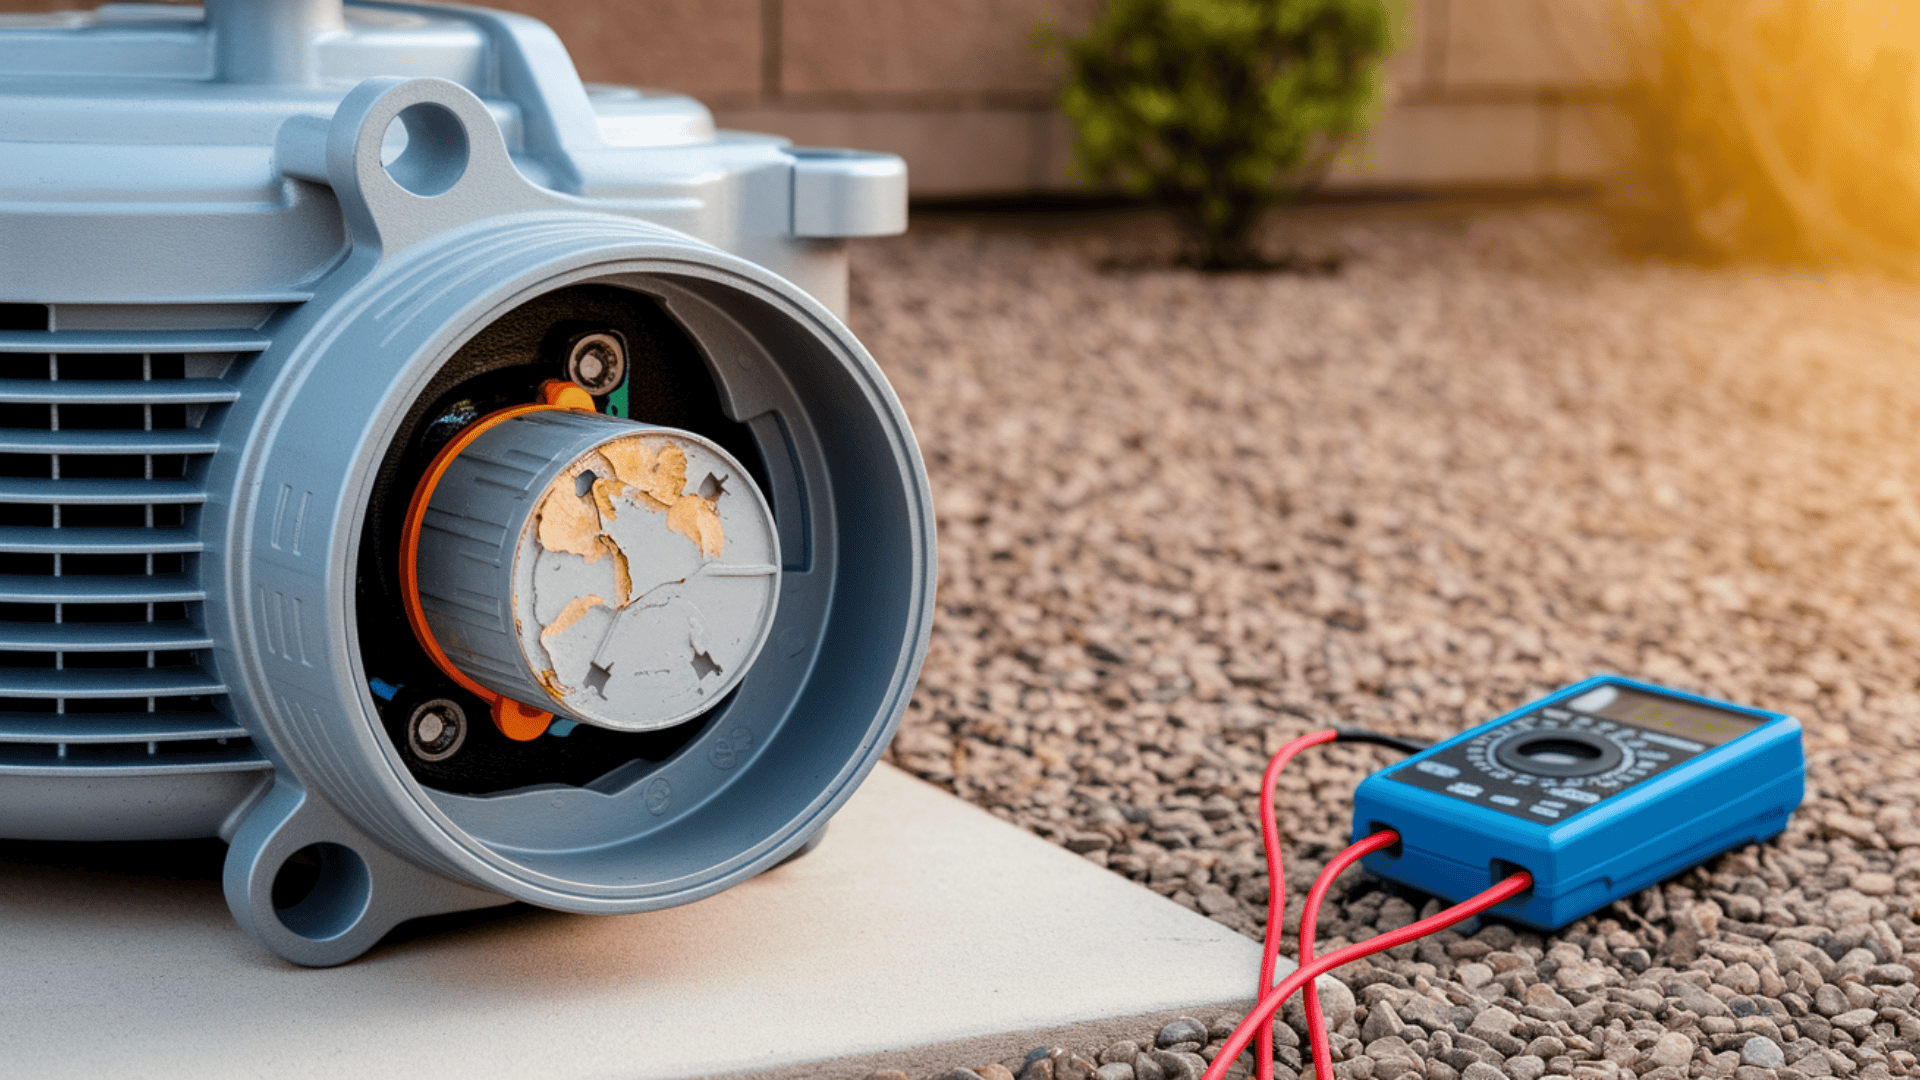
The small cylindrical component called a capacitor gives your pump motor its initial boost to start spinning. When this part fails, your pump might make noise but not turn on.
Signs of Capacitor Failure:
When a capacitor is failing, your pump often gives clear signals:
- Humming sound without motor movement
- The pump runs briefly, then stops
- Physical signs like bulging or leaking from the capacitor itself
- Motor that feels hot without running
Testing requires caution and basic tools. After turning off the power and waiting for the stored electricity to drain, you can use a multimeter to check if the capacitor holds the proper charge.
A reading significantly lower than the rating printed on the component indicates it needs replacement. The good news about capacitor issues is that fixing them is relatively straightforward:
Replacement Process
Purchase a matching capacitor (check voltage and microfarad rating)
- Cut power at the breaker (safety first!)
- Remove the old capacitor carefully
- Install the new one with terminals in identical positions
- Restore power only after closing all housing
This repair typically costs under $20 and takes about 30 minutes, making it an excellent DIY fix for most pool owners.
Impeller and Mechanical Issues
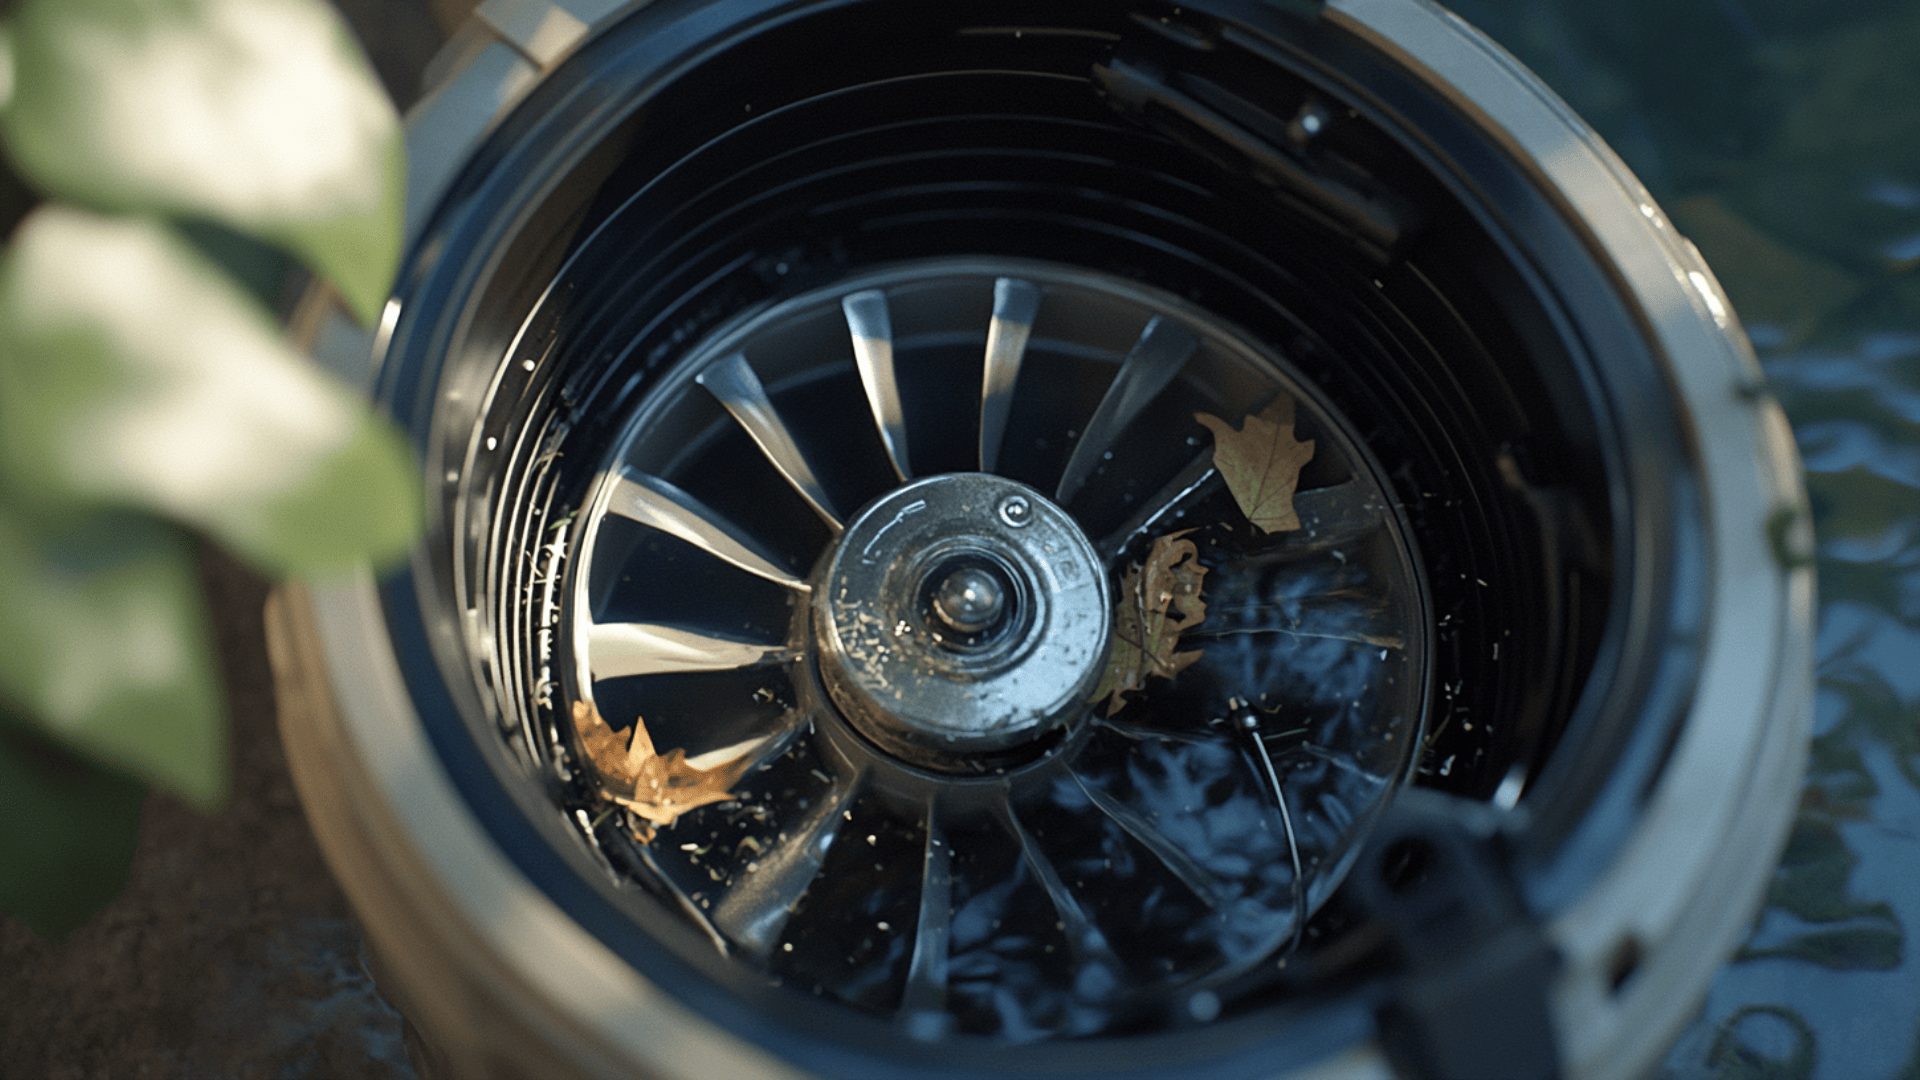
When electricity flows but nothing moves, a physical obstruction may be preventing your pump’s impeller from spinning freely.
The pump impeller—a fan-like device that pushes water—can become jammed by debris, built-up deposits, or damaged bearings. Any of these issues can prevent operation even when power is present.
To investigate impeller problems, you’ll need to:
1. Cut power completely
2. Remove the pump strainer basket
3. Look through the opening with a flashlight
4. Try rotating the motor shaft (some models have access at the rear)
If you spot debris or feel resistance when turning the shaft, you’ve likely found your problem. Many blockages can be removed without complete disassembly by using long-handled tools to extract debris from the impeller area carefully.
When Bearings Go Bad:
Worn bearings produce a distinctive grinding noise when the motor shaft is manually turned. This sound indicates friction within the motor, which prevents normal operation and typically requires professional attention.
- Excessive heat generation around the motor housing is another telltale sign of bearing failure, as increased friction produces thermal buildup.
- Motors with failing bearings often experience reduced efficiency and increased power consumption before complete failure occurs.
- Regular maintenance and lubrication schedules can significantly extend bearing life and prevent costly motor replacements.
Early detection of these warning signs can prevent complete motor failure and associated downtime.
Motor-Related Problems
The heart of your pool pump is its electric motor, which can develop several issues that prevent startup despite having power.
Heat Protection Systems
Modern pool pump motors include thermal protection that automatically shuts down the system when temperatures rise too high. This safety feature can make it seem like your pump won’t start when it’s actually in a protective cooling mode.
If overheating triggers a shutdown, you might notice:
- The motor housing feels extremely hot
- A burning smell
- The operation that starts and then quickly stops
Many motors have a small reset button (usually red) that needs to be pressed after the unit cools down. This simple step often restores function after an overheating event.
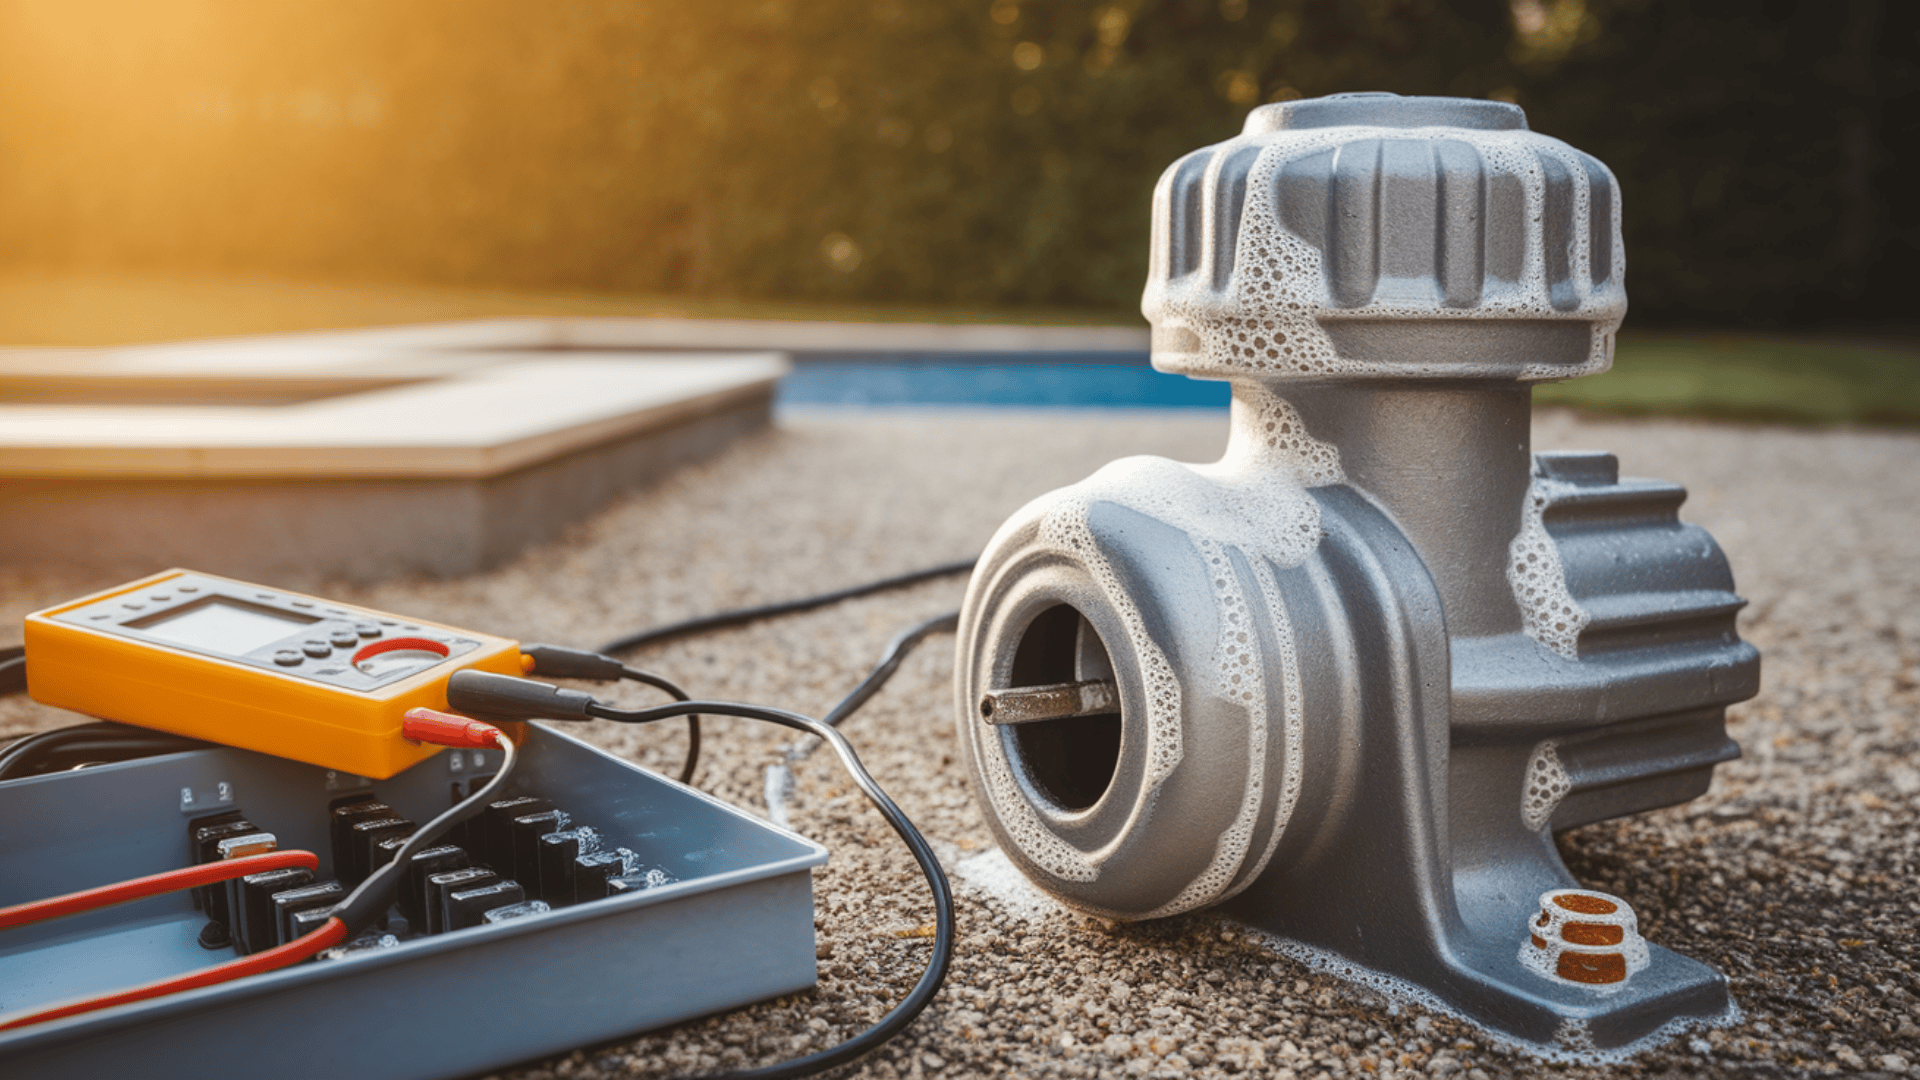
For more advanced motor issues, a multimeter becomes essential. By testing resistance between motor terminals, you can determine if internal windings have failed. This test requires some technical knowledge, but can save you from unnecessary replacements.
Advanced Troubleshooting Techniques
Sometimes pool pump problems require deeper investigation, particularly when dealing with priming issues or intermittent failures.
Air leaks in the suction side of your system can prevent your pump from priming properly. The pump might have power and even run, but without water to move. Check for these common air leak sources:
Finding air leaks often requires a methodical approach. Apply a soap solution to the suspected leak areas and observe for bubbles while the pump is running.
Pay special attention to the pump lid O-ring, which frequently hardens and cracks with age and sun exposure.
For electrical diagnosis beyond simple visual inspection, a multimeter becomes your best tool:
Multimeter Testing Sequence
Using a multimeter properly can save you hours of guesswork and prevent unnecessary parts replacement. Ensure that you follow proper safety protocols when working with electrical components. Always disconnect power at the breaker before opening any electrical boxes.
- Verify incoming voltage matches your home electrical system
- Check continuity across switches and connections
- Test motor winding resistance when all power is disconnected
- Compare readings against the manufacturer’s specifications
Internal water damage remains a common but overlooked cause of pump failure. Look for corrosion, rust, or white powder on electrical connections—all signs that water has penetrated where it shouldn’t be.
Prevention and Maintenance
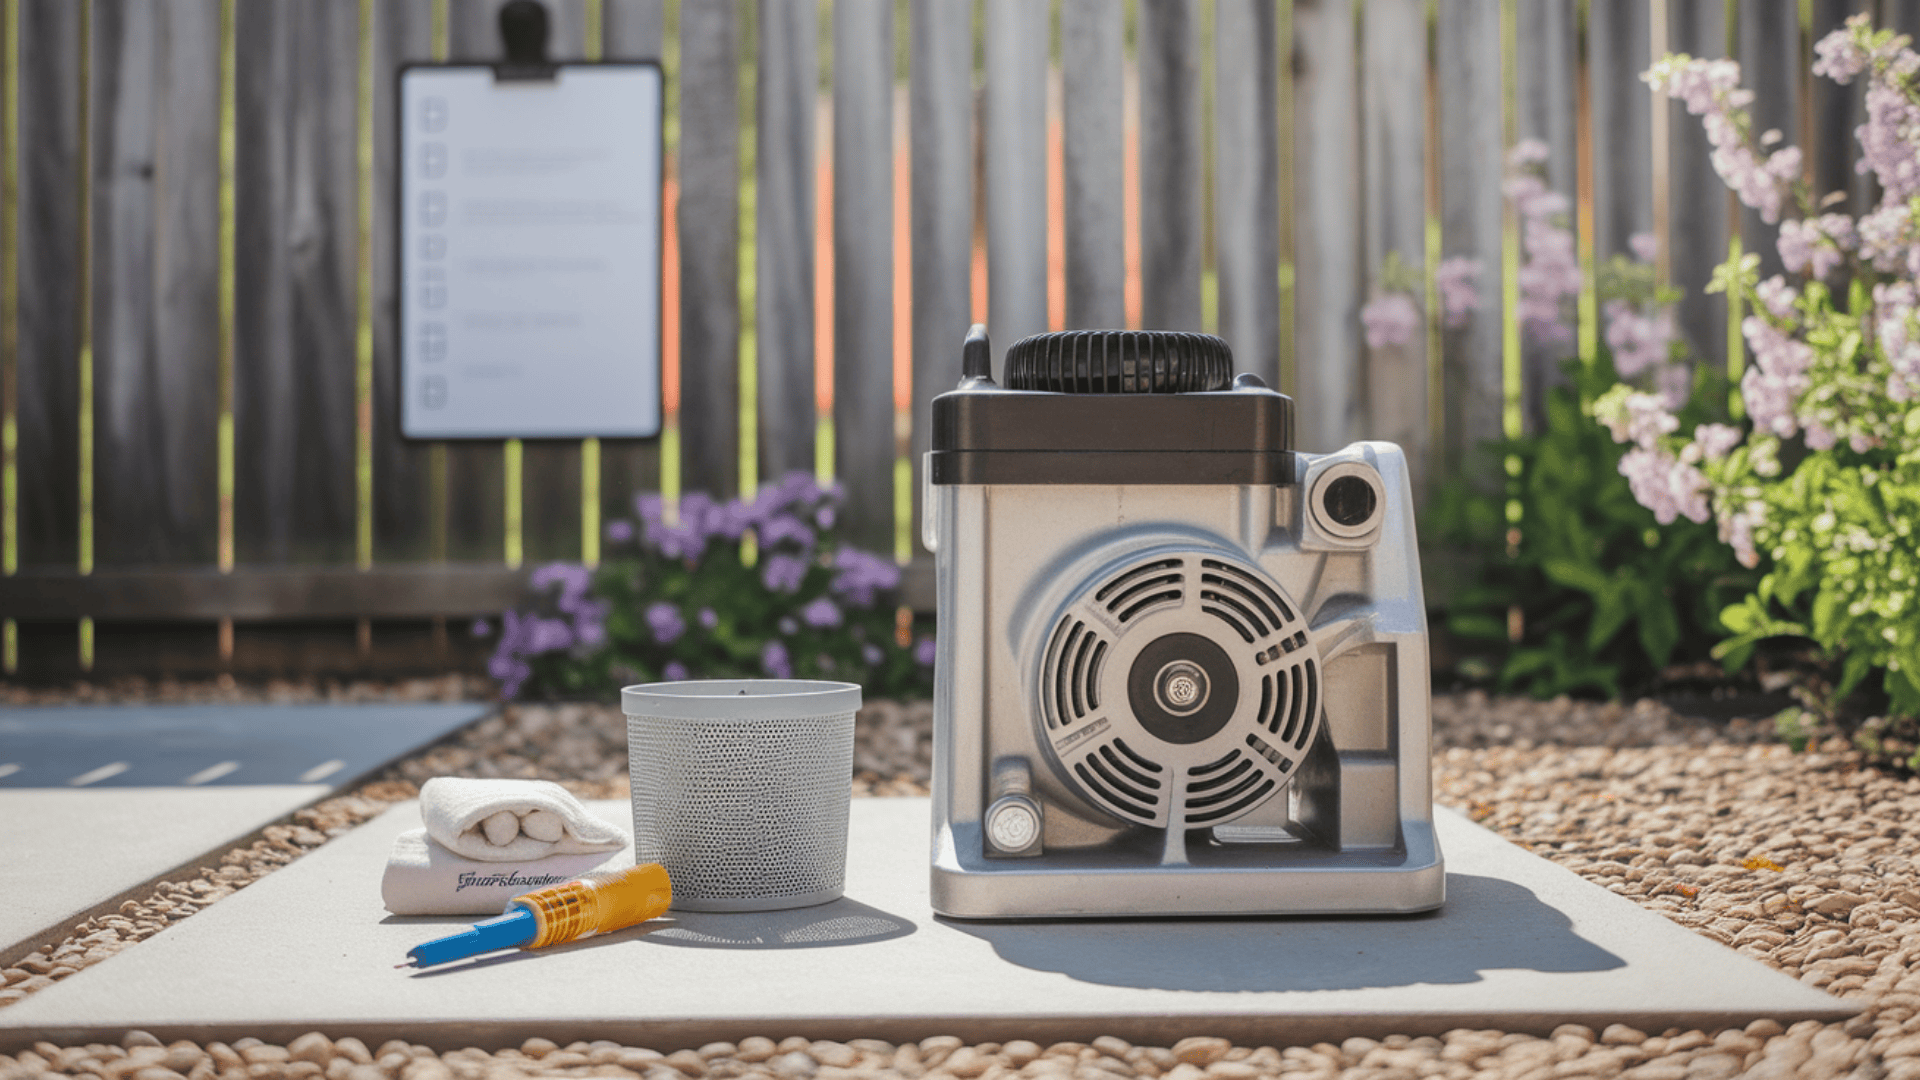
The most cost-effective approach to pool pump problems is to prevent them through regular maintenance. A proper care routine extends equipment life and reduces frustrating downtime.
Seasonal Care Strategy
Your pool pump needs different attention depending on the time of year:
During swimming season:
- Clean the strainer basket weekly to prevent restriction
- Listen for unusual noises that might signal developing problems
- Feel for excessive vibration that could indicate an imbalance
- Monitor running pressure to spot clogs early
When closing for winter:
- Drain all water from the system to prevent freeze damage
- Store removable components in a dry location
- Cover equipment to protect from weather exposure
- Document your winterizing steps for easier spring startup
Your pump requires regular checks to stay in top condition throughout its lifetime.
| TIMEFRAME | MAINTENANCE TASK | BENEFIT |
|---|---|---|
| Weekly | Clean strainer basket | Keeps water flowing properly |
| Monthly | Check for leaks & test GFCI | Prevents air issues & ensures safety |
| Quarterly | Clean cooling vents & inspect bearings | Prevents overheating & extends life |
| Yearly | Check the capacitor & replace worn seals | Prevents startup failure |
| 5+ Years | Evaluate efficiency vs. new models | Helps with replacement decisions |
Always refer to your pump’s manual for specific maintenance recommendations from the manufacturer.
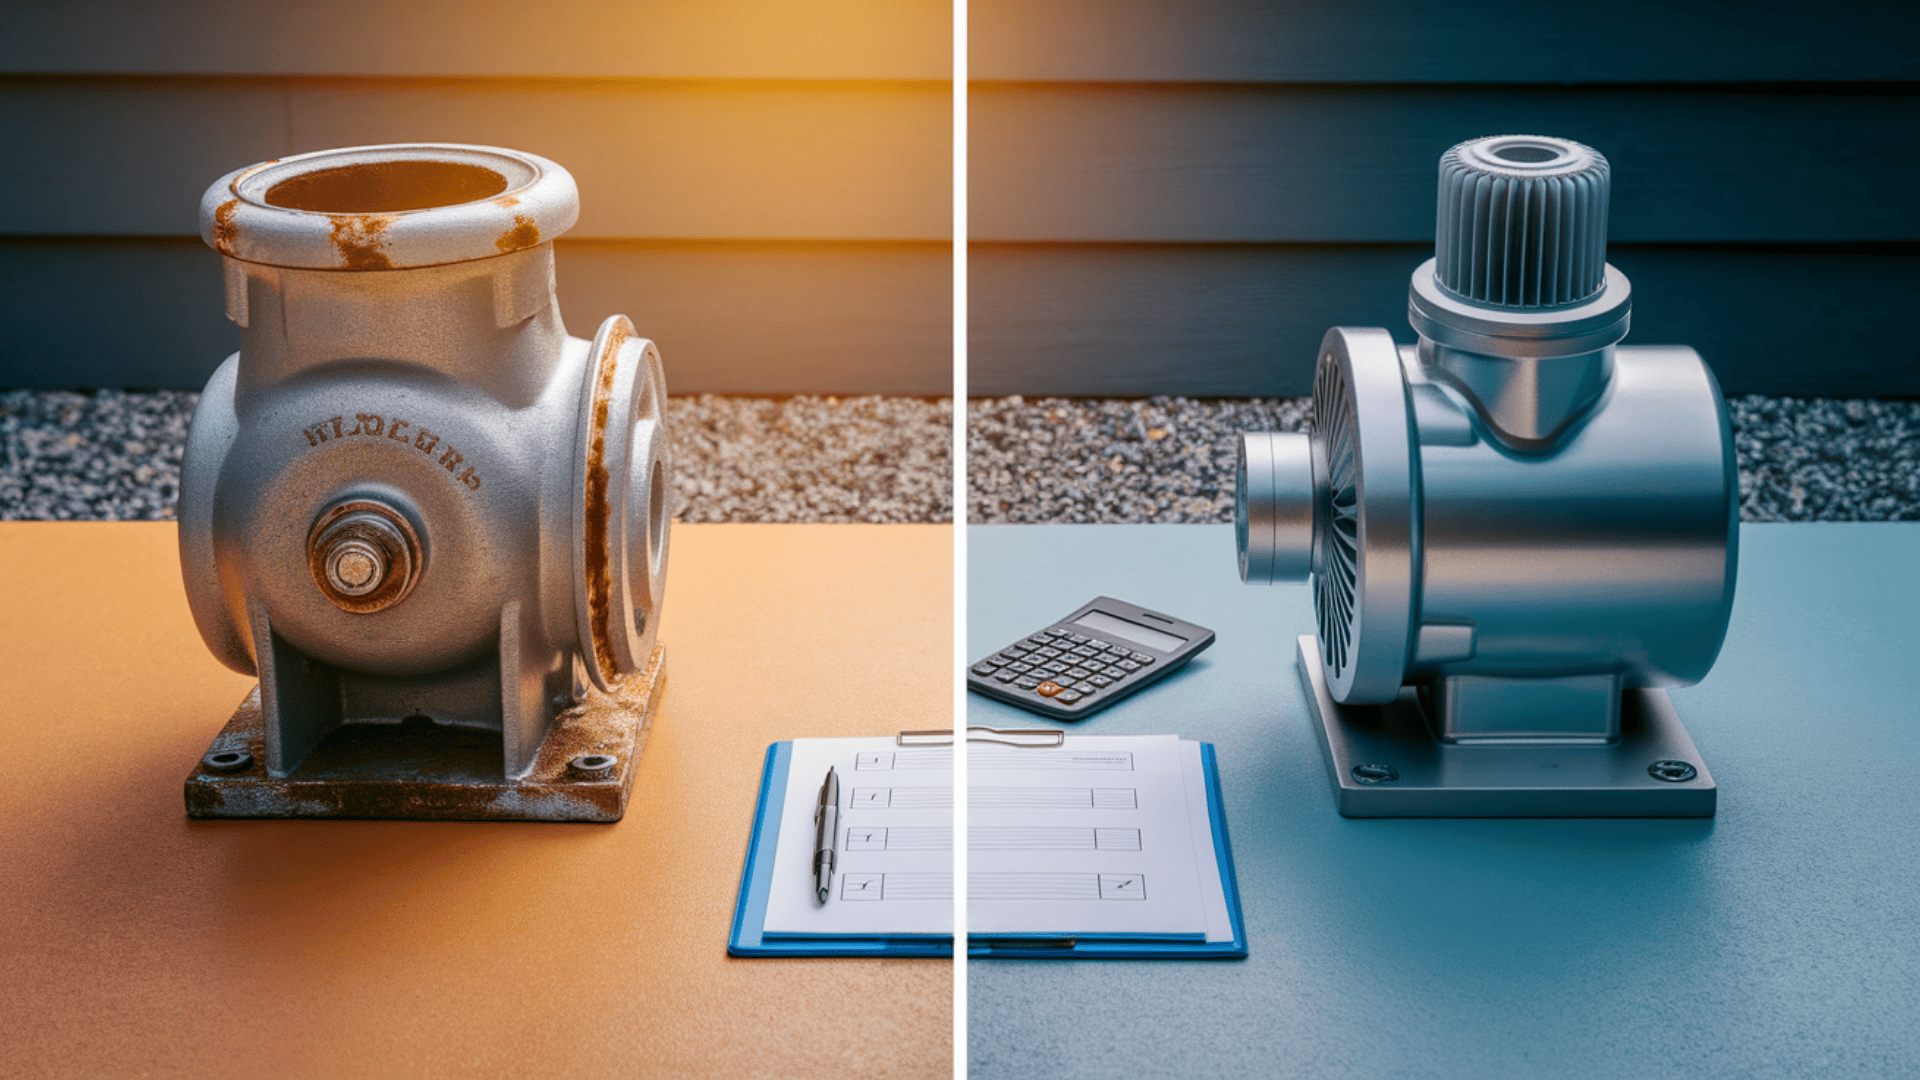
When to Replace vs. Repair
Even with perfect maintenance, pool pumps eventually reach the end of their useful life.
Making the right choice between fixing your existing pump or investing in a new one can save you money and frustration.
The decision isn’t always straightforward, but certain factors can guide you toward the most practical solution.
1. The Age Factor
Most pumps last 7-10 years before their major components begin to fail. If your pump exceeds this age range, replacement often makes more financial sense than continued repairs. Like many appliances, pool pumps tend to experience more frequent problems as they age.
2. Energy Efficiency Considerations
Energy efficiency improvements in newer models can offset the replacement cost through lower electric bills.
Single-speed pumps use considerably more power than modern variable-speed options, which can adjust their output according to your pool’s specific needs. Many pool owners report cutting electricity costs by 50-80% after upgrading.
3. The 50% Rule
The final decision often comes down to simple math: when repair costs approach 50% of replacement value, purchasing new equipment typically provides better long-term value.
This industry standard helps prevent wasting money on outdated equipment.
4. Proper Sizing Matters
When shopping for a new pump, don’t automatically buy the same size as your existing unit. Pool professionals can help calculate the proper sizing based on your specific pool volume and plumbing configuration. An incorrectly sized pump wastes energy and may not clean effectively.
The Bottom Line
Pool pump troubles don’t have to derail your swimming plans or drain your wallet. Armed with the right knowledge, you can diagnose and fix many common pump issues quickly.
Always prioritize safety by cutting power before commencing any inspection or repair work. Regular maintenance prevents most startup problems—clean that strainer weekly, check connections monthly, and listen for unusual noises that signal developing issues.
When repairs exceed half the cost of replacement, consider upgrading to energy-efficient models that can significantly reduce operating costs.
Now you can approach those frustrating “has-power-but-won’t-run” moments with confidence instead of panic. Happy swimming awaits just a few troubleshooting steps away!