Sweet Parrish Place

I'm the girl with champagne taste and a tight budget

  • Home
  • About
    • About Nicki
    • Shop My Amazon
    • Contact Us
    • Blog Love
    • Link Parties
    • Advertise | Disclosure | Privacy Policy
  • Home Tour
    • Yellow Prairie House Tour
    • West Virginia Home Tour
    • Seasonal
  • Projects
    • Trashtastic Treasures
    • Holiday
    • Decorating
    • DIY
    • Crafting
    • Paint Projects
    • Cleaning/Organization
  • Style
    • Fall/Winter
    • Spring/Summer
    • Sweet Parrish Place Style
    • Tips/Tricks
    • Shop My Looks
    • Shop My Amazon
  • Travel
  • Lifestyle
    • Family
    • Decor
    • My Favorites
    • I’m Loving It
    • Personal
    • Shop My Amazon
  • Yellow Prairie House Tour

Trashtastic Tuesday- DIY Art Station

May 28, 2013 By Nicki 6 Comments

DIY Art Station

Lately, I have noticed a lot of artwork that Mr. 5 year old has been making and taping up all over his bedroom, and all over the house.  Every time I turn around I find something that he hung up somewhere.  Yesterday when I was cleaning his room, I decided to use what I had lying around to make him some kind of area where he could hang these things.  I came up with something that was very cheap and very easy.  I made a DIY Art Station on his closet doors.  And you can make one too!

I made this using two sides of a tall cardboard box that I had brought home from work recently, some wrapping paper left over from another project, electrical tape, a stapler, a hot glue gun, and some white twine.
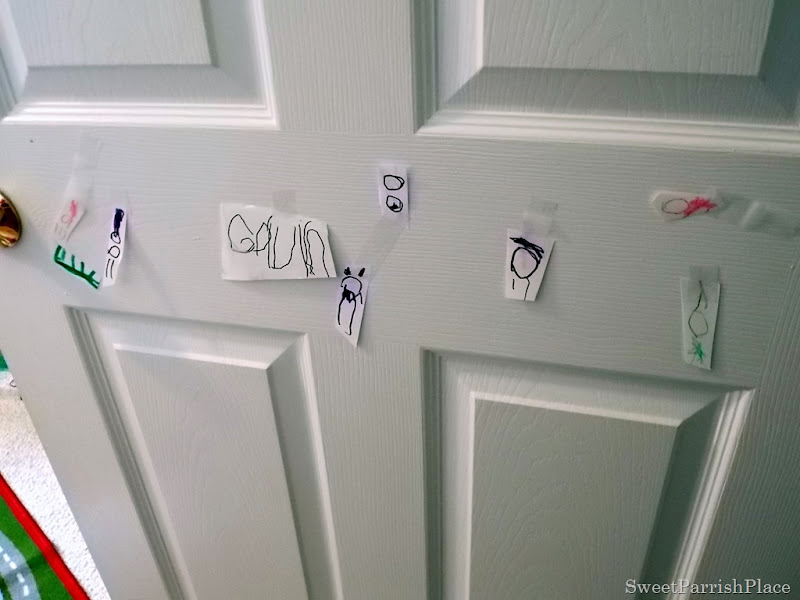
This is some of the artwork that he had hung on his bedroom door.
DSCN2820
This is the box I used.  I just cut off two sides and made sure they were straight.
DSCN2822
I took the wrapping paper and wrapped it around just the front and taped it to the back, just like wrapping a gift.  I then took my hot glue gun and put four big dabs on each corner and one one each side in the middle.  I have read that you can just peel it off the wall and it won’t cause damage, so hopefully that is correct!
DIY Art Station
Next, I just took some twine and strung it up in a zig zag pattern, stapling it at each edge.  I then placed a piece of black electrical tape over each staple, to help with support and also add some contrast.  I hung tiny clothes pins every so often, and he can easily hang whatever he wants to.  This is the finished product.  He already started hanging things up there.
DIY Art Station
DIY Art Station
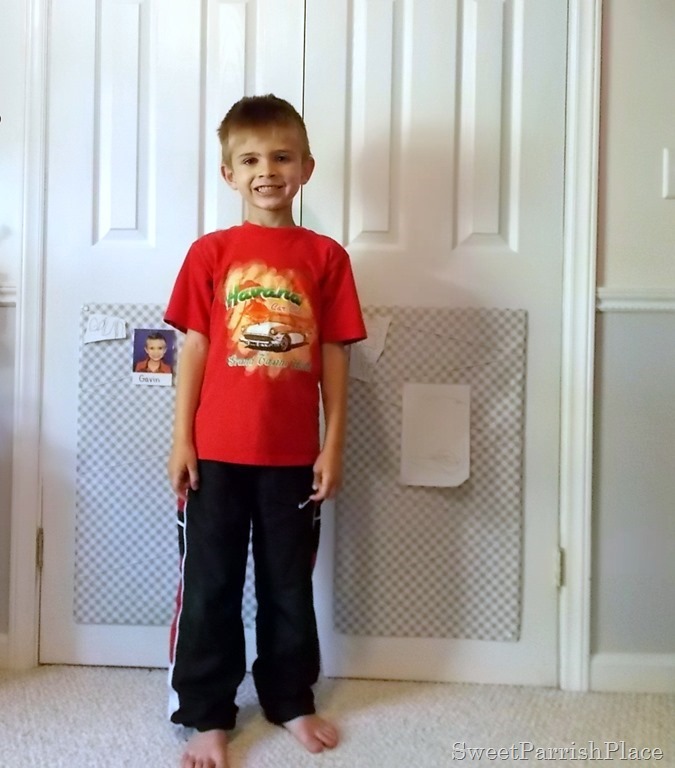
And here is my little man standing in front of his new art gallery- as you can see from this picture, I added the black tape and the clothes pins after taking this picture.   He was super excited that I made it for him!  And if the paper rips I can easily change the whole thing out.  When I want to remove it it won’t be difficult and I spent no money on it!
DSCN2828

I hope you enjoyed my Trashtastic Tuesday project today!  Have a great week!  If you would like to see my other Trashtastic Tuesday projects, you can click here.

I am linking up here:

lbgc - all my bloggy friends2
Love Bakes Good Cakes

Wow Us Wednesdays

Project Inspired Linky Party at Setting for Four #projectinspired #linky
Project Inapired


Pretty Things

inspire-me-link-party
Inspire Me

The Shabby Nest
Frugal Friday

Pin It Monday Hop
Monday Hop

Remodelaholic

that diy link party
DIY Showoff

Give Me the Goods Monday
Rain On A Tin Roof


DIY Home Sweet Home


http://www.homemakeronadime.com/2013/06/creative-bloggers-party-hop-113.html


http://modvintagelife.blogspot.com/2013/06/mod-mix-monday-104.html

Filed Under: trashtastic treasures, Uncategorized Tagged With: DIY Art station

Comments

  1. Julia Klimek says

    May 28, 2013 at 11:33 pm

    Hey there! What a cutie you have! I have a 5 year old budding artiste as well! Maybe I will use your idea… Am I mean saying I hate all the artwork all over the house?

    Reply
    • Nicki Parrish says

      May 29, 2013 at 1:08 am

      NO JUlia! Not mean at all! Why the heck do you think I made those things? So I would stop finding little things taped all over the walls of my house! LOL

      Reply
  2. Vel Criste says

    May 29, 2013 at 4:22 am

    Your son is adorable – truly worthy of the project you made for him! Love how you recycle things and make them look fab Nicki!!

    Reply
  3. Melissa Kirtley says

    May 29, 2013 at 6:43 am

    What a great idea! Definitely going to try this in my son's new Big Boy Bedroom!

    Reply
  4. Linda @ With A Blast says

    June 3, 2013 at 11:35 am

    This is a great idea for the little ones to have their own "allocated" space! He seems very impressed already 🙂 Thank you for sharing at our ALL MY BLOGGY FRIENDS party !

    Reply
  5. Amber Koogler says

    June 7, 2013 at 4:51 pm

    Thank you for sharing at Give Me The Goods!

    Dimples & Pig Tales

    Reply

Leave a Reply Cancel reply

Your email address will not be published. Required fields are marked *

CommentLuv badgeShow more posts

This site uses Akismet to reduce spam. Learn how your comment data is processed.

Hi, I'm Nicki I'M THE GIRL WITH CHAMPAGNE TASTE AND A TIGHT BUDGET. I'M SO GLAD YOU'RE HERE!
  • Bloglovin
  • Facebook
  • Google+
  • Instagram
  • Pinterest
  • Twitter

VIP Real Estate

NO PLACE LIKE HOME

No Place Like Home

ORC Bathroom Makeover

Kids/Guest Bathroom Makeover

One Room Challenge Week 6 Kids-Guest Bathroom Reveal

It's week 6 of the One Room Challenge and this is … [Read More...]

ARCHIVE

ORC

Shop My Faves!

Spring Trends
PicMonkey Photo editing made of win
Get Sponsored by Big Brands

SheKnows

Linquia Influencer

FYI

Find Your Influence

INSTAGRAM

Recent Posts

  • Cozy and Casual Christmas Tour | Part 2
  • Casual and Cozy Christmas Tour | Part I
  • Farmhouse Bathroom Makeover Progress | $100 Room Challenge

Archives

Find It Here

Copyright © 2022 · Sweet Parrish Place