Picture your dream kitchen—sleek countertops, stunning backsplash, and… ugly plastic outlets disrupting the view?
Those white rectangles can ruin even the most beautiful kitchen design.
But what if they simply vanished?
Smart homeowners are now hiding power outlets in plain sight, tucking them under cabinets, inside drawers, or disguising them completely.
No more eyesores, no more compromises.
The secret to a truly polished kitchen lies in these hidden details that most people overlook.
Ready to make those unsightly plugs disappear while keeping all the functions you need?
Let’s uncover the clever tricks that professional designers use to keep kitchens looking flawless without sacrificing convenience.
Why Hiding Kitchen Outlets Matters
When you walk into a beautiful kitchen, what catches your eye?
The smooth countertops?
The shiny appliances?
The perfect backsplash?
Most people notice these big features first, not the small details that can make or break the look.
But those little things matter a lot.
Kitchen outlets are often overlooked in design plans, yet they can stick out like a sore thumb when poorly placed.
Think about it – those white or beige rectangles cutting through your carefully chosen tile or stone.
Modern kitchens need to look good and work well.
We use more gadgets than ever before – coffee makers, blenders, phone chargers, tablets.
All these need power, which means outlets.
In this post, we’ll show you simple ways to hide those outlets without losing any usefulness.
You’ll learn about pop-up outlets, under-cabinet options, and smart placement tricks that keep your kitchen looking clean and working perfectly.
Top Hidden Kitchen Outlet Solutions
The battle between good looks and practicality in kitchens often comes down to the small details.
Power outlets can be hidden in many smart ways without giving up ease of use.
Here’s a handy breakdown of the top options to keep your kitchen looking clean and tidy:
| SOLUTION TYPE | BEST FOR | COST RANGE | DIY FRIENDLY? |
|---|---|---|---|
| Pop-up outlets | Islands, counters | $80-300 | Not typically |
| Under-cabinet strips | Backsplash areas | $40-150 | Sometimes |
| Recessed outlets | Backsplashes | $15-50 | Yes |
| Inside-cabinet power | Small appliances | $30-100 | Mostly yes |
| Disguised covers | Any visible outlet | $10-40 | Very easy |
| False drawer fronts | Islands, base cabinets | Varies | No |
| Wireless charging | Phones, small gadgets | $70-200 | Can be |
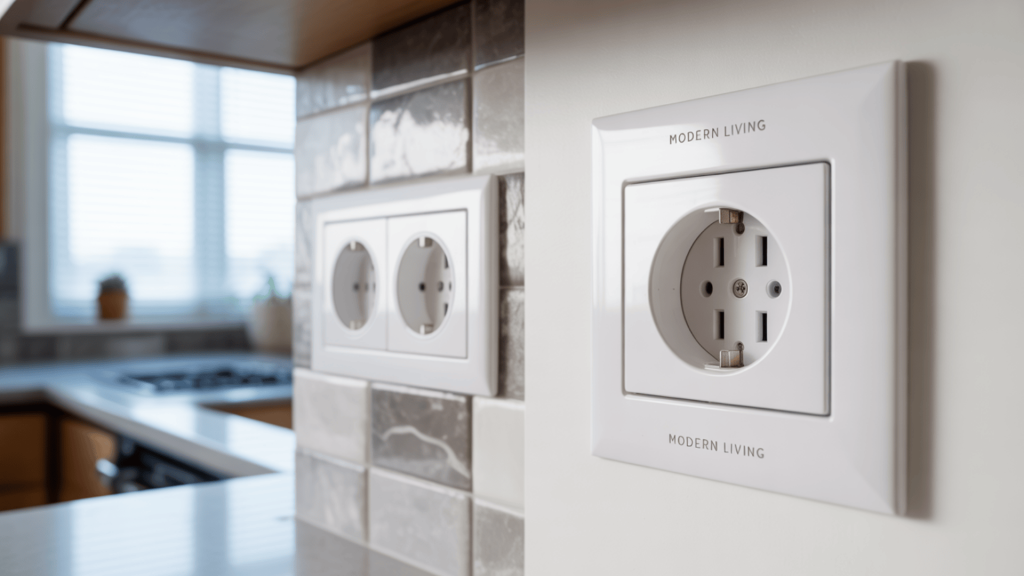
Low-profile outlets sit nearly flush with walls, making them less noticeable while still easy to use.
Some models stick out less than 1/4 inch from the wall.
For those who want a truly smooth look, false drawer fronts can hide outlets completely until needed.
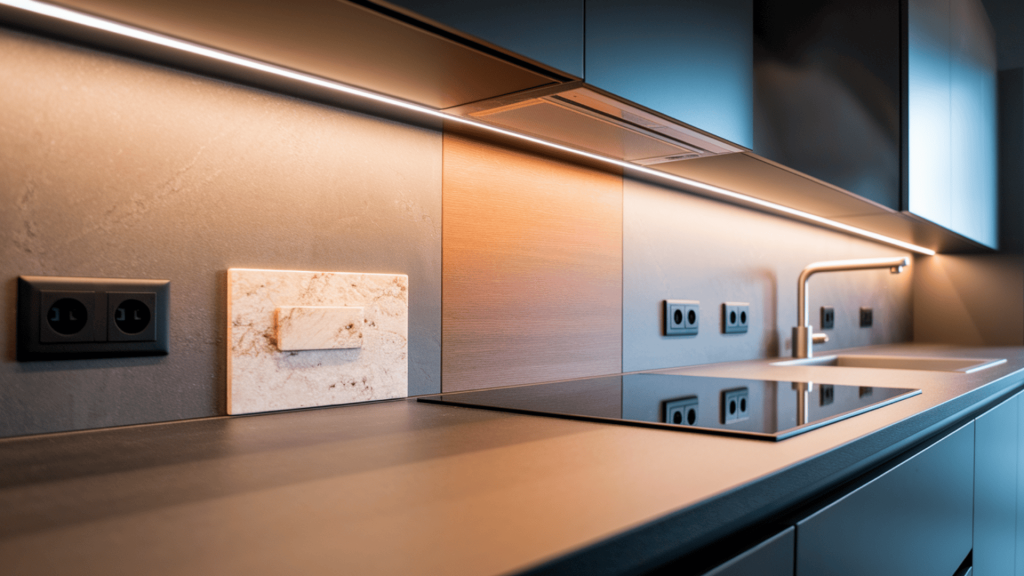
Creative Backsplash Outlet Solutions
The kitchen backsplash is often where outlets stand out most.
Here are smart ways to make them blend in better:
1. Color Matching Magic
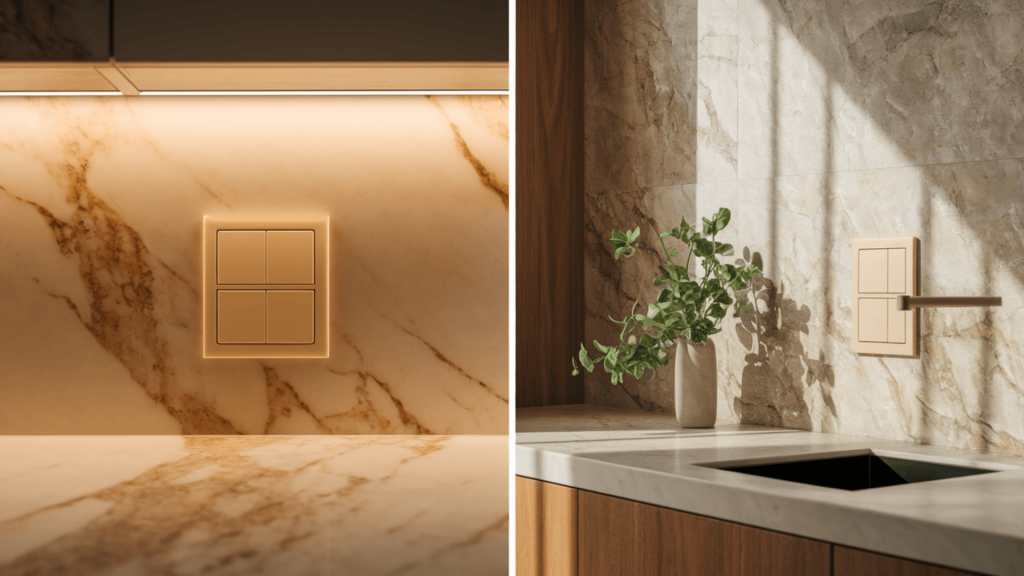
Wall plates don’t have to be plain white or beige.
Look for screwless models that can be painted the exact color of your backsplash.
For stone or tile walls, pick plates that match the main color tones for a much less noticeable look.
2. Sideways Thinking
Try turning outlets sideways (horizontally) instead of the usual up-and-down position.
This trick works well with tile patterns, letting the outlets follow grout lines or stone patterns.
It’s a small change that makes a big difference in how much they stand out.
3. Hidden Pop-Outs
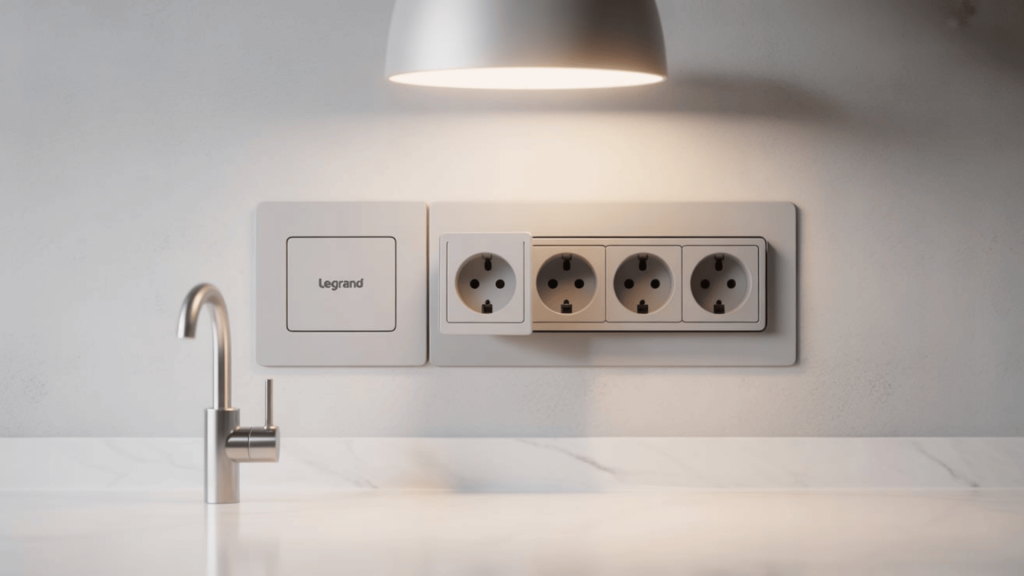
Special pop-out outlets like those from Legrand sit nearly flush with the wall when not being used.
You press to make them pop out, use them, then push them back in.
They cost more but almost disappear when not in use.
4. Lower Profile Options
Standard outlets stick out about half an inch from the wall.
Newer slim models cut that in half.
When placed against a backsplash, this small difference makes them much less noticeable from most angles in the room.
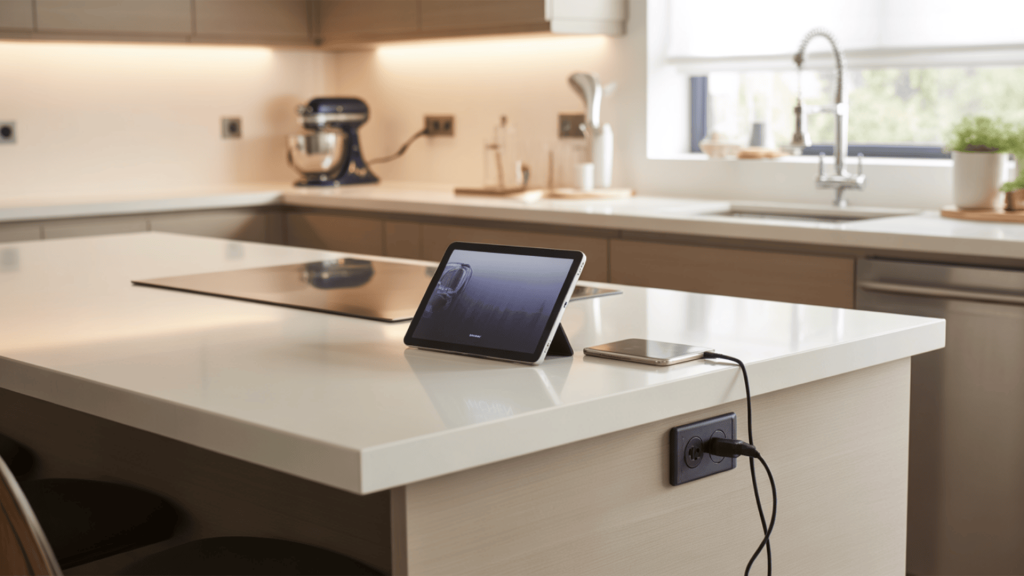
Clever Kitchen Island Outlet Ideas
Kitchen islands need power too, but finding good spots for outlets can be tricky.
The right approach depends on how you use your island and what looks best to you.
Top Surface Solutions
Islands offer unique options for hiding power access while keeping it handy.
The smooth top surface is perfect for:
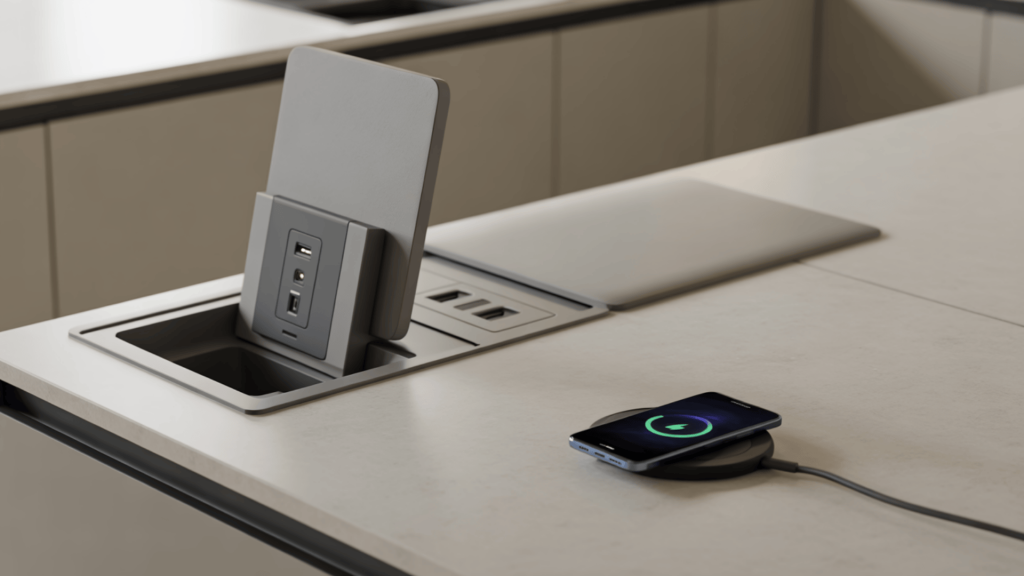
- Manual or motorized pop-up towers that include regular outlets, USB ports, and even wireless charging spots.
- Hidden compartments are built right into the countertop with a small lid that opens to show outlets.
- Wireless charging pads require no openings; just place your phone on the marked spot to power up through the counter material.
These counter solutions keep your island clean and uncluttered while providing the power you need.
Side and Underneath Access
The sides and bottom edges of islands offer perfect hiding spots for power:
- Thin power strips mounted under counter overhangs stay completely hidden from normal view but remain easy to reach.
- Fake drawer fronts that pull out to show outlets instead of storage space – perfect for items you want to charge but not leave sitting out.
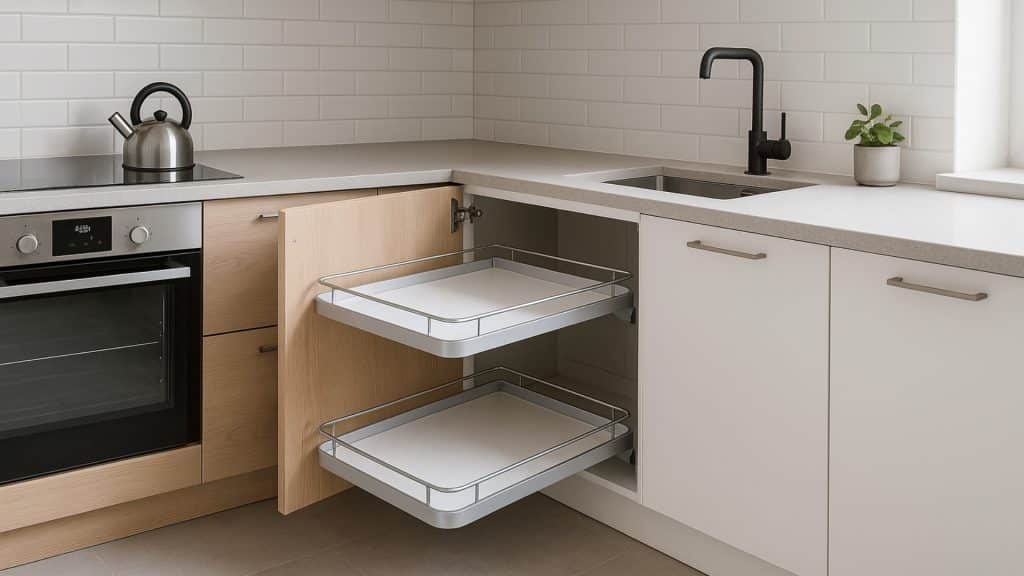
- Side panels with small cabinet spaces made just for keeping bigger items plugged in but out of sight.
These side solutions turn unused spots into practical power points while keeping counters clean and tidy.
Outlet Placement and Cabinet Integration Tips
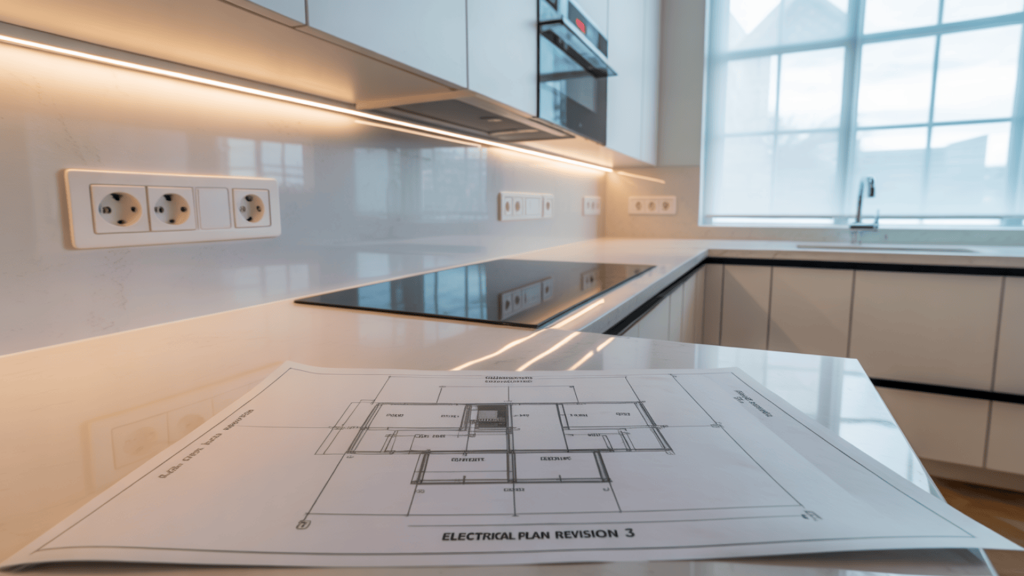
Working closely with both your electrician and cabinet maker from day one saves headaches later.
Many issues happen when these pros don’t talk to each other early in the project.
Making smart choices about outlet spots depends on how you really use your kitchen.
Think about:
- What items do you use daily, and where should they live
- How many devices need power at once in each area
- Which spots are most visible from the main sightlines
- Where cords would be most bothersome
- What future needs might arise as technology changes
- How to keep heavy-use areas from looking cluttered
Remember that most building codes require outlets every 4 feet along countertops.
You can still be creative with exact placement while meeting these requirements.
Smart positioning can help you meet code requirements while keeping outlets less noticeable.
Adding small shields or rails under cabinets can block the view of necessary outlets from most standing positions.
Style-Focused Camouflage for Outlet Covers
When outlets must be visible, making them look good becomes the goal.
The right cover can turn a plain outlet into a design feature.
Metal and Glass Options
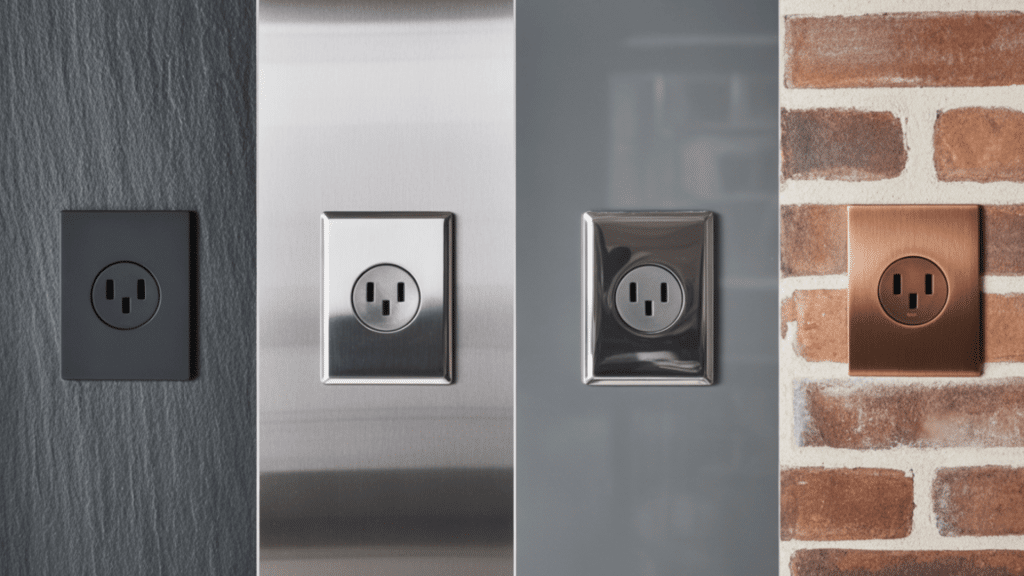
Gone are the days when outlets only came in plastic.
Today’s options include:
- Brushed brass plates that add a warm touch to kitchen walls
- Black matte finishes that blend with dark backsplashes
- Shiny chrome covers that match modern appliances
- Smoked glass covers that reflect light and blend with glossy surfaces
- Antique copper finishes for rustic or traditional kitchens
These specialty finishes can turn basic outlets into design features rather than eyesores.
Custom Material Matches
For truly special kitchens, custom solutions can create a perfect match:
- Stone-cut outlet covers made from the same material as your countertops
- Custom ceramic plates matching your tile exactly in color and finish
- Wood veneer covers that blend with cabinet materials
- Textured metal plates that complement your kitchen hardware
- Back-painted glass in any custom color to match painted walls
While these options cost more, they create a seamless look that can make outlets almost invisible.
Budget vs. Premium: Outlet Hiding Methods by Cost
Finding the right solution for your kitchen depends on both your budget and style needs.
| COST LEVEL | PRICE RANGE | OPTIONS | BEST FOR |
|---|---|---|---|
| Budget-Friendly | $5-50 | Paintable outlet covers, Smart placement behind appliances, Sideways mounting, Basic under-cabinet strips | DIY renovations, Rental properties, Quick makeovers |
| Mid-Range | $50-200 | Recessed outlets, Designer finish plates, Quality under-cabinet systems, Basic pop-up countertop models | Standard remodels, Long-term homes, Visible kitchen areas |
| High-End | $200+ | Custom stone-cut covers, Motorized pop-up systems, Wireless charging surfaces, Custom cabinet solutions | Luxury kitchens, Showcase homes, Professional designs |
The good news is that mixing these approaches often works best.
Use budget options in less visible spots and save premium solutions for the most noticeable areas.
Code Compliance and Practical Considerations
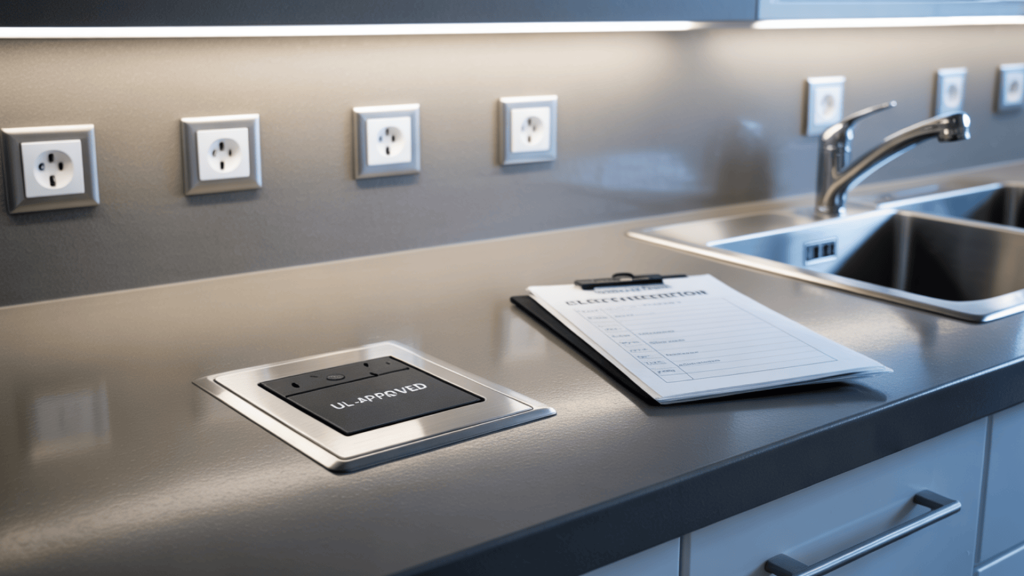
Safety always comes first with electrical work, and building codes exist for good reasons.
Here are key things to know:
- Most codes forbid face-up countertop outlets unless they’re approved pop-ups
- All kitchen outlets need GFCI protection to prevent shocks
- Outlets must be placed every 4 feet along counters
- Outlets within 6 feet of sinks need special protection
- Hidden outlets should remain accessible for resetting
Before making any changes to your kitchen electrical setup, talk with a licensed electrician.
They can help you find solutions that look good while keeping your family safe.
Remember that the most beautiful hidden outlet is useless if it’s not where you need it.
The Bottom Line
Hidden outlets turn kitchens from merely functional to truly stunning.
With options for every budget—from simple painted covers to high-end pop-up systems—anyone can achieve this polished look.
The best part?
These solutions actually make your kitchen more usable by putting power exactly where you need it.
No more stretched cords or cluttered counters. Just clean lines and easy access.
Remember to consult with an electrician to ensure all your clever hiding spots meet safety codes.
Your friends will wonder why their kitchens never look quite as put-together as yours.
You’ll know it’s those small, thoughtful details that make all the difference.
Got a DIY outlet solution we missed?
Your kitchen hack might be featured in our next update—share it below!