Kitchen cabinets make or break your cooking space—and the upper ones demand special attention.
Your dream kitchen hinges on one often-overlooked detail: the dimensions of your upper cabinets.
These wall-mounted boxes silently make or break your daily cooking experience.
Too tall, and you’re constantly reaching; too short, and storage vanishes; wrong width, and everything feels off-balance.
Perfect measurements, however, create kitchen magic—a space where everything has its place and your morning coffee routine flows seamlessly.
When cabinets fit your space just right, cooking becomes easier, cleanup is quicker, and your kitchen works better.
The secret lies in numbers—inches that matter more than most homeowners realize.
Ready to crack the code on those crucial measurements that professional designers always get right?
Let’s uncover the simple math behind beautiful, functional kitchens.
Understanding Upper Cabinet Dimensions
Kitchen design relies heavily on wall-mounted storage units that sit above countertops.
These boxes hold dishes, glasses, and other items while keeping them within easy reach but off your work surfaces.
Getting the size of these units right makes all the difference between a kitchen that works well and one that causes daily headaches.
Well-fitted cabinets create a smooth, finished look that makes your kitchen feel thoughtfully planned.
What follows covers all the essential facts about upper cabinet measurements.
You’ll learn about the common sizes that most manufacturers use, the various design options available, how different ceiling heights impact your choices, and how to modify standard sizes to meet your unique kitchen needs.
Kitchen planning becomes much simpler once you grasp these cabinet basics.
For new builds or kitchen updates, these measurement facts will help you avoid costly mistakes and create a space that works well for your family.
What Are the Standard Dimensions of an Upper Cabinet?
Upper cabinets are available in various sizes to accommodate different kitchen layouts and storage needs.
Knowing the typical measurements helps you plan your kitchen layout more effectively and ensures you maximize storage in your space.
Here’s what you need to know about the common heights, depths, and widths of upper cabinets.
| DIMENSION | STANDARD SIZES | MOST COMMON | NOTES |
|---|---|---|---|
| Height | 12″, 15″, 18″, 24″, 30″, 36″, 42″, 48″, 54″ (stacked) | 30″, 36″ | Taller options work best with higher ceilings |
| Depth | 12″, 15″, 24″ | 12″ | Deeper options (24″), often used above refrigerators |
| Width | 9″ to 48″ in 3″ increments | 24″, 30″ | Smaller widths (9″-15″), often used as fillers or in corners |
The width you choose depends on your wall space and how you want to organize your kitchen items.
For unusual spaces, many manufacturers can make small changes to these standard sizes to better fit your kitchen’s needs.
How Ceiling Height Affects Upper Cabinet Selection
The height of your kitchen ceiling plays a major role in which cabinets will work best in your space.
Different ceiling heights create various options for storage and style.
When planning your kitchen, measuring from floor to ceiling is one of the first steps.
This single measurement helps determine what size cabinets will fit well and look right in your space.
1. 8-Foot Ceilings

With standard 8-foot ceilings, 30″ or 36″ tall cabinets work best.
These leave enough space between the counter and cabinet bottom for working, while also providing good storage.
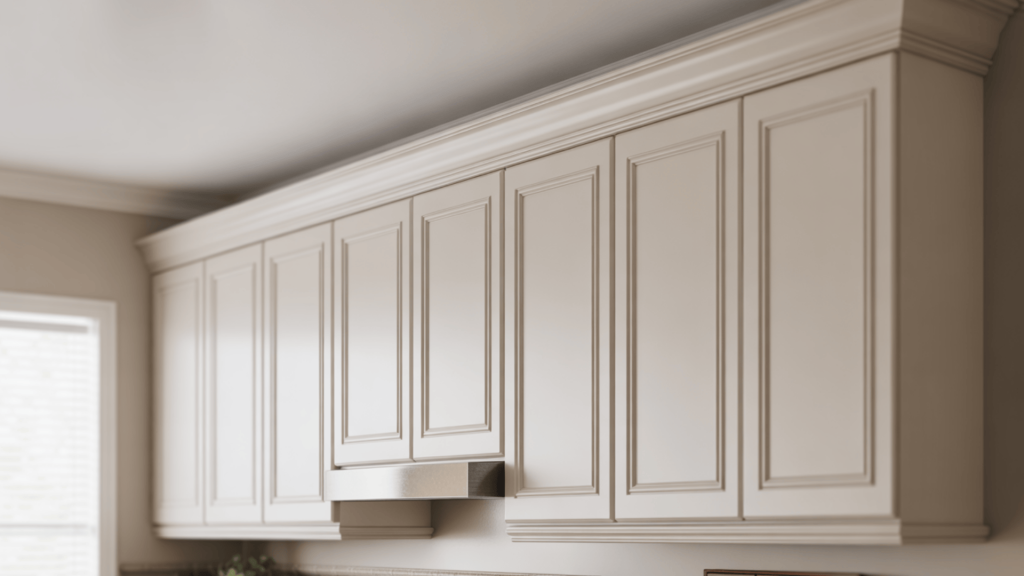
You can add a soffit (a dropped section) above the cabinets or use crown molding to fill the gap between the cabinet tops and the ceiling.
2. 9-Foot Ceilings
For 9-foot ceilings, 42″ or 48″ cabinets offer more storage without looking too cramped.
Another option is using tiered or stepped cabinets of different heights to create visual interest while maximizing storage.
This height also works well with decorative crown molding that can bridge the gap between cabinet tops and the ceiling.
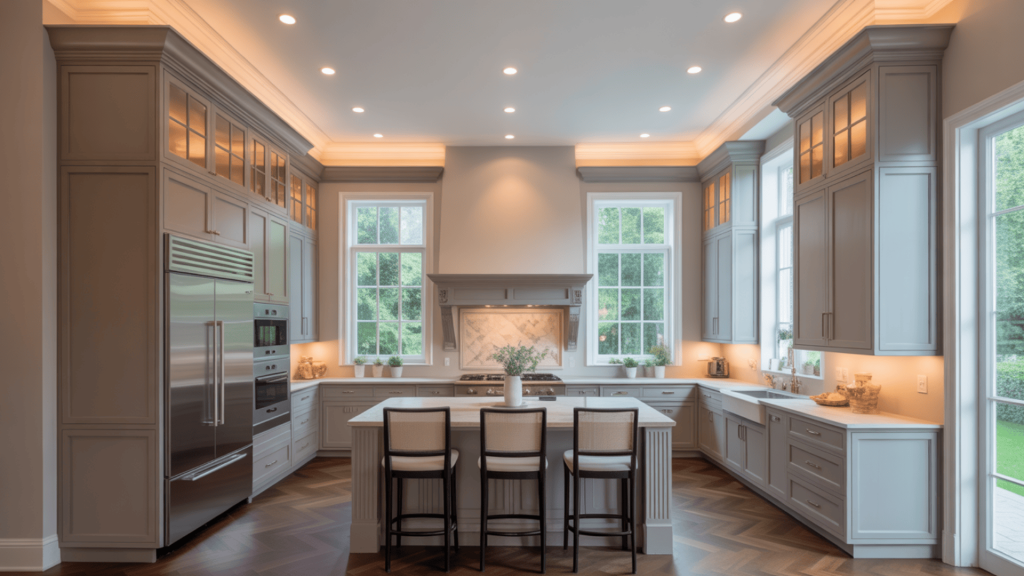
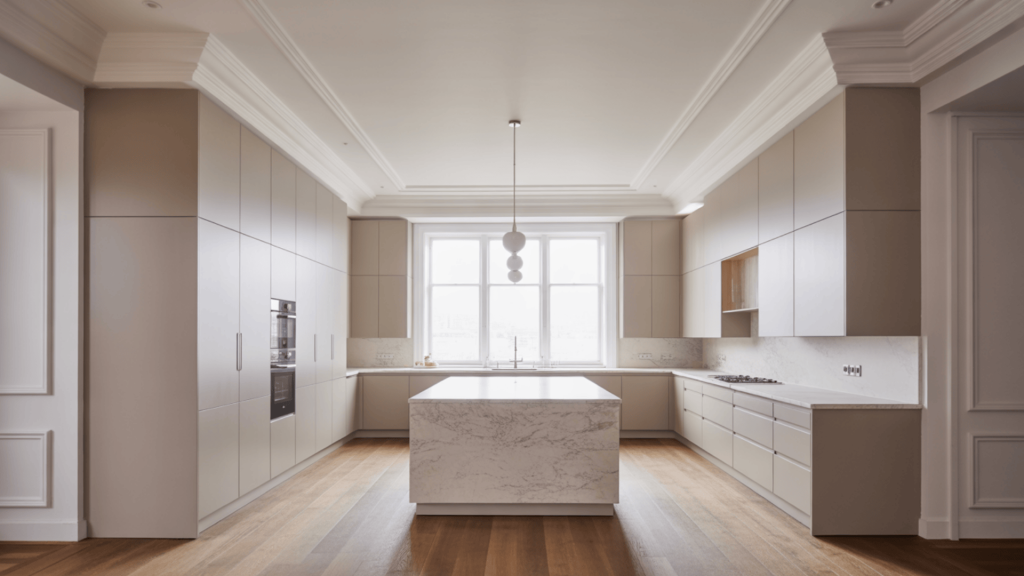
3. 10-Foot and Higher Ceilings
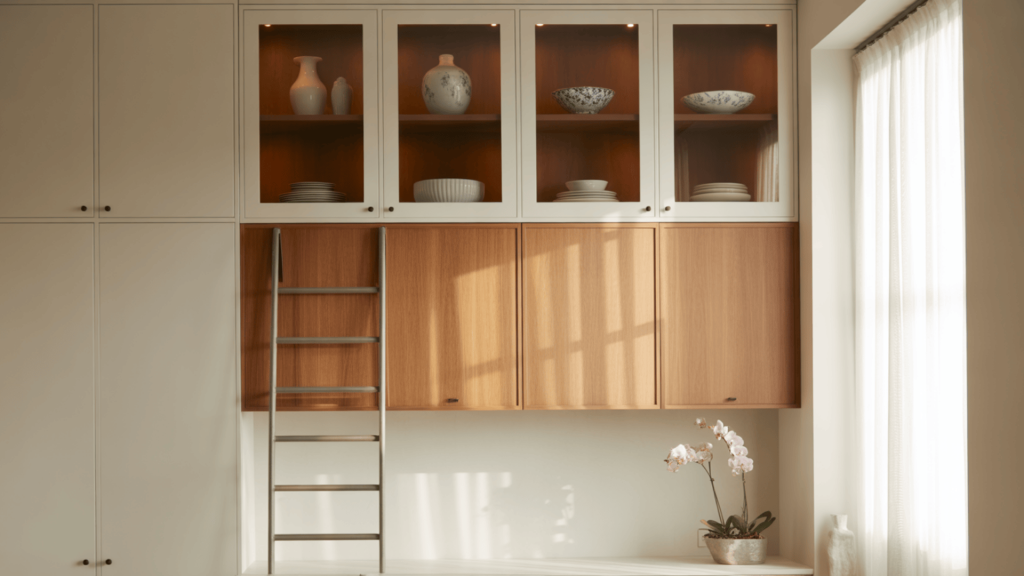
In kitchens with very high ceilings (10 feet or more), stacked cabinets work well.
This means putting two sets of cabinets on top of each other, with the upper set possibly having glass doors to show off special dishes.
Some homeowners opt for custom cabinets that reach all the way to the ceiling for maximum storage.
Impact on Daily Use
Remember that very tall cabinets may look great, but can be hard to reach.
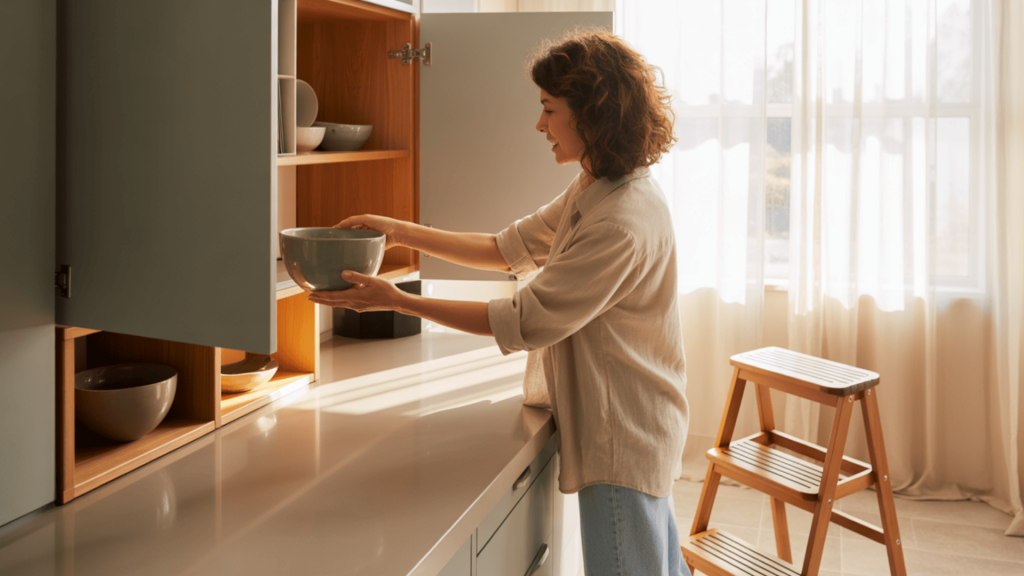
Items stored in the highest cabinets should be things you don’t need often.
The most useful storage space is between 15″ and 80″ from the floor, where most people can reach without a step stool.
Customization Options for Upper Cabinets
Sometimes standard cabinet sizes don’t fit your kitchen perfectly.
Many cabinet companies can modify their standard offerings in small increments, as little as 1/16 of an inch.
This lets you get cabinets that fit unusual wall sizes or specific storage needs without paying for fully custom work.
Height Modifications
To change cabinet height without ordering custom cabinets, consider:
- Adding risers (small wood pieces) beneath cabinets to lift them higher
- Using crown molding on top to reach the ceiling
- Installing stacked cabinets (two sets, one above the other)
These options give you flexibility without the cost of full customization.
Even small height changes can make a big difference in how your kitchen looks and functions.
Width Adjustments
For walls that don’t fit standard cabinet widths perfectly:
- Filler strips can cover small gaps between cabinets or walls
- Some cabinet lines offer width changes in 1″ increments
- End panels can finish the look of a cabinet row
These solutions help create a built-in look even when your wall measurements aren’t perfect matches for standard cabinets.
| CABINET TYPE | CUSTOMIZATION LEVEL | PRICE RANGE | LEAD TIME |
|---|---|---|---|
| Stock | Limited to no changes | $ | 1-2 weeks |
| Semi-Custom | Modifications in 1″ or 3″ increments | $$ | 3-8 weeks |
| Custom | Any size or feature is possible | $$$ | 8-12+ weeks |
For most homeowners, semi-custom cabinets provide the best balance of flexibility and cost.
They allow enough changes to fit most spaces without the high price of fully custom work.
Storage Efficiency and Accessibility Considerations
Getting the most from your upper cabinets means thinking about how you’ll use them day-to-day.
Smart planning helps ensure your items are stored where you can reach them easily.
Thoughtful planning of your upper cabinets can make cooking and cleanup much easier.
Vertical Storage Strategy
Plan your cabinet contents based on how often you use each item.
Daily-use dishes should sit at eye level, while special occasion items can go higher up.
This simple organization principle makes your kitchen more functional without any extra cost.
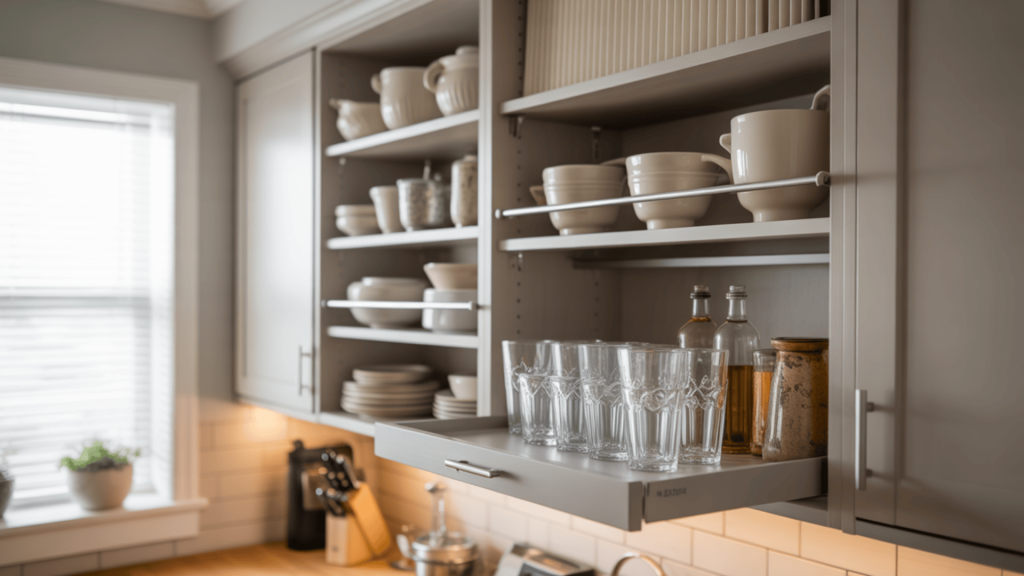
Consider installing pull-down shelving systems for high cabinets.
These mechanisms allow you to bring items down to your level when needed, making even the highest storage spaces useful for more than just holiday items.
Cabinet Interiors That Work
The inside of your cabinets matters as much as the outside.
Adjustable shelves give you the freedom to change your storage as your needs change.
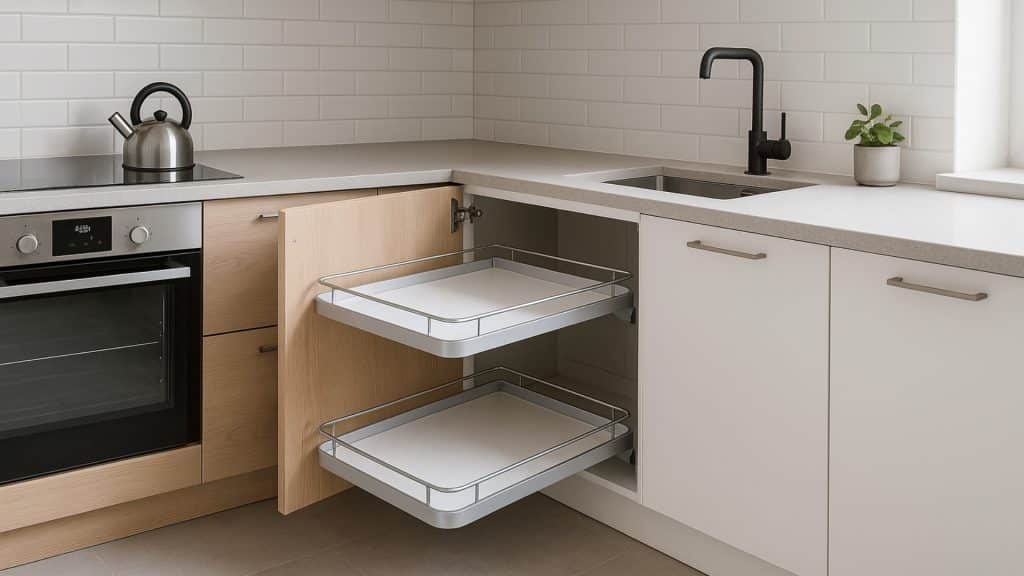
Vertical dividers can transform a standard cabinet into perfect storage for baking sheets and cutting boards.
Many homeowners now add specialized storage features like spice racks or plate organizers inside their cabinets.
These additions cost relatively little but can make your kitchen much more functional.
Design and Aesthetic Strategies for Upper Cabinets
Upper cabinets take up a large amount of visual space in your kitchen.
Their style and arrangement strongly affect how your kitchen looks and feels.
Your cabinet choices go beyond simple storage—they set the tone for your entire kitchen design.
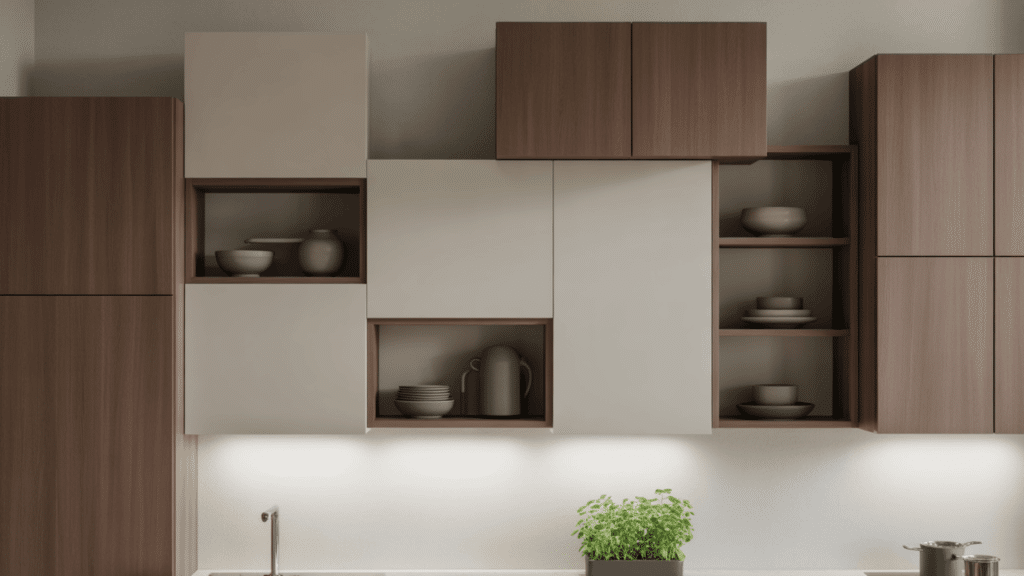
1. Creating Visual Interest with Height
Instead of all cabinets being the same height, try varying heights to create visual movement across your kitchen.
This approach draws the eye around the room and makes even small kitchens feel more custom and thought-out.
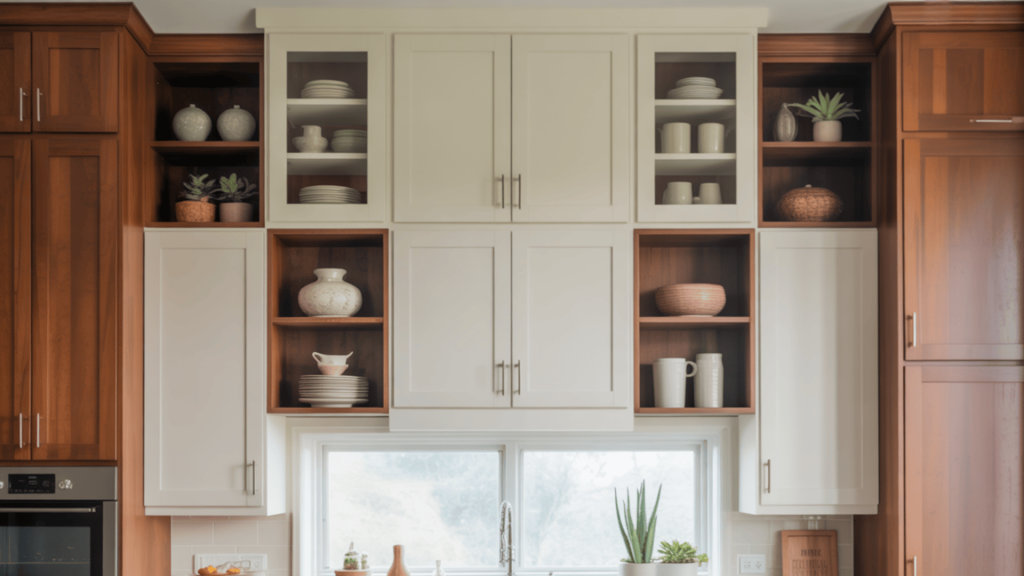
Some designers use a mix of open shelves and closed cabinets to break up wall spaces.
This strategy adds personality while still providing plenty of storage and creates a less boxy, more open feeling in the kitchen space.
2. Smooth Transitions
To help your cabinets blend with the rest of the room, consider how they connect to other elements.
Crown molding can tie cabinets to the ceiling, while matching wood tones can connect them to the flooring or furniture.
Well-designed transitions between cabinets and walls or ceilings make your kitchen look professionally designed.
These small details often make the biggest difference in how finished your kitchen appears to visitors.
3. Strategic Lighting
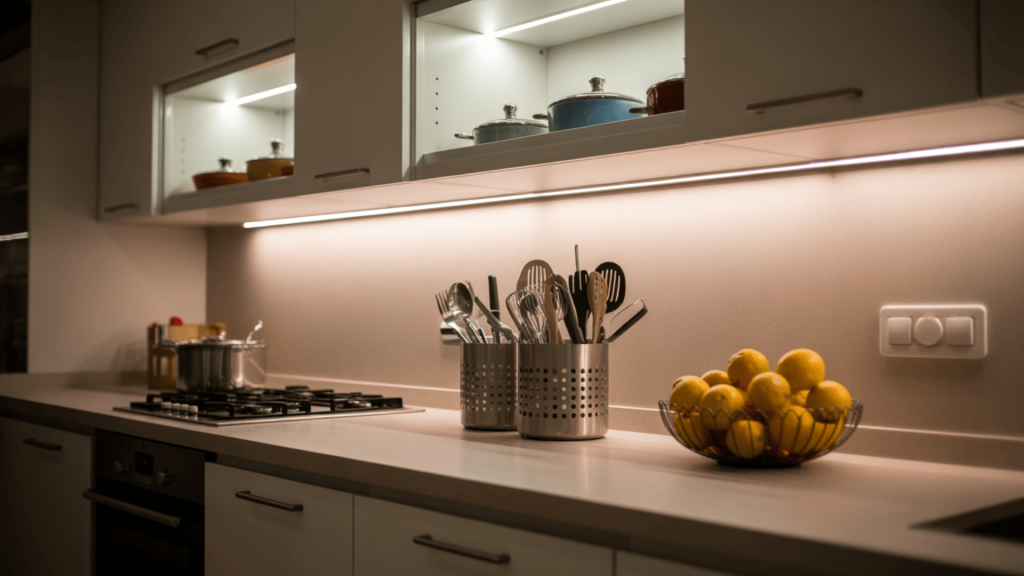
Lighting plays a crucial role in how cabinets look and function.
Under-cabinet lighting eliminates shadows on countertops, while over-cabinet lighting can wash the ceiling with a soft glow that makes the room feel taller.
Under-cabinet lighting helps with tasks and makes items in cabinets more visible when doors are open.
LED strips are affordable, easy to install, and use very little electricity.
Pro tip: Install lighting with dimmers to adjust brightness for different needs.
4. Material and Color Choices
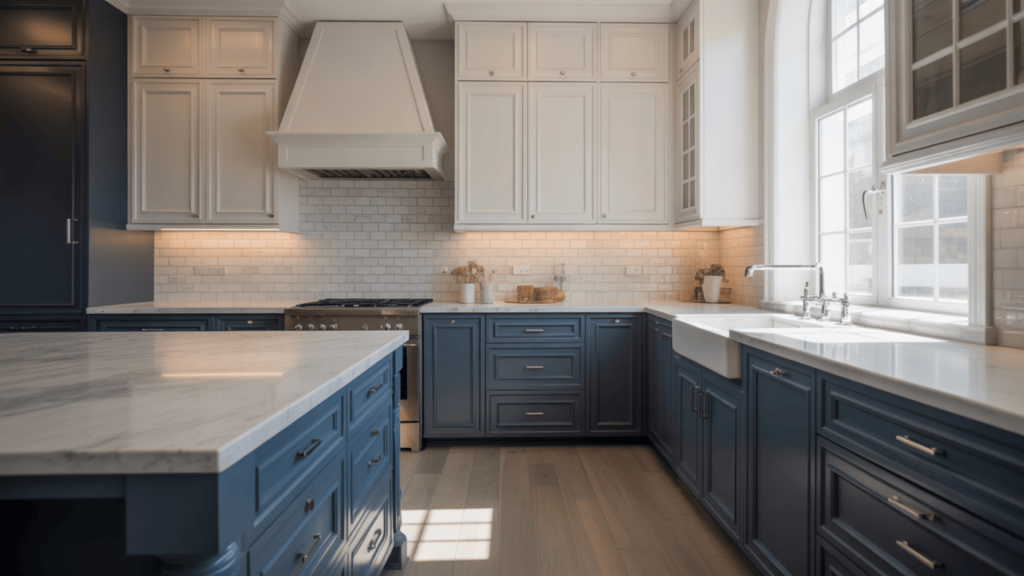
The finish of your cabinets sets the mood for your entire kitchen.
Light colors make spaces feel larger and more open, while darker tones create a cozy, intimate feeling.
Two-tone designs have become popular because they offer the benefits of both approaches.
The right cabinet finish should complement your flooring, countertops, and wall color.
The goal is to create a cohesive look that feels intentional rather than mismatched or trendy without purpose.
Alternatives When Standard Upper Cabinets Don’t Fit
Every kitchen has its quirks—unusual angles, pipes in odd places, or non-standard measurements.
These solutions help you work around those issues.
Creative Solutions for Small Spaces
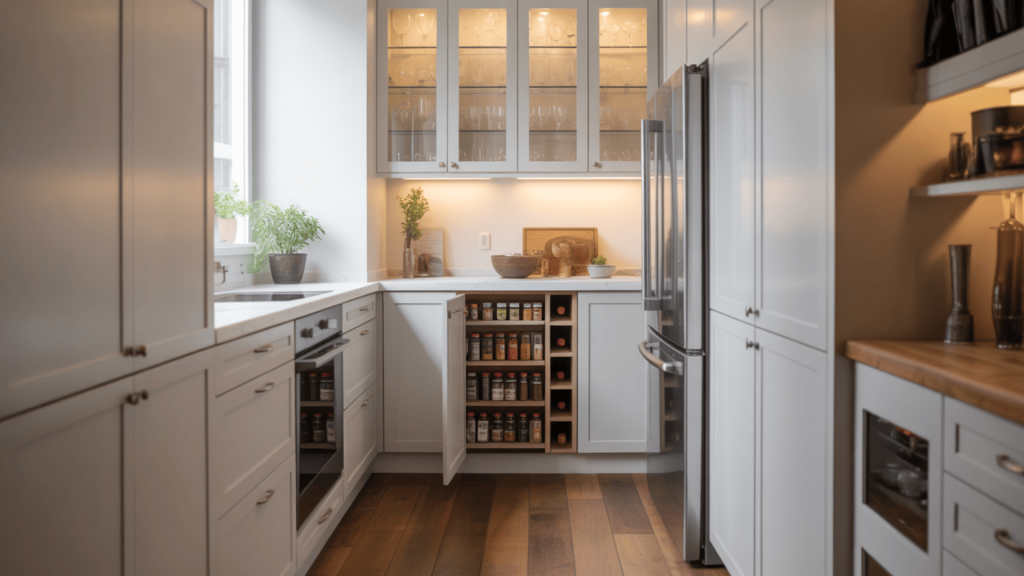
When you have gaps too small for standard cabinets, you don’t have to leave them empty.
Narrow pull-out cabinets can turn even a 3″ gap into useful storage for spices or baking sheets.
For very small spaces, sometimes the best solution isn’t a cabinet at all.
Open shelving or wine racks can make better use of narrow areas while adding style to your kitchen.
That awkward space between your cabinets and ceiling can become an opportunity.
Some homeowners install glass-front cabinets to show off special dishes, while others add built-in lighting to highlight ceiling details.
Working With Structural Limitations
Soffits (those dropped ceiling sections) can be challenging.
Some people remove them during renovations, while others order cabinets that fit perfectly beneath them.
Decorative trim can disguise uneven lines between cabinets and soffits.
This approach costs much less than removing soffits but still gives a finished, intentional look.
For kitchens with sloped ceilings or unusual features, custom-cut cabinet tops create a space that looks purposefully designed with standard components.
By understanding cabinet dimensions and adaptation options, you can create a kitchen that functions perfectly while looking great.
The Bottom Line
Upper cabinet dimensions might seem like small details, but they shape how your kitchen works every day.
The right cabinet height makes cooking easier, while proper width and depth ensure everything fits where it should.
By matching cabinets to your ceiling height and finding smart solutions for odd spaces, you create a kitchen that feels built just for you.
Remember that small changes—an inch here, a custom feature there—often make the biggest difference in both function and style.
Take time with these measurements early in your planning, and your kitchen will reward you with years of easier cooking, better storage, and a space that feels just right every time you walk into it.
What’s the one thing you wish you’d known about cabinet dimensions before starting your kitchen project?
Share your wisdom below!